Mixamo → BVH Christa dolls come to life! (Ver3.1 or later)
With CLIP STUDIO PAINT Ver3.1.0, you can now apply sequential poses to BVH files to 3D characters, drawing figures, VRM models, and more.
I would like to explain how to easily obtain BVH files from "Mixamo" operated by Adobe.
Why not try using it for your drawing?
From halfway through, I will explain using gif animations. The animation is set to loop only five times, so if you want to see it again, please reload the page.
I have not checked the copyright of the Mixamo site, so I have not included screenshots due to image reproduction.
I'm sorry, but the explanation may be a little difficult to understand, so please try to understand from the context.
[1] What is a BVH file?
Simply put, it is a format for saving 3D motion capture data.
Starting with CLIP STUDIO PAINT Ver3.1.0, you can easily apply BVH to characters and drawing figures, and move them with the slider bar from Object Tool > Sub Tool Details > Sequential Pose.
[2]What is Mixamo?
This site is operated by Adobe, which is famous for Photoshop and After Effects.
After creating a 3D character, you can easily rig it on the Mixamo site and add prepared animations to the 3D character, which you can then download.
[3] What to prepare
Adobe account
Install Blender on your PC
[4] Mixamo page
・Mixamo page
・Log in with your Adobe account.
If you don't have an account, sign up and create one, then log in.
・Once you log in, you'll see a lot of thumbnails of Mixamo animations.
If you click "Search" in the top left, check boxes for specific movement categories will appear, and you can narrow down the thumbnail list by checking them.
You can also search for specific characters.
[5] Find a thumbnail of the movement you like and download the file
・If you think, "I want to use this!", click on the motion thumbnail.
・On the right half of the page, you will see a character animated with the motion in the thumbnail.
Further to the right of that, you can do things like download the file.
*Note
Make sure the large preview of the character on the right is set to "X BOT".
If it's set to another character, select "X BOT" from "Characters" at the top (it will appear in the search).
If it's a different character, it may have a rig specific to that character, which may cause an error in CLIP STUDIO PAINT.
・There are motion adjustment items below the DOWNLOAD button.
(No need to adjust)
OverDrive=Speed of movement
Character Arm-Space=Adjustment of arm spread
Trim=Adjustment of animation frames
☐ Mirror=Checkbox for inverting the appearance of the movement
You can adjust the above. Adjust if you are concerned.
・If you are happy with this, press the DOWNLOAD button in the upper right. A dialog box will appear.
Format=FBX binary(.fbx)
Skin=Without Skin(It's light, so I think you only need the rig data)
Frames per second=30(Amount of frames per second, the default 30 is fine for now)
Keyframe Reduction=none(The default none should be fine)
If there are no problems, press DOWNLOAD at the bottom right of the dialog box.
An fbx file with the motion name will be downloaded to the DOWNLOAD folder of your OS.
[6] Download Blender
・Blender website
Click the Download button.
On the next page, you can choose between Windows and macOS.
Download the installer.
(At the time of writing, it was "Download Blender 4.2LTS")
You can also download previous versions from the "Releases" menu above.
・When you enter the download page, the download will start automatically.
Watch the download progress using the download icon in your web browser. It may take a while.
They are asking for money on the right side of the page, but if you have the money, please donate (it will be downloaded even if you don't).
[7] Install Blender
・After downloading, install Blender using the method specified by your OS.
For Japan**
https://www.blender.jp/install
For other countries**
https://docs.blender.org/manual/en/latest/getting_started/installing/index.html
You can find various installation methods by searching for installation methods on Youtube.
・For Blender, a folder dedicated to the version is created under the "/Blender Foundation" folder, such as C:/Program Files/Blender Foundation/Blender x.x on Windows, so different versions will not be overwritten, so all installed versions can be used.
For Mac, double-click the dmg file and then drag Blender.app to the Applications folder.
To upgrade, you can overwrite it, or if you have multiple versions, you can rename Blender.app or place it in a different folder.
As I am a Windows user, I do not know much about this, so please look it up if necessary ( `・ω・´)
[8] Operation in Blender
・Try launching it from the Blender icon.
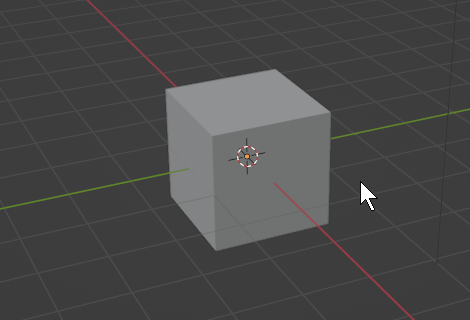
- When you start the program, a grey cube will appear first. Click on the cube to activate it, press "X" and then "Delete" to remove it.
・Top File menu>Import>FBX(.fbx)
A dialog will appear, so select the FBX file containing the motion you downloaded earlier.
Once selected, click Import FBX at the bottom right.
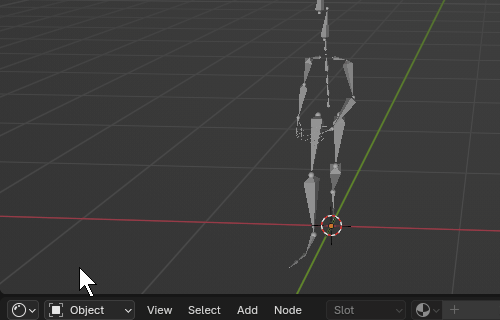
The bones should be displayed.
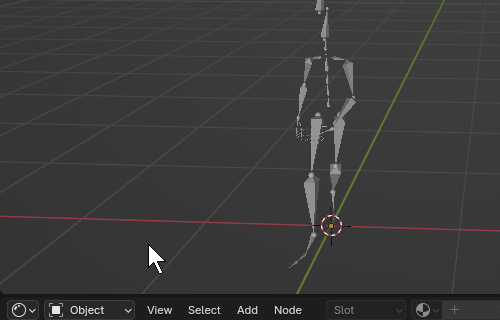
・You should probably see the Timeline window at the bottom of your Blender screen.
・If the Timeline window is not visible, split the window (split into areas) and assign the Timeline to the window.
https://blender-cg.net/window-divide/
https://docs.blender.org/manual/en/latest/interface/window_system/areas.html
You can split a window by displaying "+" at the edge of the window and dragging it to the left, or by right-clicking on the window border to split it.
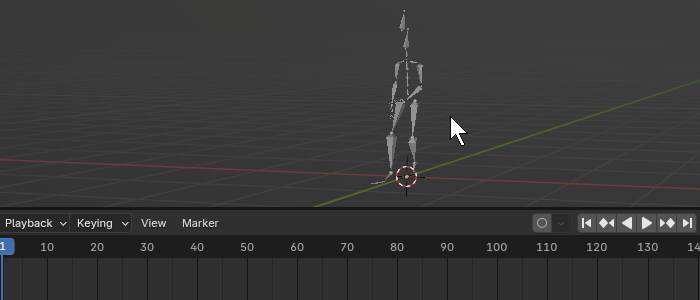
- Check the number of frames of the motion on the Timeline and set the end value up to the required number of frames.
It's okay if you don't set it, but in that case, still frames up to the default value of 250 frames will be recorded.
- Also, for motions over 250 frames, no more will be recorded, so extend the end value to the end of the frames (up to the required frames).
- The end value doesn't have to be exact, a rough value is fine.
- You can also change the start frame in the same way if necessary.
If you want to extract only the frames you need, specify the start and end as you like.
The gif video below is an example set with a start frame of 1 and an end frame of 122.
[9] Exporting BVH files
- File menu > Export > Motion Capture (.bvh)
Select this and export to any location on the storage device.
You probably don't need to touch the export options.
Export with Export BVH at the bottom right of the dialog.
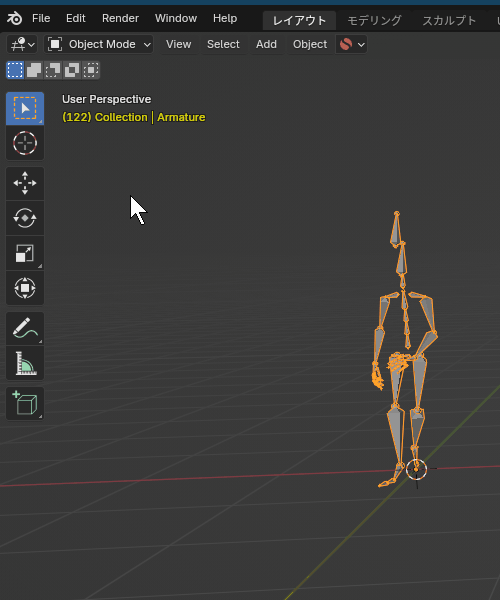
・If the File menu > Export > Motion Capture (.bvh) item is not available, add it from the Add-ons menu.
Edit menu > Preferences > Add-ons > Search Add-ons
If you type BVH here, it should probably come up, so check ☑ it.
Three lines in the bottom left > Save preferences
Close preferences.
[10] Loading a BVH file into CLIP STUDIO PAINT
・To display a drawing figure with default settings on the canvas, go to File Menu > Import > 3D Data and import a bvh file from here, and a drawing figure with sequentially numbered poses will be imported.
You can control the motion by sliding the Pose Number.
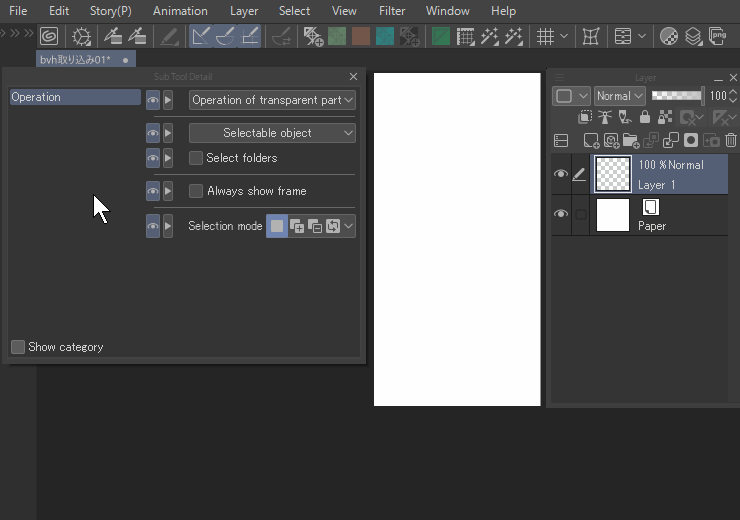
・If you are using a PC, you can also just drop the bvh file onto the canvas.
(The gif below is an example for Windows)
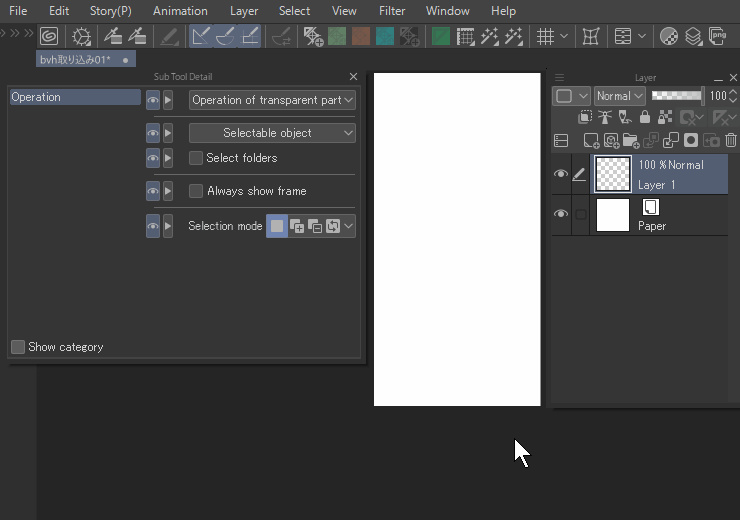
- 3D characters and VRM models also work.
In the gif video below, the bvh file is dropped directly onto the character, but you can also apply the bvh file from File Menu > Import > 3D Data.
If you find the VRM slow after loading, please refer to this tip.
>> The VRM will become lighter.
>> How to make VRoid's VRM file lighter after loading it (Version 3.0.0 at the time of writing)
>> (However, the area around the eyes may look a bit strange due to the transparent texture.)
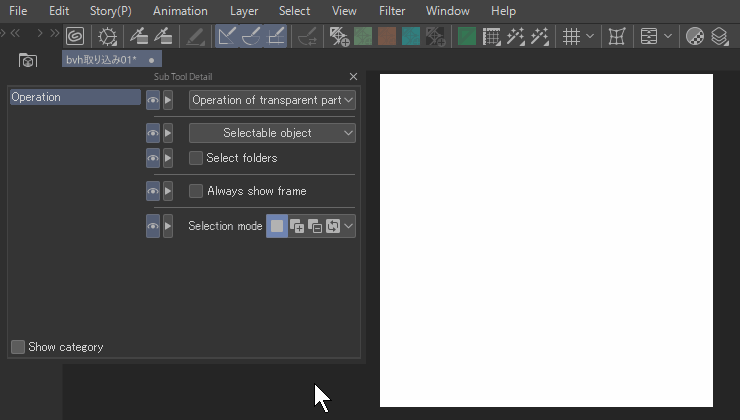
・The method for applying characters to drawing figures with distinctive body shapes is the same.
- If you uncheck Fix position under Pose number, the character will move according to your movements.
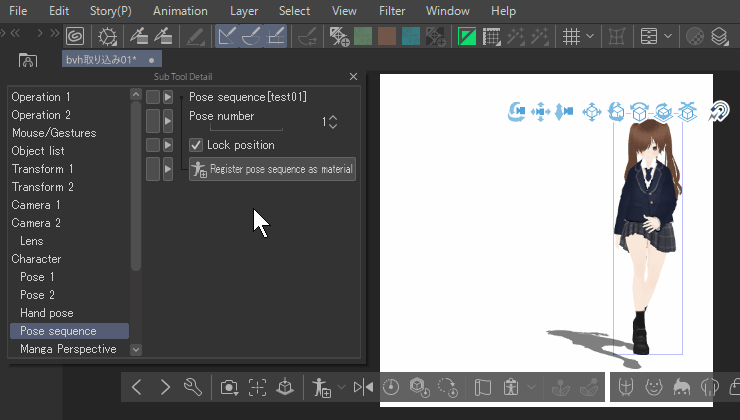
- Enabling the Physics icon in the Object Launcher will give the object more movement.
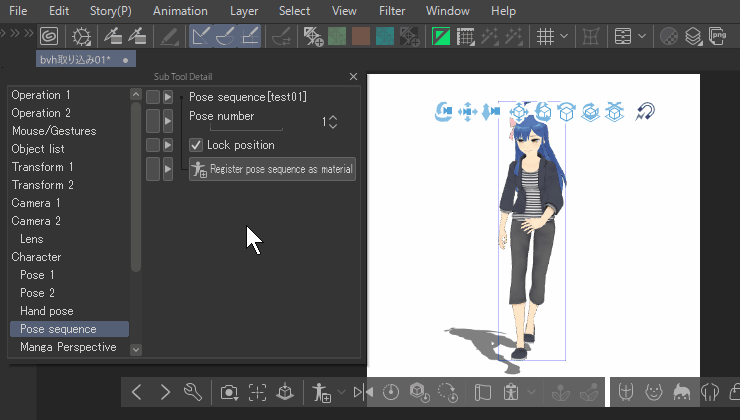
・It would be great if you could use these to help support the illustrations of your work.
[11] How Mixamo handles data
・This is what it says in the FAQ:
———————-
You can use both royalty-free characters and animations for personal, commercial and non-profit projects. Here are some examples:
Incorporating characters into illustrations and graphic art
3D printing characters
Making movies
Creating video games
I have quoted it from here.
https://helpx.adobe.com/jp/creative-cloud/faq/mixamo-faq.html
———————-
Adobe is generous and I'm glad to hear this.
However, Adobe is not giving up their rights, so please observe the following.
◆Raw data cannot be distributed.
Downloaded fbx or converted bvh files cannot be distributed.
bvh data can be made into materials with CLIP STUDIO PAINT.
After making it into a material, it cannot be registered in ASSETS, distributed to others, or sold. Of course.
Even if it is in clip format, if the contents contain raw content using bvh, it cannot be distributed. Apart from the master data you own, if you copy clip files and distribute them or use them commercially, you must rasterize them so that they cannot be extracted.
◆Raw data cannot be incorporated into any project and distributed in a state where it can be extracted.
It is OK to render pictures and movements and distribute the results (pictures, animations, manga). Make sure they cannot be extracted.
Obviously, you cannot distribute or use commercially any work that allows data to be extracted.
If you have any questions, please contact Adobe.
Please try it while observing the above.
◆Adobe Basic Terms of Use


Comment