GraceGit’s Non AI Art Profile Tips
Hi friends, my name is Grace, and in this tutorial, I'll teach you how to create profile pictures without using AI, instead of my photo (of course you can use your own too!).
I’m not against AI artwork, but for me as an artist; it’s better to create art by myself rather than generating with some apps which actually went VIRAL in my country.
Drawing profiles in Clip Studio Paint can be a fun and rewarding experience. Here are some steps and tips to help beginners draw profiles, including simple approaches and creating profile pictures! (Of course with a side profile too :)
If you want to learn more about drawing, sketching, illustrations, and concept art, then don't forget to subscribe to my YT channel or follow me on Clip Studio TIPS!

If you’re more to the text person, below is my written tutorial to guide you with simple steps; including with GIF images. Feel free to scroll along and have fun creating your side profile image!

Start with a basic head shape
DISCLAIMER: This is my own photo, so it's safe to use for Clip Studio Paint user guidelines when posting a tutorial. Feel free to use this tips as a beginner’s guide. ^.^
Begin by drawing a simple oval shape to represent the head. This will serve as the foundation for the profile drawing.
ATTENTION: This is not a chibi art, it’s more to my personal digital art drawing (you might say it’s an anime version of me).
My first tip: it’s okay to trace your own reference (especially your personal photo!) because by doing so, you’ll learn how to implement the design or structure quickly.
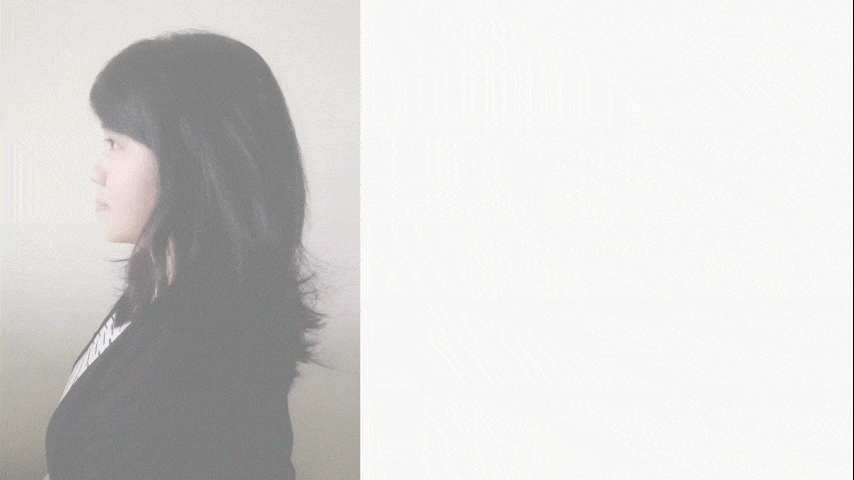
Sub Tool: Pencil -> Design Pencil
Other: Personal Photo
Establish the center line
To ensure accuracy in your profile drawing, it's helpful to establish guidelines.
Create a new layer on top of your canvas (or if you’re comfortable with many strokes, use just one layer) to draw a vertical line down the centre of the canvas.
This line will act as your central axis for the profile.
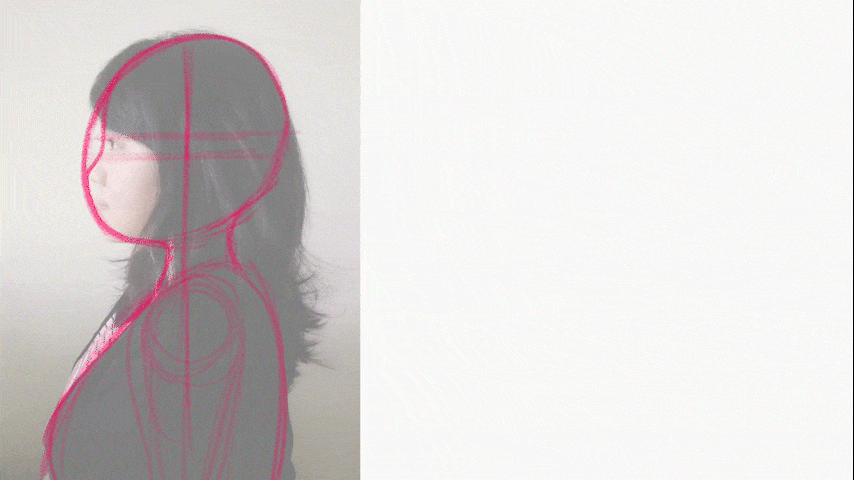
Sub Tool: Pencil -> Design Pencil
Other: Graphic Tablet with Pen Pressure
Refine the features
Once the basic structure is in place, refine the features by adding more detail. Pay attention to the position and shape of the eyes, eyebrows, and hairline.
Remember that the eyes in a profile view will appear flatter, and only one eye will be visible.
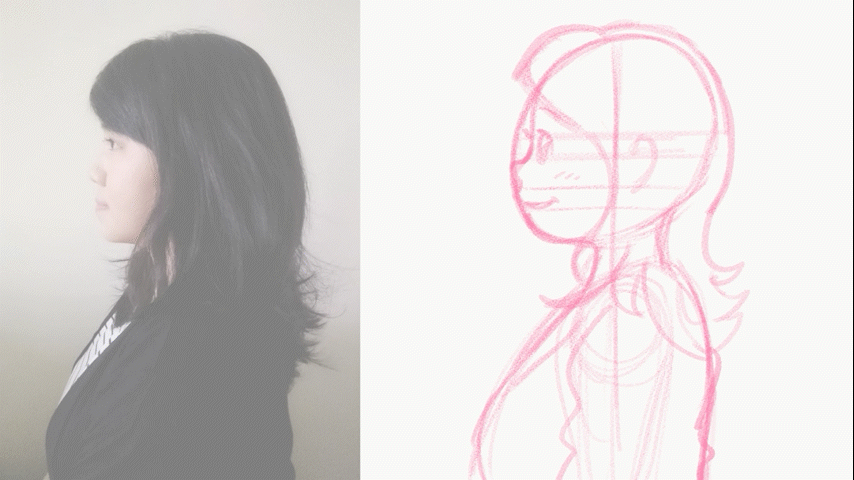
Sub Tool: Pencil -> Design Pencil
Other: Graphic Tablet with Pen Pressure
Adding values for dimension look
Values or shadows will be essential if you’re going to add colours. By doing so, it will ease your next step or at least give the flat image some dimensions to look at.
This step is optional, if you are happy with the result of your sketch, so be it ^^
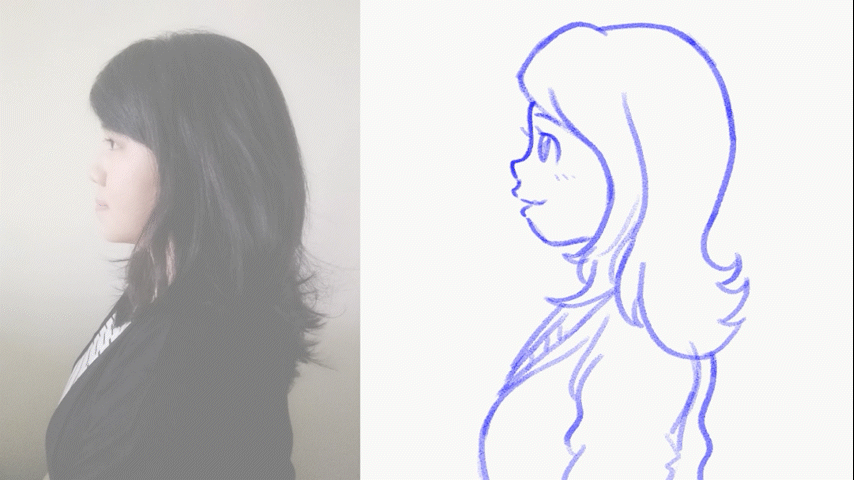
Sub Tool: Pencil -> Design Pencil
Other: Graphic Tablet with Pen Pressure
Inking the artwork
This is also an additional step for you who needs to see the clean inked version of my drawing. Simply use a new layer and Pen, Mapping Pen for the inking.
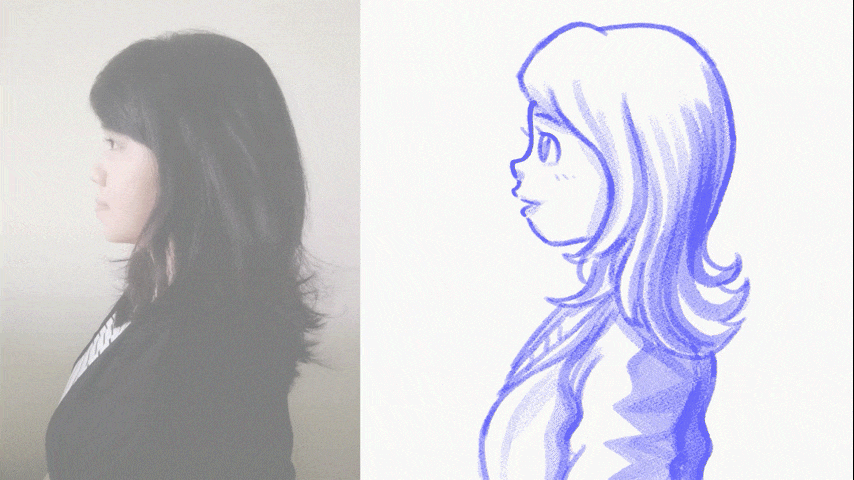
Sub Tool: Pen -> Mapping Pen
Other: Graphic Tablet with Pen Pressure
Digital Watercolor Style
Last but not least, this is how I finish my quick artwork with a ‘Real’ Watercolor style. Since this tutorial is not focused on colouring, let me give you a tip for doing so below.
Tip: If you’re using different method of coloring such as from flat to shadow & highlights, please feel free to see my other tutorials here.
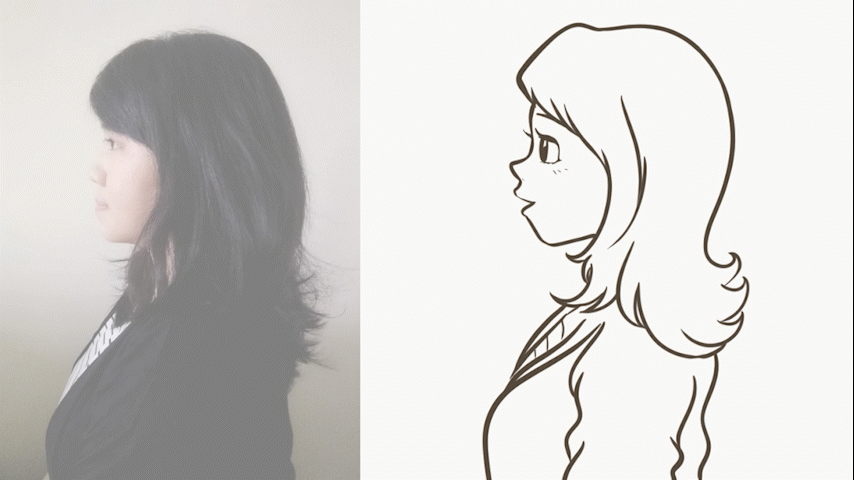
Sub Tool: Realistic Watercolor -> Round Watercolor Brush (Face & Outfit)
Sub Tool: Realistic Watercolor -> Flat Watercolor Brush (Hair)
Other: Graphic Tablet with Pen Pressure
How About No Photo Reference?
Many of us often deny using photo references, that’s cool btw. I’ve prepared these two tricks to help those who need to start fresh with a blank canvas!
So these ‘bonus’ tips will be useful and essential as part of your learning process since I found this to be very simple and effective!
Tips #1: Drawing from imagination tips!
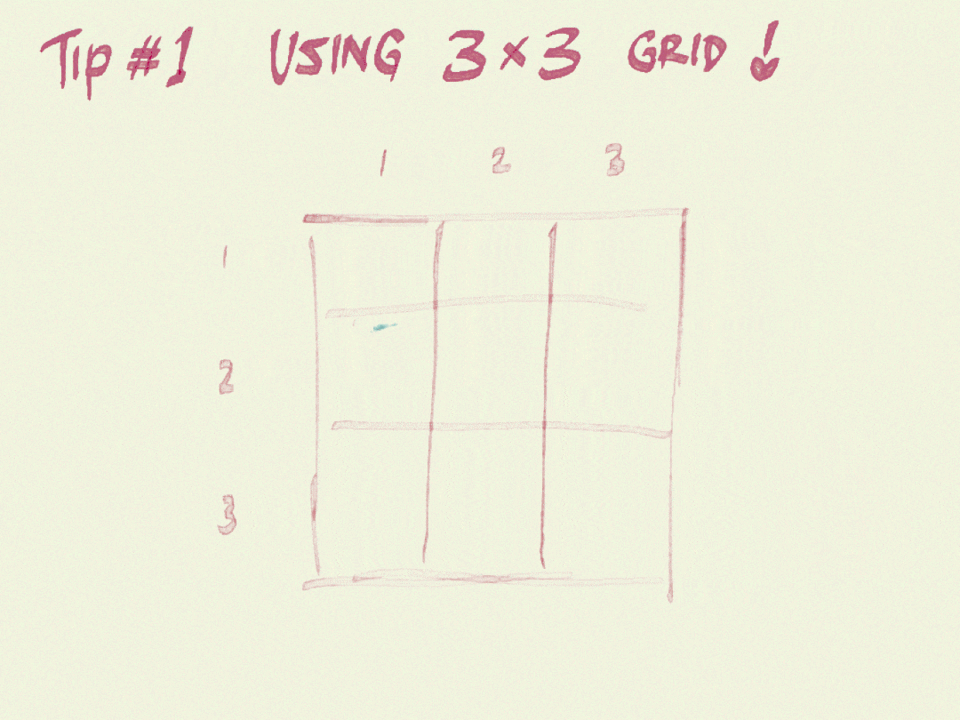
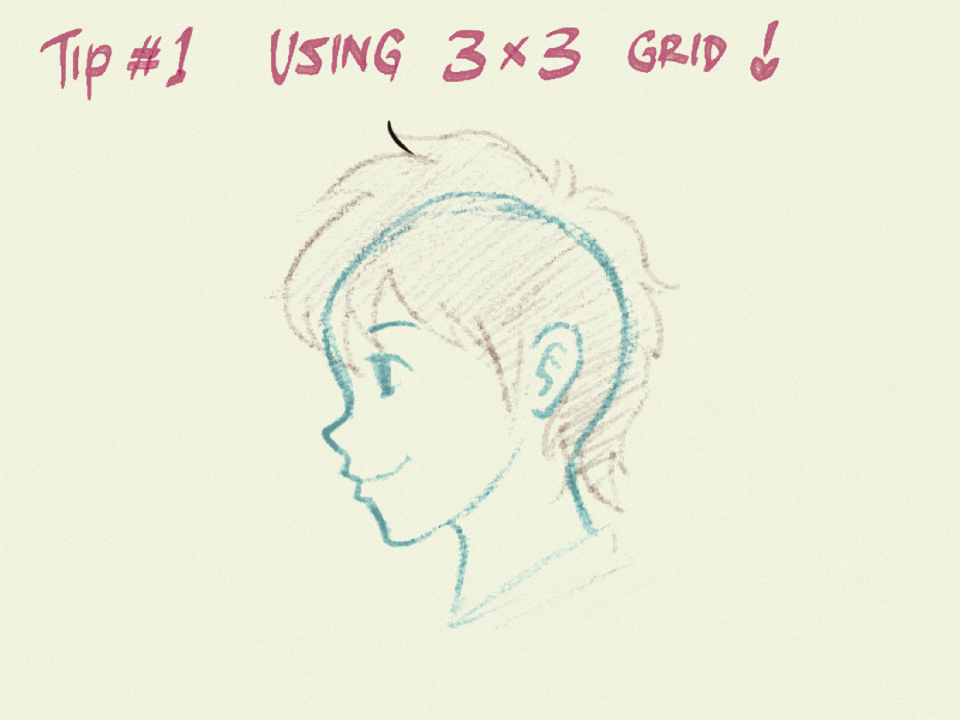
A 3x3 grid is the essential thing one must know to create a profile character easily. Imagine the grid just like a tic-tac-toe game! I don’t use any ruler, just be flexible.
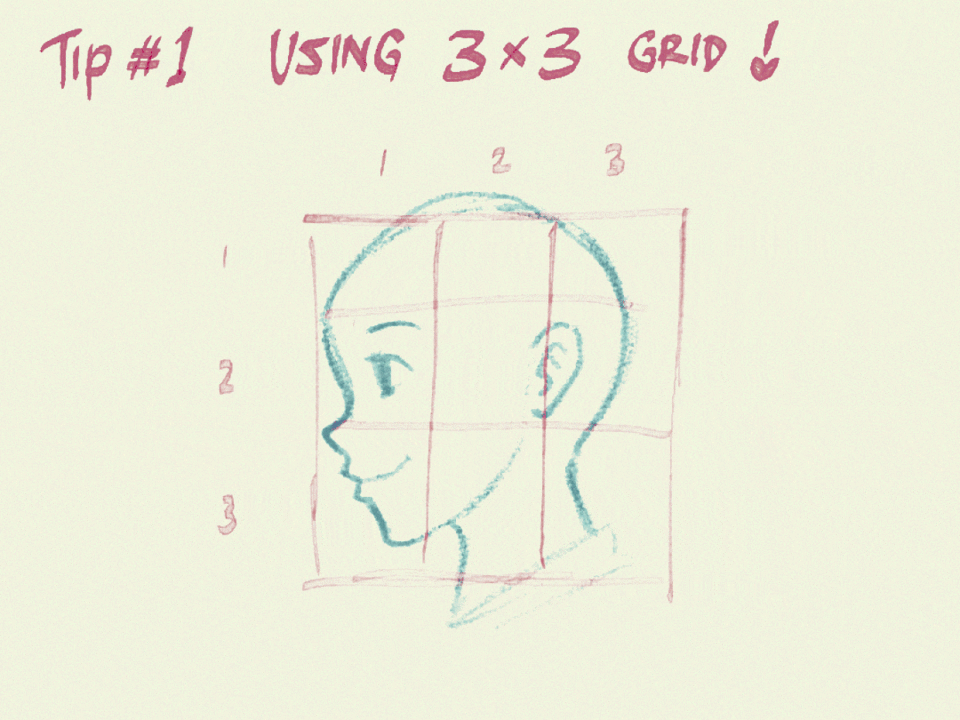
Secondly, create the hair. Explore limitless possibilities if you start from the very middle of the grid (2,2) then go along the outside until it’s finished or cover the skull.
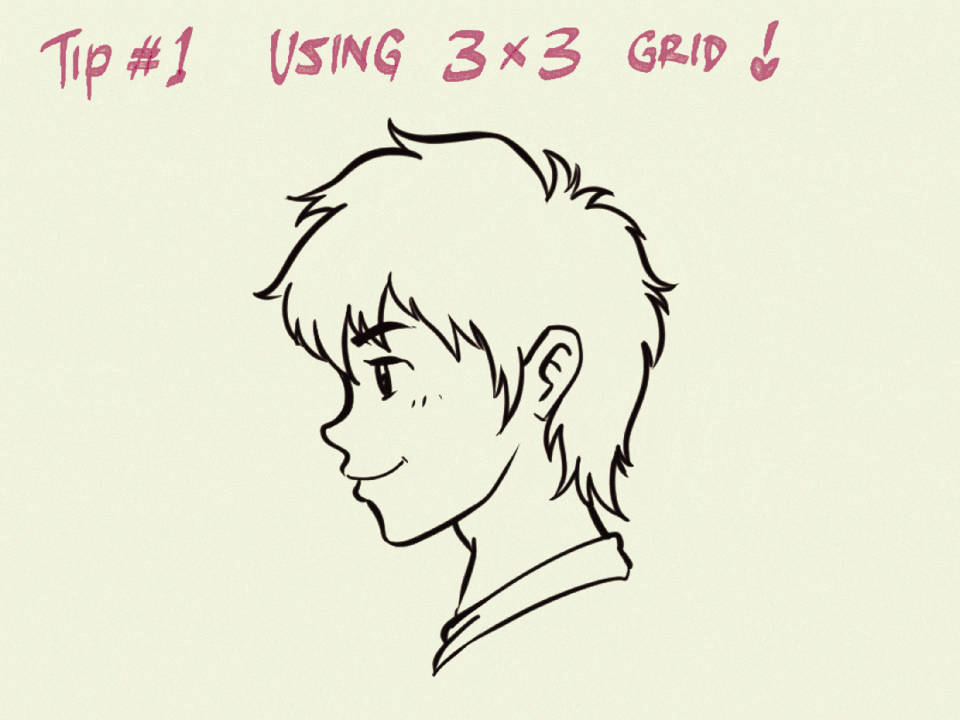
Removing the grid, now you can add the ink more conveniently. Using Mapping Pen with graphic tablet is my favorite recommendation.
Tips for Blending Mode can be found here. <— link to my previous tutorial about how I colour my own photos from flat.
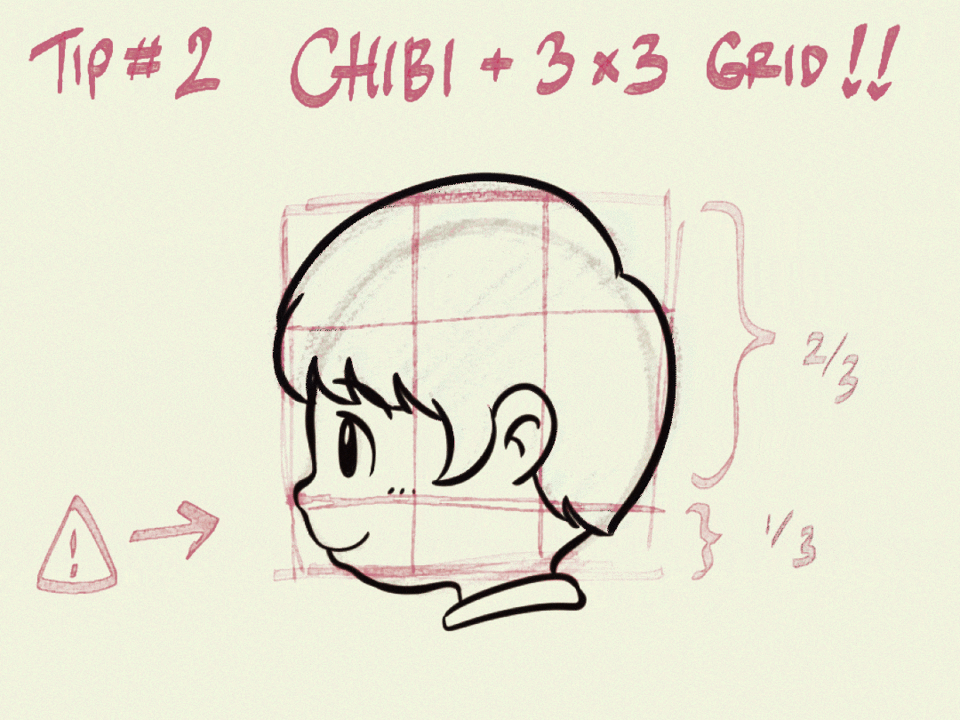
Tip #2: Chibi with 3x3 grid tips!
The difference with this 3x3 grid for chibi artwork is the bottom part. Make sure you create a different shape for the smaller part at the bottom.
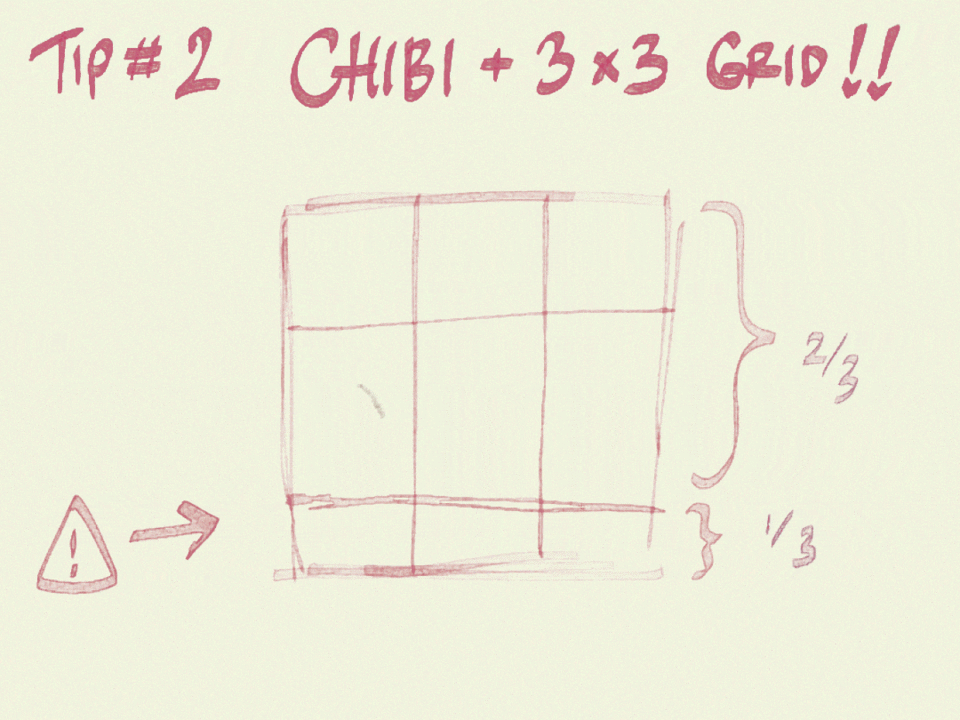
Apply the same method of drawing from the eye to the nose and so on. You’ll need to draw the bottom part of the nose and mouth smaller than the forehead.
Here’s the result when you draw along the simple grid guidelines.
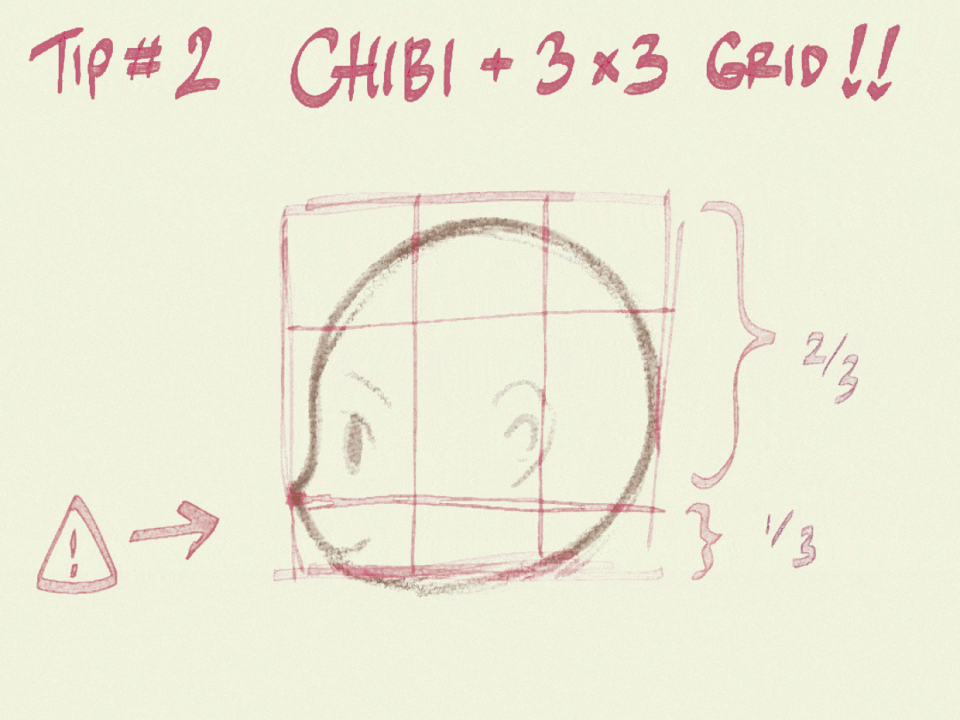
Next, you need to experiment on the entire head to fully understand where to put the hair and give a cute eye (not too big) to the character and also a bit of nose and smile!
Lastly, do the colouring! And you’re done!
Voila! It’s a boy, now you can try to use those simple guides for making a girl character!
GraceGit's Closing Remarks
It’s been a pleasure being with all of you who read all of my words until this very end. I hope you'll learn a thing or two from my written and also video tips!
Please subscribe if you wish to see another of my tutorials, mini tuts, or even my Instagram!


Comentario