How to make a synchronized pipeline story loop animation
In this tutorial I will show you how to design and make story loop that synchronize. It is detailed and only takes 24 frames to animate. You can make this with both Pro and Ex versions of Clip Studio Paint.

Design the loop
The concept of the pipeline story is making the flow of animation from one loop to another loop with synchronized movement. In this tutorial I will make the cat sushi bar. Starting with sketching the image.
There will be a conveyor belt that feeds the fish through various processes of making sushi. 4 cats will work through each process: chop, slice with circular blades, combining fish with rice and putting sushi on a plate.
Movement of the design will be like this (in 24 frames)
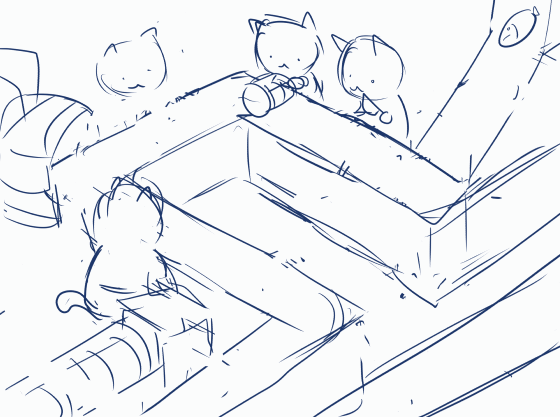
You can see that 24 frame is too few for a loop of the story.
If we give each kitty 24 frames, there will be more time for detailed movements.

But this example uses 24*4 = 96 frames which is too long for a loop and not compatible with Clip Studio Pro.
The cat’s movements are individual so we can overlap the keyframes of each animation and make individual movement loop like this.
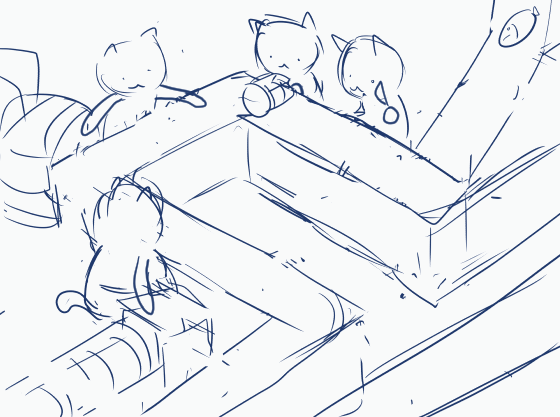
Finally, it’s perfect for 24 keyframes. Looks like all the cats are busy with their job!
The animation loops in summary will be
1. Cat chops fish
2. Cat slices fish with machine
3. Cat makes sushi (2 sushis per loop)
4. Cat plating and the sushi
5. Conveyor belt loops
Draw background and objects
Start with the background. I made it isometric to make the overall process of whole pipeline viewable.
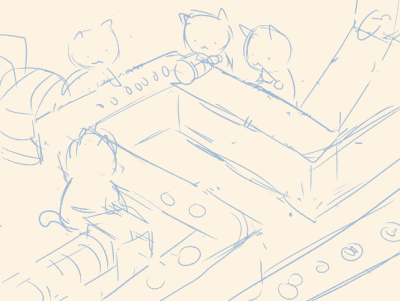
Note : I use tile pattern from Clipstudio Asset
Redraw the sketch of the scene again adjusted to the background.
Then draw objects that will appear on the transmission belt in separate layers
The objects are now ready to animate later
Create Individual Animation loop
Draw the cat in separate parts
Don’t forget to rename the layer for easier management
Create a timeline for the animation with this setting.
Framerate = 8 and Playback time = 24
In the Timeline panel keyframes will appear from our setting
[if you can't find the timeline panel, open it with Window>Timeline]
Convert each layer into Image Material object to make it easier to transform.
Right click on the layer and select Convert Layer
Change the type to Image Material Layer and press OK
Repeat for all layers, will then get the layers like this
This is now ready for animation
To animate, we will use the Transform method to move the parts by the character movements.
Select the layer, then click the ‘enable keyframes for the layer’s icon
The layer will have the word ‘transform’ appear on the layer name
Set the keyframe to add ‘Linear Interpolation’
Then click the icon to add a keyframe, the keyframe icon will appear on selected frame (red bar)
Click on the last frame and add another keyframe
Then hold click the keyframe icon at the last frame and drag to frame 25
(This will make the frame 24 look unlike frame 1 and make smoother movement)
To make animation.
Click on any keyframe where you want then move the object with the object tool
The timeline will auto create the keyframe for you at the point
You can see the movement by clicking on the play icon
The result
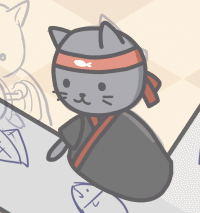
Apply to all objects
You will get the simple movement for the cat
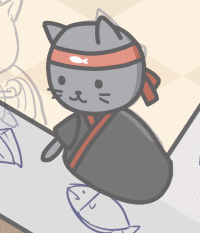
Move the body part below the background object o fixing the overlap (create a folder for easier editing later)
For the arm action, I made it a frame by frame animation because it’s too complicated for transformation method
Click on the icon ‘New animation folder’ on the timeline panel
In the layer panel, you will see the animation folder create a folder inside
Create the layer for line art, sketch and color
In Timeline panel, right click on the animation folder timeline, and select keyframe 1
Draw the first frame, then enable onion skin by the ‘Enable onion skin icon’
Then create new animation cel
On the second cel, there will be the blue line that shows the cel before, you can continue to work on the sketch layer that will be auto generate in the folder ‘2’
Sketch on all the keyframes to make the animation sketch
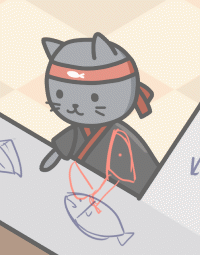
then add the detail in each cel
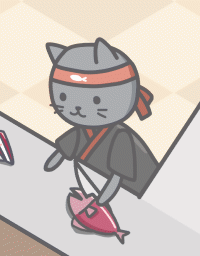
Note : for the ink, i recommend the 'Fill-in mono pen' in marker sub tool[pen] because it will not change the size by pressure which is good for animation :)
you can also adjust the transform and make the movement more satisfying with more keyframes (just keep the start and end the same)
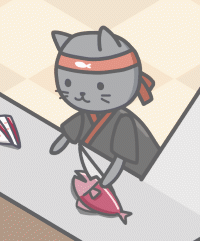
The movement is more natural now
then create another cat with these steps. here is the result

Create Synchronize Animation loop
The animation is not yet synchronized. The animation of conveyor belt must be added to finish this piece
The conveyor belt can separate to 5 parts.
1 - The fish fall from the box
2 - The fillets slice into sashimi
3 - The sushis moved
4 and 5 - The ready to serve sushi moving out
To make it easier to manage, we must check the keyframe where it can sync to the animation loop it related
For example, the fish is in the hand of the first cat at keyframe 1, so it will be ready for the cat to pull at keyframe 24
Starts with the fish that falls from the slope
The fish falls in 3 steps
Start the sync [with the cat that chops fish] at keyframe 1 so we place the fish at the position before it's in the cat hand at frame 1
Limit the showing frame to the timeline by setting the first display frame
Create the transform animation for the fish and move the position of the fish at the first keyframe
The result will be like this
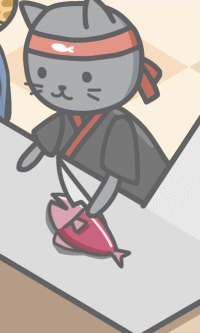
The fish just pop in at the keyframe 18. Now make the animation for fish fall that will ends at keyframe 17
Tips : you can make the fish fall naturally by using mesh transformation to adjust the fish shape
[Edit > Transform> Mesh transformation]
Then make the transform animation with the same step
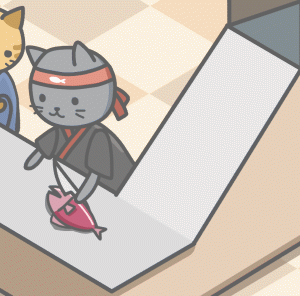
Now the fish will drop continuously ,do the same with the other step
To avoid overlap part, copy some part of background and place over the object
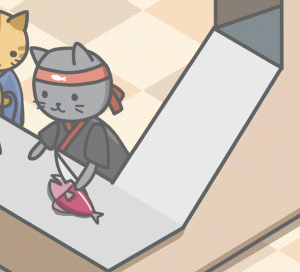
The final timeline will look like this
For the movement of repeat object, you may place it together and move at once
This will be a bit complicated to make the keyframe for the movement from picking one sashimi to another (because the cat picks sashimi 2 loops each loop takes 12 frames)
You have to create movement that takes 12 frames
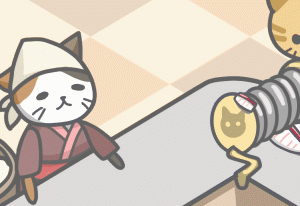
The result will be non synchronization and blinks.
To make it sync, you must make it a complete loop, try to keep movement to loop of 2,4,6,8,12 frames because it can make perfect loop within 24 frames.
here it's 12 frames, which can repeat the loop 2 times to fill all 24 frames
Duplicate the layer and move the timeline to the front
(hold the header of timeline to move freely)
You can also copy the whole bar and paste it on the keyframe after

this is all the technique to make simple loop
here is the result of the rest
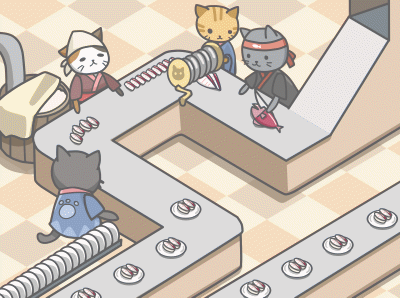
Add the movement detail to the conveyor belt
Draw the lines to make conveyor belt (1 line per 1 layer)
in every 24 frames will be one pair of sushi made, then we create the movement of shift of the belt is for 24 frames long
So, create transform and move the object at last keyframe to overlap the next line (do with all lines)
you can see that some object in the scene is not possible to move with the belt, we can fix it with applying other surface later to conceal the weird movement.
To make the belt more blend with background, move the folder of bars to above the conveyor belt color layer, then clip the layer with ‘Clip to layer Below’
You can adjust transparency for a better look
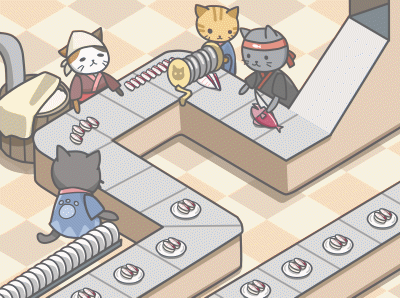
Final touch
detect some error on the movement we made and fix it or add detail if you want.
for example, i add the more lines on the process that is slower to make it more synchronize, and cutting board.
and now the job is done!!
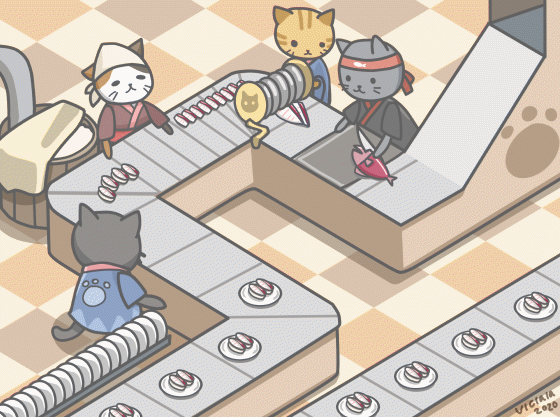
Additional note 1 : Very basic of loop animation
if you're new to loop animation, i hope this helps :)

Loop animation is fun, try with simple one helps you more understandable to more complicate one.
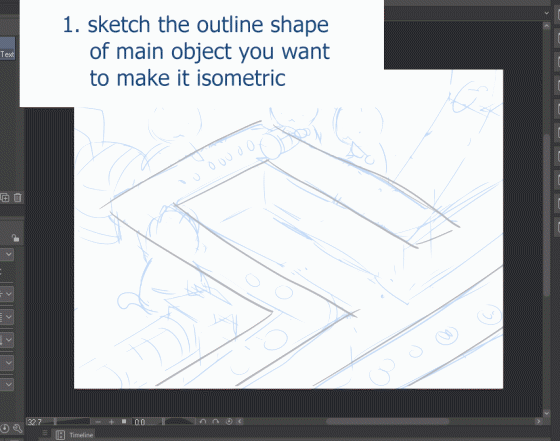
Additional note 2 : Isometric drawing guideline
I was thinking a while for drawing in isometric view without using grid. and i found a funny way to make your own isometric drawing guideline.
the summary
I hope my tutorial helps you get some idea about design and creating your own loop animation. Have a good day :)


Commentaire