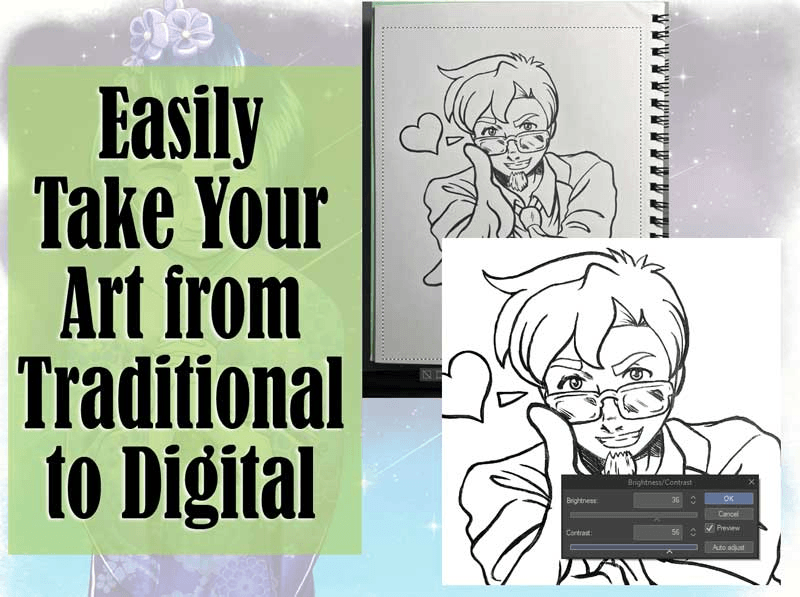
Extract Line from Traditional drawing into Digital with CSP
Today tips is i want to show you a method to extract the line from your traditional drawing into digital with Clip Studio Paint.
So lets gets started.
Preparing The Sketch
First of all, we determine what sketch we will make. You can search for references on the internet to help you with your drawing concepts.
The tools we will use are
Traditional:
- pencil
- pen (any black pen)
- Eraser
- Paper
- Camera or Scanner (I use a cellphone camera)
You can use any type of paper but I recommend plain paper, not lined paper. And use the pencil you have, which you are comfortable using it.
Digital:
-Clip Studio Paint
[Left] create the thin sketch so its easier to erase .
[middle] erase the sketch, make sure to not smudge the pencil lines.
[Right] trace with pencil or Pen, and I suggest that the line art be more clearer and cleaner so that the lines we extract will be clean.
Extracting The Line
Open your image into your Clip Studio Paint.
There is 2 method that you can use to Extract the line. And since the results are depend on your quality of drawing you can choose the best fit method for your image.
Method 1. Using Tonal Correction
Adjust the slider until you find the right value for your image. If you slide to the left your image will less bright and less contrast which we don’t want to and if you slide to the right your image will get more contrast and more bright, that what we want.
For my case i use 70 for the Brightness and 5 for the Contrast, find best value for yourself.
If your image still not clear enough then use Level Correction.
The first slider are the most Dark the middle is the mid-tones and the right one are the most bright. moving the right slider to the will get your image more contrast also more dark it will help you to get your line more readable and clear.
Last is to make your Line Art image transparent, navigate to Edit > Convert Brightness to Opacity.
If you want to create background just add New Layer below the line art layer and fill with any color you want.
Method 2. Using Monochrome
Monochrome option are available in the Layer Property section. if you don’t see it, on CSP you can navigate to Windows > Layer Property. To adjust, click button on the left side then move the threshold until you found the perfect value.
last is to separate image to only Line by Convert brightness by opacity under edit menu
Cleaning and Adjusting
For my case the anatomy is a bit off then i create new layer below the image(lineart) then pressing CTRL +B to make my drawing on that layer become blue and don’t forget to adjust the opacity.
After drawing the anatomy correction i then cleaning the line by drawing it over and use help of liquify tool, [ you can find liquify on CSP by use shortcut J or navigate to Blend tool ]
After cleaning the drawing then i rotate and zoom a bit to correct the composition.
to help you with composition you can read on Mastering Composition by me
After cleaning up you’re done, congrats.
From this forward, its just finishing the artwork. you can finish it with method you prefer but here my process.
Left Image
Add the basic color by creating new layer below the Line layer then
Middle Image
Create shadow layer with new layer on top Line art with Multiply
Right Image
Add a shading color
from this its just rendering and fixing.
And Done
Conclussion
There are 2 method to extract the line form traditional drawing :
1. Using Tonal Correction : Brightness and Contrast, Level Correction
2. Using Layer Property Monochrome.
The results will depend on how clean your drawing is, so choose method that fit perfect with your image.
If you have time kindly look to my social on instagram or twitter.
Thank you if you read till the end.
Have a nice day.


Commentaire