
INTRO (¬‿¬)
If one has already done an animation, he'll know it mainly requires Drawing Speed, Accuracy, and Diligence😓😓. Which usually requires a lot of practice or Special Techniques to attain acceptable results.
so, in this tutorial, we'll be going through some fantastic techniques to easily get smooth and detailed animation of some movements which would normally be difficult and complex to perform.
with that said we'll be performing the animations below,👇

But before we move on, here are the links to a series of brush sets that can be used for this tutorial and other purposes.
water set: https://assets.clip-studio.com/en-us/detail?id=1986288
fire set: https://assets.clip-studio.com/en-us/detail?id=1984186
lightning set: https://assets.clip-studio.com/en-us/detail?id=1987455
light set: https://assets.clip-studio.com/en-us/detail?id=1988891
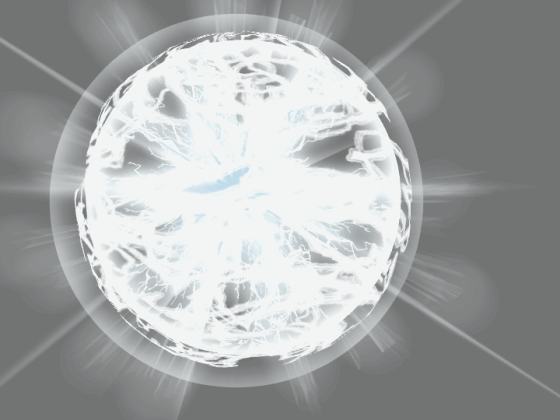
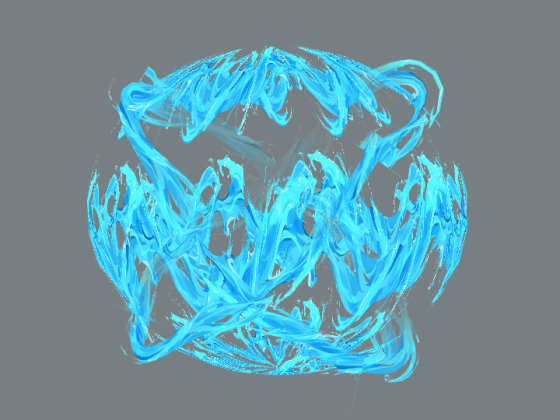
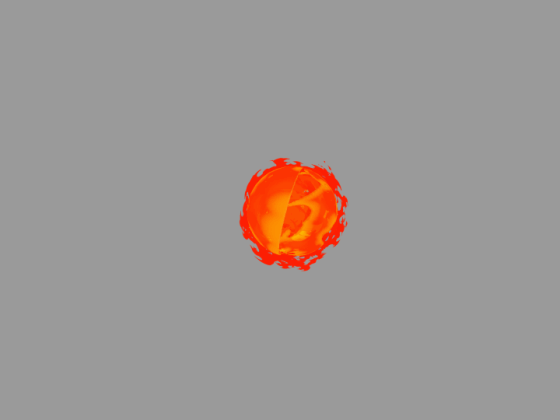
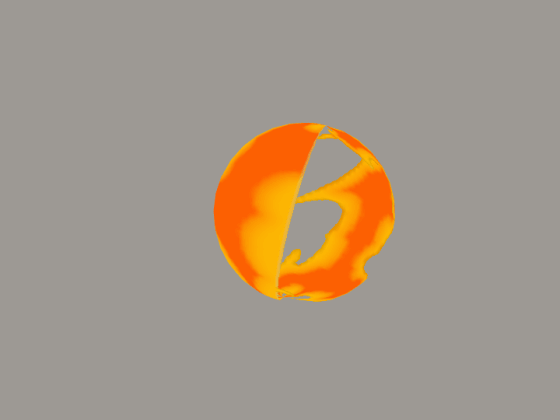
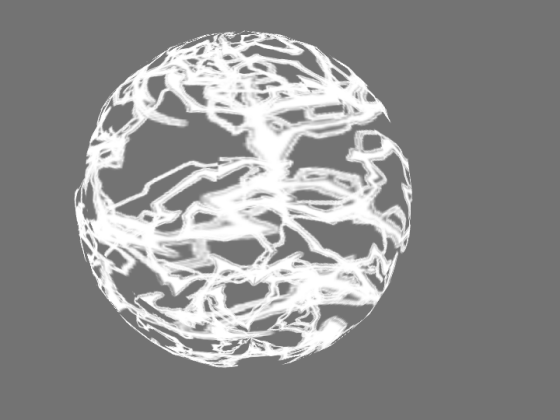
I. Animating a simple Magic ball: fire, water, lightning. ╰(*°▽°*)╯
The method I use for these can be divided into four main steps,
-Creating the texture
-Applying the texture to the 3D primitive
-Extracting the frames from the 3D primitive and
-Adding extra details on the frames
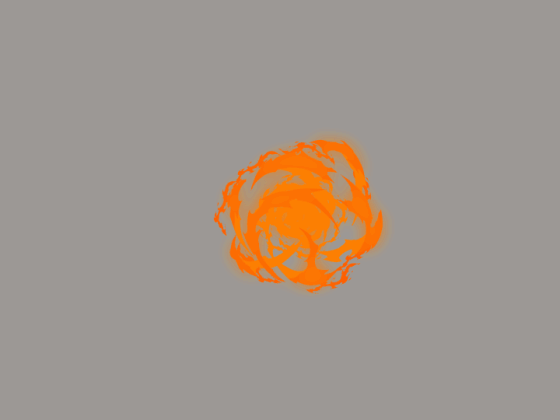
I.I: Creating the texture (^_^)
The first thing to do is to create a square canvas. Go to 'file' - 'new' - 'illustration' then select the 'square' preset. You can also use custom presets, but I recommend you keep the area equivalent to a square figure.
the next step is to use the custom brush (recommended) or any other suitable brush to draw the desired element on the canvas.
then turn off (toggle off) the visibility of any other unwanted layer if any (it's best to do so till the paper layer, to be sure everything is clear.)
Register the image material in your material catalog. go to 'edit' - 'register material' - 'image...'
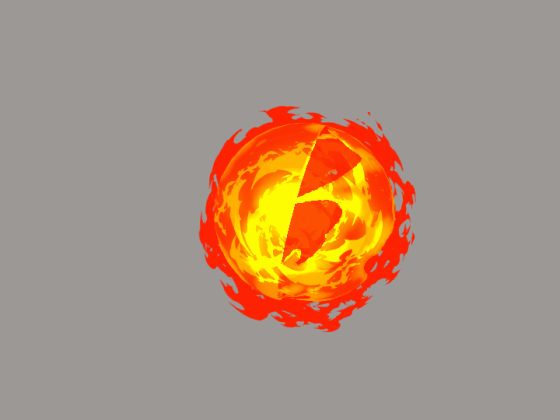
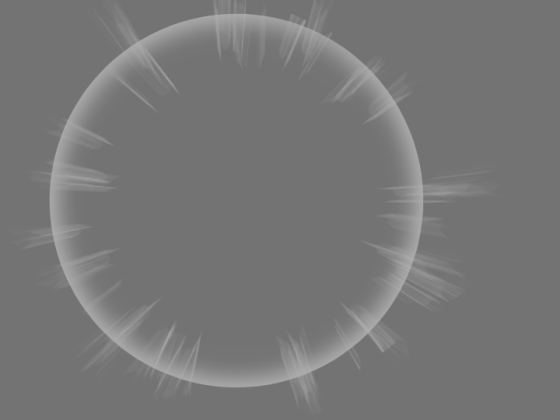
I.II: Applying the texture to the 3d primitive ( ̄o ̄) . z Z
Get the 3d primitive from the material catalog, then drag and drop it on the canvas. (*3d materials don't appear when in the animation folder so avoid putting them in one)
Then check the 'tool property'(1) window for '3d primitive texture'. (2) Click on 'material'(3), and choose the prepared texture. you can easily search using the name(4) or tag you(5) associated attached to it.
Again in the tool property window, scroll down to 'apply light source(1)' and 'cast shadows on the ground', then turn them off.
The next step is to adjust the texture over the sphere in a way suitable for you. For that, two main settings are necessary, the 'Alpha'👌(1) setting and the 'texture settings'✨.(2 & 3)
1. Alpha setting ಠ_ಠ
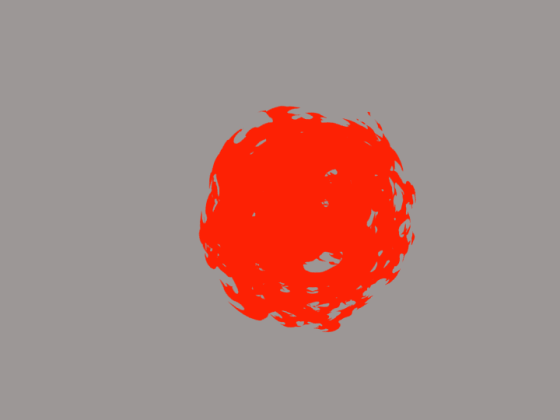
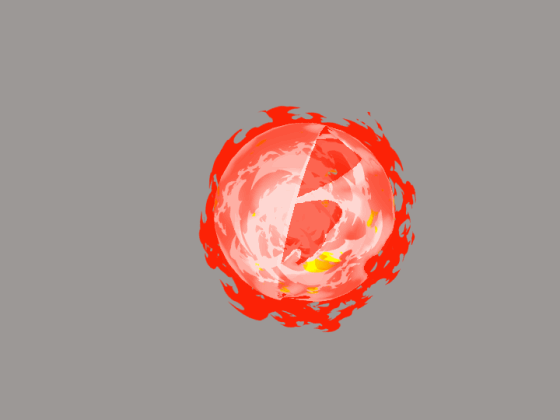
With the alpha setting we have 'opaque'(1), 'remove with threshold'(2) and 'semi-transparent'(3). These allow for a better and more varied display of the texture and uses.
For instance 'remove with threshold' looks more appropriate for fire as it expresses its vivid nature by blending the texture with the underlying sphere color,
while 'Opaque' keeps the whole sphere and its color.
and 'semi-transparent' display only the texture.
2: Texture setting ლ(╹◡╹ლ)
here, the scale ratio gives you the possibility to change how or the size of the texture seen on the primitive.
when the ''keep aspect ratio'' is checked, the different values give us something as below 👇
NOTE* all three spheres are of the same size but have different texture scales value
when unchecked, changing the values stretches the texture and simulates movement as below.👇
but this only stretches the texture (great to add 'squash & stretch') and does not actually moves it.
To move it, we need to go to the "position" of the texture, and just as its name suggests it helps us move the texture along the 3d primitive.
The movement from left to right (by increasing W) or right to left (by decreasing W) and upward (decrease H) or downward (increase H)
Some things to note about the "position" of the texture is that it ranges from "-100" to "0" and back to "100". the texture at these 3 values is the same as it has moved back to its original position.
It should be half clear how the animation processes will be since we know how to "move the image" from above.
I.III: Extracting the frames from the 3D primitive. (⌐■_■)
We already know how to move the texture👆👆👆, so... for every movement (frame)of the 3d primitive texture, duplicate the 3d primitive layer(1) and "rasterize" the duplicate. you can then insert it in the animation folder(2) to serve as a frame for the animation.
the motion below was made by increasing the "scale ratio"(W) to make it look thinner while increasing the "position" (W) to make the texture move from left to right.

another effect you can add to the animation is the feeling of an increasing ball👇, to do that just modify the "object scale" as you record the frames or after by scaling it.
-doing before means you'll also have to scale any additional effects associated with it
-while after, scales it together with the added effects.

and just like the texture scale ratio, the object scale can also be adjusted unevenly and change the sphere into elliptical figures. This will be very important when animating water ball magic
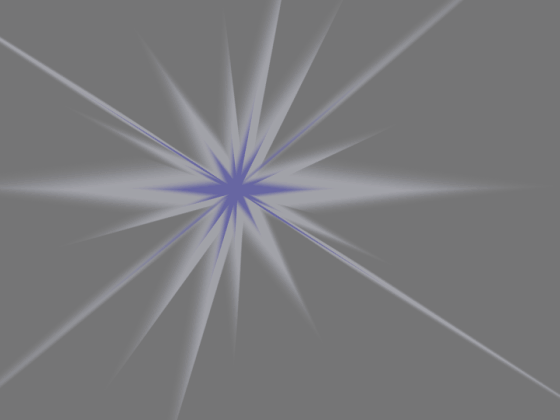
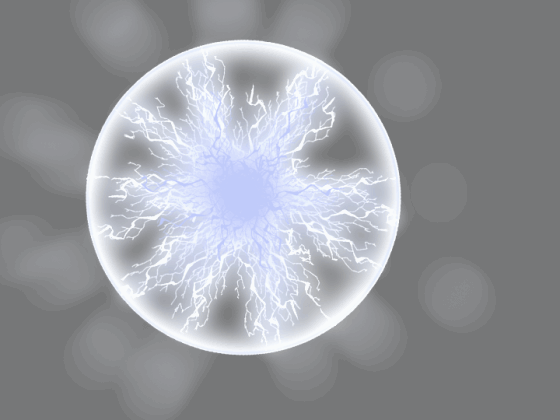
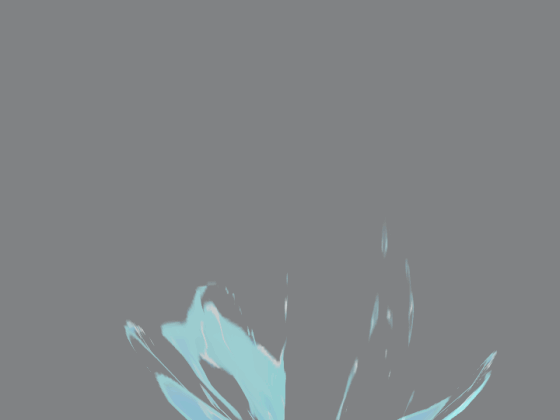
I.IV: Adding extra details on the frames. 🤞😉✌
It should be clear by now that the above is not just from the primitive texture🤔. To make the animation simple to understand, take a look at the images below👇
the first one is from our rotation earlier.
the second on the other hand should have been done by drawing the core and then rotating twice or trice repeatedly to avoid making it look stagnant. (motion repeating every 2-3 frames)
but I did mine by stacking one of the custom brushes from the set above which ultimately gives you that effect.
the third one is what i said I didn't do above i.e. rotating an image over the frames.
-To do this, draw the image and then duplicate it.
-move to the duplicate and then transform it (ctrl+T default shortcut)
-check the tool property for "rotation angle", and rotate the image.
do this for consecutive frames to get the rotation.
NOTE* if you duplicate the first image over the timeline, then the rotation would be something like 10-20-30... but if you duplicate the previous frame of the timeline, then you should use values like 10-10-10...
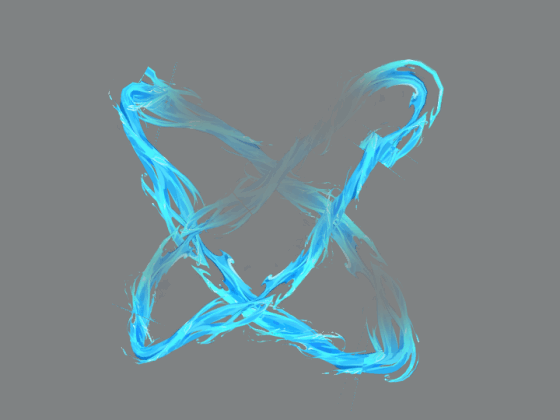
of course, the blending modes of the animation folders need to be changed appropriately at the end.
the animation above👆 is by using the blending modes soft light(1) and lighten(2) on their animation folder.
the one below👇 is by using soft light(1) and add glow(2)
and here I used hue (1) and add(2)
to emulate an increasing ball, create a new folder(1) and move to the frames you want to scale. merge them by turning off all other layers and using 'merge visible layer' to get the single-layer version o the animation(2).
then move to each frame and use transform (ctrl+T) to increase or reduce the size.
I.V: Water ball and lightning ball ✍(◔◡◔)
There isn't much difference between animating water and lightning using the method above. Just taking note of their different properties and working to emulate them with the settings above.

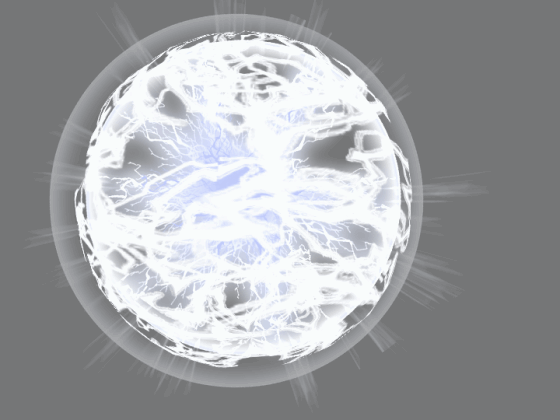

As you can see with each element combined we get a smooth and vivid animation

as mentioned previously, scaling the sphere improperly gives a whole new feeling to the animation.

Note; it becomes difficult to follow the values as more details are added to the sphere, you can overcome that by just recording the values for corresponding frames aside. (either on a third-party program or on a different layer)
II. Animating flowing water ( ͡ಠ ʖ̯ ͡ಠ)
Although it might seem challenging to animate the strip around the sphere above, it's actually just a little trick that makes use of rulers. You might want to check the link below if you know nothing about rulers.
https://tips.clip-studio.com/en-us/articles/3453
so, the first thing to do is to draw the shape/path of the water using any suitable ruler (I used the "curved ruler") on a separate layer(1👇) and right-click on "2"👇👇 to change the ruler's visibility to "show in all layers".
then, on your timeline frames and using your customized pen, draw the water around the ruler for each frame while advancing a little step on the ring. for example,
-for frame 1, start and end on point 1
-for frame 2, start and end on point 2
-for frame 3, start and end on point 3... the closer the points are the smoother the motion.
the last step is to use the "selection brush" to select the areas that normally would appear behind the sphere then soft erase it on each frame.

And voila! (〜 ̄▽ ̄)〜(〜 ̄▽ ̄)〜
この投稿を「いいね!」したユーザー


コメント