
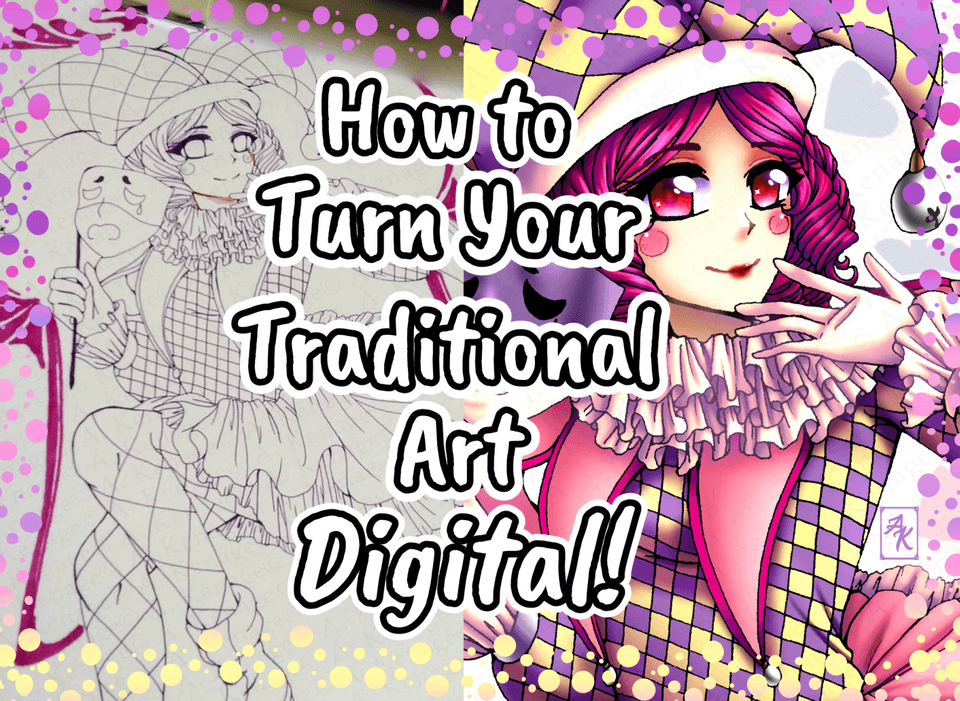
Hey hey I’m Qifwen! I want to show you how I personally utilize models for character illustration and let them speed up my artwork process. They can be a little tricky to understand how to use them best so I hope this can help!
First things first, you will need to know what model it is that you are using. You can either use one of the ones default to CSP or open the asset store and find one in there. You can find one in the asset store by searching the term pose and toggling 3D on.
Once you have a model downloaded (or are using one default to the program) open up the download bar on the side and find your newly downloaded model. Or if you are wanting to use a default CSP model go under the 3D section and find the model of your choice in there
Once you have found your model of choice drag it into your program. They will be at the default camera angle with nothing extra, which we will adjust in a moment.
Personally I have chosen to use the default model “Use Mobile Phone” for this specific tutorial. By default this model should be within your program so you won’t have to do much other then drag it in and have it automatically download.
Now there will be these tools up the top that you will play around with to adjust the camera angle. The first one will let you rotate the camera, the second lets you move the character up and down and the third lets you slide them back and forth. These are the only relevant ones for getting the correct angle for our character. Play around with this until the camera is on your character in the way you want it to.
Once you have the camera angle the way you want it open up the settings which is at the bottom of the model, signified with a wrench. Here you can adjust things like lighting, certain perspective and character body sliders.
What is circled will be the main relevant ones, but feel free to play around with any other toggles if they interest you. Personally I like to turn on manga perspective and thicker outlines.
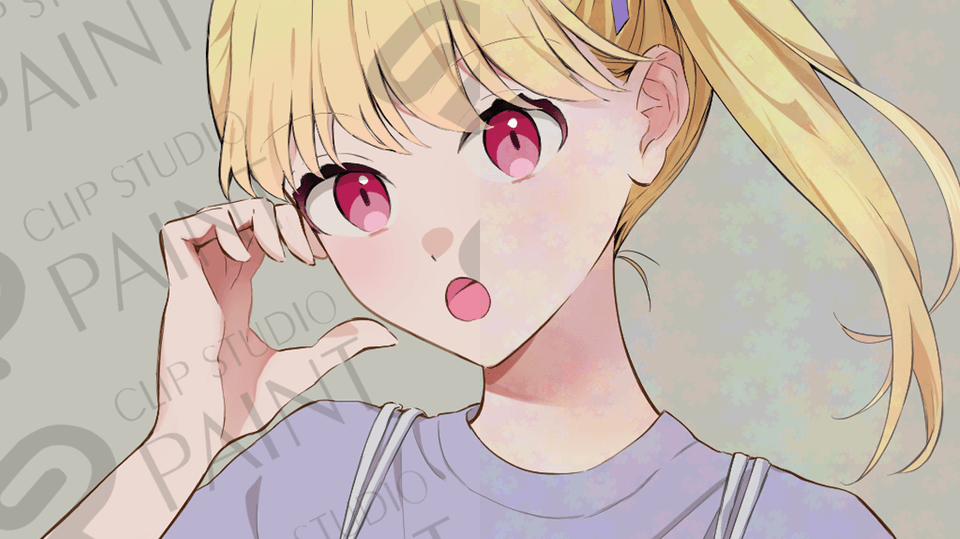
Now having my model ready, I traced and sketched with a couple of different angles, just allowing myself to get a proper feel for the pose. Once I was satisfied with my sketches I very quickly traced the form of the 3D model and started to use that as the basis for my sketch. These 3D models are to be used like this and are made to make art faster so don’t feel weird or guilty about tracing them :D
After my sketch was ready I dragged the models to the side to just use as a reference. From there I went and stylistically made some adjustments so it didn’t look like I had straight traced a 3D model and being able to keep my own stylistic choices.
From there I just followed my regular art process which can be viewed within the YouTube Video attached!
この投稿を「いいね!」したユーザー


コメント