Create 2 different scenes of the same pose with 3D models
This time I will teach you how to use 3d models to create 2 different scenes from the same pose which can help you create your own concept art quickly and easily.
Preparing our workspace
First we will create a document with the measures we need, in my case I will create a canvas of 2480 x 3508 and then I will look within the materials that I have downloaded a 3d model that adapts to the idea I have in mind
To find the materials faster I will click on the 3D character label, in this way I will only show the elements that match what I am looking for.
Another thing to keep in mind is that it is much easier to manipulate 3D models using a mouse than with a tablet, at least for me.
Adjusting parameters of our model
Having selected a model to our liking the first thing we will do is look inside the predefined poses of clip studio some pose the most similar to the one we are looking to start modifying it in this case I will use this
Learning how 3D manipulators work
Then comes the part "fun" or that takes more time and that is to start moving each of the body parts of our 3d model and we will realize that by selecting some part of the body of our 3d model we see a circle with 3 lines in colors green, red and blue and that will serve to give movement and create the pose we seek
As we can see, the Green line will help us move from top to bottom.
The red line to move from right to left and the blue line to zoom in or out although the latter is somewhat complex to use but we will not use it much either.
Understanding this we will begin to move our model a little to practice and find the pose we are looking for.
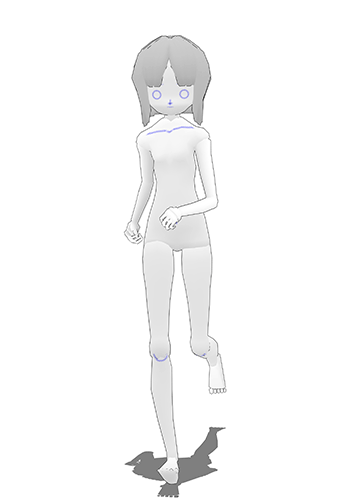
At this point I need to rotate the whole body and to do so I will open the sub-tool window and move the complete rotation of "X" to a level that matches what I am looking for in this case I will give a value of 9
With this we will easily move our entire model because otherwise only turning the camera will not make the pose in a dynamic way, although this tool is in sight most of the time we do not use it although it is very useful to make the changes of poses so do not forget to try it.

Moving beyond the physical limits
To accommodate the right arm on this occasion I will use another hidden tool that brings the latest 3D models and this appears when we double click on any part of our model to find ourselves with a much larger manipulator and with thinner lines than the one we commonly use.
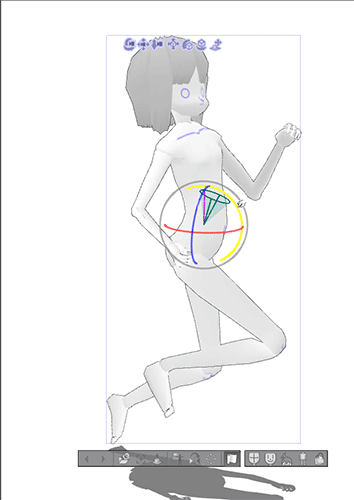
The 2 differences that this manipulator has with the other is the first that only moves the hands, feet, torso and head, although it may seem little is very useful especially when we are working with several 3d models and later you can check it. difference is that these manipulators allow us to rotate beyond the physical limits that have the normal 3d models with what we can create much more spectacular and unusual poses.
Giving expression to hands
To give another pose with more expression to the hands, I will use one of the poses that clip studio has by default, although we can also create the pose from the sub tool window.
Final finishes to our pose
It is almost ready now we will just finish fixing the pose using both the manipulators of the body, both basic and advanced and we will modify the complete rotation of "X" in the sub-tool window until we find the desired result.
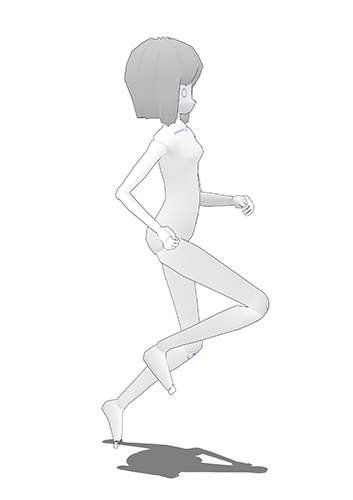
And in the end this is the result, something very similar to the sketch that I had in mind although with the anatomical errors corrected, I usually use this technique to fix those failures that I have with the positions of the hands or legs or when I do not feel sure if it is well drawn anatomically.
Drawing on our pose
Oh come the time to draw and give life to the idea we had in mind. Even when we help the model we can always improve small details when making the sketches of our illustrations.
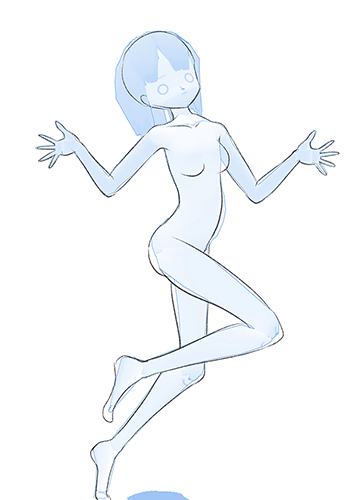
Although each one has his own way of doing this process, I prefer first to do the whole base of the character and to go putting clothes and other accessories.
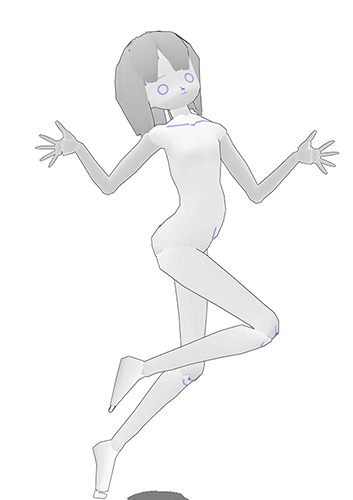
So finally is the sketch of our illustration.
Recycle pose in another scene
Converting the pose that we just created in another scene is easier than we can imagine and we will only need to open the Sub-tool window again and move the "X" full rotation modifier but this time we will modify it by turning to numbers negative, in this way we will make our model lie down on the floor in a simple way.
Next we will move the camera angle and we will modify it using the Advanced modifiers since it is easier to manipulate the 3D model in this type of poses. In this case, just modify the modifiers of the torso and the hands a little.
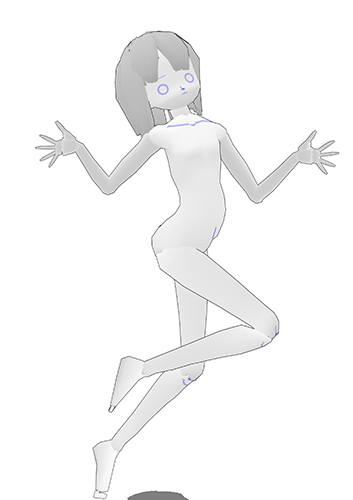
Does not it look like another pose?


Comment