
Hi, I'm Cherry.
This time I will teach you how to make a retrowave landscape with all the basic elements that make it have a vaporwave aesthetic.
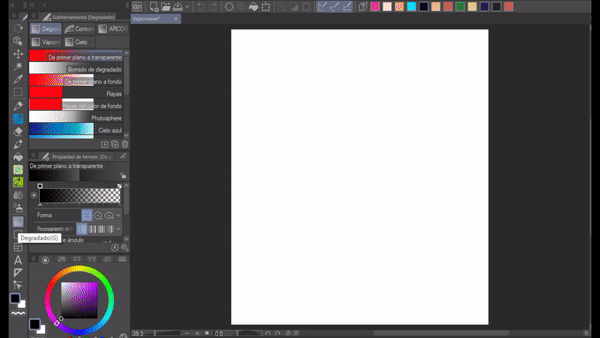
Colors
The representative colors of this aesthetic style are between blue, purple and pink. They are usually vibrant colors, so I recommend you consider a color palette that includes these same ones.
Prepare your canvas with a similar gradient like the example here.
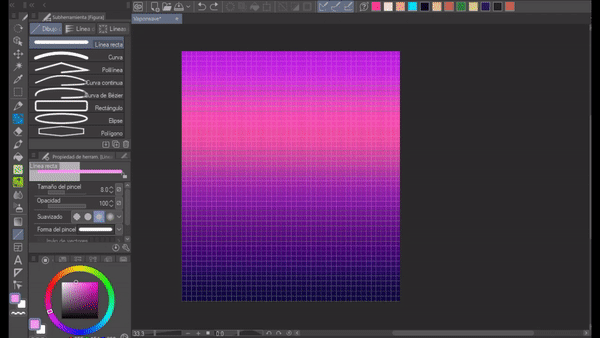
Background (Grid)
This type of landscape has a characteristic background of squares. I will explain you step by step how to do it.
First you need to adjust and make the grid visible. To adjust it, do the following:
View -> Ruler / Grid Settings -> OK
This is my configuration:
Then make the grid visible. Do the following:
View -> Grid
The grid will appear immediately and you can make straight lines with the same separation from each other.
To make the lines use the "straight line" tool. I recommend a size of 5 to 7 points and a separation between lines of 0.5 cm. The color can be your choice.
When your grid is ready, make a scale selection and use perspective, as I show you here:
Scale / Rotate -> Perspective -> OK
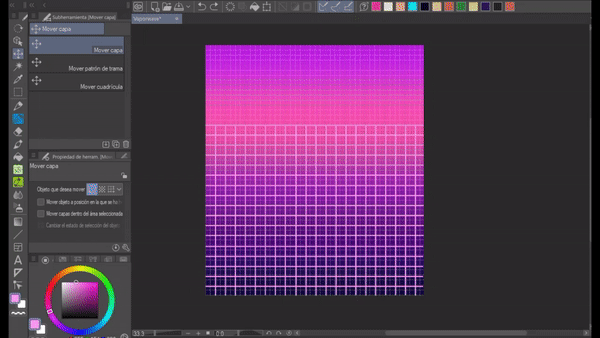
By now, you can turn off the grid view. To do this, perform the same action as to make it visible: View -> Grid
Finally, you have to give it a bright touch, to make a neon effect, do the following:
Make a copy of the canvas where your grid is located (already in perspective).
Filter -> Blur -> Gaussian Blur (at least 40 points).
On the canvas of the unfocused grid select the combination mode "Add brightness"
Through the opacity of the canvas, you choose how bright you want the effect to be.
This is one of the ways you can create a grid for your background. Play with the width of the lines, the separation and the perspective as much as you want or you can follow the parameters that I recommended.
Sun retrowave
From here, I recommend you download this set of gradients. They will be very useful later:
To make the sun, you can download it directly from some set of picture material or you can do it yourself.
Here you can download a default one:
However, I will also teach you how to make your own:
1.- Make a circle and fill it in, the color does not matter.
2.-Make the grid visible again
3.-With the selection tool, select different parts of the circle, preferably thin to thick lines.
When you already have your sun, it would be convenient for you to apply a gradient and for this, I recommend one of the gradients that I mentioned earlier, but if you prefer, you can apply the gradient that you like, with the colors that suit you best.
To give the sun a neon effect, it's basically the same procedure that was used for the grid.
Make a copy of the canvas where your sun is located and place it on the original canvas, then do the following:
Filter -> Blur -> Gaussian Blur
I recommend a blur of at least 70 points.
To apply the glitter, select the blend mode "Add glitter" and be sure to move the canvas slightly to make it more noticeable. Don't worry, here are a couple of examples:
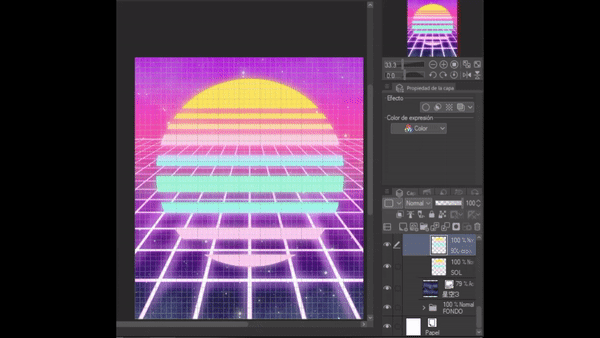
At this point, the grid (tool) is no longer needed, so you can remove it, if you wish, so it won't get in the way of your view.
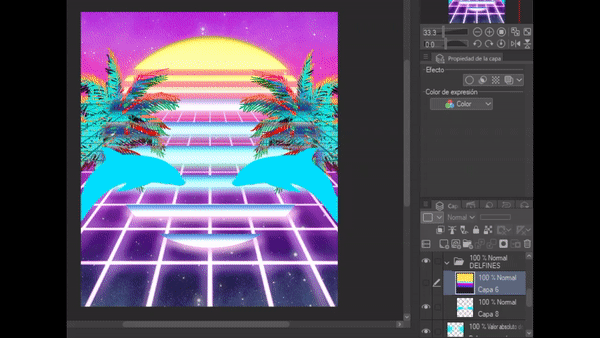
Palm trees and dolphins
Palm trees and dolphins are also very distinctive!
Doing this is very simple, you can create your own illustrations of palm trees or use a brush that you can download in Clip Studio Assets.
As I want to make this or as simple as possible, I will leave you a link where you can download the model of palm trees that I used here.
Okay, first put two canvases on top. In the first one, paint (with the palm tree brush) a couple of blue palm trees and in the second, a couple of pink palm trees.
To obtain this combination effect, apply the combination mode “Absolute value of the difference” to both canvases.
Dolphins are very easy to do, just open a new canvas and (once again) place it on top of everything, then draw a silhouette of a dolphin and paint it any color.
Then just copy and paste that canvas to get a second dolphin.
Next, create a new canvas over the dolphins and adjust it to the bottom layer, then choose the gradient that you like the most.
Finally put both layers in a folder and to this folder add a border effect (of at least 7 points), so that the dolphins are defined by it and do not get lost with the background.
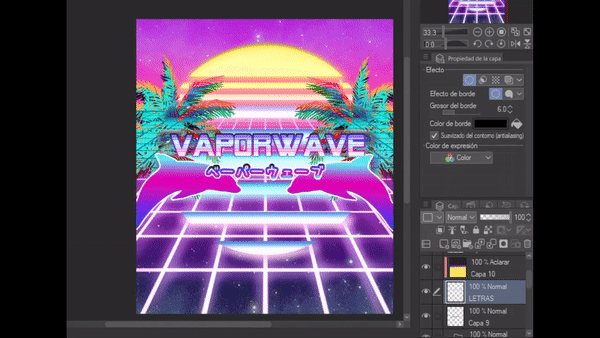
Retro lettering
We're almost done! I promise.
Letters are not my strong suit, so before continuing, I recommend you look for the Clip Studio tips that focused on creating lettering. I'm sure they will be very helpful.
That said, the letters give a lot of personality to the retro style, in fact this style has a predilection for certain fonts that evoke the 80's.
The font I'm using this time is called "SF Alien Encounters" and I think it fits very well. However, you can choose the font that you like the most.
---I wrote the word "Vaporwave" and then gave it a 6 point border effect.
On top of that layer, I placed a new raster layer and adjusted it to the lower layer, then I applied a gradient with the “Lighten” blend mode.
For the other letters I did the same steps.
Here you can see the process:
Frame (optional)
To finish, I added a frame. Again, it is not very complicated.
I overlaid a new raster layer on top of all the others. To add the frame do the following:
Tool "Figure" -> Rectangle.
The color I chose was between yellow and orange. Then I put this same layer in the blending mode "Exclusion".
You can also make a balance of color and luminosity to improve the quality.
This is the final result:
Done! That was all, it's not very difficult, is it?
You can also add more elements, such as some devices that were used at that time. Greco-Latin busts are also widely used in this aesthetic.
I hope you have learned a few things from this tutorial, that would make me very happy. Please feel free to comment.
See you next time. I wish you a lot of success.
- - - - -Links where you can find my work:
-https: //linktr.ee/SadCherry
Users who liked this post


Comment