
Hello, I am Cherry and this time I am going to show you my technique to paint water and some bubbles, especially if you are a beginner.
I think that water, reflective objects (such as glass or diamonds) and mirrors are very complicated to illustrate, because behind them they carry a complex system of light, shadow and color study, but they can also be simplified. In this case, we will understand water from a simpler way.
Water.
To paint the water choose 3 colors, a dark color, an intermediate color (base) and a light color. These three colors can be a triad of complementary or analogous colors. They should not necessarily be blue because they are water.
To make the waves with the intermediate color paint over wavy oval shapes (as shown in the gif) and fill in the spaces where these shapes meet, finally do the same with the lighter color.
Layers are arranged in different layers like this:
1.-Lower layer: the intermediate color will be the base of the color of the water.
2.-Middle layer: the dark color will be the color of the low waves.
3.-Upper layer: the light color will be the light of the waves of the water
It is also important to mention that to enhance the depth of the water you can add a gradient on top of the base color layer.
If you want to make the surface layer of the water brighter (which I recommend), copy and paste the lighter color layer.
Do the following on this same layer:
Filter → Blur → Gaussian Blur (use whatever amount you see fit)
You can put this blur layer in blend mode “Add (glow)” if you wish.
I recommend it depending on the amount of light in the scene you are illustrating and how brightly you want the water to glow.
To add some drops and bubbles on top of the water, do the following on a new layer:
In the toolbar select the airbrush tool → With the “Scratch tone” brush and/or the “Droplets” brush, paint following the lines of the light color.
The "foam" or white waves appear on the edges where the water has contact with an object, this is due to the collision of the water with it. This commonly occurs in the sea, where the flow of water is constant. Therefore, if your illustration has objects, people or it is about the seashore, it would be correct that you border these with foam.
You can make this foam with the same brush or airbrush that you used to make the drops.
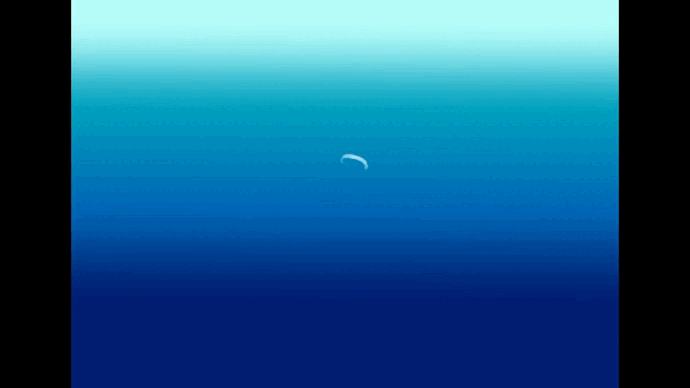
Bubbles under water.
To paint bubbles you only have to be clear about the points of light and shadow in your illustration.
1.- First paint a wavy bubble (not circular) with a hard brush with a light color (almost white) in the direction of the light. I recommend using the “Dense Watercolor” or “Oil Paint” brush.
2.- On the inner edge of the bubble paint with a very dark blue color and blur the color inwards.
3.-Repeat this action with other bubbles around, however, the smaller bubbles are almost entirely light color.
4.-Underwater, the bubbles that are farthest from our sight are blurred and for optical reasons only light is reflected in them. If you want to create this effect copy and paste the layer where you painted bubbles and move it up. This layer should be in the "add glow" blending mode.
This way you will have a convincing view of bubbles underwater.
Ready! What did you think? I'm sure that after following these steps, painting water doesn't seem so complicated anymore, right?
I hope I helped you with my tutorial.
I wish you much success!
-
-
-
Links where you can find my work:
Users who liked this post


Comment