
Hi! Hello everyone~
In CLIP STUDIO PAINT Ver.1.11.0, the watercolor brushes have been updated
You don’t have to worry about adjusting the brush just to paint watercolor flowers.
The texture of the built-in brushes has almost reached the traditional watercolor brush strokes
very useful
This time I use the watercolor brushes added in the official update
You can go to Assets to download and append to CLIP STUDIO PAINT to use
This Wet wash is used throughout the teaching process.
The downloaded brush can also be adjusted according to personal preference
I prefer to draw in normal mixed mode
If you like multiply, you can also use the original settings to draw
If you want to combine the two to make changes, you can also have different textures and flavors.
Can be changed according to personal preference
But this kind of brush of CSP is similar to PS
All belong to the more efficient use
For those with insufficient computer performance, it is recommended to set the brush size smaller
Or reduce some values to increase the speed of brush calculations
After choosing the pen
The next step is to start drafting
This time the teaching draws a happy frog enjoying the rainy day
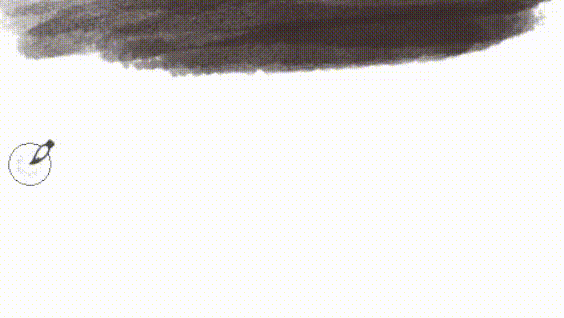
In order to make the lines obvious
You can turn off the pressure sensitivity of transparency to draw dry brush watercolor strokes
CSP is very convenient for me
Especially it can quickly fine-tune this to the desired effect
Great help for drawing efficiency

First draw the prototype of the little frog
The lines after turning off the transparency look a bit like a slightly dry watercolor brush
Draw the situational scene after having the subject
It's a little frog standing in the open space soaking in the rain
Draft to completion of the composition stage
You can start thinking about light and shade
Set the desired light and dark positions in the early stage
Coloring later will reduce the trouble of some modifications
At the color selection stage, I prefer thicker colors
Plus the rainy day has a gloomy atmosphere
Therefore, in the selection of colors, colors with high chroma and low brightness will be used.
The color can also be adjusted at any time in various drawing stages
See what kind of atmosphere you want
Then slowly add details
The advantage of this pen is that you can directly paint texture
You can quickly strengthen the place you want to emphasize
The time-lapse video below shows the process of adding rain drops and water lines

The little rain slowly draws little by little

Also draw some raindrops on the frog
Small details can add a sense of liveliness to the picture
After slowly thinning, the rainy frog is finished
When everything is drawn
Finally, you can add texture to the picture
Can appear more watercolor paper touch
The material used here is still Assets
The picture is set to 55% transparency
You can also adjust it the way you like

This is the process and explanation of how I painted the rainy frog in watercolor
Insist on painting to the end with one brush
Because the versatility of this brush is enough
If you make good use of the subtle changes in pressure, you will be able to play more tricks
If you are interested in how I draw details
You can watch the time-lapse photography process after polishing
Thanks for seeing the end
Hope you enjoy this teaching
Blessings~
Users who liked this post


Comment