
Video Tutorial
For less reading and more listening and visual representation. Please see the video tutorial. :)
Intro
Today's tutorial, I'll be teaching about the benefits of ClipStudio Layering features.
There's a lot of in Clip Studio Paint features but I'll be focusing more on the benefits of Layer Masking, as well as of the two of my favorite features which is the Clip to Layer Below and Transparent Lock.
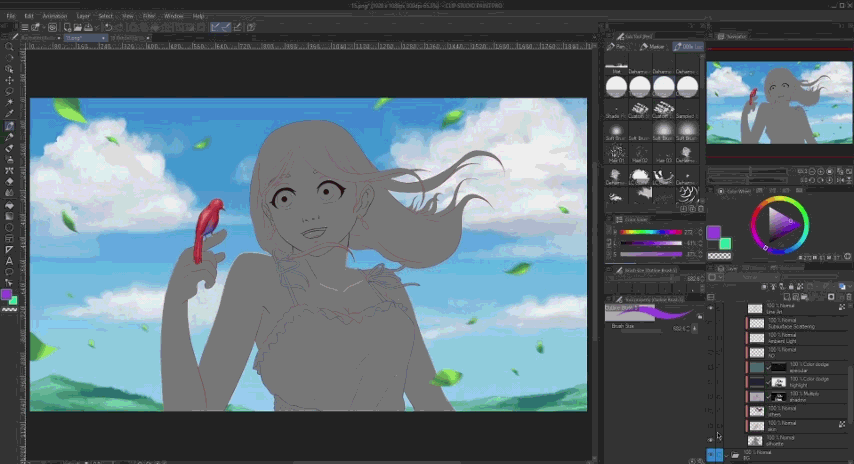
Basic Functions of Layers
I'm also gonna explain more about the layers since we've been teaching beginners and some beginners having a little hard time understanding layers right away.
So I'll try to explaining it into traditional method will make it easier to understand fpr everybody.
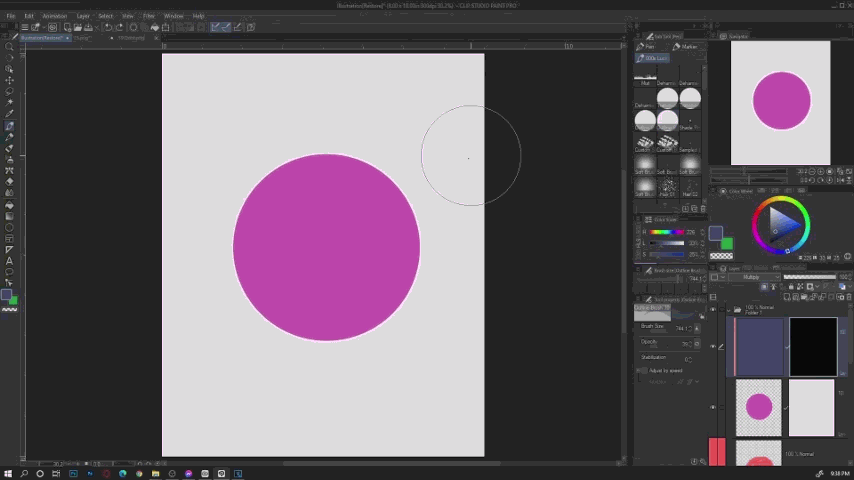
Basically, One layer is equal to a single sheet of transparent paper and we start with a white sheet of paper.
Adding Layers on top of it is like adding transparent sheet stacking to each other.
Once you paint anything on every transparent sheet, it will cover anything underneath it.
So that's why it is preferable if you put the line art to the top so no one will be covering it.
You can also switch the positions of layers by dragging it down or above the other layers.
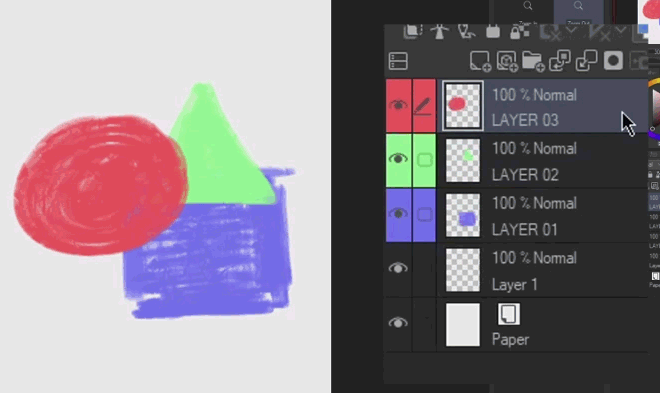
You're also capable of hiding the layers when you click the "eye" Icon within the box. and unhide it if you click again.
Right now, you'll be seeing white backgroud because of the white canvas in the beginning. By hiding it, you'll will be able to see the representation of the transparent which is the gray white checkered.
You can rename the layers by double clicking the current name of the layer.
The special thing about digital art is the advantage of the layering feature where you don't have to worry about the finished area while working on the other one.
Useful Blending Modes
There are tons for blending modes but I can only tell you about the five of them since they are the most used modes while the rest of them is just a little similar to each other than can be experiment by you.
• Multiply
Is similar to Color Acetates. White is equal to transparent. The more Multiply Layer with different colors being piled up, the more it turns to black.
This is similar thing we use on printing. The Cyan, Magenta and Yellow Inks.
Also a Great use on making Flat Shadows.
• Color Dodge
Similar to RGB Lights. The more you stack a Color Dodge colors, the more likely it will turn to white.
This is how Colored LED Lights works and definitely can be useful for lighting to your drawing.
• Color and Overlay
2 blending modes are commonly use for grayscale but each has little difference.
Overlay only affects the tonal value while Color will also affect the saturation.
Overlay Color on top of 50% gray will remain the same color as you've picked while Color is a little bit lighter and vibrant.
The colors of both modes can turn lighter when applied on lighter gray and darker when applied on darker areas.
• Screen
Opposite of multiply. It's a great use when adding effects to the characters or painting on a darker environment. It will turn the black into transparent.
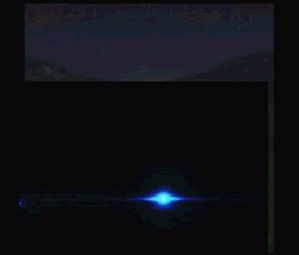
Instead of using PNG, this can be a good replacement especially in flares or floating embers.
Transparent Lock and Clipping to Layers
Before we proceed to Layer Masking, let's check out some other type of sorta Masking first.
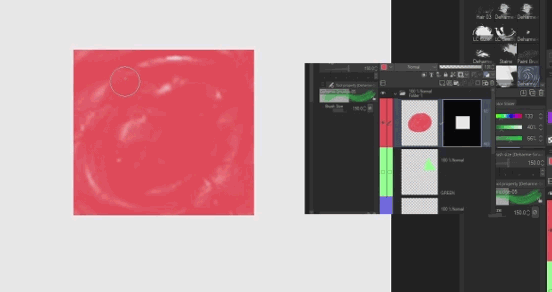
• Transparent Lock
When Layer is being set to Transparent Lock, you'll gonna see the icon on the layer.
by then, you cannot paint anything outside of the existing paint when using that layer.
A perfect features whenever you want to change the color of your Line Art
This is also great when painting started with a silhouette.
Remember to be aware of the sillhouette of your subject. It is important when the subject being converted into silhouette, it should be at least readable to the eye of the audience.
This helps the subconscious brain to see what's really going on in the image even on a quick glimpse.
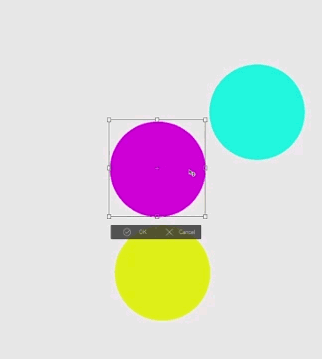
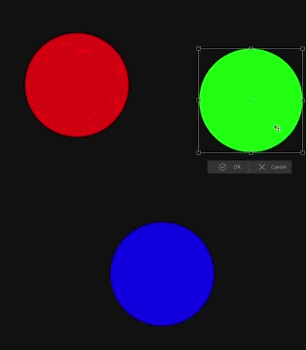
• Clip to Layer Below (Ctrl + Alt + G)
Similar to Transparent Lock function but this time, you'll be using the other Layer to paint, leaving the Below Layer unaffected.
You can still paint outside the paint, but being excluded visually and uses the Clipped Layer as the basis.
The advantage of this is you can stack an infinite amount of clipping layers into one layer.
And you can also Clip the Layer to the Folder, which means, your working canvas is whatever shape inside that Folder.
This is also the great time to use the Different types Blending modes when rendering.
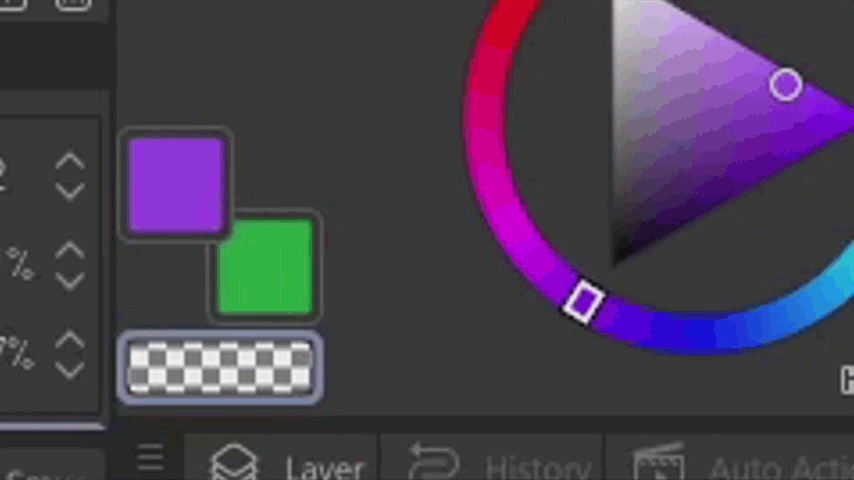
The Power of Masking!
Some might be intimidated to use this and never bother to experiment.
But once you understand it, there's a lot of thing you can do with it especially when we want to avoid some image untouched when excluding some portion to show.
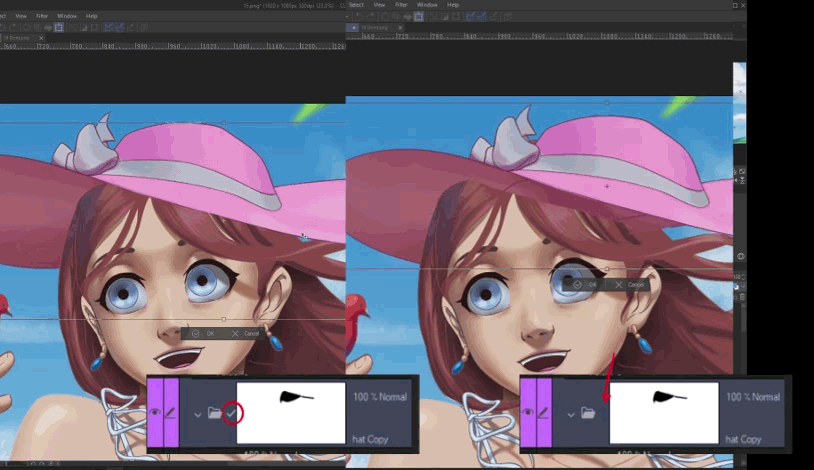
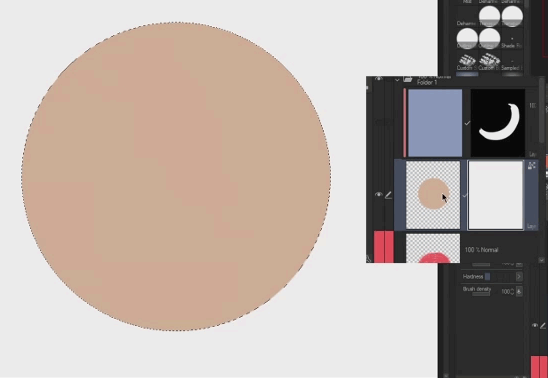
Layer Mask is a secondary layer where you can crop out some portion to hide it but still remains whatever paint within the layer.
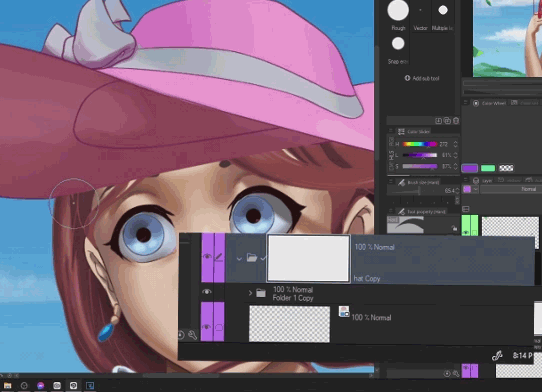
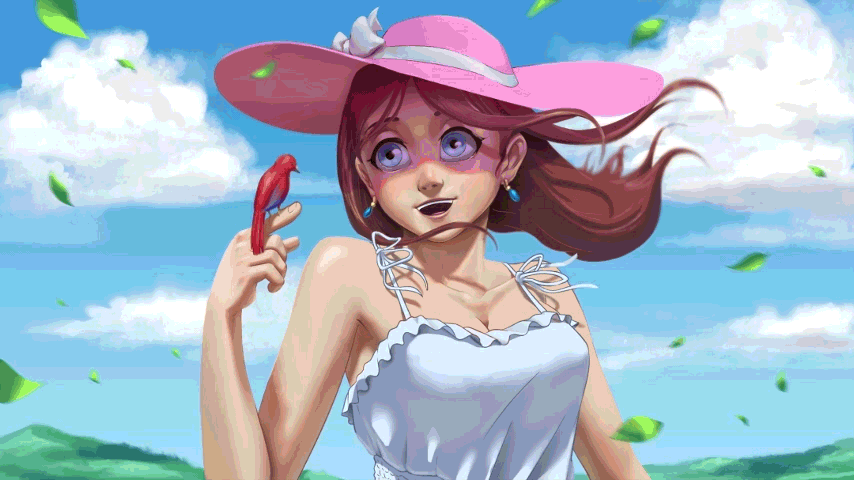
The good example is whenever you want to add an object to your subject like a hat and you want to keep the hat separated from other layers.
You needed to hide some portion to make it look like being wore by the person and by erasing those portion it wasted the effort on doing that hat.
So adding a Layer Mask can help you crop those portion and keeping the original layer unaffected whenever you want to reuse it.
By doing that, use eraser to hide those portion of the layer.
You can also use a selection tools such as Lasso to select the unwanted area then hit delete.

You can use this on any form of layer and masking within a mask is possible from folder to layer.
When applying Masking to Layers, make sure you've selected the Masking Layer and not the Drawing Layer. Same as on the Folder.
You can see a thin border around the thumbnail when you've selected the layer.
To show the hidden portion again, you can simply use Brush or Pen on a Layer Masking.
Now with that in mind, you can benefit from the texture of those brushes, or whatever you're using, to add effect on it.
To make use of those texture on erasing, use the transparent color using the pen or brush.
Instead of switching from pen to eraser, use the C key on your keyboard to switch to color transparent and vice versa.
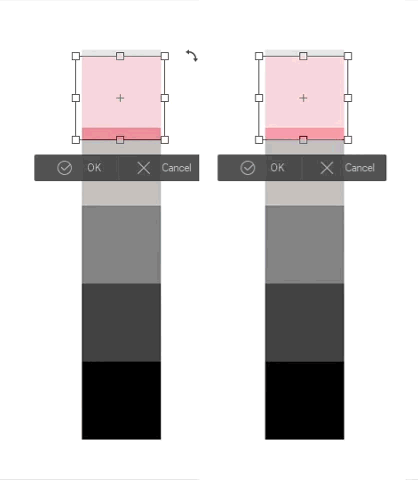
• Moving and Edit within the Mask
Now, whenever you found the hat is off centered, you can uncheck the check mark between the Layer and the Mask.
Because the check mark means, the main Layer and the Layer mask are linked to each other, which means, if you move one them, the other will come along.
• Shadow Masking
You can use this for adding the shadow as well.
Hitting "Alt+Delete" will fillout the entire canvas with the color you've selected with your Pen and Brush, then change the layer to multiply.
Then use Clip to Layer Below to make a basis on the subject.
Then use Transparent Color or Eraser to add highlight.
You can also do the opposite!
Instead of adding light, you'll gonna reveal the shadow.
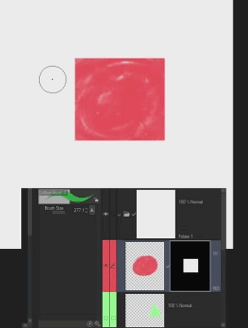
During the moment you've added the Layer Mask, you've added a white mask.
Turning it to black will hide everything in the Layer.
To do that, you have to choose the Transparent Color, then hit Alt+Delete.
And using the Pen or Brush will reveal the Shadow.
The Color black in Layer Masking means hide the portion of the layer, and white area means revealing what's in the layer.
and gray should be an Opaque Mask depending on how gray it would be.
Gray can only be possible when you tweak the Opacity or Density of your Pen and Brush.
Now you can use your pen with the normal color to add shadow on the areas. No matter what color you choose, it always applies Black on Masking.
You can also use blur and blending to the Layer Mask.
So basically, you can use any type of tool on Layer Mask same as the Normal Layer but only displays Black and White.
• Selection on Mask and adding Subsurface
Adding a Layer Mask means adding a completely different Layer.
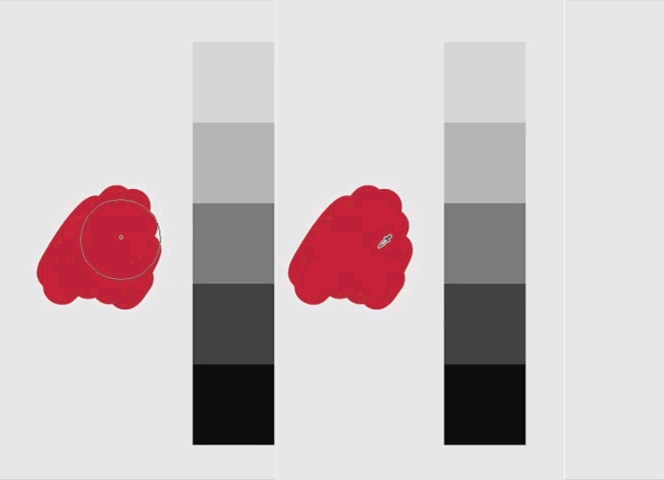
If you Ctrl+Click to the Layer Thumbnail, it creates a selection to the entire Paint of the Layer.
and you can also do that on Layer Mask. It will be Selecting the Entire Mask you've created.
With that in mind, you can select the shadow mask.
Using the selection from that Mask, you can create New Raster Layer and slowly Paint the Subsurface Scattering to the edge using the soft brush.
Make sure to use the right Color for the subsurface.
• Merge Masking and Normal Layer
Too many Layers with a mask on it takes Processing Power to your computer so more likely, it may slowdown your application.
That's also why there's a function where you can Apply the Mask to the Layer so that it will get rid of the Mask and merge it to the Layer
BONUS: Explaining Subsurface Scattering Logic
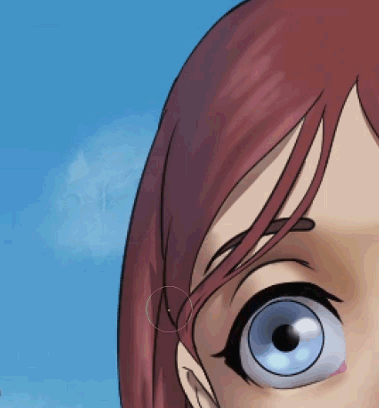
The Logic behind the subsurface scattering is, it only shows mostly at the edge of the shadows.
That's the place where the scattering underneath the skin will be strongly visible since the tonal contrast between the light and the shadow suddenly change.
and the scattering light under the skin glows a little...
because the skin is a little translucent.
and the other areas of scattering are subtle.
Ending Thoughts
There's a lot of things you can do on Layer Mask.
In fact, it's a feature that can be use on different application including Video Editing and Visual Effects.
I do believe that there'll be no too advance when things are being explained properly.
And I hope I was able to do that.
Thank you for listening!
Users who liked this post


Comment