Draw and Animate a Flower! 🌸 Animation in Clip Studio PAINT!
Hello! In this article I will teach you how to animate a Flower in Clip Studio PAINT!
We will make a simple Animation of a Flower in the wind. Without first understanding how to draw it.
flower design
For this Animation I am going to use a beautiful flower called Lily and the design is as follows:
The center lines of the flower petals are very important, they are the key to animate our flower :)
Once we have understood the design of the Lily Flower we can start making our Animation.
This is the Animation that we will make:
I am going to make 2 Animations, one for Clip Studio PAINT PRO users and one for Clip Studio PAINT EX users.
So we can all make this Animation!
Clip Studio PAINT PRO Version

Clip Studio PAINT EX Version
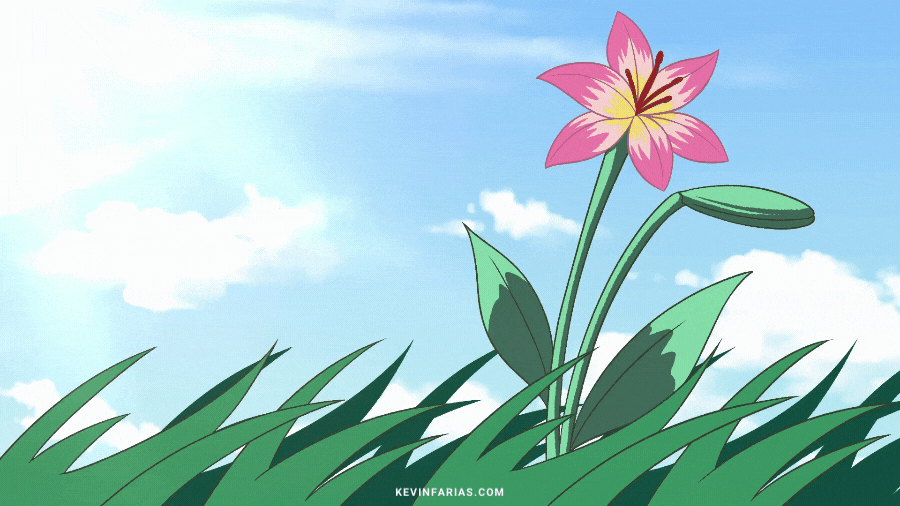
If you are excited about the idea, I invite you to see my super tutorial called:
How to animate a flower in Clip Studio PAINT (TUTORIAL)
Remember to activate the subtitles in your language, you will surely find it :)
What do you think about the video? We learned in a simple way how to animate a beautiful flower in the wind.
Step by step of the process
Now, I want us to review what we learned:
1. Creation of the Project
We go to File - New and create an Animation project with the following characteristics:
2. Timeline
We go to the Window - Timeline menu, we make this important panel visible.
3. Subvista
This panel is next to the Viewer, once activated we click on the folder called Import.
And we look for the file of the design of the Flower, which will be a Lily.
We now have the reference that we made earlier visible so we can animate.
4. Pencil Tool
We draw the sketch with the pencil tool, in my case, I really like a brush that I downloaded from Clip Studio PAINT Assets and that I share with you, it's free:
5. First Key Animation Drawing
We choose frame 1 of the timeline and we make the first key drawing taking as a guide our design that we made earlier that we can see in the Subview panel.
And for the moment we edit the duration of the animation folder up to 7 frames and leave the duration of the animation at the same frame.
Now to make this a cycle animation we're going to select frame 7 and select Specify Cels.
And we select the only drawing we have at the moment, frame 1.
6. Second Key Animation Drawing
We select frame 5 and add a New Animation cel.
We change the name on the left, we put the same name as the location of the frame.
And we activate the tool: Enable Onion Paper.
And we begin to draw the second key drawing.
We are going to make a smooth movement, since this flower is delicate.
7. Animation Breakdown
We go to Frame 3 and create a new Animation cel, we change the name to 3 to continue working in order.
Don't forget to turn on the Enable Onion Skinning tool so you can see both the before drawing and the after drawing.
And the drawing will be like this:
8. Intermediate Drawings or In-betweens
Now we are going to add new drawings to the remaining frames, this will help to smooth the movement of the flower.
First we do it in Frame 2.
Then on frame 4.
And finally in frame 6.
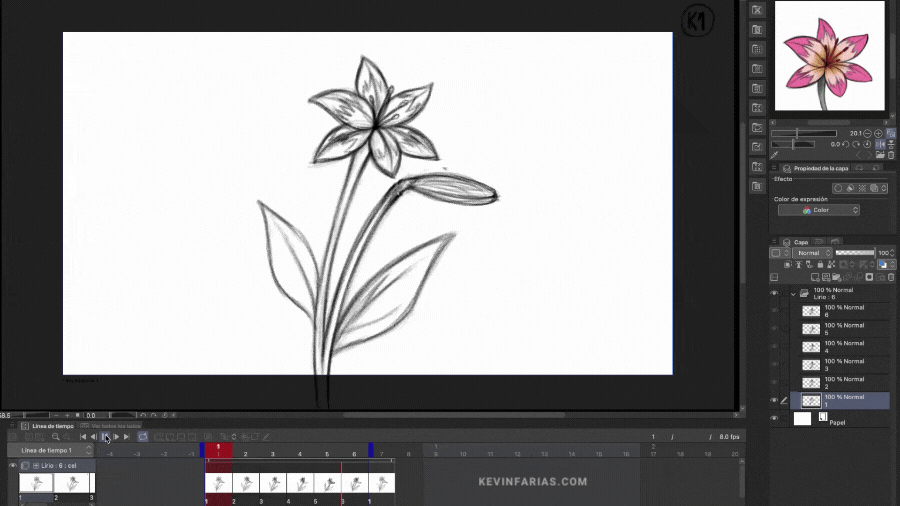
9. Animation Sketch
And so far we have the following result:
10. Animation Line
For the Animation cleanup we are going to create a new animation folder in the timeline.
And inside this new Animation folder we create a New Animation cel at frame 1.
In frame 1 in the layers panel we will create a: New Layers Folder and change the name to the same as the frame, 1.
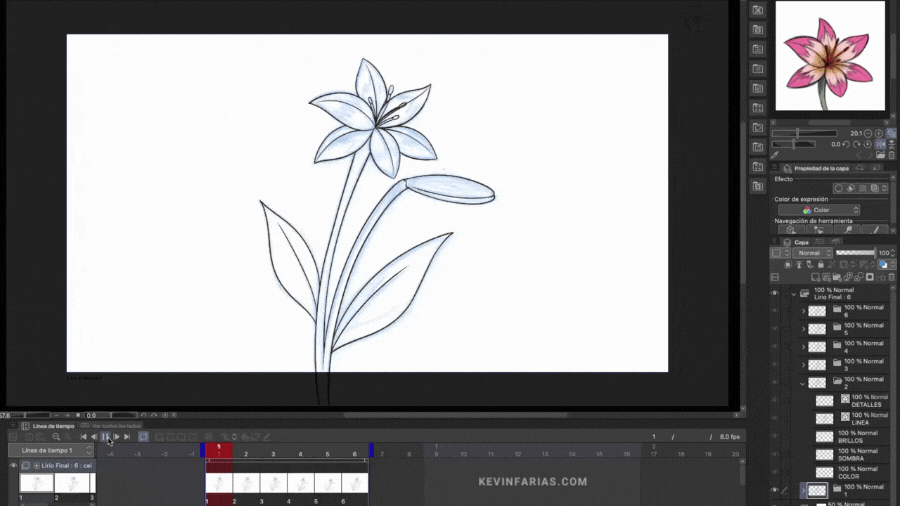
And we create the following layers inside this new layers folder: Color, Shadow, Brightness and Line, the line layer if you want you can do it as a vector layer. This is one of my favorite Clip Studio PAINT options!
We select the Animation folder called Lily and activate the option: Layer Color and lower the opacity to 50%.
We select the Line layer and we will use the pen tool to clean the Animation, in my case, in the sub tool I will use Textured, to give the Animation an artistic touch.
Once we have the first drawing clean, we are going to go to another frame to create a new Animation cel.
And you will be able to notice in the layers panel that the new frame that has been created has all the layers created previously, with the same order and names. Something cool from Clip Studio!
And we get the following result:
11. Animation Color
We select the Color layer to paint the base color of the Flower animation.
We select the Fill tool, in Sub tool we choose: Refer to other layers, this allows us to paint on another layer and it will read all the strokes that are visible in the workspace.
We will take the colors from the initial design, for this we go to the Subview panel and select the Dropper tool from the Subview panel and select the color that we want to paint, by clicking we are going to paint the areas of our flower.
And in the shadow layer we can paint other colors of our flower, if you want you can activate the option: Adjust to lower layer.
In the Brightness layer we can add other details.
And we finish with the color of all the frames of the Animation.
12. Animation Color Preview
We play our Animation and we have our flower in the wind animated, but we can still add more things :)
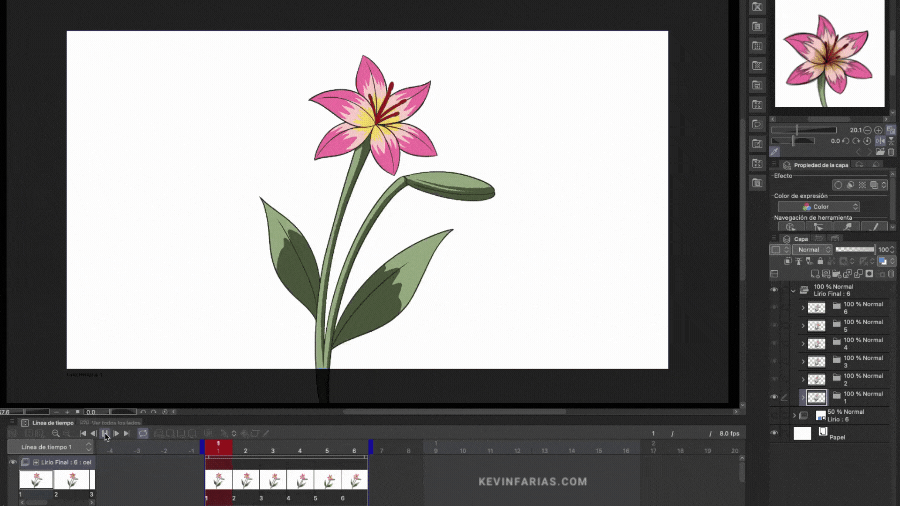
13. Animation Duration
We extend the duration of our Animation to 24 frames, as we originally had it.
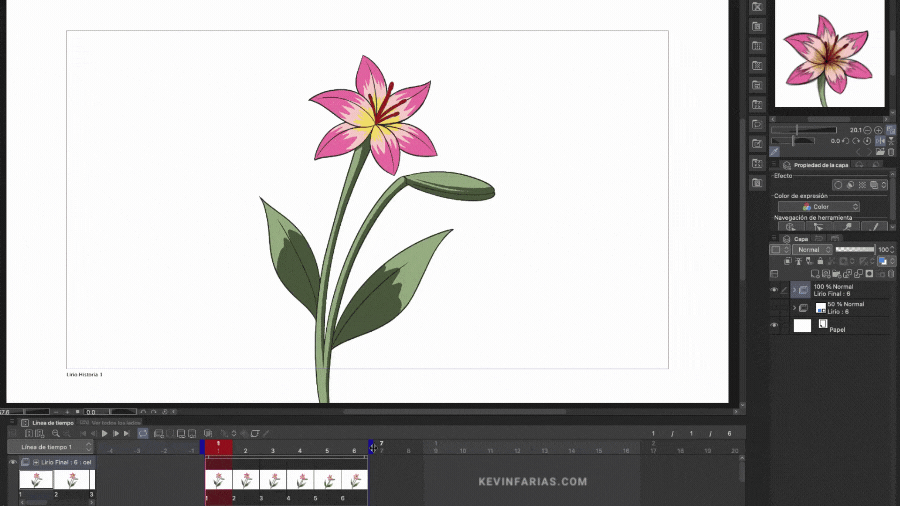
Now we will duplicate the animation to complete the total duration, for this we select the animation at the top, you will see that the cursor changes to a hand.
Then with the right button we activate: Copy
And in the next frame at the end of the Animation, with the right button we activate: Paste.
And we managed to double our animation to complete the final duration.
14. Animation Background
So that the flower is not so alone I have added an animation of the grass in the wind that integrates very well.
The background that we will use will be a sky that is found in the Clip Studio PAINT materials, we go to the option: Material and look for the sky.
We take it and import it into the Animation.
If we want we can move this sky as best it integrates you into our Animation.
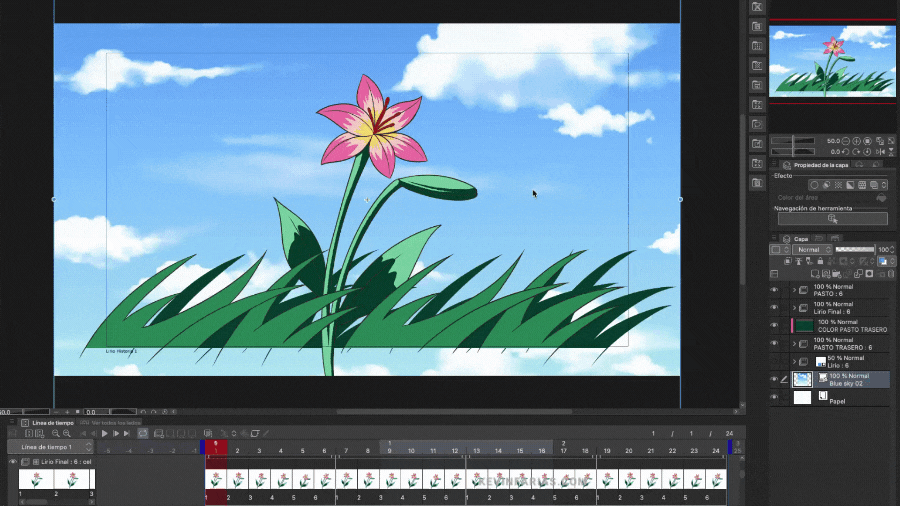
15. Animation Final version Clip Studio PAINT PRO
This Animation will last 24 frames, ideal if you use Clip Studio PAINT PRO.
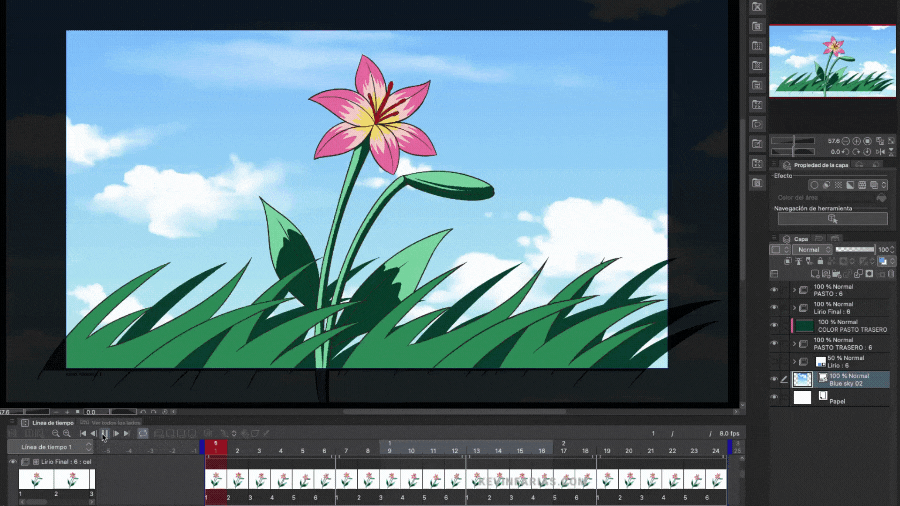
16. Final Animation version Clip Studio PAINT EX
This Animation can last 72 or 120 frames, also if we want we can animate the sky, simply moving it horizontally and creating a keyframe in the first and last frame, achieving the following result.
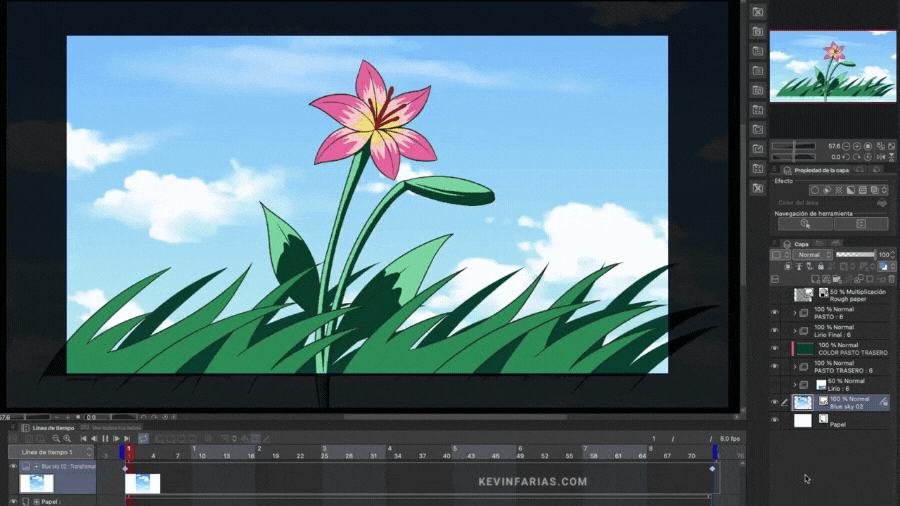
17. Final details of the Animation
If we want we can move our flower so that it is not in the center of the Animation and if it is on the side, this is a matter of taste. Remember to do it with the move layer tool selecting the Flower Animation folder.
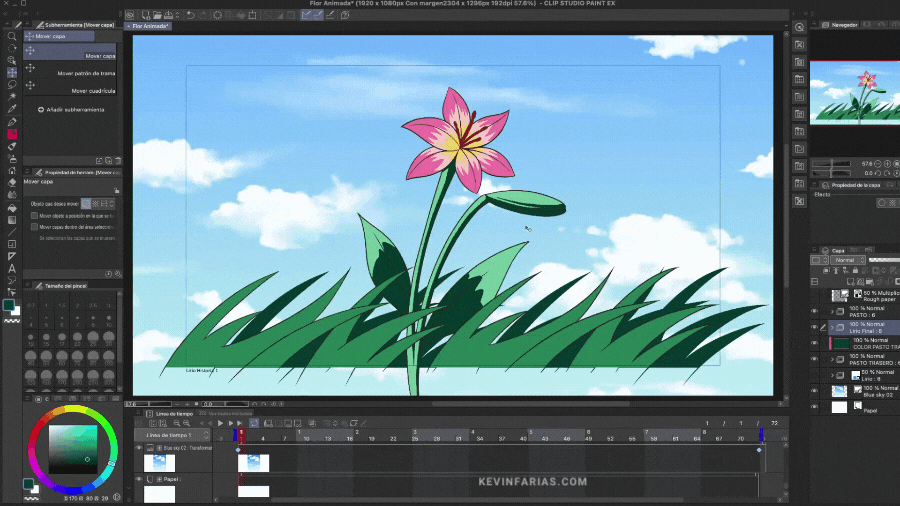
We see our Animation and the result I think looks much better.
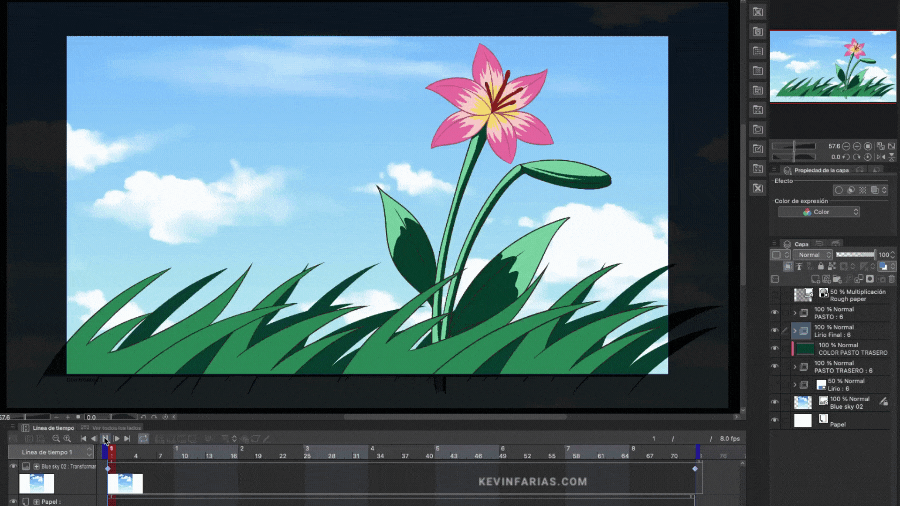
18. Animation Export
Go to File - Export Animation - Movie
We choose the folder where we want to save our Animation
In the Movie Export Settings window we leave it at 1920x1080 and in frames per second we leave it at 8, whether you have made this animation with the Clip Studio PAINT PRO version and EX it is the same.
And we wait for our Animation to be exported as a video.
19. Final Animations
Let's see the 24-frame Animation we made with the Clip Studio PAINT PRO version

And finally, we are going to see the Animation that we can do with the version of Clip Studio PAINT EX

I hope this article has been useful to you and you can try animating something different, since we always focus on animating characters but it is also important to learn how to animate other elements.
See you in the next TIP!


Comment