
Let’s talk about switching from traditional comics to digital. I will talk about making comics, because that’s the thing I’m most familiar with but everything can be also applied for manga.
I think these terms are self-explanatory but in case you don’t know traditional way of making comics is the one where you use pen and paper.
And of course it can be more than just pen and paper.
Artist are using various tools and media to create comics but the most important part here is that it doesn’t involve the computer until the very last steps. And in contrast, digital comics making process involves computer, tablet or other digital devices from the very first stages of the project.
Of course, process can be mixed as well. Some people do pencils on paper and then prefer to color pages digitally. Also, multiple people can be involved in the process and everyone has different preferences.
But let me explain why I prefer making my comics digitally.
Why draw digitally?
There are a lot of advantages in working digital on your comics.
1. For example History function! All action that you have done with the page is saved and you can see them in the History window. You always can rollback any changes and go a hundred steps back if you feel like it. And your canvas will be completely intact!
2. You probably already familiar with Layers. But if not you can imagine them as transparent sheets of paper which you can stack one over the other and do different parts of your drawing on them. You can have lines and colours separately, but also you can have different characters on different layers, so you can move them freely and achieve the best composition.
In addition to that Clip Studio Paint has Layer Comps function which allows you to immediately switch between different versions of illustrations. More freedom and less stress, that’s for sure.
3. Flexibility. You don’t have to stick with your creative decisions. If you want to go from color to black and white or switch from page format to webtoon, you can do that without any problems. Using vector lines for your inking you can scale it up and down without loosing any quality.
4. You can also work on multiple devices, switching between laptop and tablet smoothly. In addition to that you won’t loose any pages, cause they are stored in the Cloud!
5. My favourite advantage of working digitally is CSP Assets store. You can basically find everything there starting from brushes to 3D models to image materials. And a lot of them are free!
In addition to that you can create assets for your own project and save them as a material. If there is something you will draw a lot, like part of the costume or a background, you should definitely do that.
How to start?
Let me walk you through the process of working on your comics or manga in Clip Studio Paint.
New project
First, let’s click on the button New and create a new project. We will get a window with settings. Here we have multiple options: illustration, vertical format comics like webtoons, standard comics and manga, etc. We will select comics option.
Here we have the list of presets, you can select color or monochrome options and specify page size as well. A4 and A5 are standard sizes for European comics and B4 and B5 are more popular for manga. But all these page sizes have the same height to width ratio, so my suggestion would be to think about your target size and pick one step larger. For example draw on A3 canvas for A4 final product. This way you can scale your pages down without losing any quality.
For my comics I’m using A4 format but I have higher number of dpi (dots per inch), so I have more pixels to works with.
Also, from the beginning we can specify number of pages. Note that we have one and two pages and then number increases by 4 and 8 cause to print your comics the number of pages has to be a multiple of four. If you don’t know how long your chapter is going to be, it’s not a problem, you can always add or delete pages later.
You can specify the binding point, on the left side for European and American comics or on the right side for manga. You can add cover pages if you want and specify different dpi for it. You can specify story information like author and title here but when you will do the export of all pages clip studio paint will ask you to check this information again. When you are satisfied with everything here, press OK button and you will get a comics document. So now we have new comics with 12 pages without any cover. Basically this is a root file which has a link to all pages and every page is stored in separate file. So you can move or copy-paste these files as well.
Filling the page
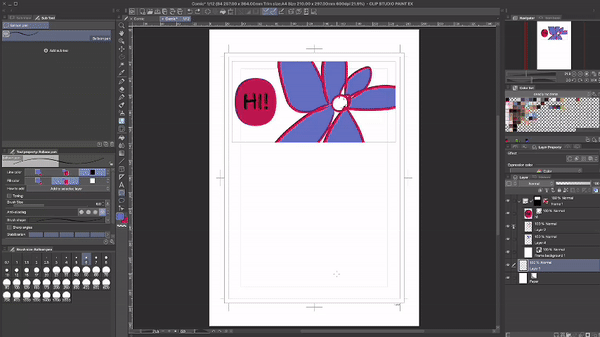
Now, double-click on the page and start drawing! You can simply start drawing here as you would do on paper. But in clip studio there are a lot manga and comics specific features.
One of the is frames. What frame does it creates a masked folder with layers inside it. So whatever you draw in this layers will stay inside of frame. It is useful for scenes where you don’t want frames to overlap. Bonus tip, if the border of a frame is visible it is counted as reference when you are using the bucket tool.
Another important feature is balloon. There is a standard rounded and elliptical balloons and you can type inside of them. But also there is a balloon pen and you can draw your own balloons around text. You can edit after that, simplify vector lines, move or delete any points of the line. So basically you can fix anything that you didn’t like afterwards. I do prefer to draw balloons on my own, cause I like to be in control of the shape.
In the end, there is no need to go the whole way from the beginning.
You can still draw the sketch traditionally and ink it digitally later. Or ink traditionally as well and color digital. Or do the whole page on paper and do lettering in CSP. You do you!
I hope this tutorial was useful for you!
Usuarios a los que les gustó esta publicación


Comentario