10 CSP FEATURES THAT I WISH I KNEW EARLIER
I have been using csp for some years now and I have come across some features of csp that pleasantly surprised me and i wish i knew them earlier because that would have saved me tons of time and work.
Especially as a comic artist , creating comics takes a lot of time knowing these features speeded up my process so here are my top 10 csp features that I wish i knew earlier as a comic artist.
(I will mention the feature and explain how the feature work and how I use it )
Auto action :
My top ‘ i wish i knew ‘ feature in clip studio paint is definitely auto action. Especially as a comic artist I really wish I knew this feature before because it would have saved me a ton of time.
Auto action basically allows you to record and run particular operation like
When creating comics there are certain actions that are repetitive. for example: In the last steps of my comic creating process I use certain filter like tone curve and overlay to add finishing touches to my webtoon,
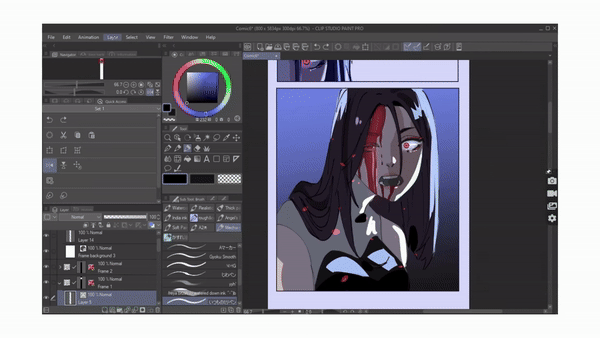
This is like a 5 step process that I have to repeat in every single panel and it is very hard to remember the exact values I use in the filters every time.
Instead of repeating this 5-step process on top of every panel using auto action it will be one click away.
Auto action lets us record and run these actions. Once we record the operation in auto action we can run those operations in a click
If auto action is not shown on your screen go to window > select auto action.
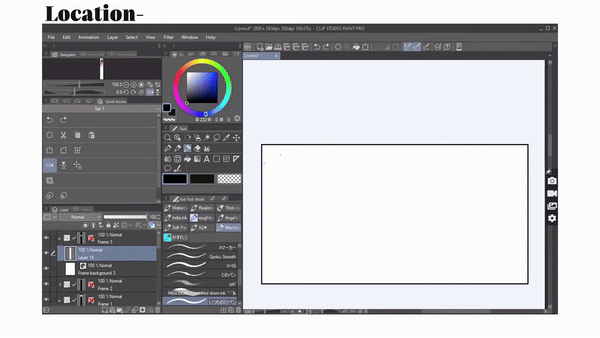
In the auto action palette csp has already provided us with default auto auctions
if you click on [ downward arrow ] you can see what steps the auto action will execute.
To give an example on how auto action work
s
I'm currently on layer one and I'm gonna double click on “ create draft layer” auto action to run it .
As u can see below , Within just a click the auto action implemented a three step process for me
it created a new raster layer change the layer color to blue set is as draft layer
This is auto action . If you frequently perform specific tasks, you can now effortlessly capture and automate them with a single click using the auto-action feature.
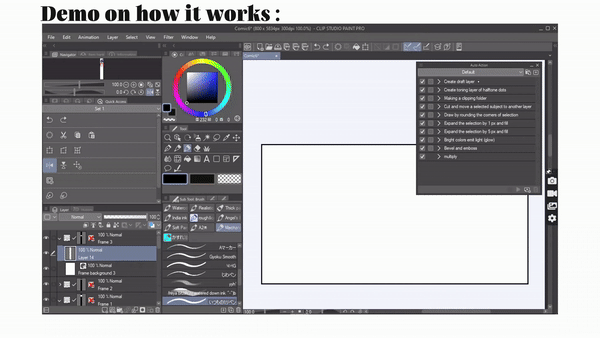
What I showed above are default available auto actions but Here's how you can create your own auto action so that you can record and run the operations that you want.
For example : As I said earlier I use certain filters like tone curves on every panel. I will record that as an example.
click on create new set , name it and click on ok . Now click on “ add new auto action “ name the file then select “ record “ and start doing the process.
I will go to layer > new correction layer > tone curve and adjust it to my preference and click on ok . Then again I'll select layer > new layer> fill and choose a blue color and select ok .Then change the layers mode to overlay and lower its opacity.
Once I'm done , stop the recording.
All the steps are recorded and saved , click on the downward arrow to check it . it even recorded the values of my filte
r

so now whenever I need it I can just click this auto action to perform the operation. So try creating your own auto action to save a ton of time
Layer color:
This is one of my favorite and most used features that I wish I knew sooner because it's a life saver.Layer color is an ‘effect’ available under the layer property palette. If you don't have layer property palette on the window just go to [menu] window and enable layer property .
Basically when you enable layer color you will see an option down from where you can set the layer’s color.You can click on it and select whatever color you want to apply and whatever is on the layer will be converted to that color.
This feature has helped me change a whole layer's color without having to recolor
it
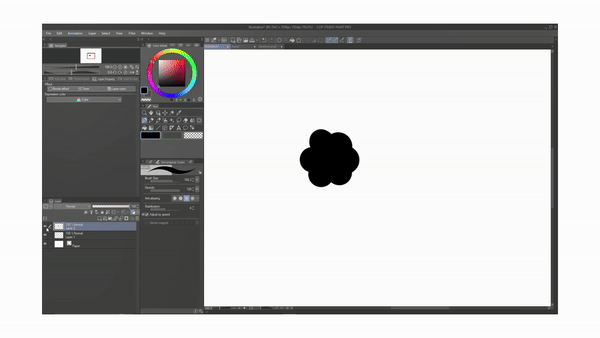
to give you an example on how i use this feature
if you're a comic artist you probably have dealt with this. Have you ever completely colored the whole comic but then you feel like the color of the shirt the character is wearing is just not good and I need to change it. But then you have to make alterations in every single panel
.
well if you have coloured the Shirt in the Same layer like l have then just go to Layer property palette and click on Layer color and Then click on color and pick the color you wanna apply. Then as you can see the shirt's color has been changed . That is why I wish I knew of this feature sooner because it would have helped me make big changes in a click
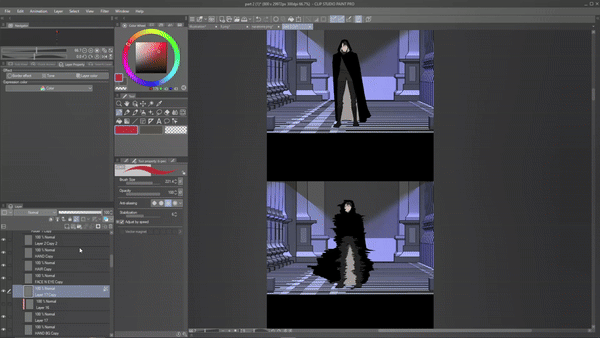
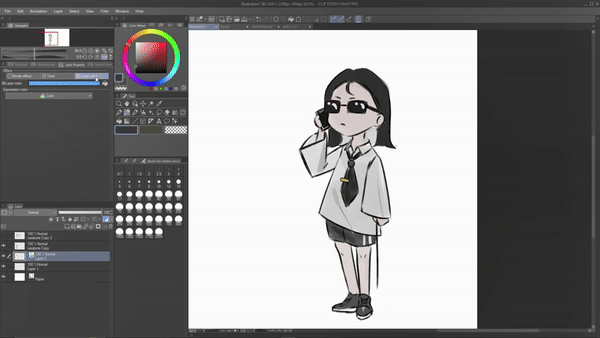
Not just to change my character’s clothing color but I also use layer color to test out which color looks better. Especially when creating character design for your character you're gonna test out a lot of colors. Instead of coloring every time you wanna test out a different color just use Layer color . For ex: Here i am testing out which hair color will look good on this character. which l am easily able to do using Layer color.
Vector layer:
Another feature that I wish I knew earlier is the vector layer . As a beginner , I used to draw all of my lineart in a raster layer which looked good, don't get me wrong but as soon as I make any adjustments to the lineart, such as scaling it up, the quality of the line deteriorates instantly.
Which is why I wish I used a vector layer because when we draw lineart on a vector layer [which is made of paths] we can make any changes like scaling it up or down the line art doesn't lose any quality , making it the best kind of layer for lineart.
Not only that, but we can also change the width of the lineart even after drawing it. For that make sure you’re on the vector layer then click on operation > object, under tool property. We have an option called brush size, adjust it to change the width of the line.
This is really amazing because sometimes after coloring you might feel like the lineart is too thin or thick and now you can just adjust it.
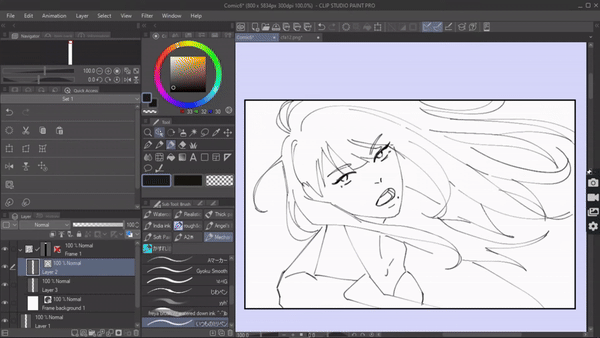
And let's not forget about the vector eraser which can erase the intersection in a line which is very convenient when drawing hair , background etc.
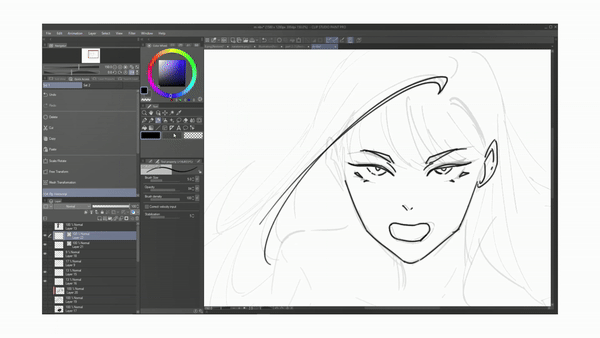
You can change the settings of the vector eraser to how you want to erase.
1> touched area works like a regular eraser.
2> Intersection to eraser to erase the intersecting line.
3>whole line , to erase the entire li
ne.

These are just a few main benefits of using a vector layer for lineart.For beginners, mistakes are unavoidable, but the beauty of the vector layer lies in its ability to correct them at any stage.. Especially if you plan to print your webtoon in the future you might have to make some changes in the panels and scale it up & down , move them around so it's better to use a vector layer to maintain the quality of your comic. That is why I wish I knew and used vector layers earlier!
Reference layer :
I really wish i knew about reference layer earlier , again as a comic artist i have to fill color for 100 s of lineart which is hard especially considering the fact that i have to make sure i dont go out of the lineart while coloring but this was no longer a hassle once i found the reference layer in csp.
When you set a layer as a reference layer , it becomes a guide that allows you to fill and color on other layers while only referring to a particular layer or layers.
This feature could have helped me with coloring my base colors much much easier only if i knew about it earlier. Because when you set your lineart layer as a reference layer , you can fill color on your lineart without worrying about it bleeding outside the lineart.
You can either set layer , layers or even folders as reference layers.
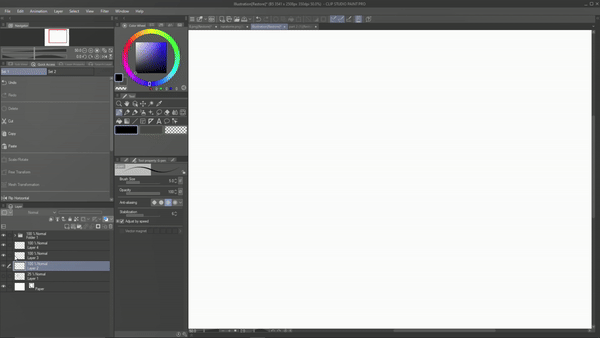
To give you an example : i have a lineart in this layer, i'm gonna create a new layer below and start coloring my lineart but as you can see i have to be very careful while filling in the colors or else i will color outside the line which i don’t want . This is where the reference layer comes in handy.

I will set my lineart layer as a reference layer simply by making sure i'm on the lineart layer and clicking on this ‘ reference layer’ icon which is available on the layer palette or i can just go to [menu] layer> layer setting > set as reference layer. You will see an icon appear on that layer. Which means it has been set as a reference layer.
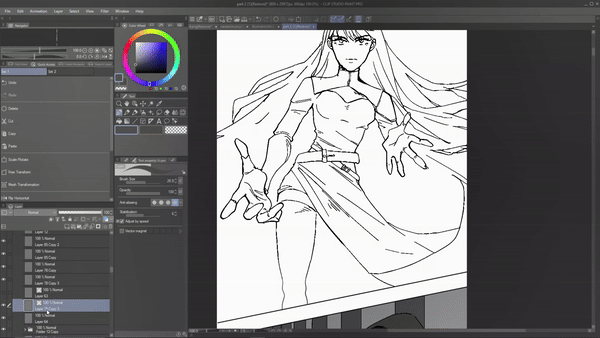
Now take any brush , go to its tool property and click on setting . a sub tool dialogue box will appear under which select “ anti overflow” under which enable ‘do not cross lines of reference layer’ exit out of the sub tool . create a new layer below the lineart and start coloring , now even if you color out of the lineart , the color will not bleed out . making your coloring process easily .
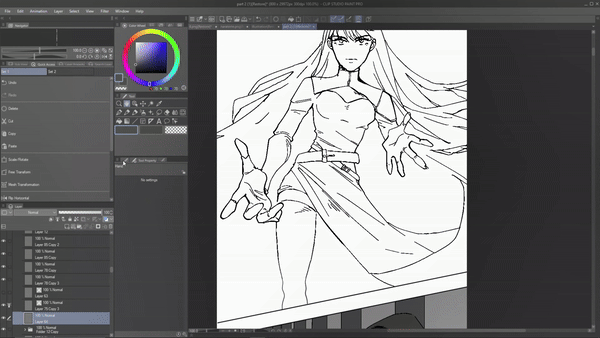
Not only in brush but even while using the ‘fill’ tool we can reference the lineart layer. Just make sure under the tool property of fill tool , you have enabled ‘ refer multiple’ and selected ‘reference layer’ this just makes the process of filling lineart more accurate.
Preview mode:
This is such an amazing feature if you want to preview whatever you're comic on your laptop onto your phone without transferring files.
When I first started my comic I always used to worry about the pacing of the panel and readability of the text bubbles in the mobile view because the majority of the audience prefers reading webtoons on their phones. But We create comics on a bigger screen so text bubbles that look readable on your desktop screen will not look the same on your smartphone screen. So, it's necessary to check how your webtoon will look on mobile view before posting it. But If I had to preview my webtoon in phone format, I had to first save and send the file to my phone . and if i find any mistake like two panels being too close I would have to correct it and send it again to my phone which was exhausting.
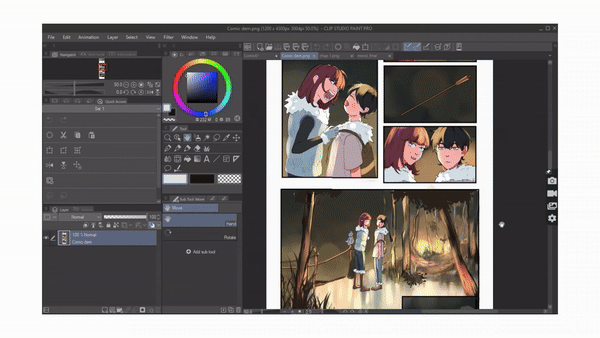
This was a hectic process which is why I wish I knew about the preview mode earlier. The preview window is one of the features that comes in the companion mode. preview window shows a preview of whatever file that is open in your main Clip Studio Paint window onto your mobile, using which you can see how your webtoon will look on a smartphone.
Any alteration made on the primary device will be mirrored on your smartphone as well.Now you can easily see how your webtoon will look in the mobile format and correct any panel pacing and text size easil
y
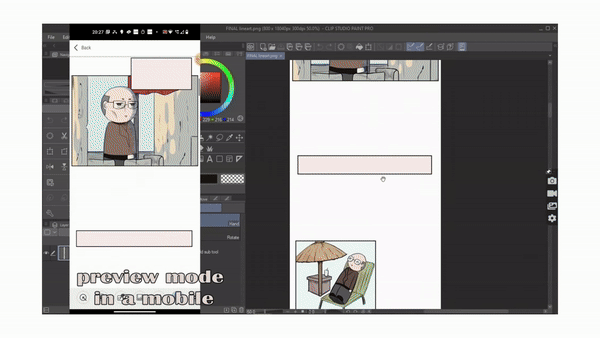
As I said, the preview window comes under companion mode. If you already know how to activate and access the companion mode skip the following.
To use the companion mode we have to first connect our mobile with computer/main device
For that ,
>All you have to do is download the clip studio app on your phone. >then Open the app , select get started . >click on menu and select companion mode > and select scan
qr.
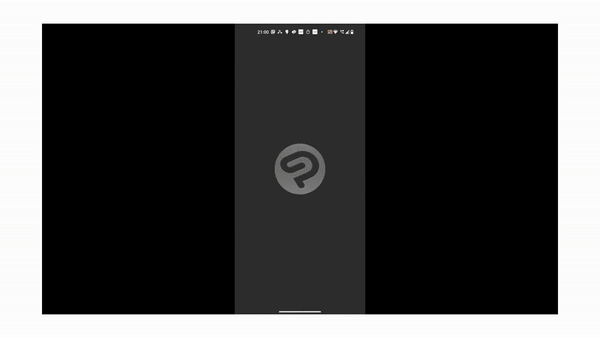
At the same time on your desktop/main device, make sure you have your clip studio paint open.
[ NOTE : ensure both your phone and desktop are connected to the same wi-fi/internet router. ]
>On the top of your main device/computer window you will find the same " companion mode " icon in the Command Bar . >click on it to generate a QR code, which you're gonna scan with your phone.
>Once you have scanned the QR cod
e ,
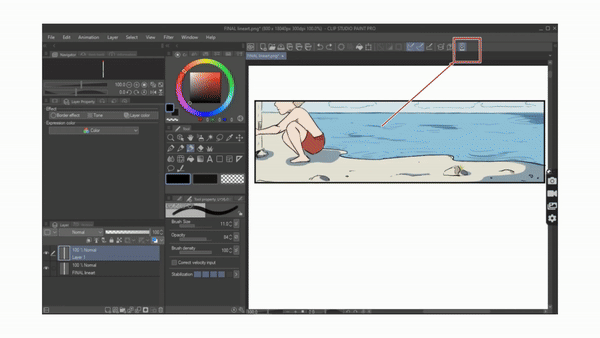
finally your desktop and phone are now connected. >you can now see the different modes available below on your phone
The 6th one is the webtoon preview using which you can see how your webtoon will look on a smartphone. If you make any change in the main device it will reflect on your smartphone too
.
Colorize
This is such a time saving feature that I wish I knew earlier, especially when you're in a hurry to color your artwork or you're just lost and can not get your creative juices flowing . Clip studio offers this amazing feature called " colorize " that colors for you. So if you're stuck on being unable to pick colors this feature is the one for you.
To do that ,
set your line art layer as the "reference layer" then create a layer below the line art and just throw in some hint colors
then go to [menu]Edit > Colorize > use hint image and colorize .
using the hint colors the AI will automatically color the image. Just add in some final touches and you are done .
But let's say you're struggling to pick a proper color palette and you’re in a hurry
then
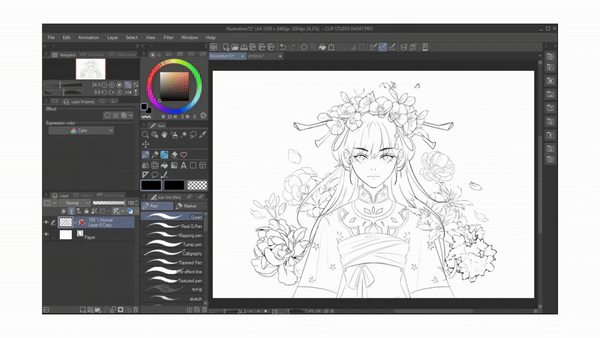
Make sure you're on the line art layer and it is set as a reference layer .
then go to [menu] Edit > colorize > colorize .
This will colorize the artwork without any color hints .
I think this is such a cool feature because it introduces you to a new color palette and pushes your comfort zone .That's why this feature default comes under i wish i knew earli
er.
Asset store:
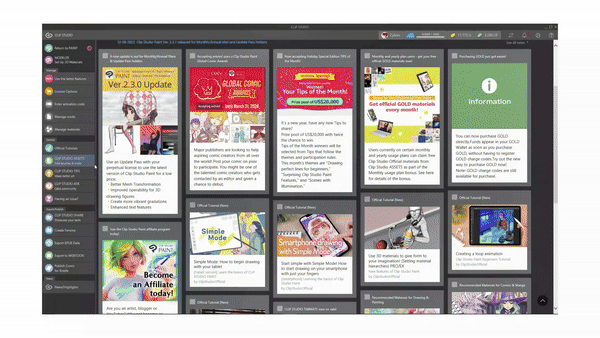
I was blissfully unaware of the items that csp asset store had to offer. Earlier I thought csp asset stores would have very few and bad items to offer at high prices.
And I was wrong. I really wish I had checked out the asset store sooner because it would have saved me so much pain.
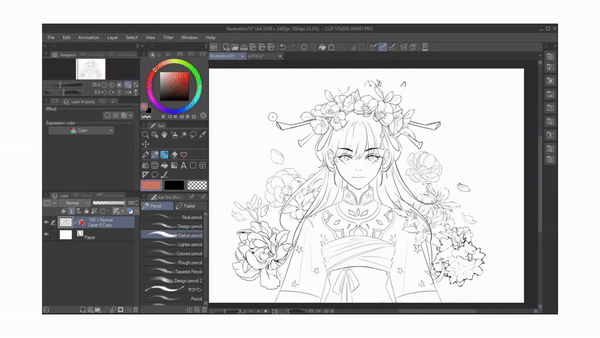
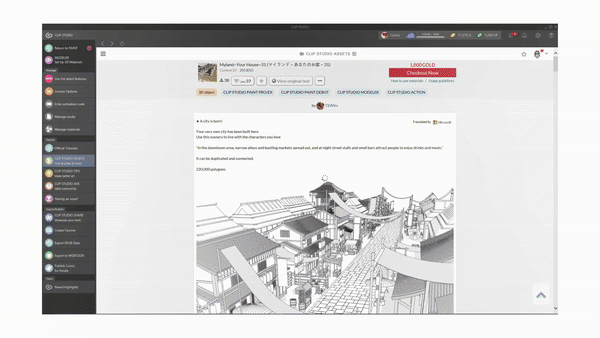
Csp asset store is a place that has so much to offer , you can literally find any digital item related to art there like brushes , backgrounds , 3d materials , color palettes and more. And when i say brushes i mean a variety of brushes like watercolor brushes , acrylic brush , charcoal pencil , oh they also have decorative brushes like this flower brush or if you wanna decorate your characters clothing they have lace brushes , gems brushes

which we can use by just dragging
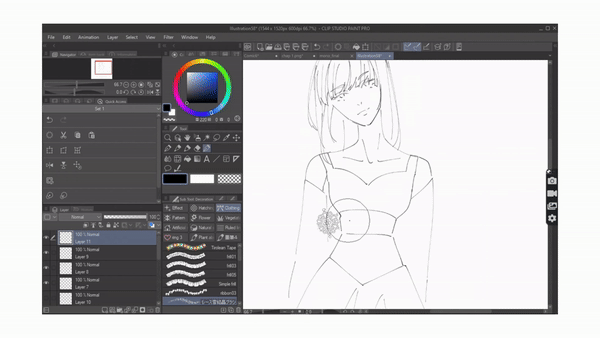
We can create a whole background with these brushes that csp got , like using these tree and grass brush.
And these are just brushes, you can find a lot more in the csp asset. Which is great because you don't have to wander around the internet to find these materials.
And guess what most of them are free and for the ones you have to pay, they are cheap.
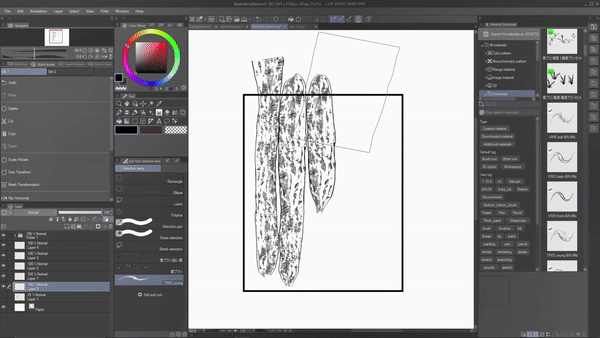
Now if you don't know who to download and use them . All you have to do is go to the clip studio asset store and type in what kind of brush/material you're looking for, for example : I want a lace to decorate a character's clothing so I type in lace and you will find 100s of lace designs , most of them being free to use. You just have to click on download.
Now go to your downloads in the csp window and you will find the downloaded brush.Drag it and drop it on to the toolbar to use it , if its a material you just have to drag and drop it onto the canvas.
As a comic artist all this material would have been a life saver for my earlier comics only if I knew about this feature earlier.
3d models :
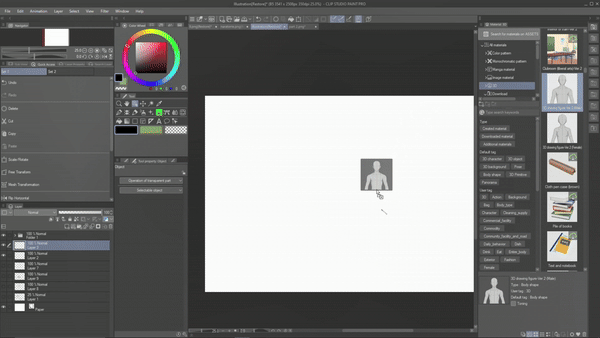
I knew that there were 3d model features in clip studio but what pleasantly surprised me was the variety of it and being able to customize it. In a lot of 3d models we are not given the privilege of customization but in csp we are able to customize every single body part of our 3d model .
We can even change the body proportions of the 3d model to make it look similar to our oc. Which is amazing.
Once you have dragged and dropped your 3d model on the canvas , click on setting , a dialogue box will open under which select , ‘3d drawing figure’ under which we are able to customize our 3d models. Select the body part you want to customize and using the graph on the right we can adjust that particular body part.
I really wish I knew about this customization feature before because then it would have been easier for me to draw my ocs in different perspective
s.
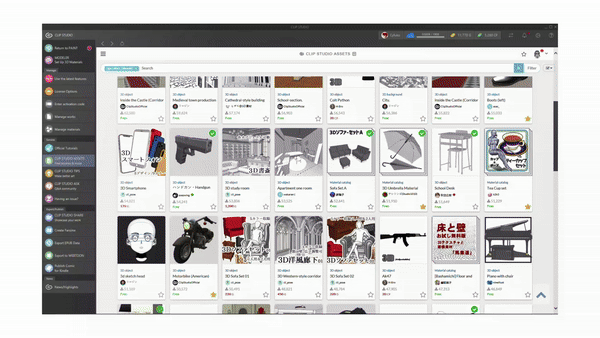
Another thing I wish I knew , is the different 3d objects that csp has to offer not just 3d bodies but the 3d hat , 3d boots , 3d furniture , 3d glasses which are once again available in the csp asset store. You just have to type them to find them.
So now if i want to draw boots i just download 3d boots from an asset store and use it. Since it's 3d it doesn't matter what angle or perspective your character is drawn in, we can just adjust the 3d model to it.
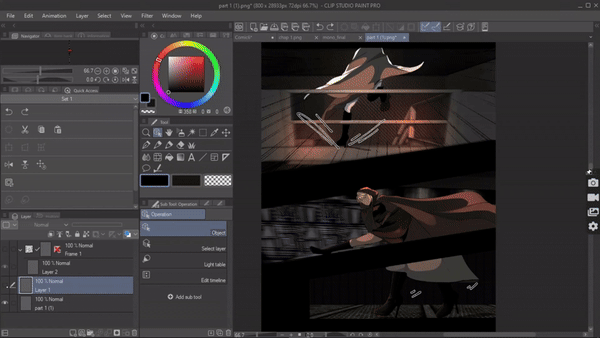
All I did was drop the shoes onto the canvas , adjust its size according to the character and then I would rasterize it so that I can render shadows and light so that the shoes don't look odd and go well with the whole character .
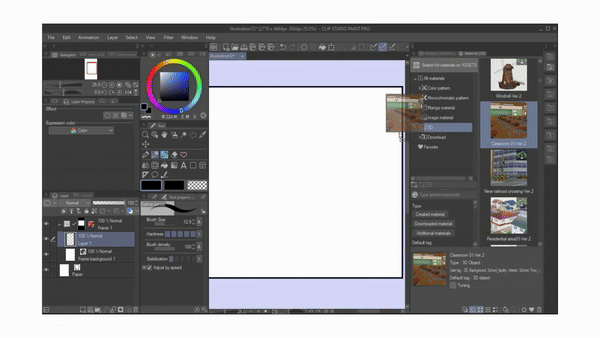
One more thing about the 3d model that I wish I used in my earlier comic is the 3d backgrounds.Making my first comic I made the ultimate mistake of drawing every background with hands and I didnt even have the knowledge of perspective.Instead I wish I just used d backgrounds. There are tons of amazing 3d backgrounds available in clip studio paint . Take a quick browse on the asset store to find them.
Using a 3d bg is the same as a 3d model . Drag and drop them onto the canvas. Adjust them according to your preference
.
Search layer:
This feature definitely surprised me a lot because this is such a small useful feature that I don't see in any other drawing apps. And I really wish I knew earlier.
So what is this feature ? it's the ‘search layer ‘ feature available under the operation toolbar. When you select this feature , your cursor will turn to this plus sign and Whatever you click on the canvas with this , it will basically lead you to its layer.
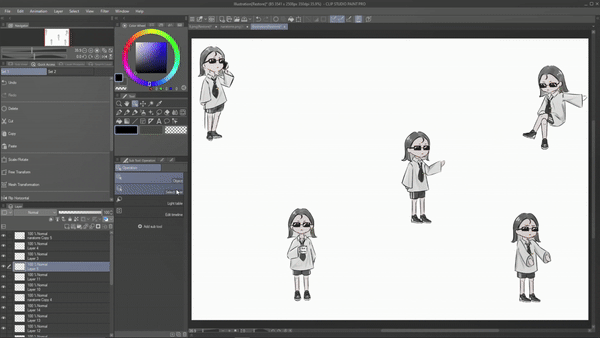
When creating art there's gonna be some unwanted lines or dots that you missed to erase like this one , you want to remove it. but how will you know which layer does that dot belong to in these 100s of layers? This is where the select layer comes in handy. Search layer will basically lead to that layer
To access search layer go to “operation > search layer” and using the cursor click on the dot and now if you look at your layer palette you have been automatically led to the layer where the dot belongs and we can easily erase it
This feature is really helpful in navigating layers , you don't know in which layer you drew the base color ? easy. use this feature to navigate it
.
Export :
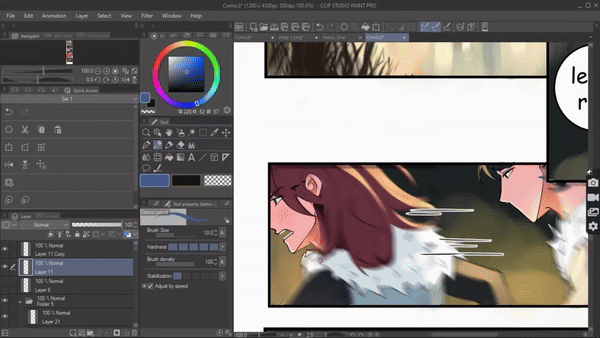
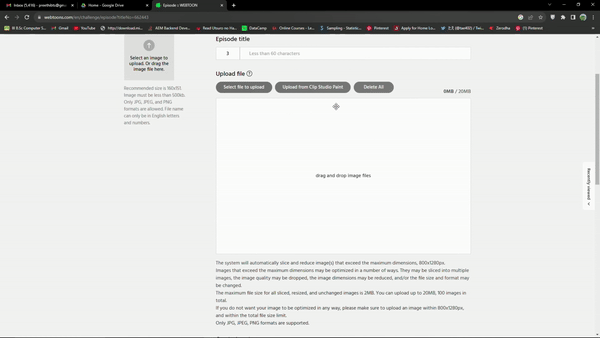
Let's finish this tutorial with the export setting I wish I knew when I first created my webtoon . If we look into the webtoon uploading page we can only upload pages that are 800x1280px. Or lesser. But if you look at my webtoon page, the canvas length exceeds the limit set by webtoon. before I would just save my webtoon as png and cut the page using a website . Until I realized clip studios can do the same while exporting.
Here's how: once you’re done with your comic and are ready to export. Go to file > export webtoon . Export webtoon dialogue box will appear where select file format i’m choosing .png then under file export settings select “ divide vertically” enter 1280 in the box and click on ok. Now your webcomic will be exported cutted in proper px size that you can just now upload to your webtoon.
This is one way of exporting.

The other way is to go to the webtoon uploading page .
Click on ' upload from clip studio " . It will direct you to your clip studio saved files .
Choose your .CSP file and that file will be automatically split and uploaded onto the webtoon page.





Commentaire