
____________________________________
First Ideas
It might be a bit difficult to come up with how you want your backgrounds to look like.
Do not be afraid to look up references on google, to help you out.
But always remember to follow the according rules and guidelines.
So before you start, it is important that you vaguely know how your background is going to look like. Maybe even a very basic sketch of your first idea, might be very useful.
My first idea was a close up of a old and disintegrated facade of the building, with lots of vegetation and vines all over it.
It looks quite strange right now but it is just a simple sketch anyway.
Also, do not worry about it too much because you might not recreate your first idea exactly how you imagined it!
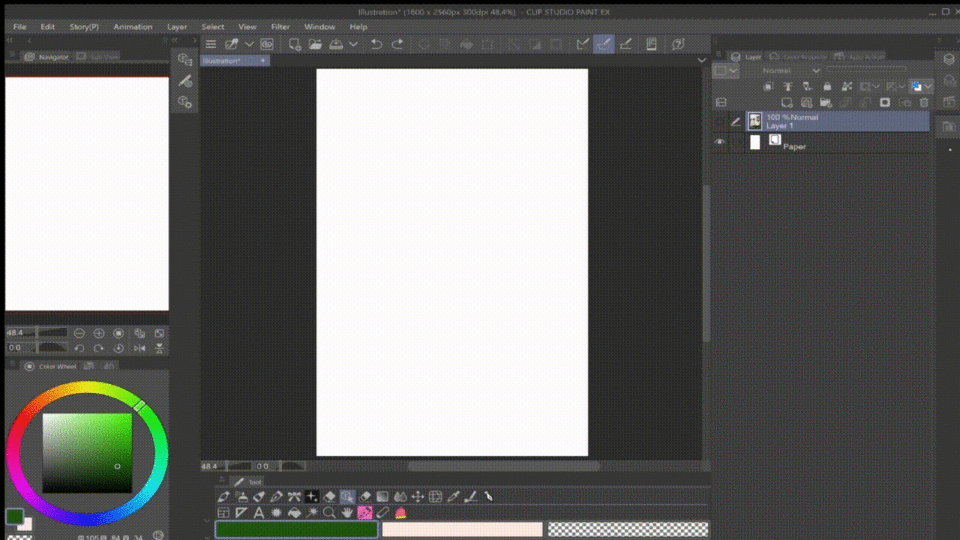
I used this canvas size:
-
Width: 1600px
Height: 2560px
-
(This size is double the standard size of one webtoon panel, which is 800x1280px.)
Clip Studio Assets
Now you want to open the asset store.
You can literally just type in ruins and have a look at all the incredible options.
(On this note, a big thank you to all the incredible people for sharing all this amazing assets!)
Download the ones you like. I downloaded these:
I also wanted to add vines to my drawing.
Again, just type in the search bar what you are looking for and download what you like.
I downloaded these plant stem brushes to act as vines:
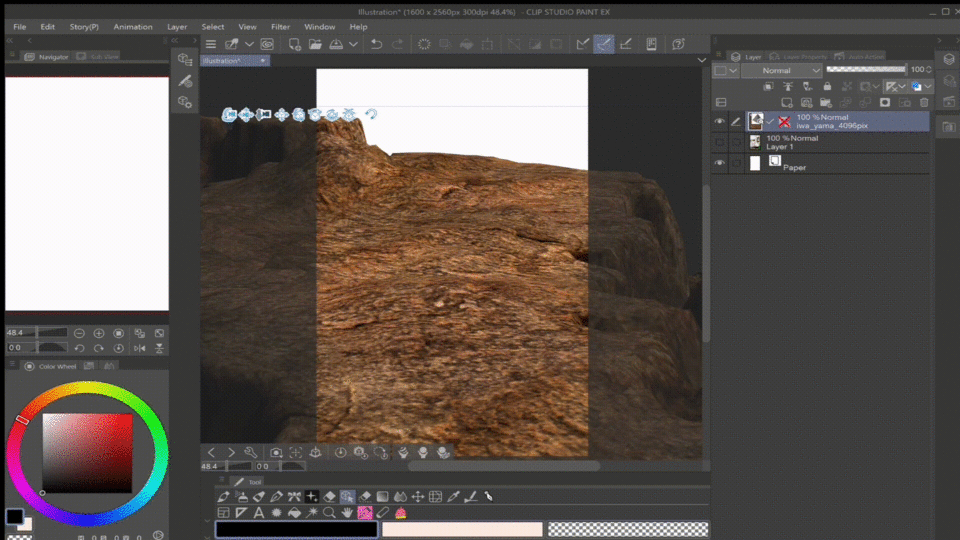
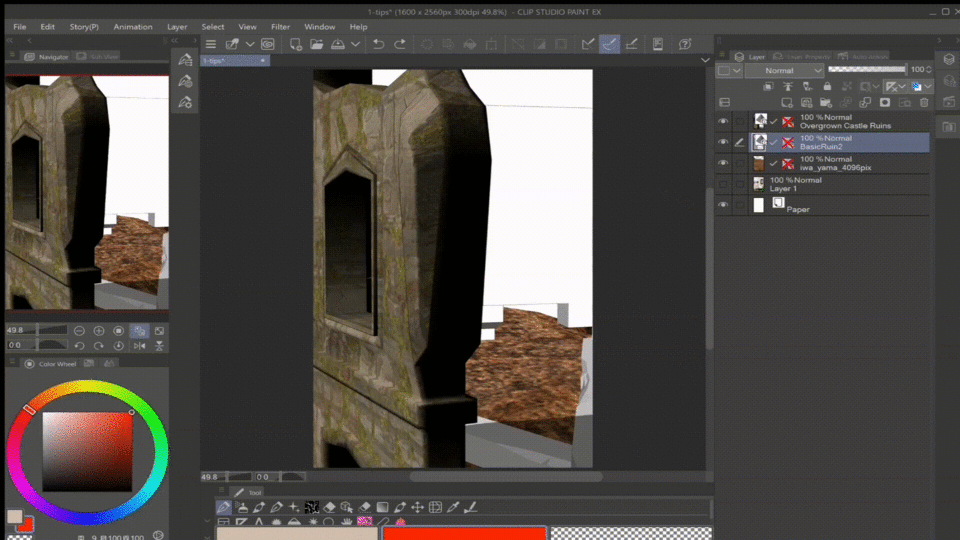
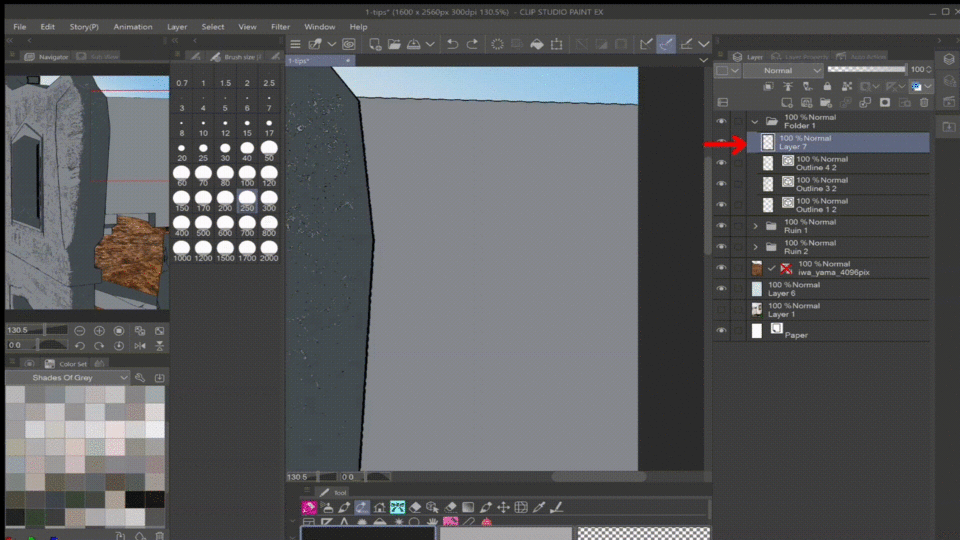
Placing your 3D Model
Now you need to open the “Material” Folder and drag and drop your first 3D model onto the canvas.
You can adjust it to your liking.
After I'm satisfied with how it looks, I click on “Layer” and then on “Rasterize” because I do not need to adjust the 3D model anymore.
I want my webtoon to be fully colored but if you want it to be black and white, you can simply click on “Layer” again and then on “Convert to lines and tones”.
After completing the conversion, a small window will appear, where you can adjust the depth of how you want it to look.
Open the "Material" Folder again and drag and drop the 3D Ruin Models onto the canvas.
It will automatically be opened on a new layers.
Again, adjust them to your liking.
(You can also adjust the light, that is hitting the 3D Model. Click on they wrench icon and then “Light Source”.)

If you are not sure how to place the 3D Model, you could use one of the many presets and work from there!
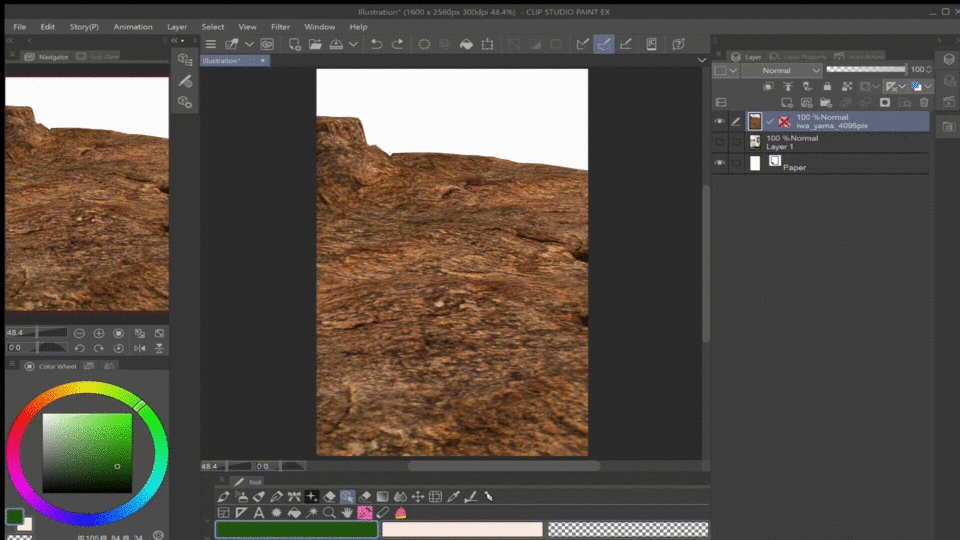
Lastly, I turned off the shadow that the 3D Model in the front, is casting.
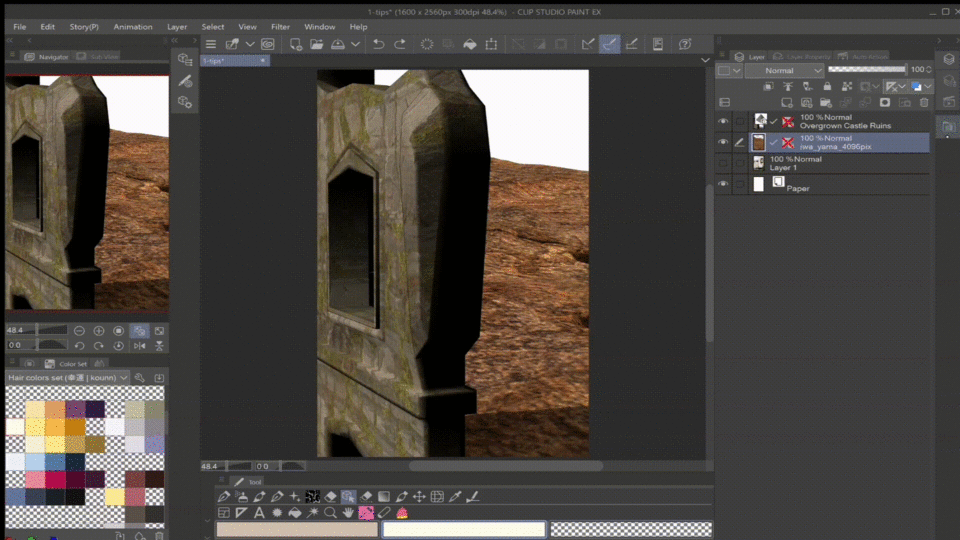
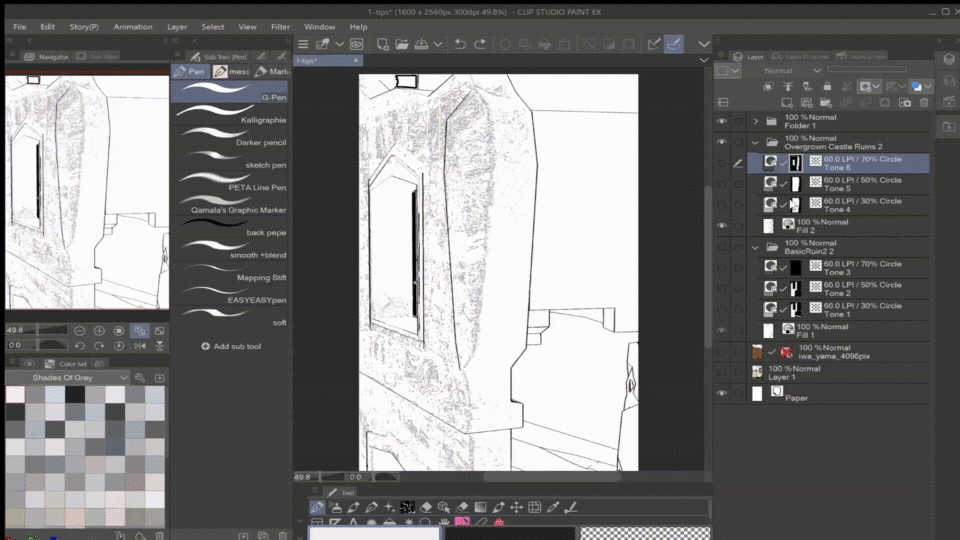
Converting the 3D Model to lines and tones
Now I’m making use of this great feature of clip studio paint that I mentioned above.
Converting the 3D Model will later give me the opportunity to color it the way I prefer.
You could also leave the ones, that are already completely textured, the way they are (like the one I’m using in the clip below) but I wanted to do it myself.
I took all of the outline layers and put them the top.
(I also put them in a folder later.)
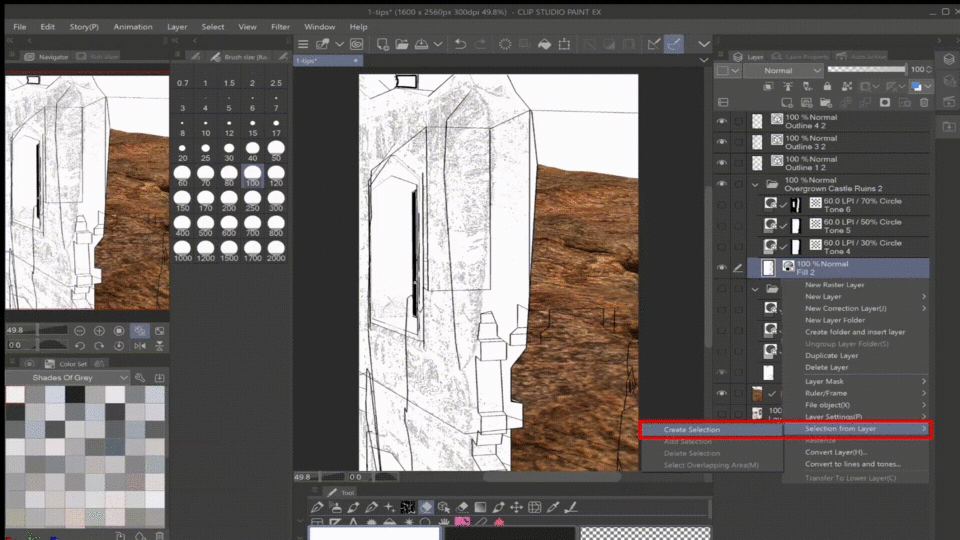
Now this part might sound a bit confusing but basically just click on the base color layer, of the 3D Model in the foreground.
Right click this layer and under “Selection from Layer” click “Create Selection”.
Then, click on the outline layer from the 3D Model that is in the background and click on the “Delete” Icon that looks like a circle and then “Deselect”.
This is just a simple shortcut, instead of erasing the unnecessary line yourself.
(You could also change the brush of your outlines but I’m not going to explain how to do this here.)
Coloring
Like I said before, I wanted to color this background out myself and for this, I found a very pretty color palette.
Again, create a selection form the base color layer.
Add a new layer(below the outlines) and color it in.
Simply repeat this with the other necessary layers.
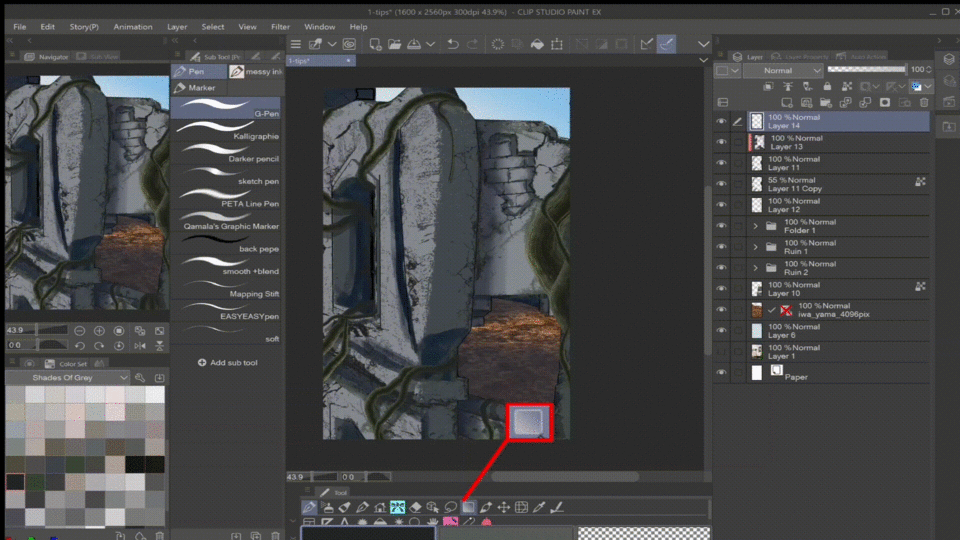
For the Mask Layers, you want to click exactly on the “Layer Mask Thumbnail”.
I highlighted them on the left side of the image below.
On this thumbnail, you can see area’s covered with black and white.
Basically the areas in black, will be hidden and can’t be seen anymore.
Now, when you create a selection form this “Mask”, you will only select the area's which are visible (white area’s).
_
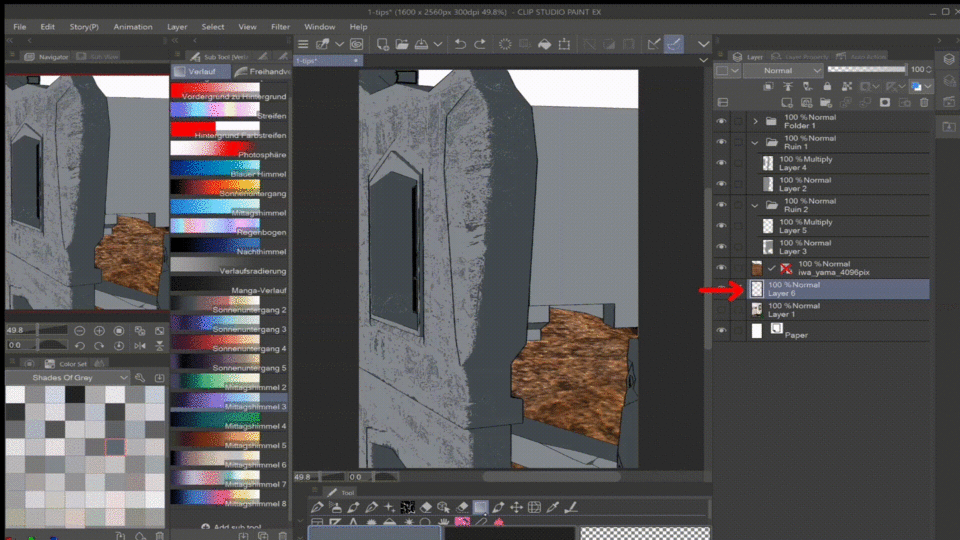
I took the same color as before and on new Multiply Layer, created shadows.
Using a gradient map will give you a very quick and pretty sky.
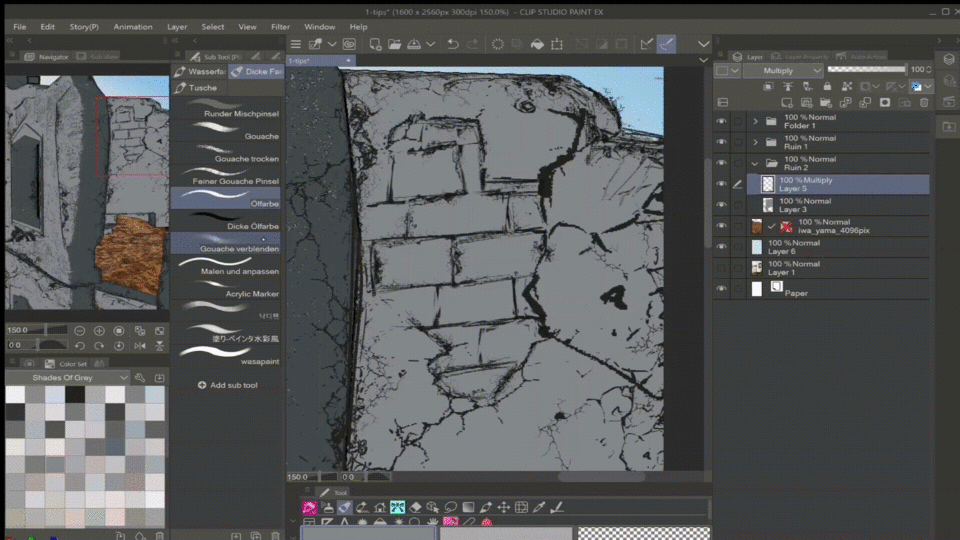
Adding structure and details
Moving on to adding the ruin and decayed look to the drawing.
This is another great brush, available in they asset store.
Keep adding all the details you want.
Varying with the brush size will give it an even better look.
I went really crazy.
Now add a new layer and under “Brush” Tool, I chose the “Oil Paint” Brush and started to draw some bricks. Also made my brick lines fit the rest of the drawing by erasing parts of them.
With the same brush from before (The Decay Brush), I added that disintegrated look.
I also erased parts of the wall and drew over it.

On the same Multiply Layers from earlier, I added more shadows and smudged them out a bit.
Brushes:
“Oil Paint”
“Round mixing brush”
Now I’m adding clipping masks and turn their opacity down to 40%.
I used the “Lasso” Tool and erased the edges with a “Soft Airbrush”.
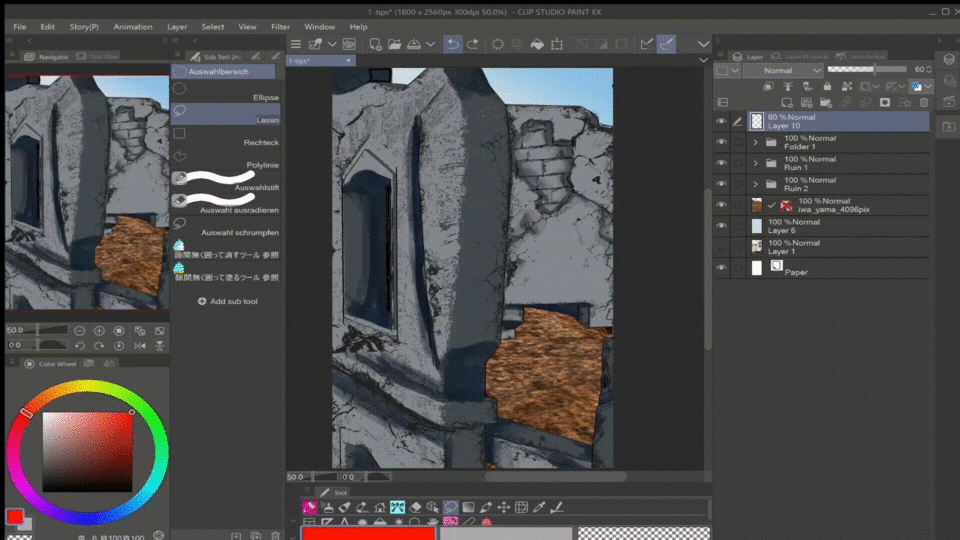
Finally moving on to the vines!
There were many beautiful brushes in this pack but I only used one and placed the vines were I felt like it.
Again, I added a ‘casting a shadow’ layer.
Then with the “Soft Airbrush” and one of the darker colors, of the palette, I tried to make the vines and the wall look more unified.
(Be sure to lock the pixels, when drawing on certain Layers!)

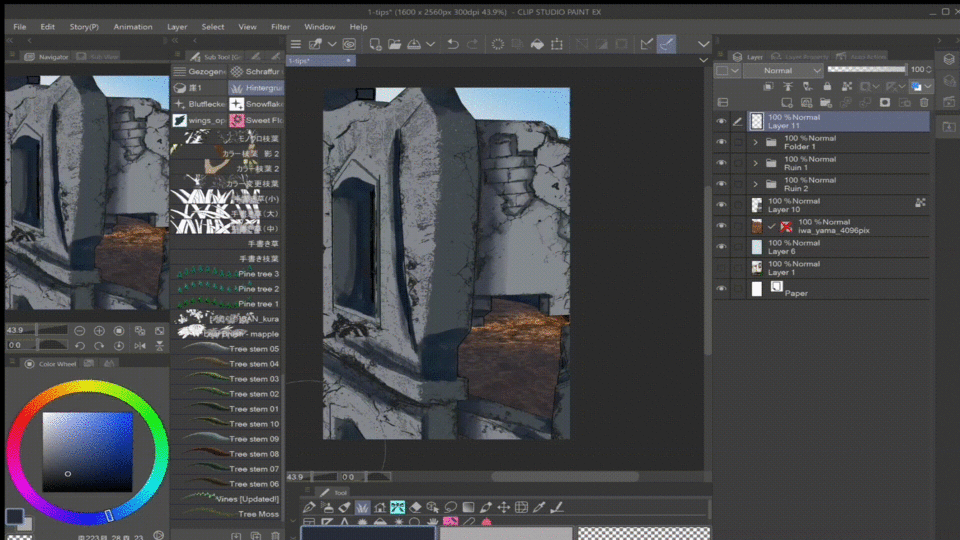
Adding a bit more depth to it, with this cool moss brush.
Final Touches
I tired out some gradient maps, to smooth everything out.
Then I added some dust particles on top.
And the very final step was to duplicate the finished drawing, blur it out to about 30% and turned the opacity down to about 10%, to get this ‘dreamy’ look.
✨Thank you for reading!!✨
_____________________________________My Instagram: https://www.instagram.com/kiiyusan/
この投稿を「いいね!」したユーザー


コメント