Lineart guide in Clip studio (beginner)
Perfect lines for beginners.
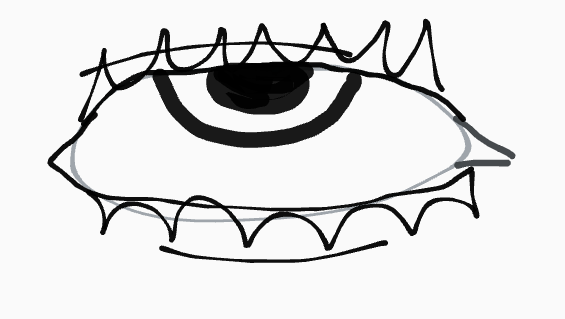
Have you ever felt like your line art looks like this?

Yeah, I've been there too. But Clip Studio Paint has some potential for drawing smooth lines, even if you're a beginner or an artist struggling with complex design’s line art.
As a freelance comic artist and illustrator, I've learned a few tricks to tame those wobbly lines and the overwhelming process of lining a complex character's design.
And in this tutorial, I'm gonna share some of my knowledge with you, and I hope that maybe it can help you conquer even the trickiest of the curves.
Line stabilizer and pressure sensitivity.
Line stabilizer is a tool that can help smooth out shaky lines and improve your line art quality.
Here's how it works: As you draw, line stabilizer analyzes your pen movements and predicts the intended path of your line.

It then corrects any unwanted jitter or wobbles, resulting in smoother and precise lines.
The level of correction can be adjusted based on your preference and the specific brush you're using.

In Clip Studio Paint, the pressure sensitivity feature allows you to vary the thickness and other properties of your brushstrokes, based on the pressure you apply with your pen tablet. This means that pressing down harder can create thicker lines, and if you press lighter it creates thinner lines.
But varying pressure can also create transitions between them.
Be aware that, to be able to use pressure sensitivity in clip studio, you need to have a proper compatible device, such as a drawing tablet, display, an iPad or Samsung tablet that supports digital styluses.

Canvas size.
Digital images are made up of pixels, and the density of these pixels determines the clarity and sharpness of the lines.
Smaller canvases have fewer pixels within the same drawing area, resulting in less detail and potentially jagged or pixelated lines, especially when zoomed in.
Larger canvases pack more pixels into the same space, allowing for smoother, more precise lines that retain clarity even when zoomed in or resized, so make sure to use a big canvas when creating so you can have better art quality.
Brushes and line art styles.
Remember that, when line arting something, you're not attached to just one type of brush, so make sure to explore the diversity of the brush strokes, and check Clip studio assets for more brush accessibility, it has a huge variety of brush types and settings for you to try.
Your lineart can be smooth, sketchy, painterly, any way you want, so make sure to try different options that better fit your art style.
Line art exercises.
Before jumping to the process, here are some exercises you can do to either improve your line quality or get used to drawing on a tablet.
Start with simple shapes like circles, squares, and triangles. Draw them with different line thicknesses and pressures, focusing on smoothness and control.
Line Variations: Practice drawing lines of different lengths, directions, and curvatures. Experiment with straight lines, wavy lines, and zig-zags.
Crosshatching: Practice filling areas with lines in different directions to create shading and texture.


Process and cleaning.
The line art cleaning process: every artist's nightmare… Whether you're a seasoned artist or just starting out, crafting clean and confident lines can elevate your artwork quality a lot. But tackling a complex design can often feel daunting. So don’t worry, in this guide we will unveil the process of all cleaning phases, and then transform a rough sketch into a polished piece.
Phase 1 Sketching
Imagine a fluid, adaptable draft, this is your playground for experimenting with shapes and concepts. This is where you explore the possibilities, without worrying about perfection.
Don't be afraid to make mistakes, everything will come together eventually.
Lower the opacity of your initial sketch on a separate layer.
Focus on the main details using a different color for easy distinction.
Embrace the freedom to adjust! This is your foundation, ready to be molded into a better piece.
Phase 2: Refining
Now we will be meticulously adding all the elements you previously hinted at.
Some tips:
Create a new layer to capture the refinements.
Draw the character accurately, incorporating all the nuances you envisioned.
Now This is where your design takes on a definitive form.
Phase 3: Line Art Layering
Now, let's organize the chaos into layers! Separating key aspects like hair, clothing, and accessories grants you great control over each element's line art.
One layer per object is ideal for complex designs, but avoid getting lost in the sea of layers!
This is all for now, i really hope i was of some help for you! until the next time, bye!


コメント