6 WAYS TO USE A LIQUIFY TOOL
hbxsghamx
INTRODUCTION :
hey guys in this tutorial I'm gonna talk about the new feature of clip studio paint that is the “LIQUIFY TOOL“ . First , I'll talk about the liquify tool , different modes available and then I'll move on to 6 different ways we can make good use of the liquify tool so let's get started .
[NOTE : MAKE SURE YOU HAVE THE LATEST UPDATED VERSION OF CLIP STUDIO PAINT OR ELSE YOU WILL NOT BE ABLE TO ACCESS LIQUIFY TOOL ]
Watch the video for better visual explanation.
WHAT IS LIQUIFY TOOL?
Liquify allows you to distort parts of the image and manipulate them by simply tracing it with a pen .Basically it allows you to correct and change your illustration by using modes like pushing and twirling without having to redraw it or losing quality . Which makes this a powerful tool .
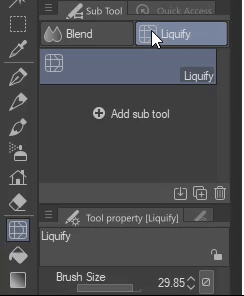
LOCATION OF THE LIQYUIFY TOOL : You can find the liquify sub tool under the blend tool in the tool palette .
If you want you can just drag it and add it to the tool palette for easy access
LIQUIFY MODES:
In csp , we’re provided with 7 types of liquify modes which can be accessed under the tool property
PUSH
EXPAND
PINCH
PUSH LEFT
-PUSH RIGHT
TWIRL CLOCKWISE
TWIRL ANTI CLOCKWISE
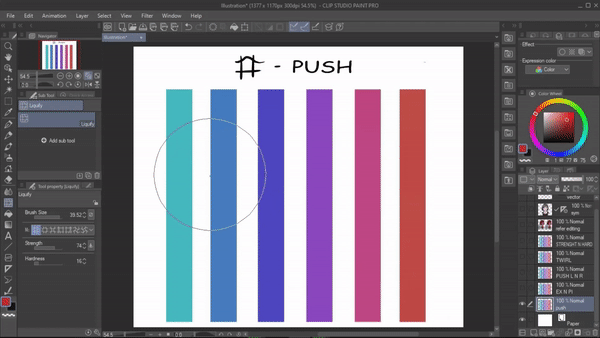
--------Push will deform the traced area and move your pixels in the direction of your stroke . The larger the size of the brush the more pixels you move .
---------------------------
EXPAND pushes the surrounding area away from the stroke making it expand outwards giving us the bulging effect .
PINCH Shrinks or sucks the the picture towards the center of the brush

[NOTE] Both expand and pinch are counterparts so while you're using expand you can click on "alt" key and you're brush will switch to pinch .
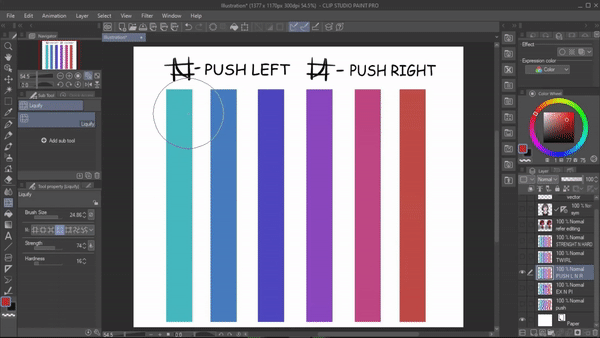
----------------------------------------These features move the pixel to left or right with respect to the direction of selected tool . Again since these two are counterparts you can switch between them using the "alt" key
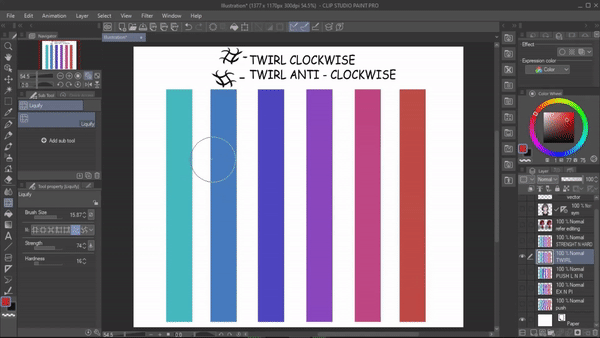
-------------------------------------------------------------------TWIRL Twists the pixel and creates a spiral effect in clock wise and anti clock wise direction . You can switch between them using "alt" key.
LIQUIFY TOOL PROPERTIES :
IN LIQUIFY PROPERTIES WE CAN ADJUST SIZE, STRENGTH AND HARDNESS
1. SIZE : Using this we can adjust the size of the brush
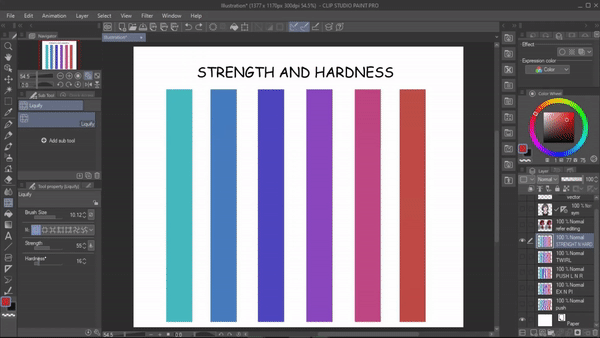
2. STRENGTH : The lower the strength the lesser effective is the liquify pen and the higher the strength the effect is much stronger .
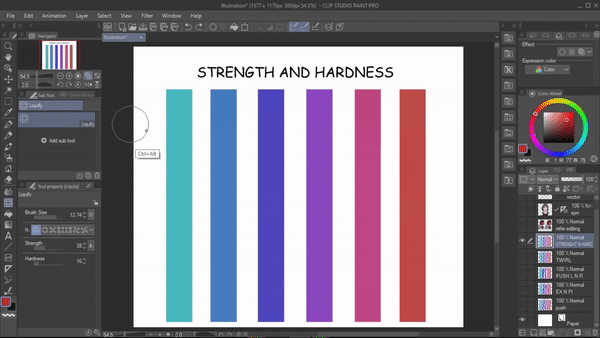
3. HARDNESS : when the value is low we get a much smoother result with the effect targeting more on center and when the value is high , the target is around the brush giving us a much sharper result .
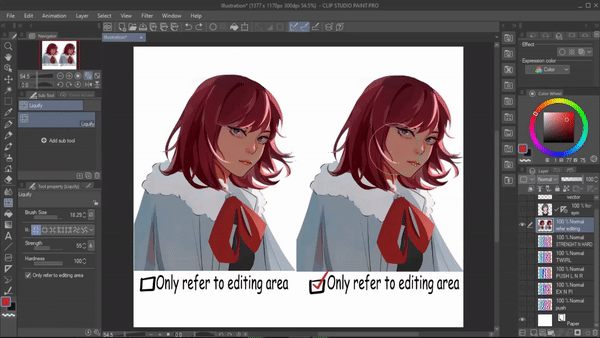
4. ONLY REFER TO EDITING AREA : When enabled this allows you to use the liquify pen more accurately especially when you are working with a large image but this might be a bit hard on your hardware making the process much slower so I recommend to enable it only when you have a larger image to manipulate and avoid it during small manipulation.
[NOTE] If you cannot find the " only refer to editing area" option .
click on the " settings" option available under the tool property .
A " sub tool detail " dialogue box will appear .
Under the liquify option , enable the eye icon on the "only refer to editing area " option .
Now the option will appear on your tool property .
-------------------------------------------------------------------------------------------[NOTE ]
- WE CAN USE LIQUIFY TOOL ON SYMMETRY RULER , giving us much privilege and making the process easier .

- WE CANNOT USE LIQUIFY TOOL ON VECTOR LAYER .
------------------------------------------------------------------------------------------Now that I have talked about the liquify tool let's move on and discuss the different ways we can use them .
1. CHANGING FACIAL EXPRESSION :
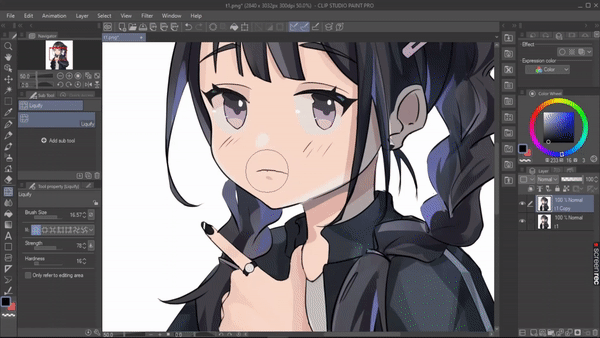
Using liquify push we can change the facial expression of an already drawn character . So I'll show you how we can do that. first I’ll made a copy of the image so that we can keep the original
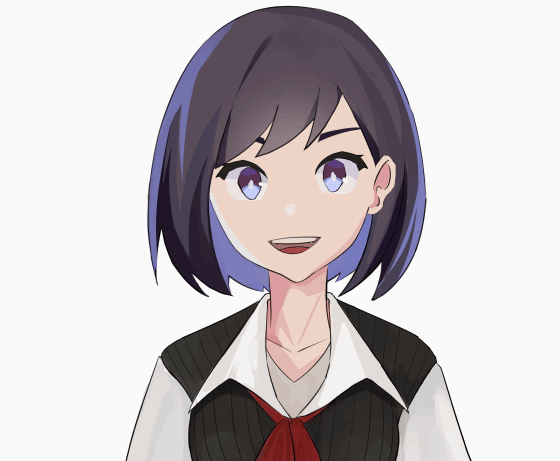
Here the character looks quite dull so I want to change her expression . For that I'll be using a push liquify pen . While doing this make sure the pen size is not too big so that it doesn't disturb other areas of the face or use a selection tool so that you can select an area and manipulate it without disturbing the other areas . I'm also gonna make some changes in my eyes using liquify pen to create a cheerful expression .
Result :
Now as you can see the character's expression looks much more cheerful . We can create many other interesting expressions with this so make sure to try it out yourself .
-------------------------------------------------------------------------------------------------------
2. DYNAMIC POSE :
This is a panel from my comic if you look at the pose of the character it is good but we can make it much better using liquify tool we can emphasize foreground from the background and making dynamic poses
and for that I'll first disable the other layer and duplicate only the character layer . I'll be using the EXPAND and PINCH liquify tool here .
Using expand I will increase the size of the area closest to the viewer's eye which is the leg area and pinch the area closest to the vanishing point which is the upper body . This creates an illusion of perspective by changing the proportions of your subject quickly
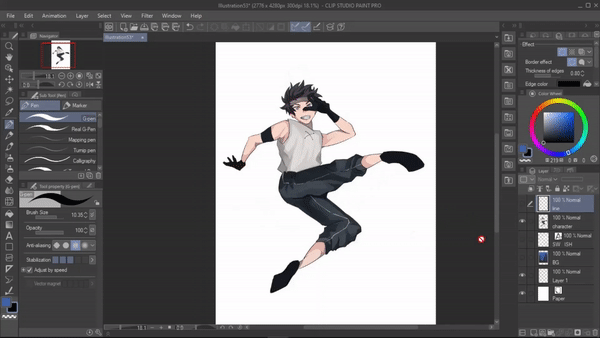
Now if we look at liquified image the pose looks better than before
3. ELEMENTS
Using the twirl liquify tool we can create our own unique elements which can be used for your fantasy artworks .
For that first using a pen I’ll create a random shape on the canvas , now using the TWIRL liquify tool we can manipulate its shape . Here to enhance its shape I go back and front between clockwise twirl and anti clockwise twirl and create unique elements like this . which you can use on your fantasy characters for your comic
Result:
---------------------------------------------------------------------------------------------------------
4. REFLECTION :
You can create a reflection effect on the surface of the water using the push liquify tool . For that copy paste your illustration upside down , now simply using a push liquify tool I'm gonna push the edges of the illustration creating this wavy pattern to indicate water flow .I will repeat this process all around the illustration . Lastly, to wind up I'm gonna draw some highlights . That's how I create water surface reflections .
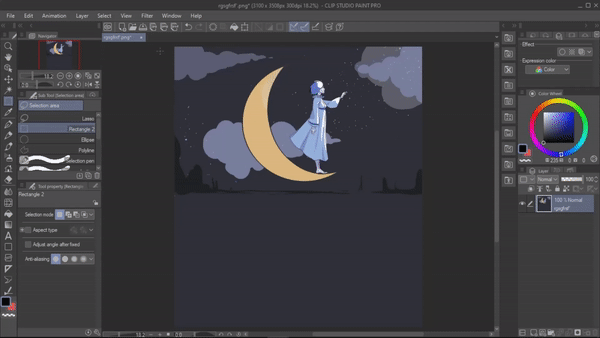
result :
------------------------------------------------------------------------------------------------------
5. PATTERN
Using the liquify tool we can create interesting patterns which can be used for your character’s background . For that i'll start by simply drawing random shapes on the canvas and then using the EXPAND liquify tool I'm gonna keep on pinning it in a single place ( the effect will be better If you adjust its strength to 90-100) and it will automatically create this kinda interesting shape . I'll repeat the process in other areas too . Not only expand but other modes also create interesting patterns so do try them out .
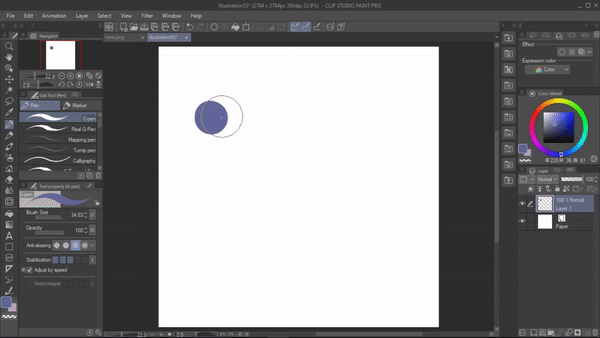
result :
------------------------------------------------------------------------------------------------------
6.ANIMATION :
Using liquify we can do very simple animations like this . Instead of drawing each frame we're gonna use a liquify push pen and make these movements. Even if you have no knowledge in animation you can still do this .
PREPARATION. :
- we will need an illustration where we have the hair and the face in separate layers .
-Now we’re gonna create a new animation file with 15 frame rate and 24 playback time .
-copy paste the hair and skin layer
ANIMATION :
First I'll animate the hair .
- In the animation folder , create new layers and paste the hair on every layer .
- Create a new animation folder where we're gonna draw the rough animation of hair movements .
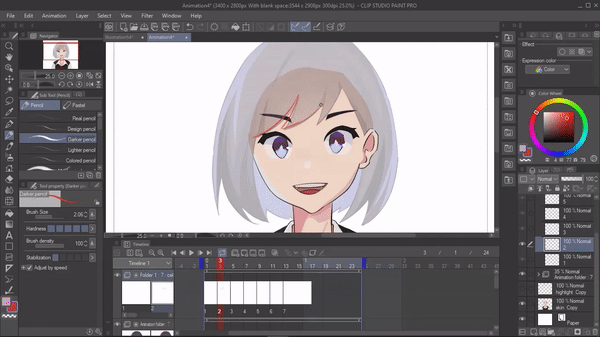
- Now using the rough animation folder as guidline we can start pushing the hair using the liquify push pen .
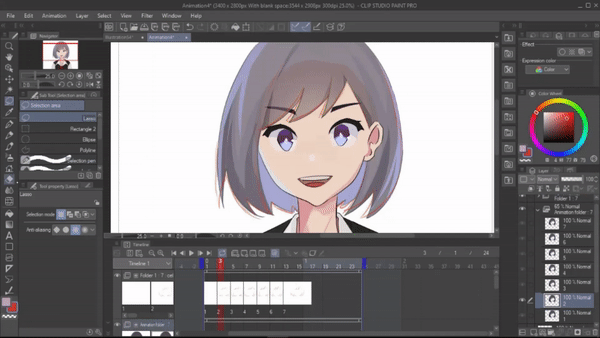
-I'm repeating the same process in other layers . (note) make sure u fill color in the gap that u have after pushing .
with that we're donw with animating the hair .
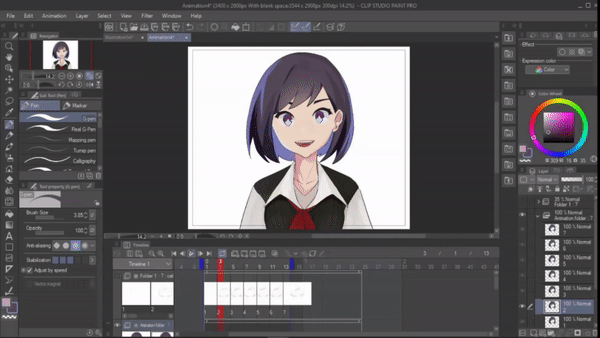
- For the eye I'm gonna copy the skin layer first and erase out the eyeball area .
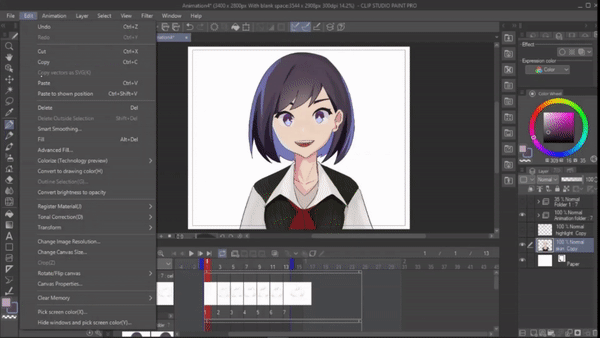
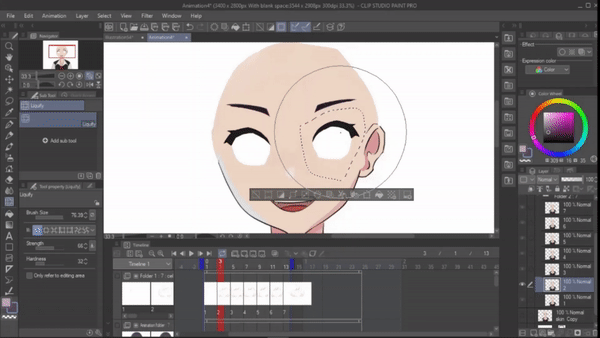
Now I create a new animation folder and paste the face without the eye layer on every layer
-Lastly using the liquify push tool I'm gonna push the eye to create movement .
- Repeat the same procedure in other layer
FINAL RESULT :
---------------
And that is it for the tutorial guys thank you for reading hope this was helpful


댓글