
A. Introduction
Hi everyone, it’s me again ~ (❁´♡`❁)
This month’s tips take me a loooooooooooooong time to prepare because I have some trouble with using the editing video app on ipad, so sorry OTL.
This time, I wanna share with you my step to step progress to create an artwork. Including some tips of mine to searching references, color correction, etc.
I wanna say thank you a lot for every comment in my last tutorials, but I realized that we can’t tag each other so if we may miss the reply. So if you have any questions, you can direct me on my instagram @tokyolondon, or leave a messenger to my facebook page: Tokyo London. I’ll link it below:
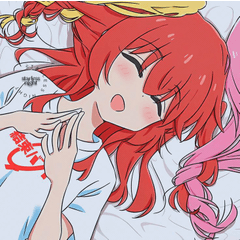
And, I specially want to say thank to my friend @LindaEvans, who have allowed me to use her commission to record this painting process. In this video, I was drawing her (cute cute cute cute cute shota boy) mascot. O(. ≧▽≦ .)ツ
So, let’s get started!
B. Speed Painting
Here is part 1 of the speed painting. In this video, we go through 3 step:
- Sketching
- Color Base and Correct Color
- Painting.
But it does take time to watch it so I’ll leave some descriptions about each step below. (❁´♡`❁)
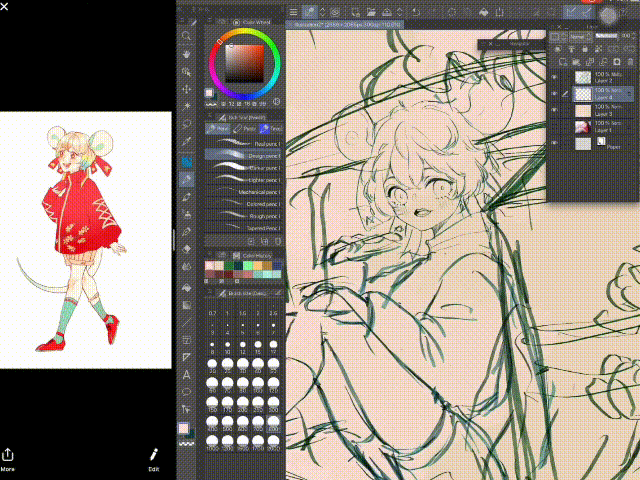
C. Sketching

This was a commission of mine for @Linda Evans, draw her mascot so you can see I use her own design as a reference to drawing this. Every time I do commission d=for my client, I try to dedraw their character in my style but still can be recognized he or she belongs to my client.
There is a tips for it (also for creating fanart):
First, write down a list of character design, including:
Age:
Body shape:
Character (personality):
Character’s characteristics: hair color, eyes color, skin type, clothes design, character’s color palette.
References for details:
Secondly, pay attention to describe the characteristics of the character while you draw. Use this character for example: he has a “shota” body shape, blonde hair with an ombré at the tails of it, he also has a mice ears and tail, and he has a red eyes color.
In the sketch step, it only can show the body shape and some design of the character, but nevermind, we still have the next step.
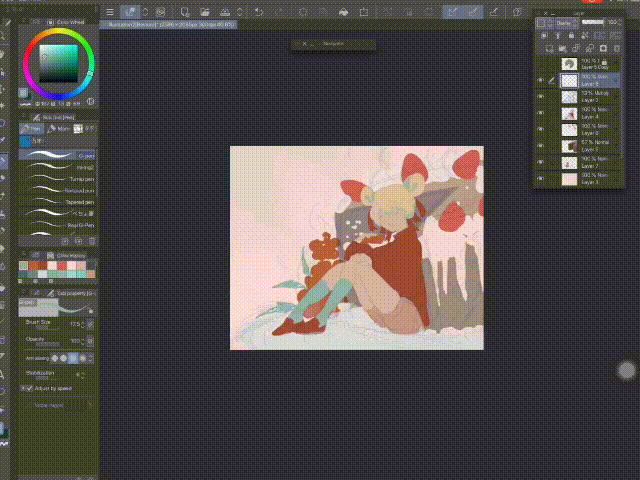
D. Based Color and Color Correction
After sketching, I create a new layer and put it under the sketch layer, while change the sketch layer into mode [Multiply]. Now use any pen you like to paint the based color for each part.
My tips is, even when you painting, but you can create 2 layers: one for the character, one for the extra details in background to easily edit after.
Next is color correction.
If you are a beginner, sometimes you feel that your color is not “tone sur tone”, some color like it’s not belong to the others in the picture. Using color is something different to “teach” the orther. I am not talking about the color rules, but the experiences using multiple color but still looks good.
I am still not good at it.
So here is my tips to make it look better.
After trying to pick some colors that looks good together, create a new layer with the mode [Overlay] and fill it with a solid color.
It can be any color tone you like, but remember don’t choose the brightest one, or some color too bright or too dark. I usually use the violet tone to “Overlay” it. If you haven’t satisfied with it, try change the color, using the [Hue/Saturation /Luminosity] to change it easily, until you satisfied.
E. Shading

Create a new [Multiply] layer and start shading. When I am painting, I usually do it to make sure all the color is harmonious together. Use one or two color (for me, it’s usually is pastel violet and blue) to shading to make it have more hue.
And do the same thing with an [Overlay] layer to add some shines to your picture. My tip for choosing the overlay color is not to dark, not to bright, it usually is a little bit dark orange-yellow.
F. Painting Detail
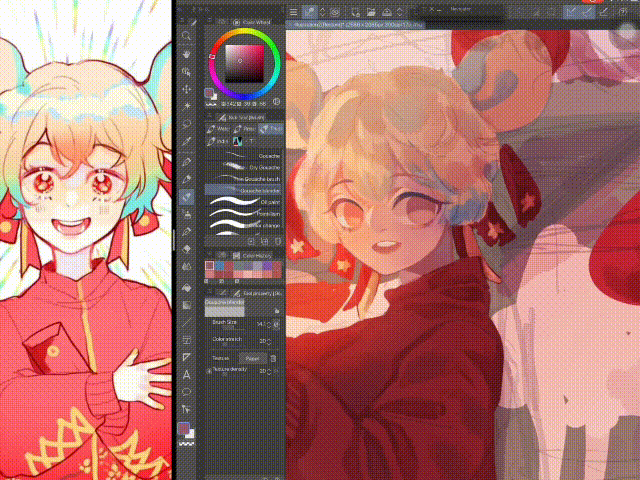
I always start with the face. And I still using the basic gouache brush of CSP to paint it.
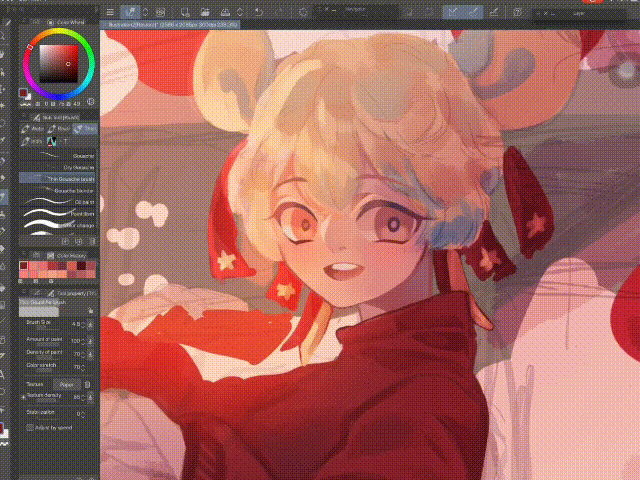
Be patient, paint the details little by little, based on the color we have before.
ᕙ(⇀‸↼‶)ᕗ ᕙ(⇀‸↼‶)ᕗ ᕙ(⇀‸↼‶)ᕗ

G. TIPS for Using References
Sometimes when you get stuck because don’t know how to draw something, let’s use a reference.
I really like search for reference on Pinterest. Try to search things in English, it gonna show you more results, because it’s international 😂
There is another app I have been used. It called Sketchfab. You can download it on Appstore for iPhone or iPad. I have no Android devices so I am not sure CH Play have it, so sorry.
But this app is amazing! AMAAAAAAAAAZING!
It have a ton of 3D thing!
You can search and choose one thing you like then rotate it in any angle!
I know CSP already have 3D subject, I use it too and I love it, it’s so convenient. But if there is something haven’t have in the CSP list, you can try to find it here!
H. Conclusion
So after these step, you can see my results here. O(. ≧▽≦ .)ツ
It haven’t done yet but I’ll be back with the next part: Painting details and Background soon. I am so sorry for not finishing it on time for you to see the complete picture, but I hope these TIPs work for you.
Thank you so much for reading my Tips. Keep in touch, find me on my Instagram of Facebook page, I’ll answer EVERY questions, comments, of even just chat with you.
Thank you, love you guys. (❁´♡`❁)
Users who liked this post


Comment