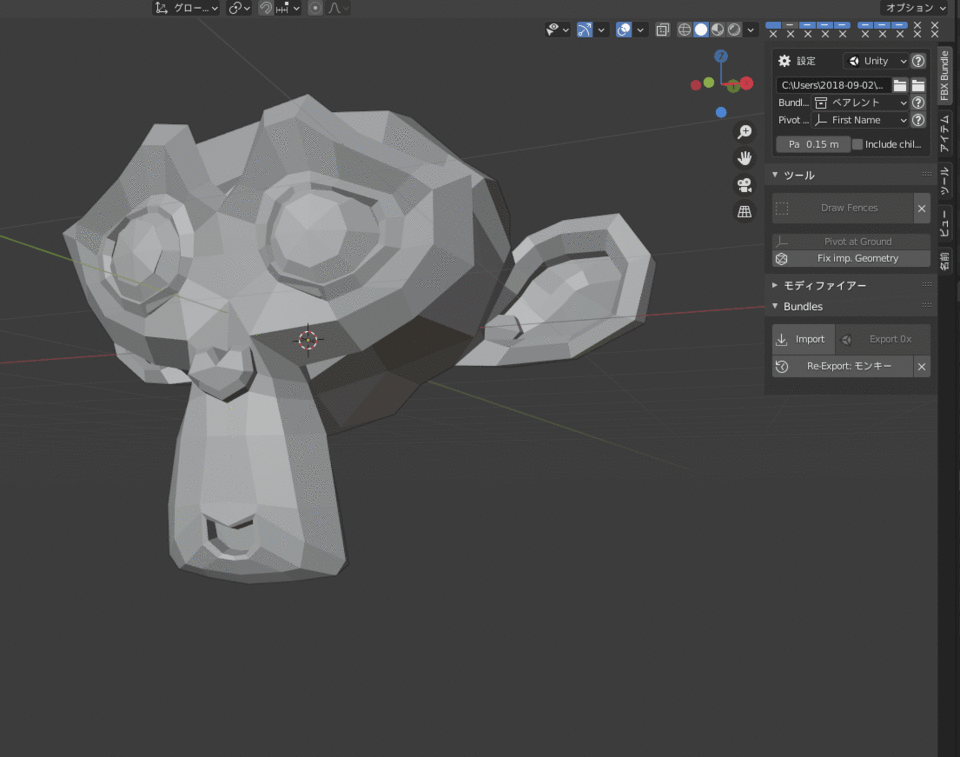
BLENDER → CLIP STUDIO_1 (origin setting / mesh direction)
When you move an object in Clip Studio, the object moves relative to the position of the origin (pivot).
Here, we will introduce some methods for moving the origin and the position of the origin before bringing it to Clip Studio in BLENDER.
🌹 Try using the FBX Bundle's ground pivot feature.

1. 1. There is a function called "Pivot at Ground" in the tool item of FBXBundle, so if you use this for the selected object, the origin will be set below the object.
2. 2. Next, move the object selected by "Selection to cursor" with SHIFT + S to the position where the Z axis in the blender is 0 based on the origin position.
🌼 Use Set origin to selected add-on

An add-on that assigns the origin to the center of the selected face or vertex.
It is set by SHIFT + CTRL + C.
This is a useful add-on when you want to rotate an object in any part.
- Operation has been confirmed with Blender 2.9.
🌸 Specify empty as a parent and use it as the origin reference


If you want to move multiple objects at the same time, create an empty and make it a parent of the objects.
In Clip Studio, when you move those objects, the empty that you made the parent becomes the reference of the origin, and if you select the empty that is the parent, you can move the objects under it at the same time.
● When it is not inverted but it is inverted by Crysta
・ Even if there is no problem with the mesh direction with the blender like this
If it is in the minus direction on the blender scale, it will be displayed in an inverted state in Crysta.
・ In this case, after adjusting the scale with a blender,
Inverts normal.


Comment