
Hello! In this article we will learn How to animate illustrations in CLIP STUDIO PAINT easily with a very simple example.
This way you will lose the fear of doing 2D Animation in case you have it: D
We are going to take a simple illustration to transform it into a simple animation, to export it as a .gif and share it on social networks.
The important thing is that this illustration is a loop or an animation loop, therefore, we will concentrate on doing something simple like animate a blink.
In addition to adding some extra details that will enhance our work.
What we are going to do
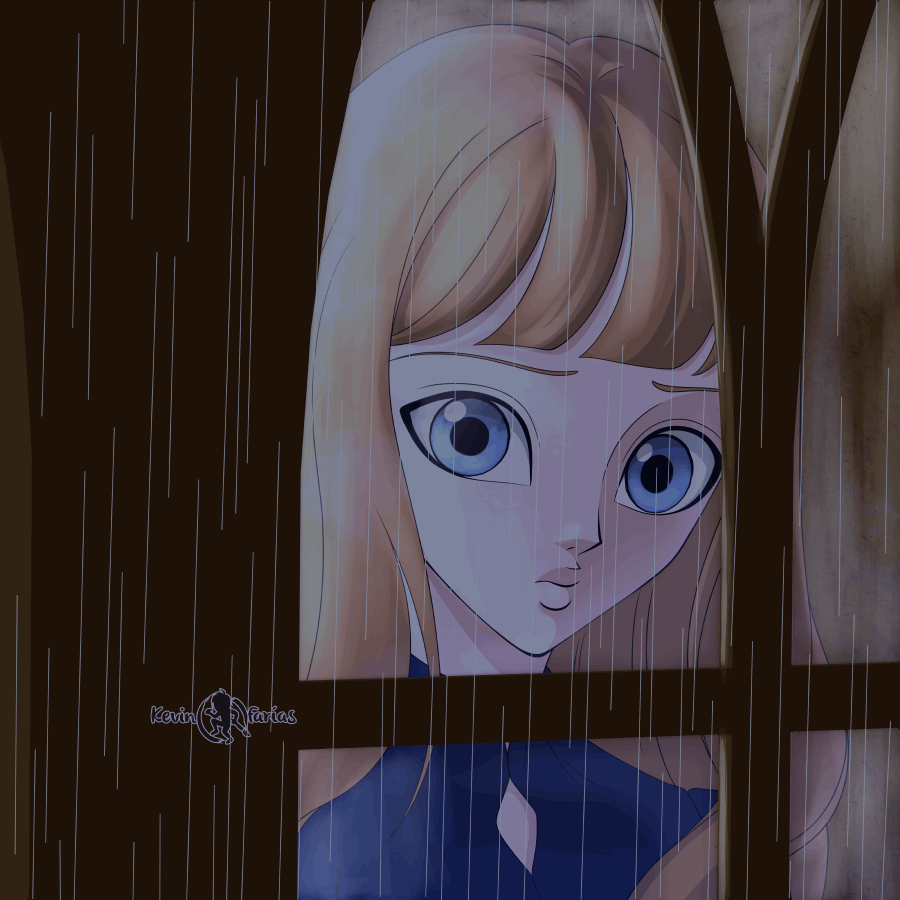
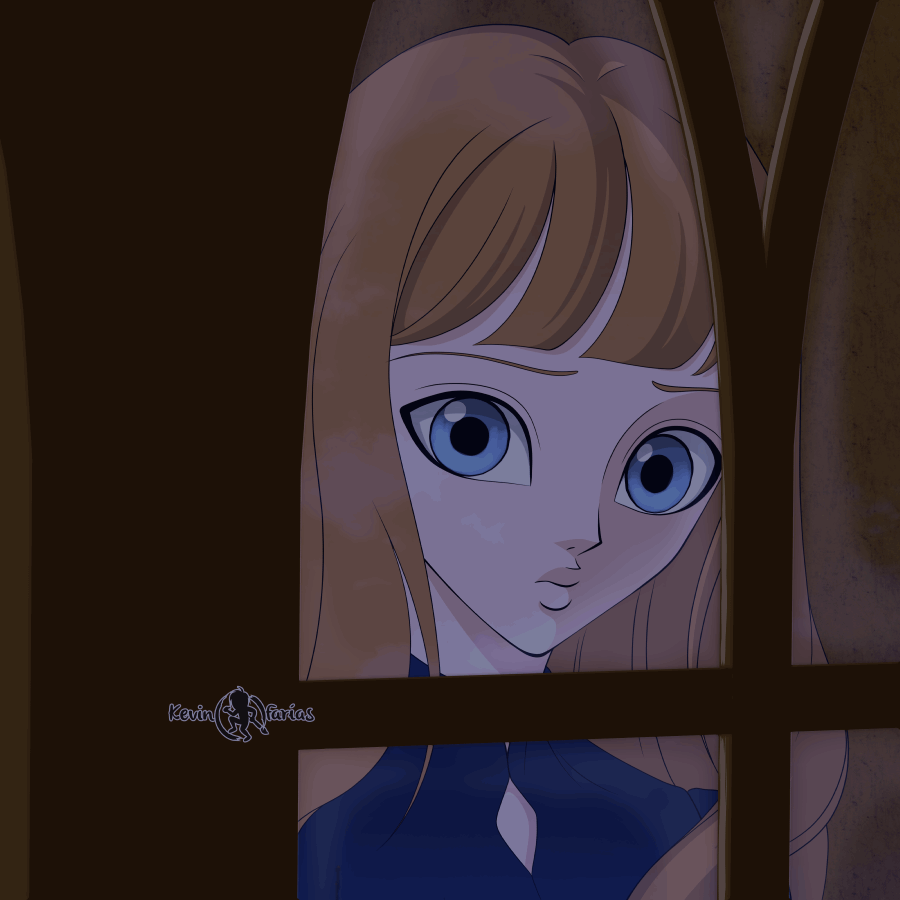
Let's move on from this illustration
To this Animation:
But we will work from the following illustration, this is how I show you how I add all the details of rain and shine, which you will surely be interested in knowing.
I know that everything is much better understood through a step-by-step video, for the same reason I want to share with you my super tutorial that is in Spanish but subtitled in many languages.
Activate the subtitles and search for your language, you will surely find it;)
VIDEO: How to animate an illustration in Clip Studio Paint
What do you think about the video?
It was a fairly detailed step by step for you to do something similar with some of your illustrations.
Now, we go with a step-by-step summary of the main aspects of the tutorial:
Tutorial Summary
01. Save a .clip copy of your illustration
It is important to keep a copy so that we can keep the illustration project and the animation project in different files.
02. Separate layers of the scene
It is important to separate the main elements of the illustration so as not to get complicated in the animation, each element will be a different layer.
For example: the background, the window, the character, etc.
03. Create a timeline
With the following settings it is enough to make a simple animation:
24 Frames in duration (although it will finally be 12 frames)
8 frames per second
So all CLIP STUDIO users can follow the steps, both those who have the PRO and EX version.
04. Animation of the eyes
To bring our characters to life we can simply make a blink animation and it will work very well.
And by activating the other layers again we obtain the following result:
Although it works, I want to go further, that is why we will add the following elements:
05. Simple animated rain
We will add a simple rain animation that has 3 different drawings.
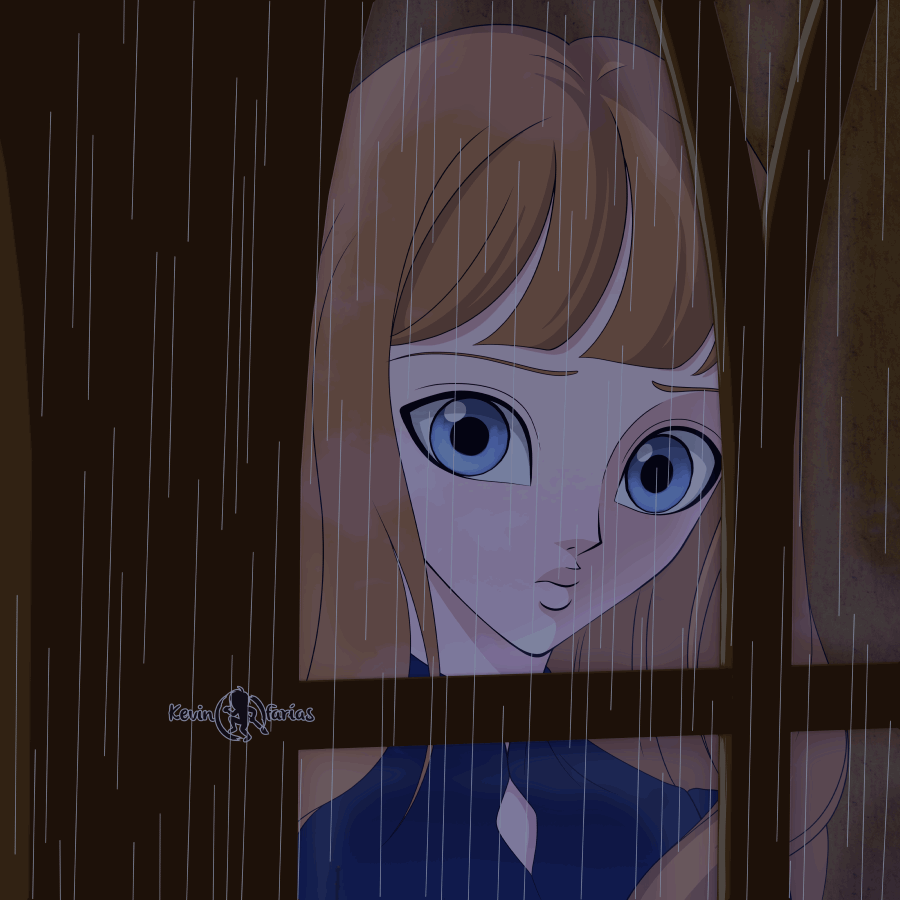
06. Add brightness to the scene
One of the effects that I love in CLIP STUDIO is the layer with the Add (Brightness) blending mode, I love what we can achieve by combining the following:
- Rasterized layer in blending mode Add (Glow) + dark color + watercolor brush.

And we can make it look like this.
07. Export your animation as .gif
At the end of our animation, we can only export it as a gif to be able to share it on social networks.
08. Result: ANIMATED GIF

I hope this article helps you and encourages you to bring your illustrations to life.
I leave you a greeting, that you are very well and see you in the next Tip;)
Users who liked this post


Comment