Used in thick coating filter processing
Preface
Hello everyone!
This time I will introduce you to the techniques of using filters in paintings.
Demonstration picture 21X21CM, pattern resolution 350.
==CLIP STUDIO PAINT PRO Ver.3.0.2 version==
This demonstration picture is a work that combines grayscale coloring and impasto.
You can make full use of the built-in filter function of CLIP STUDIO PAINT.
Add richness or direct stylization to your works,
The following are the functions and effects used in this demonstration.
A rough breakdown of when to use filters is during drawing and before finishing.
When to use filters
On the way to drawing:
(1)Overall picture
Before drawing the background and atmosphere,
I will adjust the feeling of the subject (character) in the work,
(The painter should give the final feeling to the picture).
tone curve
Steps: Layer-->New Tone Compensation Layer-->Tone Curve.
Description of the above picture:
Use the Tone Curve function,
Modify the position of the node,
It will change the color and brightness of the overall image.
If the adjustment is completed,
There is still a gap with expectations.
Two other functions can be used to enhance the adjustment.
(brightness. contrast or hue. chroma. lightness)
(2)Detail processing
Because the demonstration diagram is drawn with thick coating,
If you use the brush pattern style,
It is incompatible with the style of my own work,
Filters (Gaussian Blur) can be used to process details.
▲Gaussian Blur
Step: Filter-->Blur-->Gaussian Blur.
The demonstration picture is used on the weeping cherry blossoms in the background.
Adjust Layer Mode and Transparency Concentration.
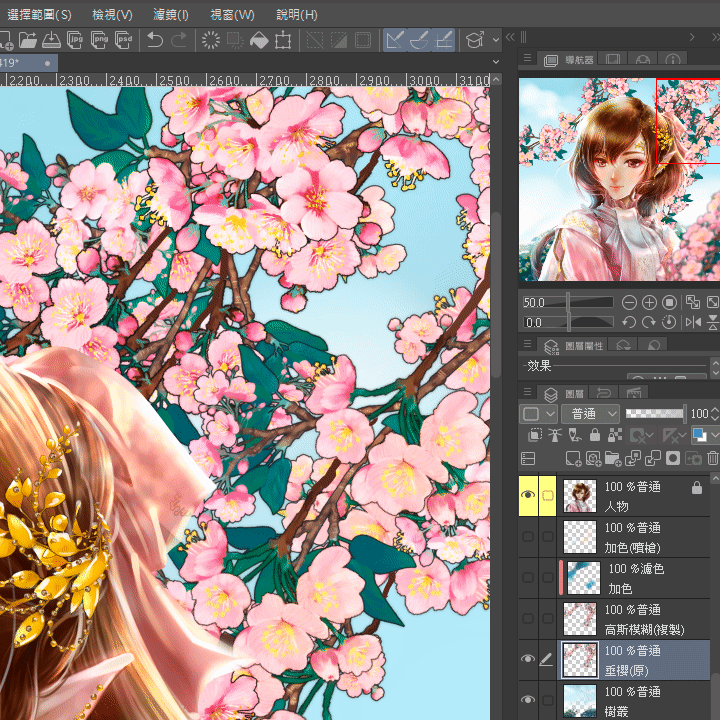
The material brush in the material library (Weeping Sakura),
Fine parts on the brush will soften the edge lines,
Use Layer Mode and Transparency to blend into the painting.
Achieve stylistic consistency of the overall painting.
There is no need to add any additional strokes to the background.
Put the focus on the character.
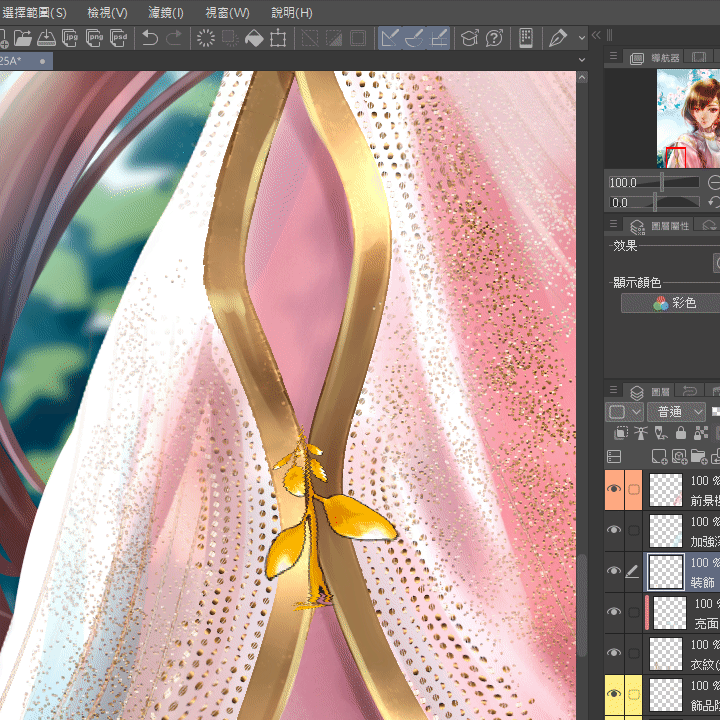
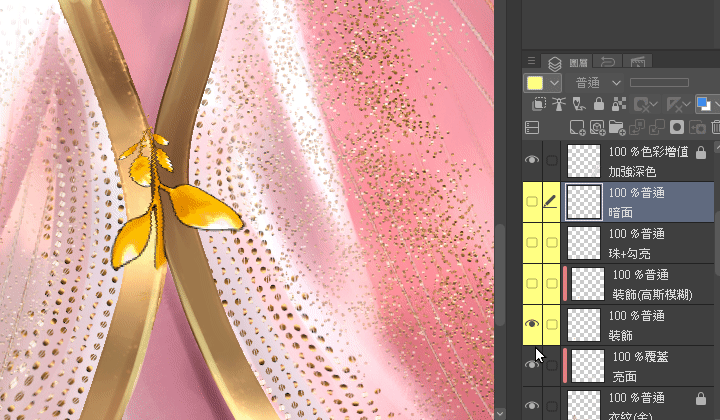
The above is a sharing of the process of applying brushes to clothing details.
where the process combines the Gaussian blur filter,
Plus eraser deletion,
Same as Additional touch-up with impasto brush.
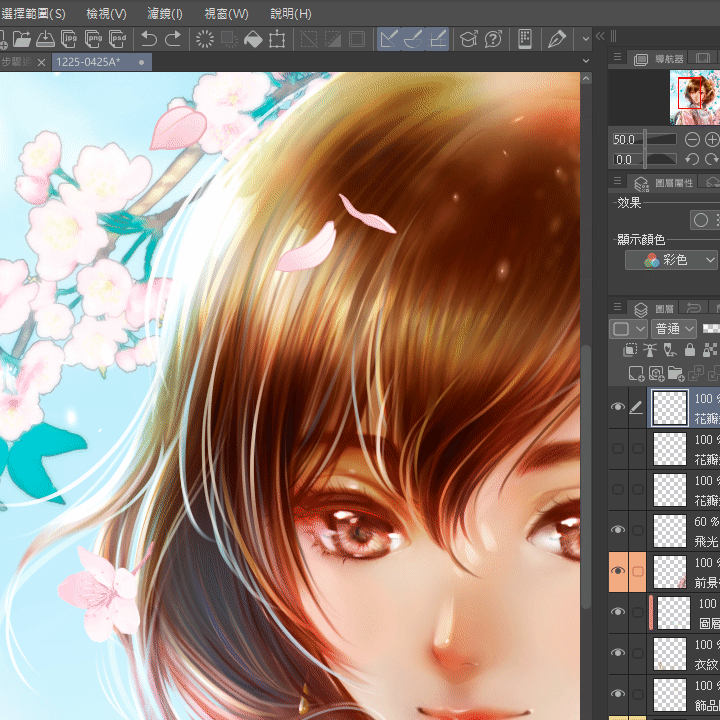
▲Motion Blur
Steps: Filter-->Blur-->Motion Blur.
The demonstration picture uses flying cherry blossom petals,
Use this filter on atmospheric or speedy patterns.
You can also add an eraser to handle transparency.
Before finalization:
▲The color palette is misplaced
Filter->Effect->Swatches are misplaced.
Type selection: radial (use center point),
Move the red X point to eye level.
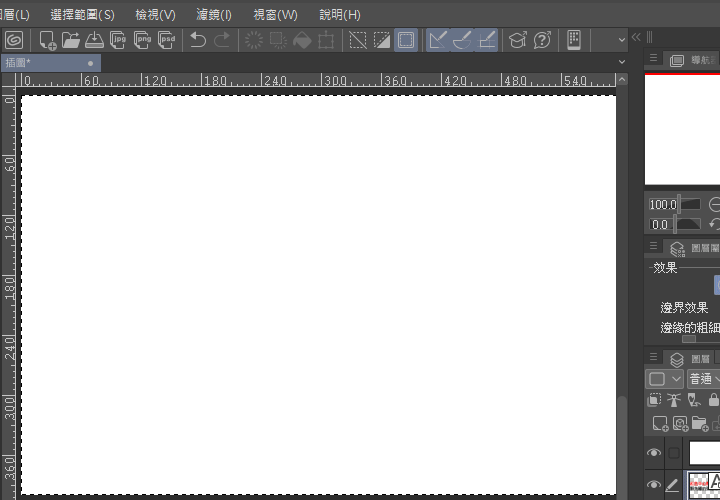
The red center point is the intersection point of the diagonal lines of the picture!
Move the cursor (palm) to the red center point,
You can move the position by changing the palm cursor.
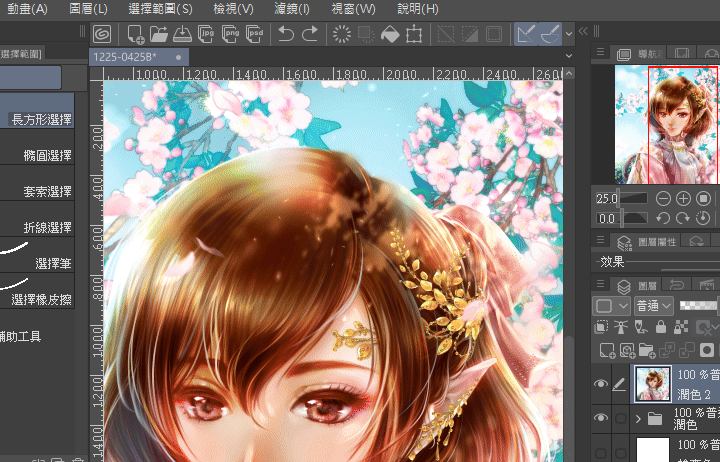
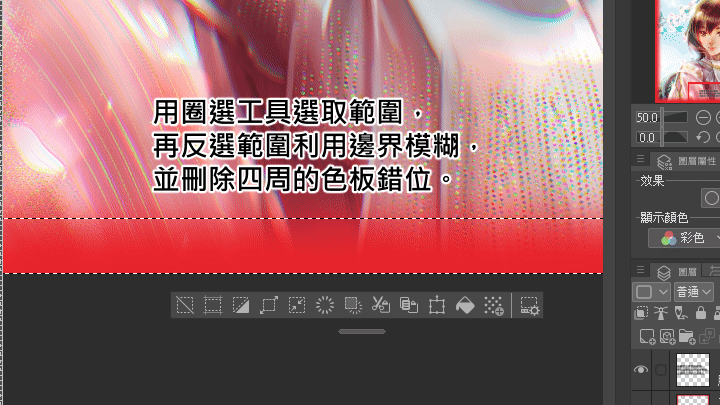
Instructions on how to use the above two stages
Use the circle selection tool to select a range,
Then inverse the selection range and use border blur,
And delete the color palette misalignment on the surrounding borders.
Color plate dislocation can be used to create a three-dimensional texture.
Especially the background,
It can also enhance the way of highlighting the subject (character).
(Can also be used with layer mode!)
▲Sharpening (facial features)
Mostly used in impasto works,
Used to refine the characters’ facial features.
With the selection range tool,
Perform circle selection and fuzzy selection range (floating range),
Then sharpen the facial features.
A. Step: Select the range-->blur the boundary.
B. Step: Filter-->Sharpen.
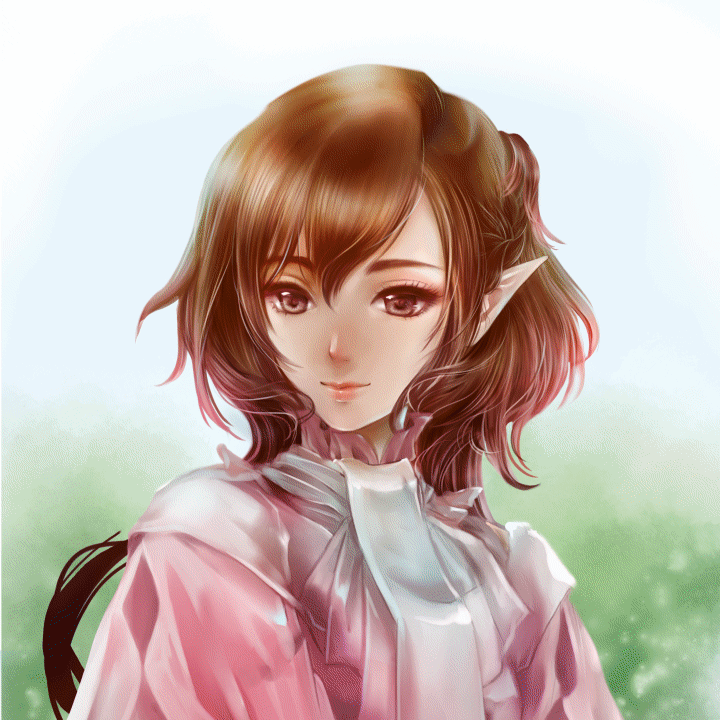
▲Noise (overall)
Create texture without using the paper texture from the material library.
Noise can be used to create texture.
Step: Select the entire range-->Filter-->Effect-->Noise.
Select color mode,
Combined with layer mode (transparency) for final finishing.
Conclusion
The above is a rough breakdown of the drawing process into application areas:
Background/subject (character)/foreground.
Filter categories using ranges in sequence:
Gaussian Blur+Swatch Shift/Sharpening/Gaussian Blur+Motion Blur.
To be familiar with the software functions,
Just use the tools in the software.
To complete a work from scratch,
In the process of drawing, it will be subtle.
Integrate the learning process into your own style.
The above introduction is the filter processing method.
Hope it helps all users,
See you next time!
Library brush information
List of material library brushes used in this article:


Comment