WATERCOLOR ON CLIP STUDIO, WHY NOT?
A. Introducing
Hi guys, welcome to another tips of mine, how is it going?
This month’s theme is so interesting to me, it makes me remember when I start to drawing a long time ago, before I draw it digitally, my favorite is watercolor.
Sometimes I really miss these days and that technique of watercolor so I usually try to do it in digital painting. So this tutorial is about how I often do it when I want to make an watercolor-like digital art work.
So, let’s jump into it now!
B. The Line-art and Based color:
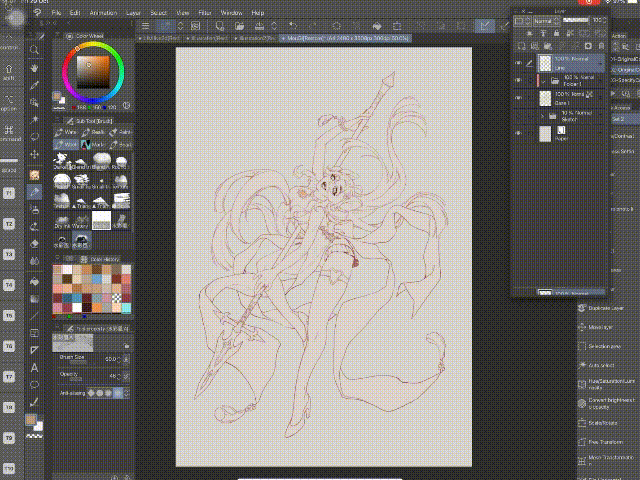
So I have this line-art first for this time artwork:
As you can see, unlike everytime, instead of using black or dark color lineart, this time I choose a light color. The main color of my character is peach pink so I use some darker pink as the line-art.
When I draw it traditionally, I always use a red or pink colored pencil, or a brown ink pen to draw the lineart. Because I want the line art blend well to the watercolor that I use after.
I also use 2-3 different color to draw the line art, and to make it more “traditionally”, I use a pencil brush to line art!
For the layer settings, I do it like a normal way:
Created a “based color” right below the Line layer which is cover the whole part to color. Then create a folder and using [Clipping Group] to it, so all the layer inside it can be clipped to the Based color layer below.
After that, you can change the layer mode of the Line art to [Multiply] to make it blend better to the color one.
C. Top-coat layer:
I got no idea about what exactly it called but the first thing I always do when start color in watercolor is paint a layer of water with a little skin color on the paper, so I did the same thing to that too.
You can start with some point like head, chest, shoulders, knee, tip of fingers and toes, then gently blend it out like you are adding some water on it.
I have found this brush is soooooooooo cool to create a texture and it does feels like I am using the real watercolor on the paper, just like before.
D. The skin details:
Drawing in watercolor is starting from the light to the dark color, so I often start with the skin first. By using a little bit darker color and adding little by little, layer by layer, you can create a watercolor texture to the color,
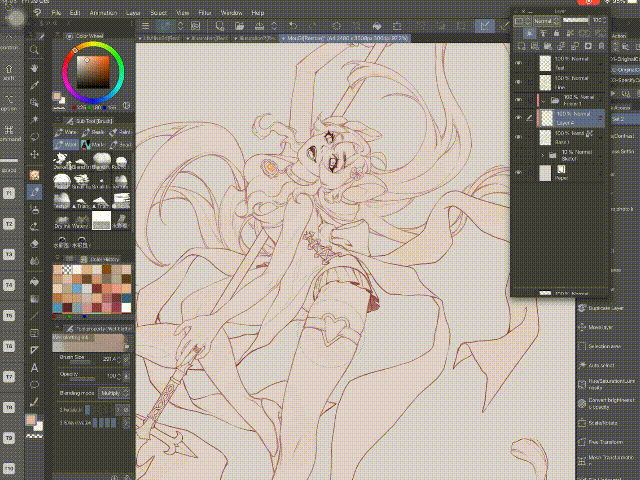
Little by little, I added more and more “layers” of color to the skin.
CSP already have a brush with a multiply mode which each stroke can be multiplied to the lastest one, this is the basic brush that we dont have to download.
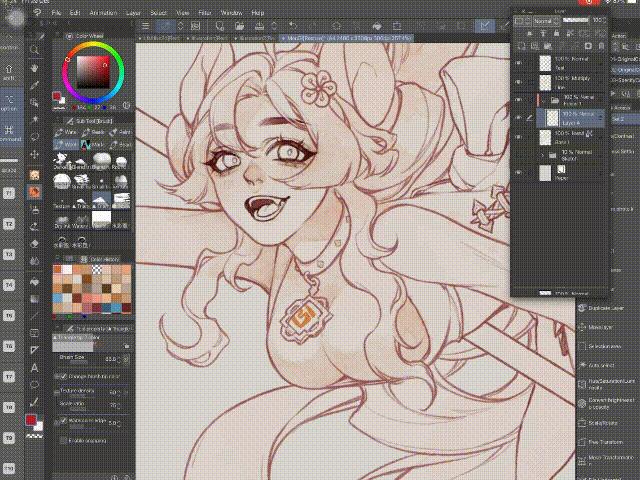
Using a darker color but purple or blue to balance the shading, because I don’t want the shading color too warm.
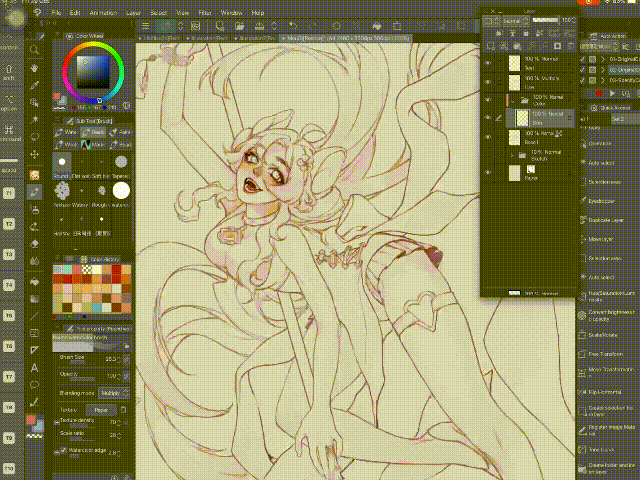
Add some pink or red, or even orange if you like to the part which blushing on the body like cheeks, shoulders, knees, finger tips.
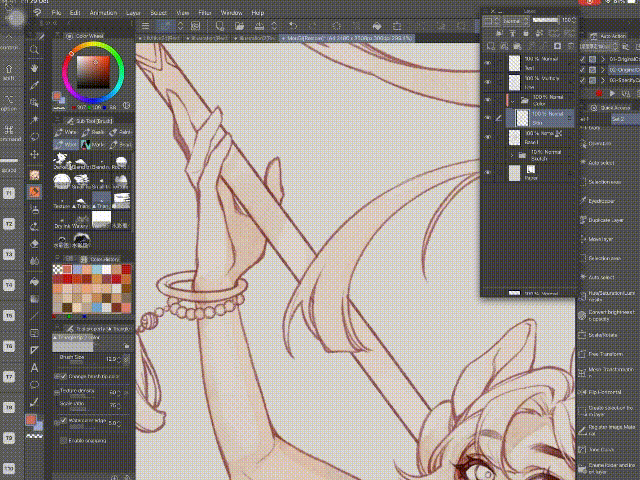
Finally, add another “top coat” to the whole color based part. I think we’ve done with the skin color.
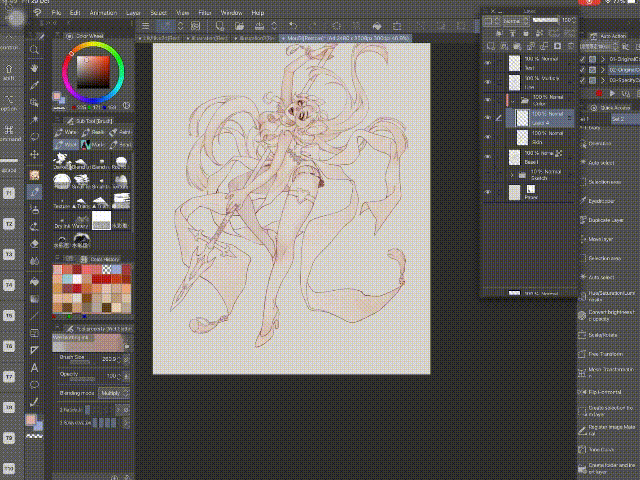
D. Other based color
For other part, I still use the same technique like normal, it’s to create for each part a new layer to make it easy to color and if i need to changes something.
The progress is create the based color, [Alpha Lock] the layer and fill it with the color you want to.
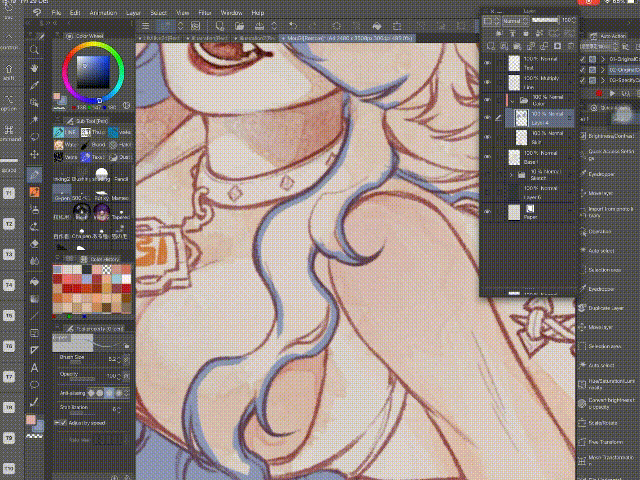
I use a water spread brush to color each of them. All of the brush I use in this tutorial, I will leave it below with the link to download it (❁´♡`❁)
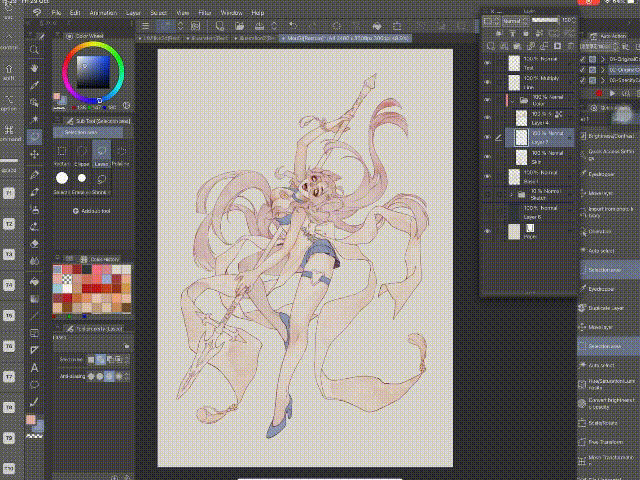
And then you can start adding shading to it like the way you do with the skin before to each part, then we are ready for the effects and some adjustments.
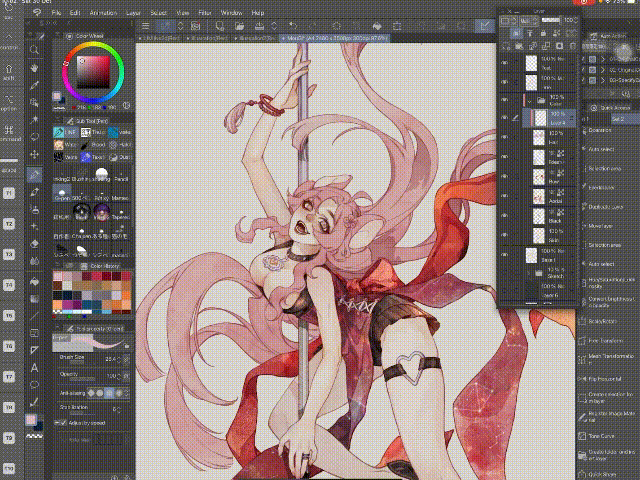
E. Effects and Adjusting
The simplest ways to add effects is to create a new Overlay / Screen layer and clipping it to the color layer below.
I usually use a bright orange color to add some lightning to the color. You can try with light blue or purpil, pink too.
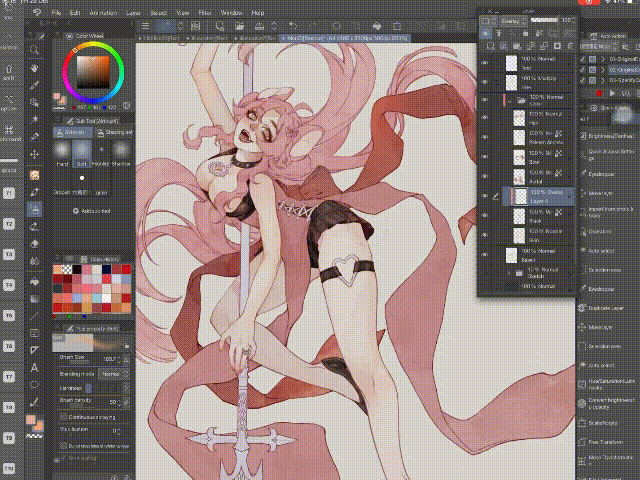
Next, if you’re still not happy with the results, we can adjust it with the [Tone Curve] settings.
Go to [Edit] => [Tonal Edittion] => [Tone Curve] to adjust it. As you can see, I use it quite a lot. This is a convenient tool to quickly adjust your color while drawing. I even make a shortcut on the right box to quickly access it.
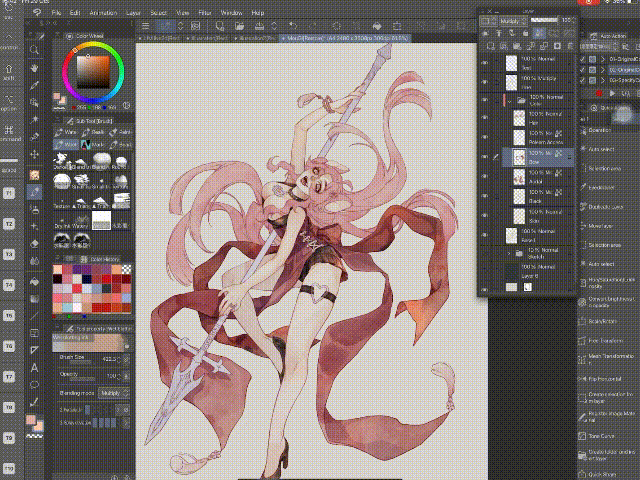
Of course you still can add some art texture to any part you want.
I often do it with a layer of pattern clip to the part’s layer, and using the [Overlay], or [Multiply], [Screen] or whatever mode that looks good on it.
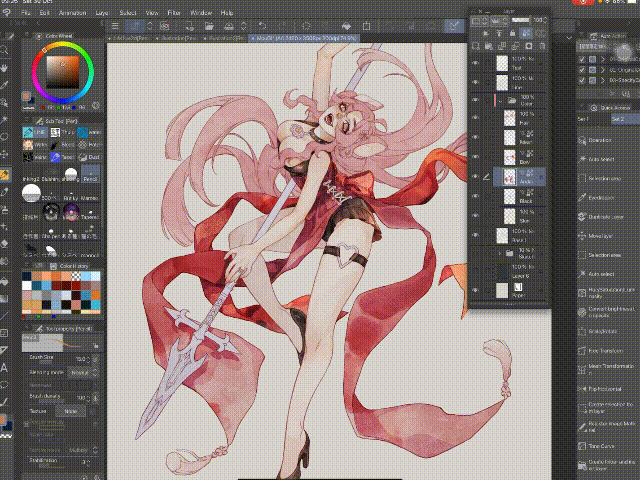
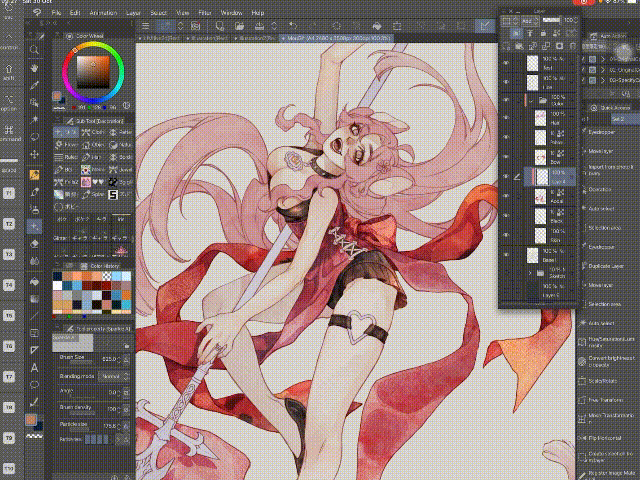
Adding more details like fixing the color of the dress, adding a galaxy and constellation pattern to it by using different layer mode like [Multiply], [Overlay] and [Add/ Add (Glow)] on it. (❁´♡`❁)
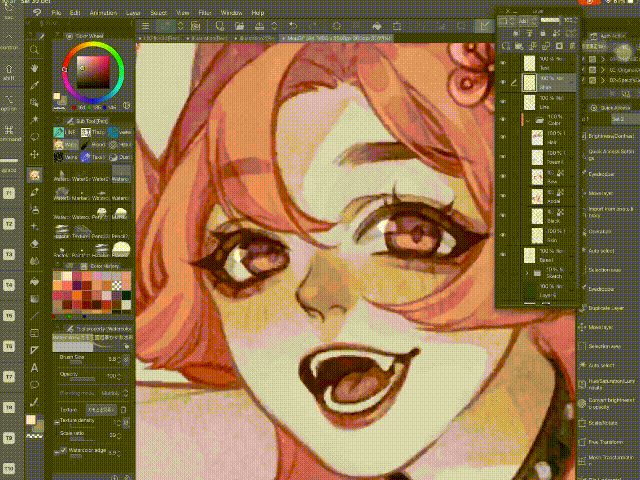
Adding some light effects to the eyes and I like to add some sparkles to make my artwork blink blink.
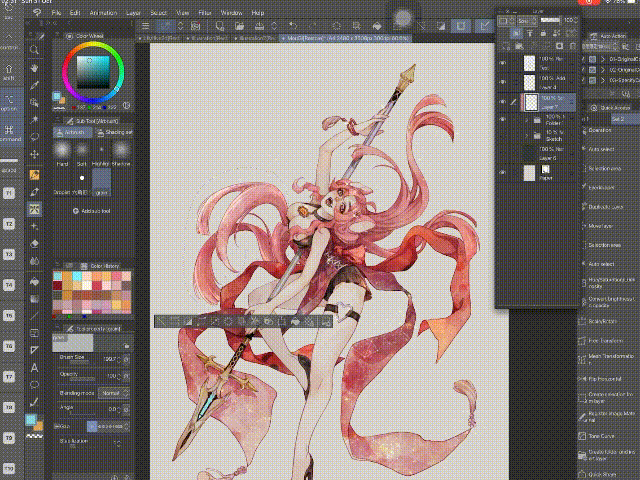
Finally, this step is quite longer.
First, I put all the Line, Based color and the color folder in to one [New Folder].
Then, create a new [Screen] layer and add some “water” to the further part to make it fade to the background.
F. The Artwork
I do add some texture to the background later, and here is the results.
It looks quite similar to the one I used to draw on paper before, since i used to scan it and retouch it by computer later.
Let’s have a closer look! (❁´♡`❁)
You can see, the line-art is blend so well to the color, and I love how similar to the traditional one it looks now. I hope you like it too! O(. ≧▽≦ .)ツ
G. All the brush I used
Here is all the brushes I used for this picture, I’ll leave the download links below for you ^^
H. Speed Painting:
And I do have a speed painting on Youtube as always for you guys to see the progress clearer. Check it out!
I. Conclusion & Thank you
K. Conclusion & Thank you
Hi, thank you for your patience for another long long long tutorial of mine. I hope I have expression my opinion clearly and easy to understand!
Hope my tips work for you ! And if it does, please give me a heart !!!
You can also follow me on @tokyolondon (IG, dA, weibo) or visit my FB Page @TokyoLondon.Artwork
Ah! And here is my vtuber model - Mou. She will be streaming painting and gaming soon! Hope you guys will like it!
Thank youuuu <3


Comentario