
For a video tutorial, here is a youtube video I made of this exact method!
Below is the step by step written tutorial!
This is a tutorial on how to make branches in Clip Studio Paint using decoration brushes.
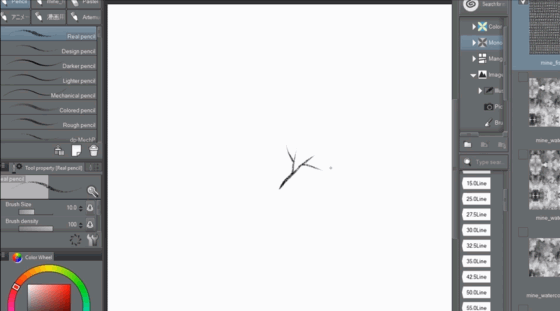
1) On a blank Canvas, go to your PENCIL brush and select it. It is very important that you choose a pencil brush for this. This will help give the branches a grainy texture.
2) On a new layer, use your PENCIL brush to make your branches. (Important Note: If you're going to make these brushes, make sure your LAYER'S EXPRESSION COLOR is changed from COLOR-->GRAY so your brushes can be used for color.
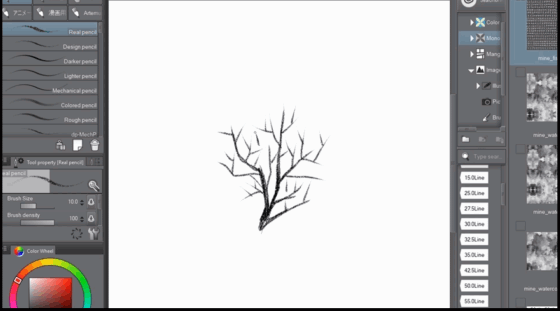
3) Click FILTER --> BLUR --> GAUSSIAN BLUR and use a very low strength blur for your image(I recommend under 6.00). You don't want to make the image too blurry, as it is important for the next step, BINARIZATION.
4) Click EDIT --> TONAL CORRECTION --> BINARIZATION.
This will allow you to control the level of black and white in your image. It can mean the difference between branches with little detail or a lot.
If you have a high strength blur, your image will be blocky (which is why it is best for the tree branch to have a low strength blur).
Here is the difference between high and low strength:
The blurrier your object, the blockier the final result will be.
The trick with the binarization tool is that it leaves white artifacts in the image. This can be beneficial for making each branch stand out, but sometimes you might want to make the branches blend together.
Let's use a brush I made using this tutorial and get rid of the whites (the gray background is
for clarity, in this your image is on it's own layer):
Go to your LAYER tab, click on EXPRESSION COLOR and switch from COLOR to MONOCHROME
click on the BLACK SQUARE until it is the only one highlighted.
Your image should look like this:
Turn off the background and save as PNG file. Reopen PNG file and save as a brush in your assets (this method is easier than just deleting the white artifacts by hand).
5) To make brushes, use the SELECTION TOOL and isolate your image. Then go to EDIT-->REGISTER MATERIAL-->IMAGE
6) Choose a Name you can easily search for. Check the image to see if it is isolated. Then check the box that says "USE FOR BRUSH SHAPE." Then go to ALL MATERIAL-->IMAGE MATERIAL-->BRUSHES to save.
Now, after making your brushes, you can assign them to a DECORATION TOOL. I use the VEGETATION subtool.
Make sure to use multiple different branches to add variation to your image.
EXTRA TIPS:
- White outlines on branches are especially cool for manga backgrounds. And if there are gaps, you can just use the same method in this tutorial to add more details! Just use the pencil tool, Gaussian blur, then binarization! Then add as many details as you want to make your picture pop!
- To add rain, just make a new layer and use the PAINT BUCKET to make the layer gray.
In the LAYER TAB, click the TONE BOX, then in DOT SETTINGS go to NOISE.
Right click to Rasterize the Layer.
Go back to FILTER-->BLUR-->MOTION BLUR and set the direction to 90 degrees. You image should look grayish with black streaks.
Click on EDIT-->TONAL CORRECTION-->BINARIZATION. You can make the image white with mostly black streaks.
MOTION BLUR:
Strength: 41.46
Angle: 90
Direction: BOTH DIRECTIONS
Model: BOX
BINARIZATION:
Threshold: 98
LEAVE TRANSPARENCY UNCHECKED
Put it over your tree as a MULTIPLY LAYER and you're done!
この投稿を「いいね!」したユーザー


コメント