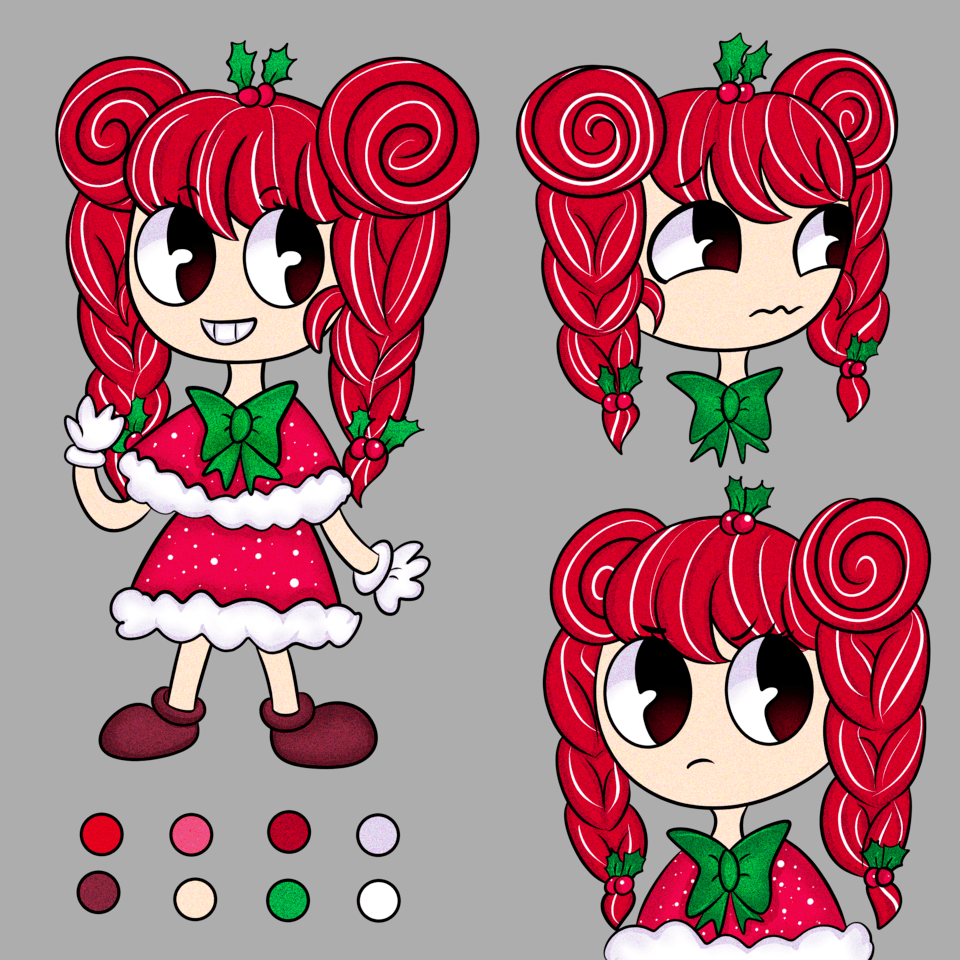
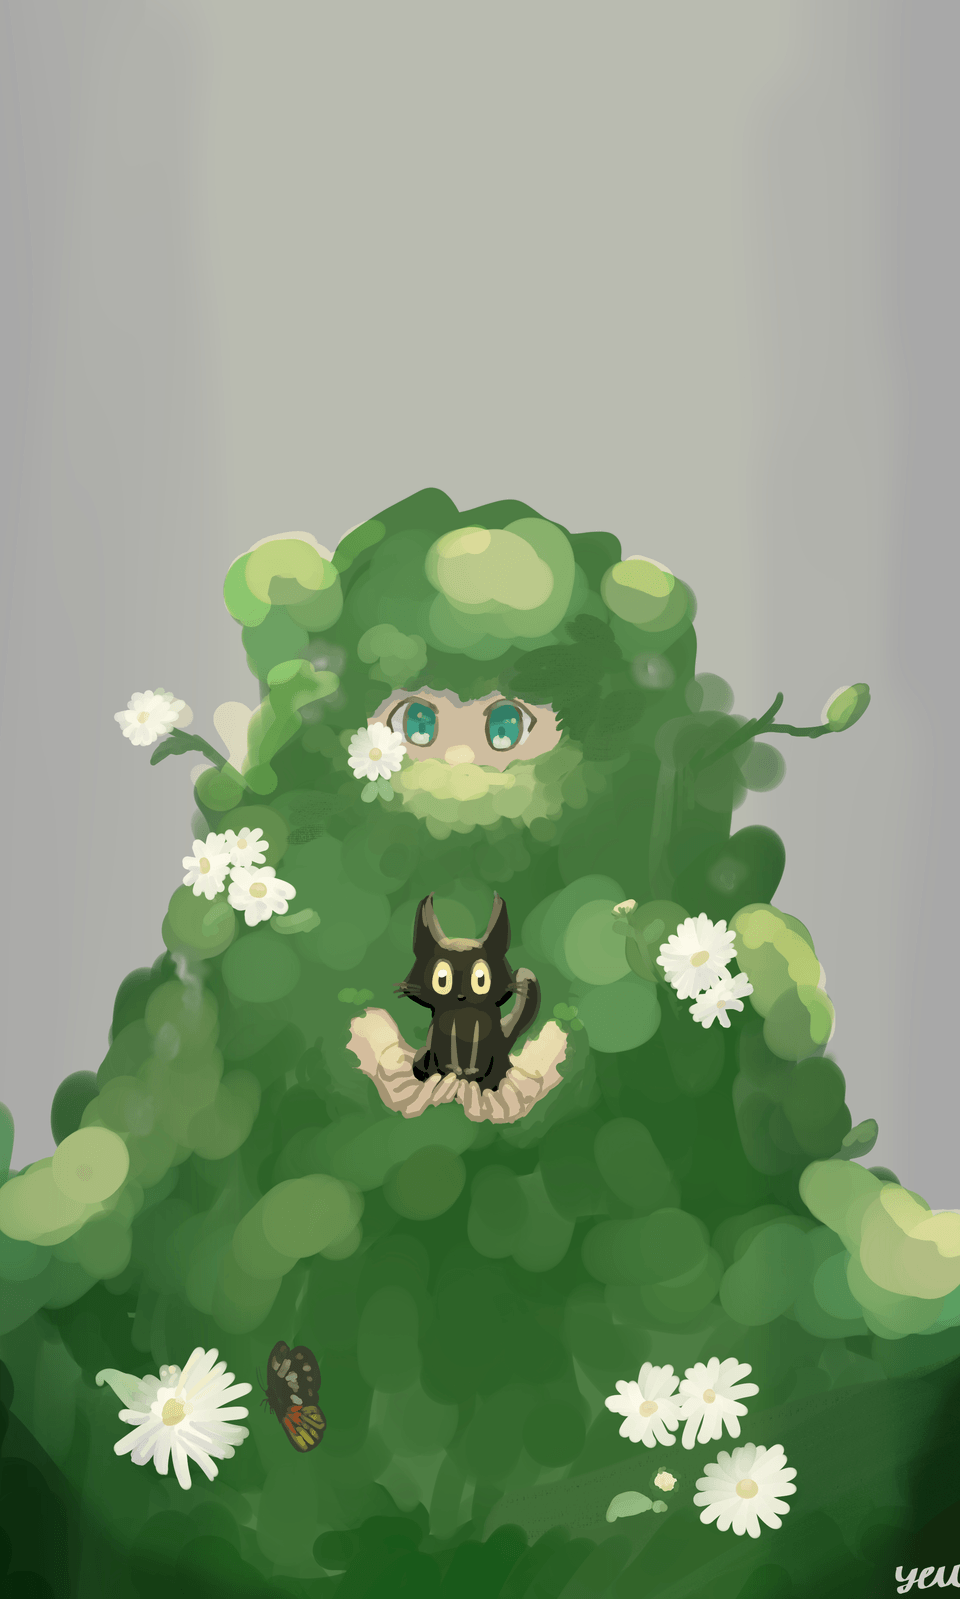
Shading Using Only 1-2 Layers with Blending Modes!
Introduction
Hello! Today I'd like to share my shading techniques that I use for both illustrations and for coloring panels from my comic. It's quick and effective, and even though it saves a lot of time (and layers!) it still looks good. All you need are the blending modes MULTIPLY and SCREEN. Those are my go-to blending modes for almost all the shading I do. In fact, the first technique I am going to share only uses multiply. And only on one layer...?
First, you need to have ready-to-use lineart + flat colours. Above, I've attached a .png of the drawing I used for this tutorial, which is a character from my comic! Hopefully it can be downloaded as a transparent file, but if not, you can just use the auto select tool to remove the white background layer to use this piece to follow along the tutorial and both of the techniques. You are welcome to use your own drawing too.
Keep in mind that my shading techniques work best with large amounts of shadow in the shading, since we are almost working entirely on the shading layer.
The lineart can be on a separate layer if you want, but these shading techniques works even if you merge everything into one layer. Now, let's quickly go over the blending modes that we will be using today!
I will be working with only two, very easy-to-use layer modes, MULTIPLY and SCREEN. As shown above, multiply darkens the image below, which makes it perfect to work with for shading shadows.
Meanwhile, using the exact same colour and switching the layer mode to screen gives very different results! Screen is very good for highlights, ambient lighting, and brightening your piece. Now, let's go over our first technique, which utilizes only multiply...
I. Shading on 1 Layer with MULTIPLY
Clip a new shading layer onto the base, and change the blending mode to MULTIPLY. And now we're ready to begin!
On the multiply layer, you can colour using your usual shading style. Like the official CSP blending mode tutorial mentions, multiply is good for drawing shadows because it multiplies the colouring layer and the layer below, making it darker. I like to use a warm-tone colour as shown above, and I shade with both a hard brush and go over some parts with a soft airbrush. I won't explain how to shade in detail but I do recommend using a soft airbrush for some parts of the skin or where the hair casts shadows on the face! After you are happy with the shading, click on "lock transparent pixel" on the right side bar.
Now it's time to shade the shading layer!
Here, we want to use a cool-tone colour using a very low opacity airbrush. We don't need to be worried about going over the lines, since everything is locked on this layer. I used a very light blue here, and lightly coloured all the large patches of shadows that we have in the shading layer. The shading under the neck, the side of the face in shadow, and the palm are all gently brushed with light blue, giving the shadows a cool tone effect and making the colours pop.
Shading using just one colour with multiply is ok too, but adding more colours to it gives it more life and a 3D feeling!
Next, we use the same low opacity airbrush with a warm-tone colour, and lightly shade all the parts where the shadows meet the light. I used a light orange, just slightly darker than the skin. Because this is still a multiply layer, all the colours will appear darker when combined with the base colour. See how it looks like a darker orange? It's a nice contrast to the cool tones in the shadows, and mimics subsurface scattering on the skin. With just 3 colours, the shading is already looking very nice!
And now, just for the finishing touches, I use a cool blue to colour the eye white shading, and a bit of red to simulate blush. Depending on your shading style and how much shadows you use, this is an optional step!
And that's it for the one-layer shading technique! Let's move on to the two-layer shading technique, which introduces the screen blending mode in addition to multiply.
II. Shading on 2 Layers with MULTIPLY and SCREEN
I hid all the layers I used for the previous section and clipped a brand new multiply layer to the base. For this one, I put less effort in the shading and just used a hard-edged brush all the way through. It's a little messy, but it's ok! The screen layer can help correct the shading a bit. Also this is the technique I usually use to shade my comic, so I usually put less effort in the shadows layer.
Once you have your shadows done on a multiply layer, you're ready for light!
Make a new layer on top of the multiply layer, and set it to the SCREEN layer mode. A warm, dark-ish orange is best because screen makes the colours very bright. Use a large, low-opacity airbrush to colour all the parts that are not in shadow. The soft edge of the airbrush should overlap a little with the multiply layer, making it almost glow. If it looks too bright, you can either use an even darker hue, or consider lowering the opacity of the screen layer. For my comic panels, to save time, this is where I consider it done.
But you can take the techniques in the 2-layer shading tutorial to elevate your shading!
Using the same technique as before with a light blue, low-opacity airbrush, you can lightly colour the large sections of shadows to achieve a similar 3D effect. The 2-layer technique is actually a little faster, and everything is brighter so you can consider using darker colours for the base to compromise. If you go back to the initial image, you can see the difference between the two techniques. Can you tell that it only takes 1 or 2 layers to shade the illustration?
I draw all my comics using these blending mode techniques, because it's a lot faster than shading each layer (hair, skin, clothes, etc.) separately. I just merge everything, and use a multiply layer! I hope these time-saving techniques help you for your comics or illustrations as well, and thank you for reading my tutorial!


コメント