

Introduction
Manga effects are used when you want to enhance the emotions, expressions, and situations of characters.
This time I've created a lot of great tools for manga background effects, so I'll explain manga effects in general and show you how to use these tools and when to use them.
1. Disappointing Line
First, we'll introduce the "disappointment line" tools used in scenes where a character is feeling down.
I have created a tool to be used in depressing scenes, so please download it from the link below and give it a try.
First, let's look at the "Rough Flow Line" effect. It can be used in scenes where realistic characters are feeling down. The vertical lines reinforce the character's feelings of despair.
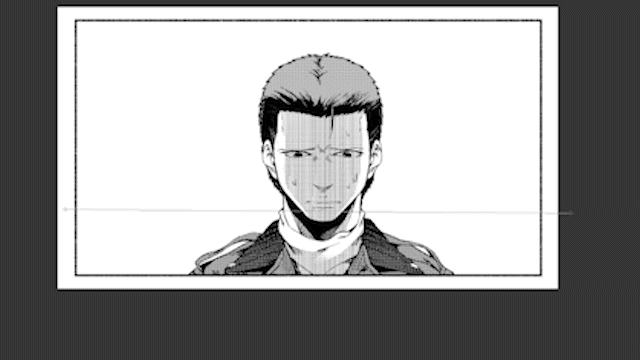
This is an effect I often use when I'm feeling seriously depressed. This tool has a rough texture, which goes well with analog-style drawing.
I also tried using it on a deformed character. However, the effect seems a bit too serious for the character. It doesn't mesh with the thick, neat lines of the character, and it feels like they are separated from each other.
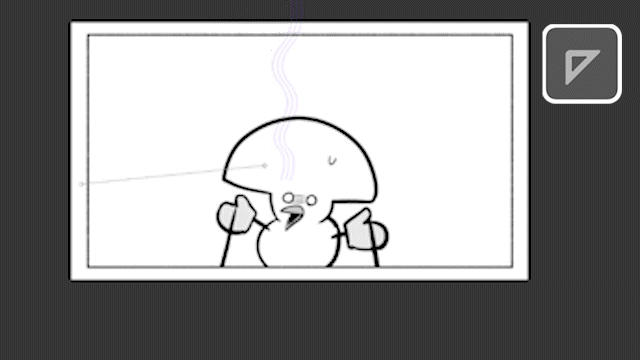
So, next is the "Wavy Disappointed" brush. This effect is suitable for comedy scenes or scenes where unrealistic deformed characters are depressed. I think it's just right to use it in scenes where something unpleasant has happened in daily life.
We've also prepared a short line effect. By drawing it over a depressed character, you can easily make them look even more depressed.
This effect makes it easier to tell who is depressed, even when there are multiple characters on the screen.
The way this brush works is that it has multiple wavy lines with spaces between them lined up side by side.
If you draw it on a vector layer, you can later adjust the stroke spacing and tip thickness.
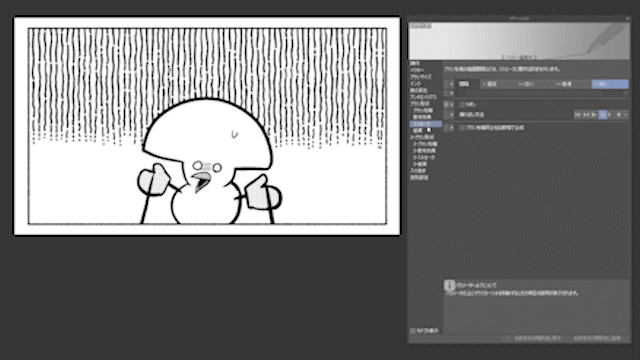
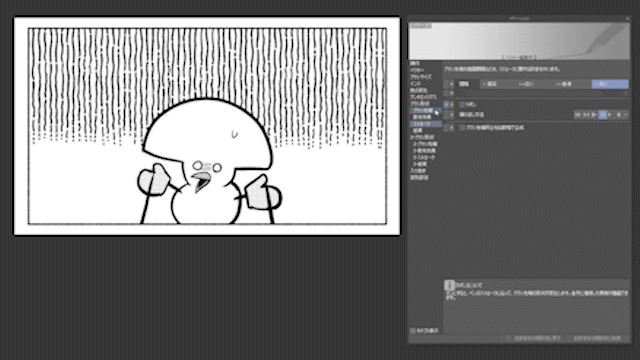
You can also replace the brush tip material to create a different original brush.
By reusing the same selection area and registering each blank space as a material, you can treat each material as the same size tip.
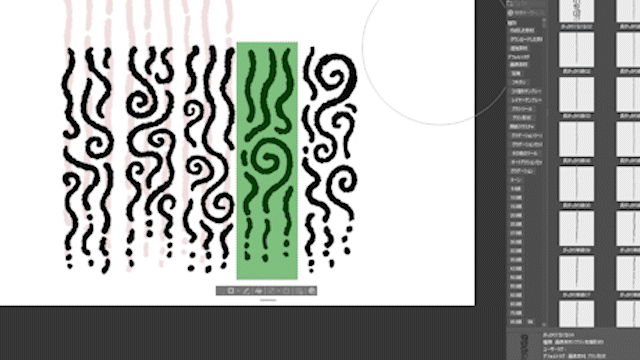
The "spinning disappointment lines" are now complete.
They are effective for scenes that show someone looking depressed and a little confused.
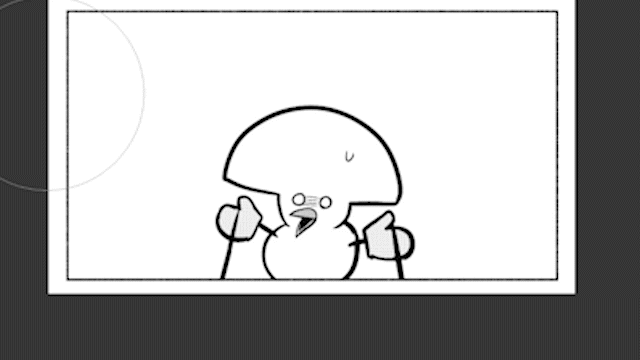
Next is the "Drippy Disappointment Line" tool.
This creates a disappointment line with a dripping feeling, like cold sweat. It is effective in scenes where you feel anxious or cornered and break out into a cold sweat.
This is a streamline tool; once you specify the end point, it will draw the line automatically.
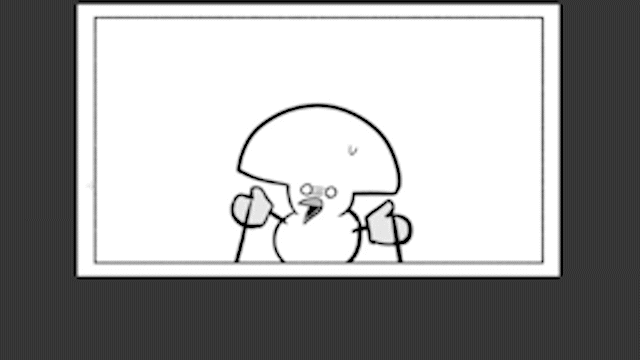
You can edit the end point later,
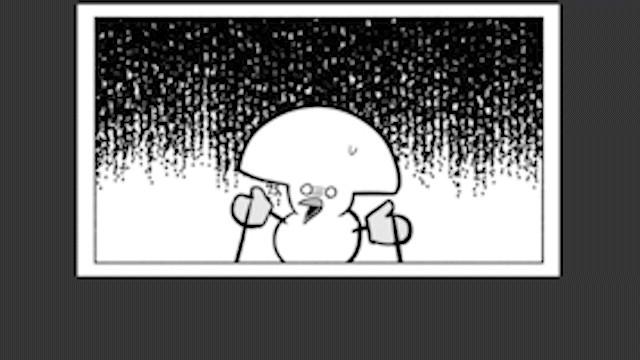
You can adjust the spacing, brush size, particle size, etc.
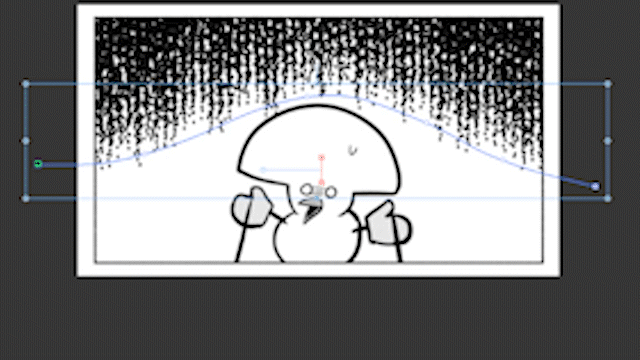
Since this is a streamline tool, if you place a multi-curve ruler first, it will snap to the curve ruler.
2. Flash
We will introduce how to use and the uses of standard Flash tools.
We will apply effects to this detective.
First, there's the white flash.
Use it in combination with a solid black or gradient when noticing something or making a suggestion.
Next is a short white flash.
It has a more subdued feel compared to the long flash, and is perfect for scenes where you just need to get a hint.
Next is the white jagged flash. It has a slightly stronger effect and is recommended for scenes where you notice something more shocking.
The impression created by the flash can vary greatly depending on the length and uniformity of the lines, so be sure to use different flash strengths depending on the scene.
For each flash, we also prepared a version with faded lines.
We created these as a solution to the default flash, which is too uniform and doesn't match the analog-style line drawings of manga.
These faded flashes should blend in better with analog-style drawings.
Another advantage is that they are less likely to produce the moire pattern that is particular to digital flash.
I'll also introduce some common flash applications.
First, create a small flash near the face, then hide unnecessary areas with a layer mask.
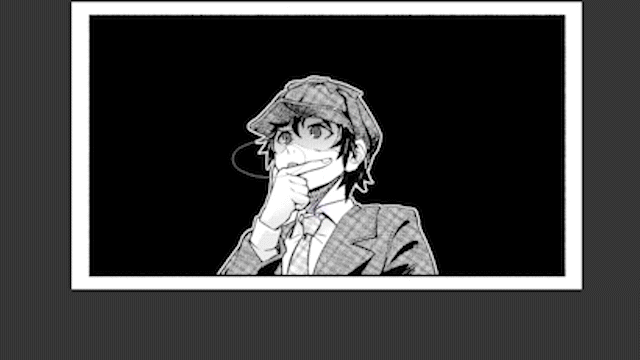
Adding a white line to a new layer creates an effect that makes you think of something. I'm sure you've seen this in manga at least once. It's simple to do and very effective.
If you want a more pinch-like feel or want to emphasize a more flashy look, sprinkling a little spatter on top will give it a nice look.
Next is Inazuma Flash.
First, draw lots of flash with the flash tool.
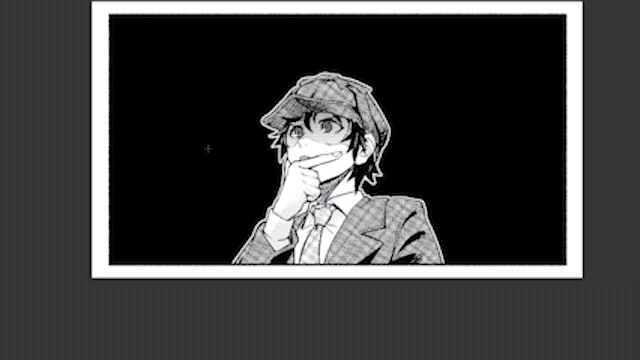
Adjust the position and size
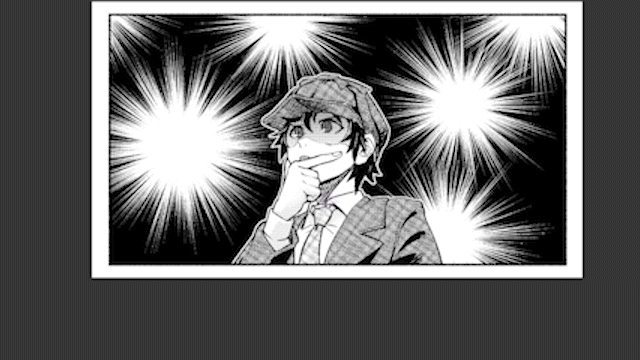
Connect the flashes with the "Lightning Line Brush".
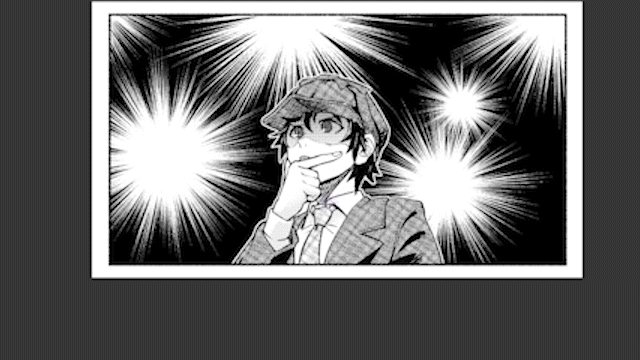
I added some lines with the "Lightning Line Branch Brush" to create a lightning flash.
This effect is suitable for scenes when a shocking truth is revealed or a shocking event occurs.
3. Cheerful Concentration Line
Next is the cheerful concentration line tool.
It's a dotted line effect that resembles sunlight, which will increase the happiness of your character when they're happy.
Now let's make this happy character even happier by using the Cheerful Concentration Line Stick.
Since it is a concentration line tool, you can draw many lines just by specifying the end points.
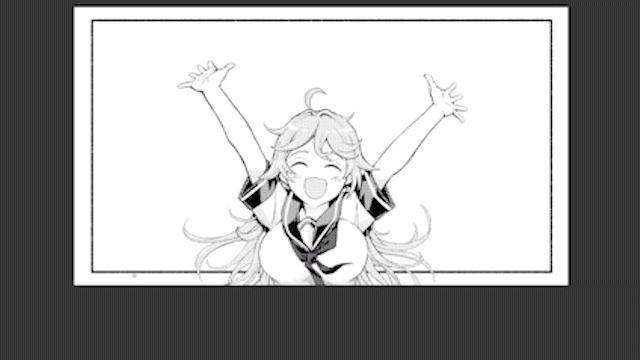
I was able to draw cheerful concentration lines in an instant.
This is effective when you want to emphasize a character's happiness, joy, or energy.
Since it is a converging line, you can move the reference line and center.
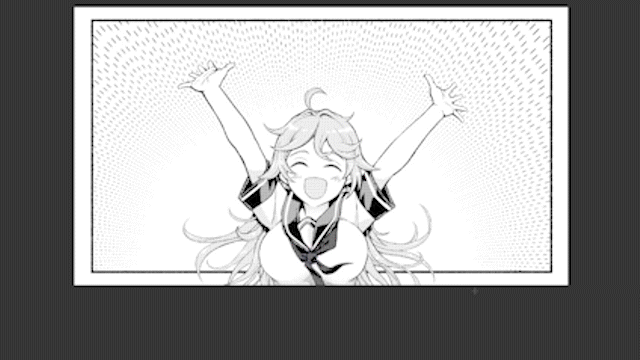
It is most effective to place the center either on the face or chest.
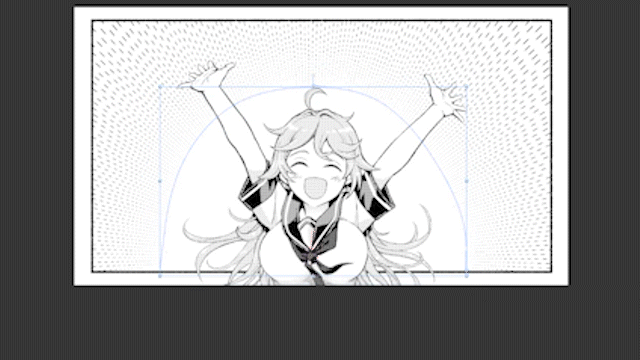
You can adjust the spacing and grouping of the converging lines.
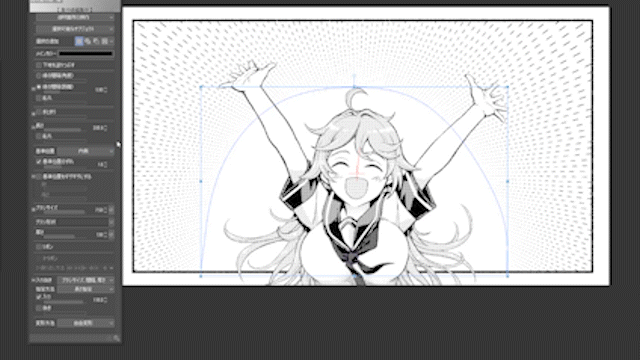
You can also adjust the brush size, spacing, and thickness of the starting and ending parts.
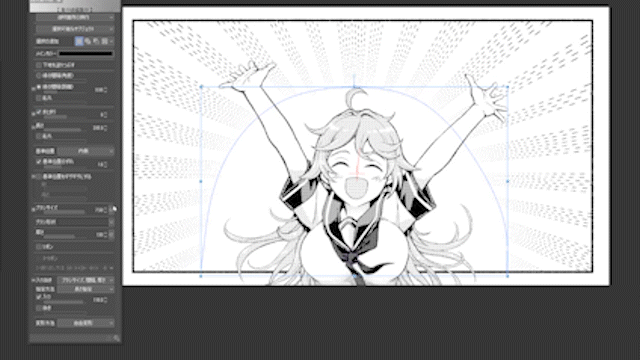
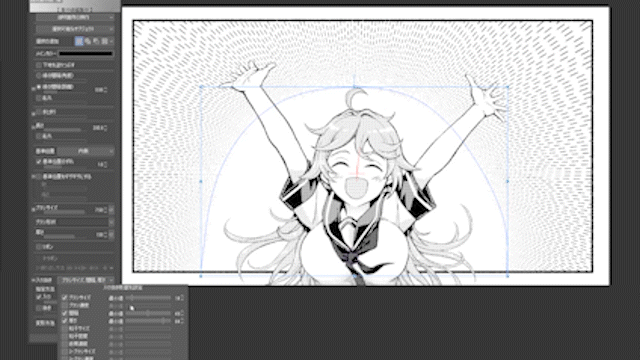
We have prepared seven different types of cheerful concentration lines of the same type, so try to find the setting that best suits your character and scene.
You can also combine it with the "Outlined Saturated Lines" as an applied example.
If you place the radial ruler first, then use the cheerful saturated lines and then the outlined saturated lines, you will be able to draw saturated lines with the same center.
The effect will be more energetic and lively.
Next, let's add a white "Grain Round Converging Lines" and give it a black border.
It now has a more pop feel.
The impression changes when you combine different elements,
so try different things if you feel like one element alone isn't enough.
Next, we will introduce some grayscale cheerful concentration lines.
First, let's look at "Rounded Corners Glow."
If you use it as is it will turn black, so you need to change the layer color in the layer properties from monochrome to gray.
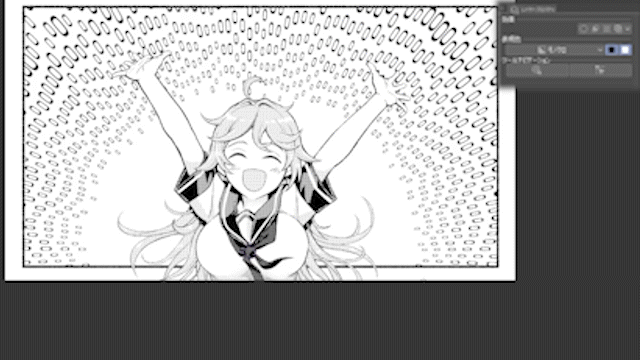
It gives a bright glow and makes the smile look dazzling. Use this when the monochrome dotted cheerful focus lines don't suit the image or scene.
Finally, don't forget to turn on the screen tone.
We've also included a "rounded corner blur" effect that can be used in combination with a white gradation.
By combining it with screen tones, you can create a wider variety of expressions.
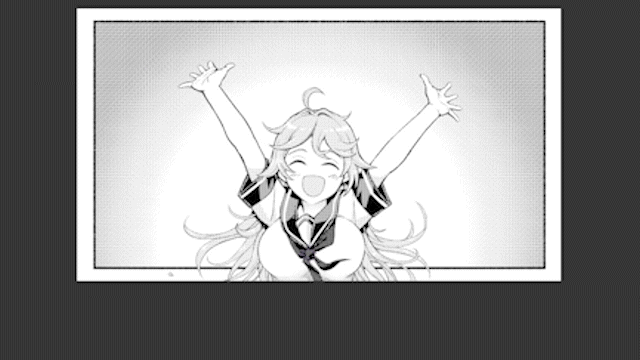
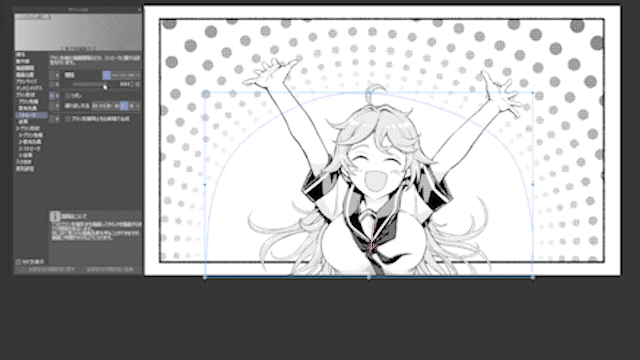
Next is a round gradient convergence line.
This also won't be visible in monochrome, so be sure to make it gray.
This effect gives a cute, pop feel.
You can control the scattering by the [Stroke][Spacing] value.
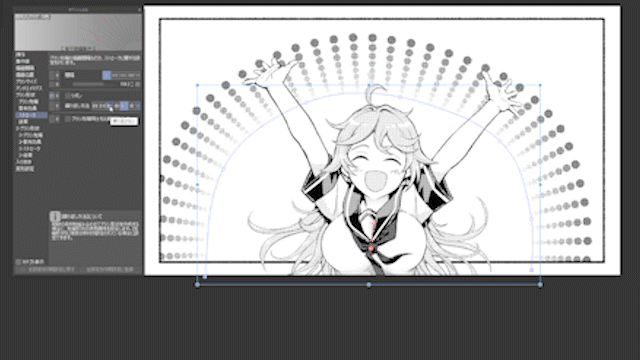
It's also interesting to change the [Repetition method] from [Only one loop] to another method.
4. Irritated lines
Next are concentrated lines of frustration.
These are used to reinforce comedic frustration or negative emotions such as jealousy.
Before using the tool, place the radial curve ruler in a sleek position.
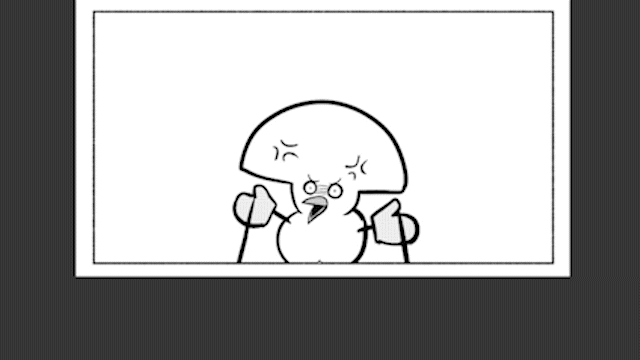
If you use the "2-line convergence" here, the hatching will snap into a squiggly shape.
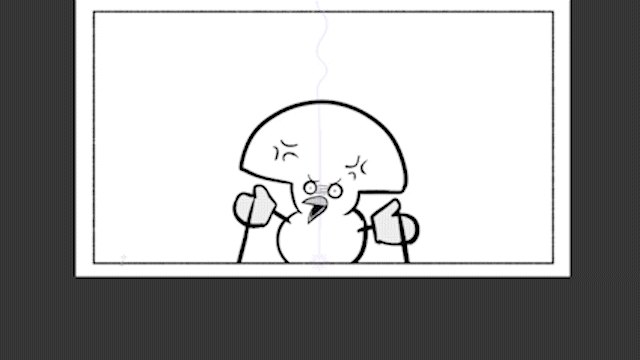
In scenes where a character is frustrated or frustrated, it can emphasize the bad feelings they have and how they are building up.
You can also adjust the reference line and line spacing of these converging lines.
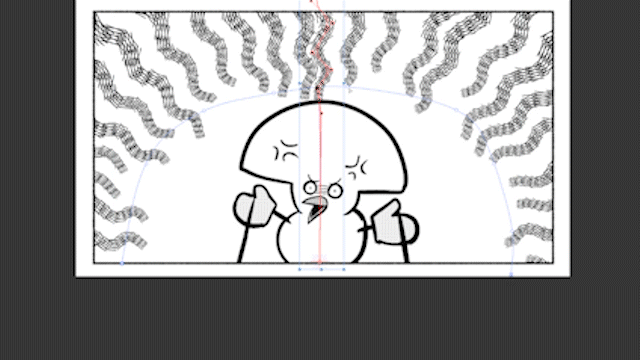
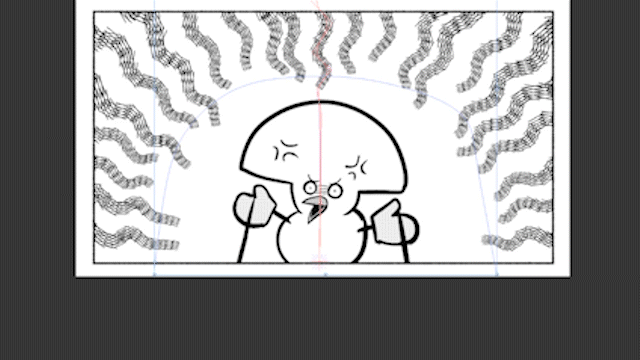
I made 12 types of irritation lines in total. I recommend "2-piece Gradient" and "Sharp Bundle of Frustrated Gradient Lines."
You can also change the curvature of the line later using the red shape lines.
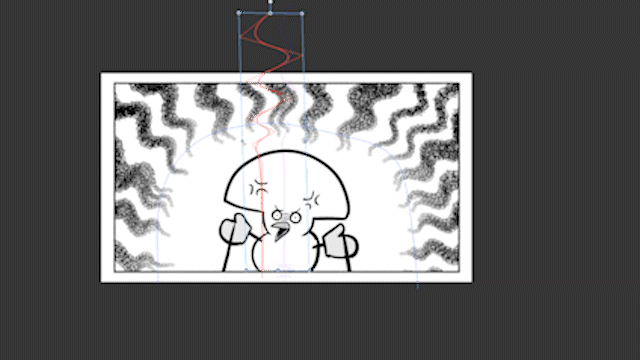
Each one has a slightly different nuance, so try them all out to see if they fit your manga scene.
5. Creepy and disturbing converging lines
The previous effect was more geared towards comedy scenes, but the next one is an unsettling effect that can be used in more serious, tense scenes.
Let's create a serious atmosphere here, making the man seem troubled and anxious, and more sinister and ominous.
First, let's look at "rough concentrated lines."
The rough lines are jumbled together in a nice way, enhancing the sense of unease.
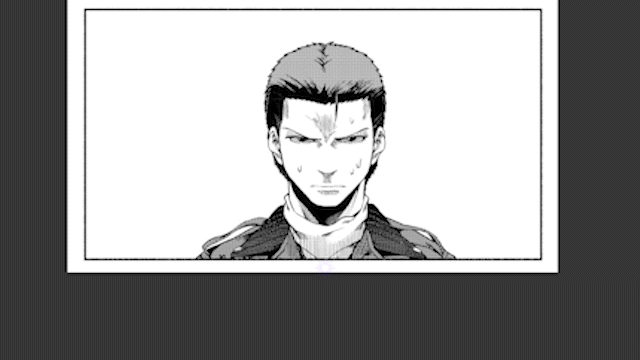
You can adjust it later, but it requires a lot of processing power and the parameters are complicated, so if you want to make the lines darker, add them to a separate layer with the "Roughness Addition Brush."
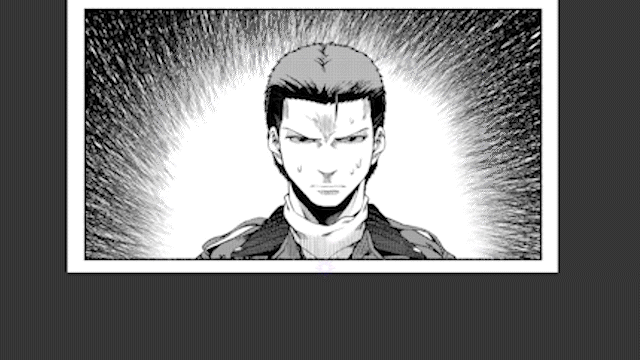
You can adjust the reference lines later, but please be aware that this process requires a lot of processing power.
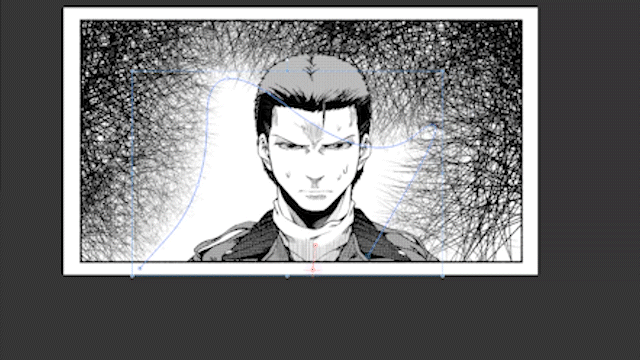
I will introduce two of the five types of "rough concentration lines".
"Rough concentration lines - Vortex"
They can emphasize the way troubled emotions lose direction and stagnate, swirling around.
"Rough Cross Concentration Lines"
Rather than being threatening, this effect evokes conflicting emotions and complicated conflicting circumstances.
Next up is the "eerie concentrated lines."
This effect is often used in tense scenes in analog manga.
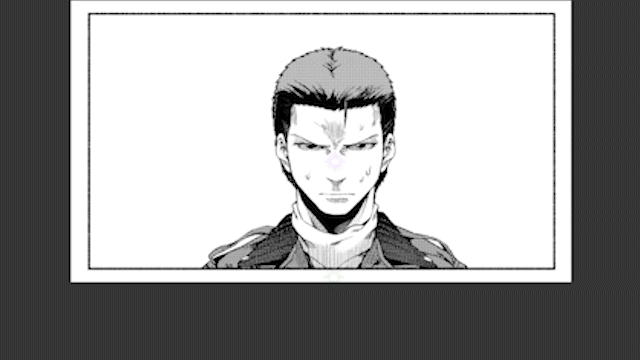
It can emphasize an eerie atmosphere, tension, anxiety, impatience, suspicion, anger, etc.
We have prepared three types, so please try them out.
This is also a saturated line, so you can edit the parameters later.
You can change the position of the reference line,
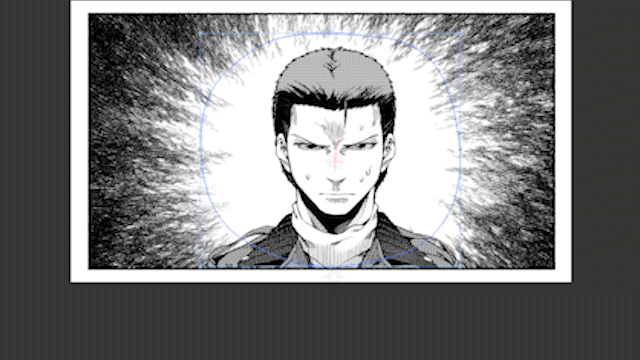
You can make the shape lines curved to make the whole spooky line bend.
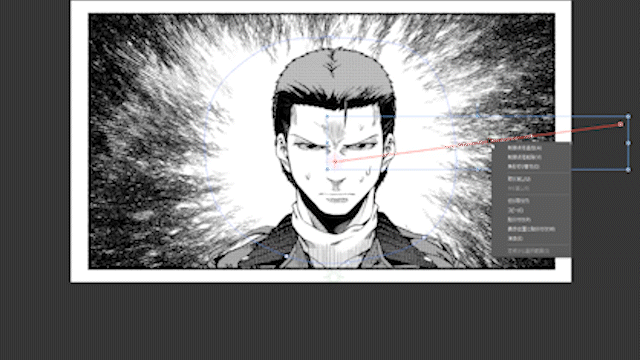
It's convenient because you can freely edit the lines that have a hand-drawn feel. You can freely match them to your manga scenes.
You can also add sputtering to the eerie concentrated lines to create a more tense atmosphere.
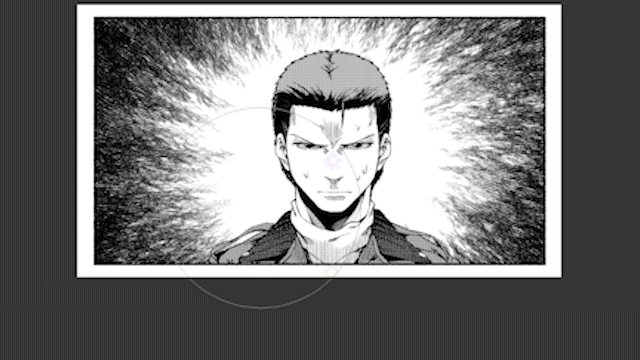
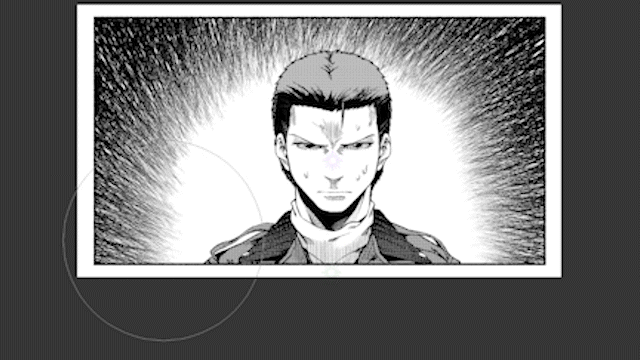
The same goes for rough concentration lines. You can easily create a powerful effect that will make you break out in a sweat.
6. Application to Battle Manga
And finally, a bonus.
This is a bit off topic from the lesson on expressing characters' emotions, but I'd like to introduce some applications to battle manga.
I'll add the effects I used this time to the character holding this energy bullet.
Let's try using the "Rough saturated lines." This is a saturated line tool, so you can snap it to the radial ruler in your hand.
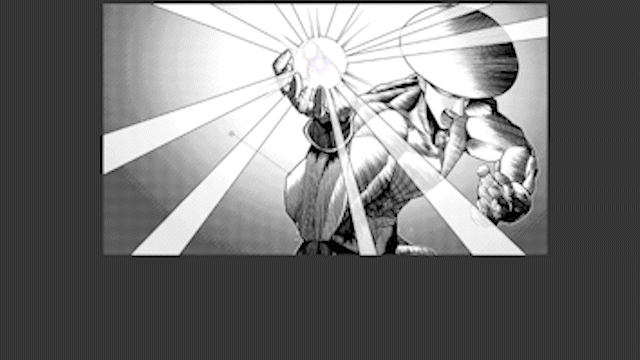
A normal, uniform, converging line drawing gives a neat and clean impression, but this one gives a rougher impression.
Next, add the "Cheerful Rounded Corner Blur" and adjust it.
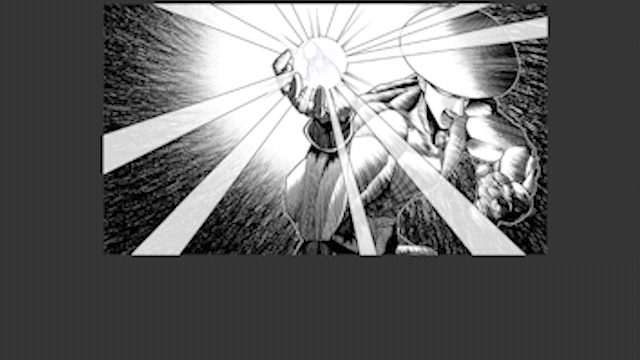
Adjust parameters such as the [brush tip][thickness], the [stroke][spacing], and the [brush size], [spacing] and [thickness] of the [start and end] to achieve the effect you desire.
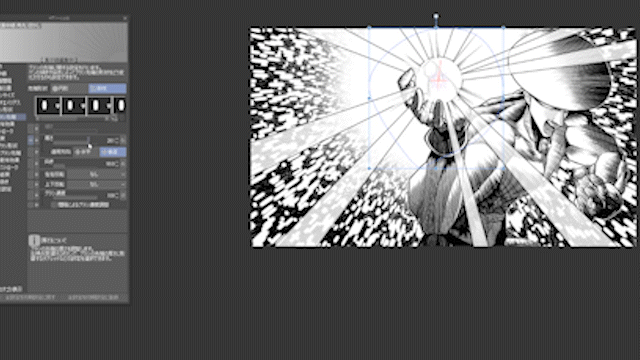
It feels more full of light.
I also added and adjusted the "Cheerful Concentration Lines Flash" effect.
By making good use of concentration lines, you can create high-quality effects without doing complicated work.
I also created some energy converging lines.
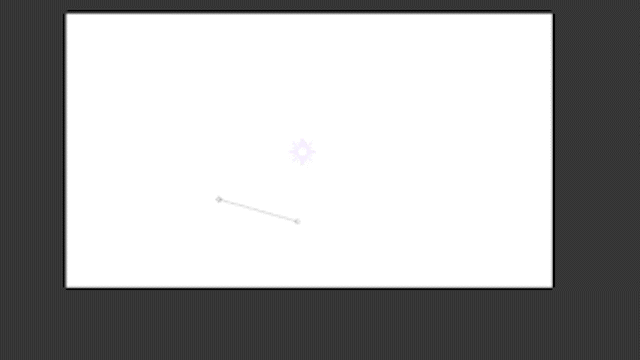
There are 4 types in total.
If we apply this to the image above, it looks like this.
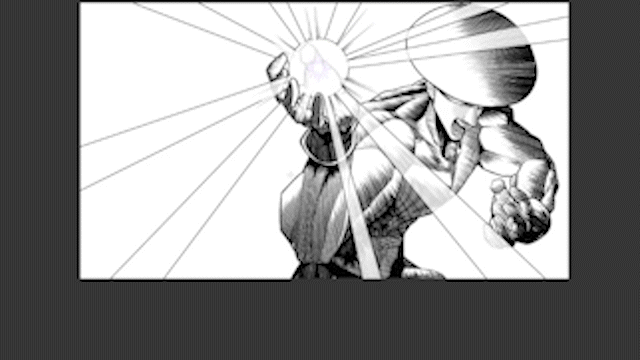
Unlike the previous finish with lots of screen tones, this one has a monochrome analog look that gives it a harder, sharper, tighter impression.
Here's another example of energy converging lines.
First, place energy converging line 3.
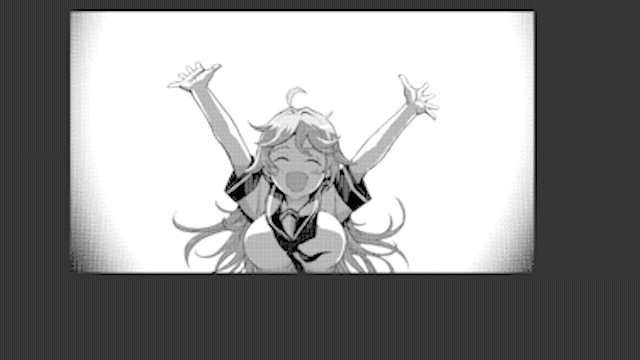
Right-click on the red shape line, add control points, switch the corners to curves, and bend it more than 90 degrees.
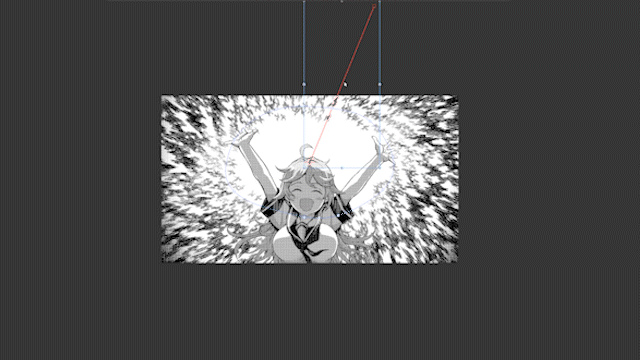
This will make the converging lines follow the circle.
Adjust the position and size, scatter the white, and you'll have an angry girl ready to fire off an energy bullet!
Finally, I'd like to introduce the "Explosion Concentration Lines" I created.
You can draw an explosion at a specified location.
Let's use the explosive concentric lines on this drawing of a tiger girl shooting a rocket launcher at a cow. This tool is also a concentric line, so you can snap it to the radial ruler.
I was able to draw the explosion in an instant.
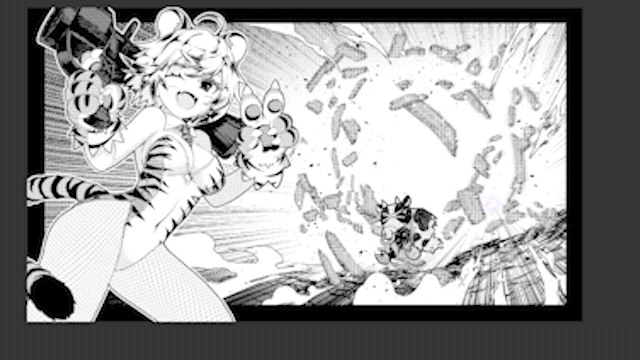
Because it is a converging line, you can make various adjustments later.
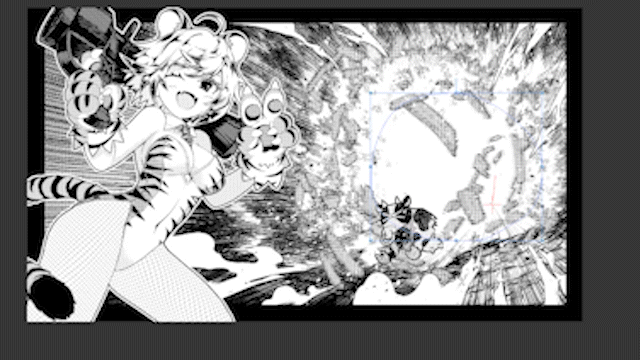
By using "Explosion Concentration Lines A", you can depict the moment of a violent explosion.
By using "Explosion Concentration Line B", you can draw a more subdued explosion than with A. Use it according to the scene in your manga.
Conclusion
Above we have explained manga effects and introduced original tools.
I'm sure all of these tools will address the needs of manga artists.
If you'd like, try using all the tools we distributed this time, and then take another look at the effects in the manga you usually read.
You'll definitely notice a change in the way you see the effects.
If you feel that the effects created by the tools don't match up with your own drawing, and you're no longer satisfied, we encourage you to try drawing your own preferred effects with your own hands.
\
I hope that this video and the tools will give you some inspiration when you do so.
Users who liked this post









Comment