Is it a loss if I don't know? 7 hidden useful functions of Clip Studio
Please enable subtitles in each language. The language of the video is Japanese, but even if you don't understand the language, the icons are displayed so you can understand the content somewhat.
Introduction
This time I wanted to know about Clip Studio sooner! I will introduce the functions that I think about in 7 chapters. Basically, there are many introductions to functions for drawing manga, but I think it will also be useful for people who create illustrations and animation.
1. Balloon layer
1-1.Line correction tool
Balloon layers have properties similar to vector layers, and the vector layer's line editing tools can be used on balloon layers.
For example, you can edit a balloon with the line pinch tool like this.
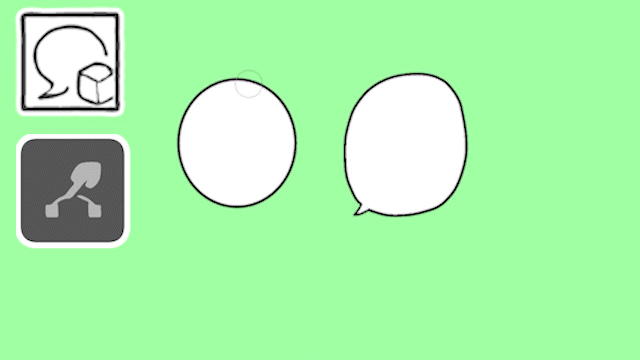
You can also use the line width correction tool in the same way.
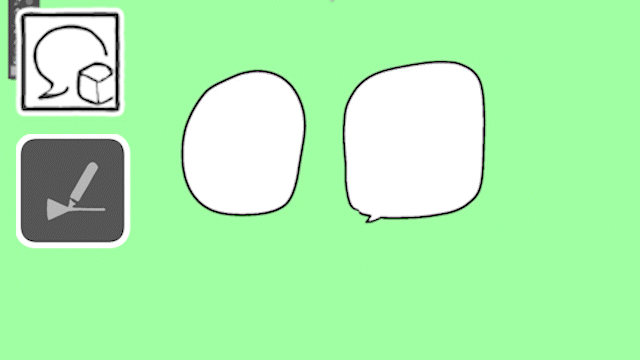
You can touch them with the object tool like you would with a vector layer, or drag to select multiple layers and transform them.
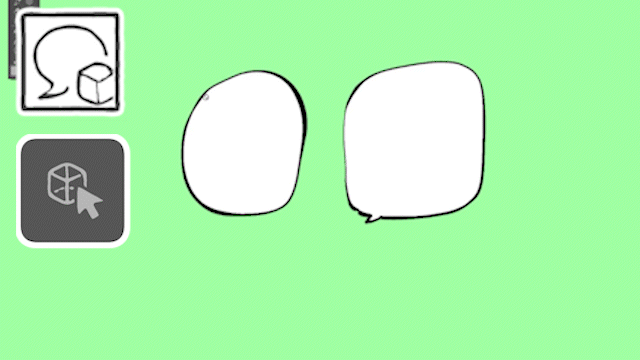
The balloon layer feels stiff and inflexible, so many people draw balloons on a regular layer, but there are ways to make fine adjustments later using line correction tools, like this one, so give it a try.
1-2.Oval and rectangular balloons with rounded corners
Next is the area of the balloon.
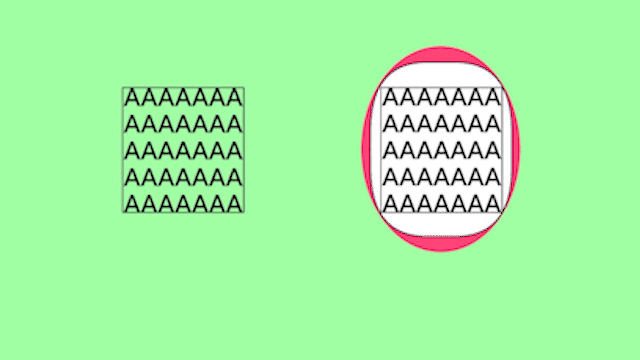
The one on the left is a rectangular balloon with [corner roundness] turned on, and the one on the right is an elliptical balloon.
In comparison, rectangular balloons have a smaller area compared to the letters.
By making the balloons smaller, you can reduce the area where the picture is hidden by the balloons, and you can fit more lines on the page.
Use both depending on the situation.
1-3. Material registration
Drag the drawn balloon to the material palette to register it as a material.
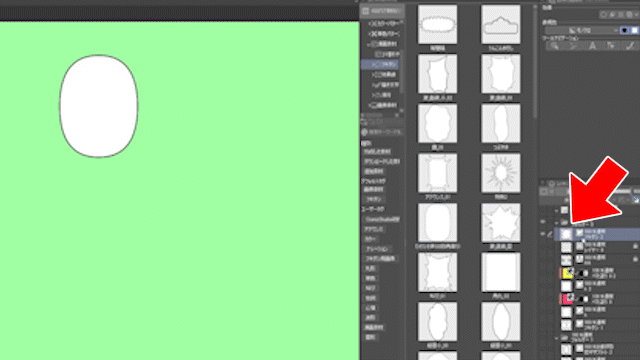
To use a balloon that has been registered as a material, drag and drop it from the material palette onto the canvas.
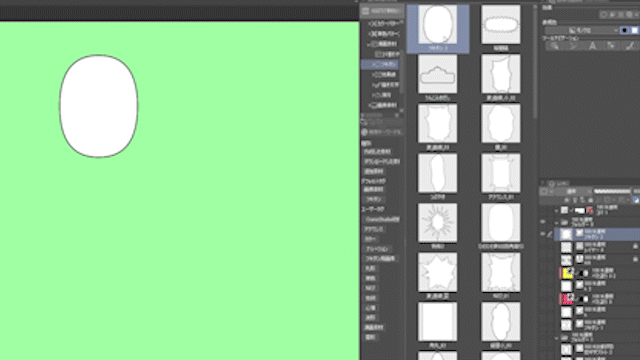
It's convenient to be able to reuse balloons without having to draw them from scratch each time, and you can also transform them to suit the scene or fine-tune them using the line knobs.
2. Layer flashes
Next is how to layer the flash after the balloon.
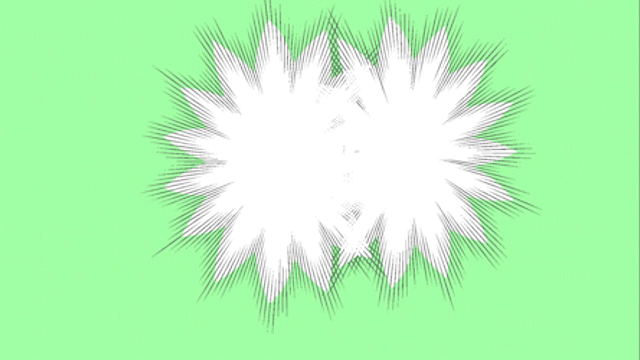
If you try to overlap two flash tools, the black lines will overlap and they won't overlap properly. Let's do something about this.
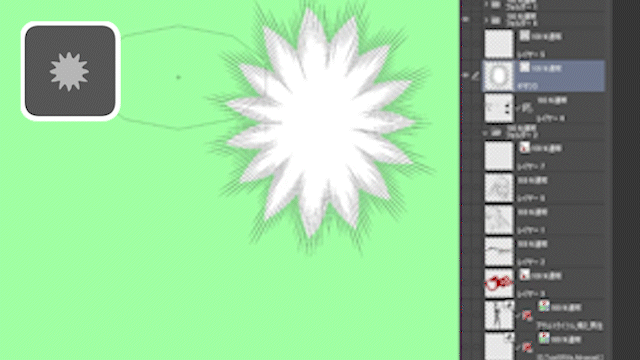
First, create a new folder and put the two flash drives into the folder.
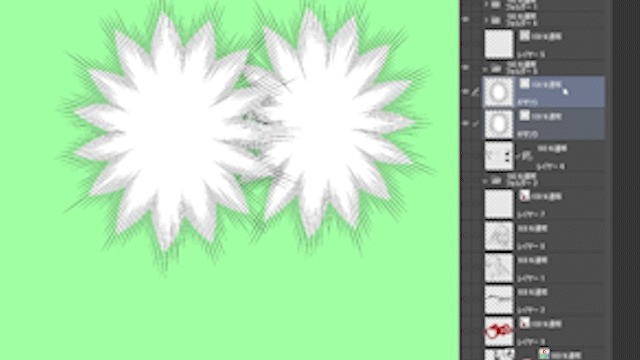
If you set the flash compositing mode above to screen, you can layer them neatly like this.
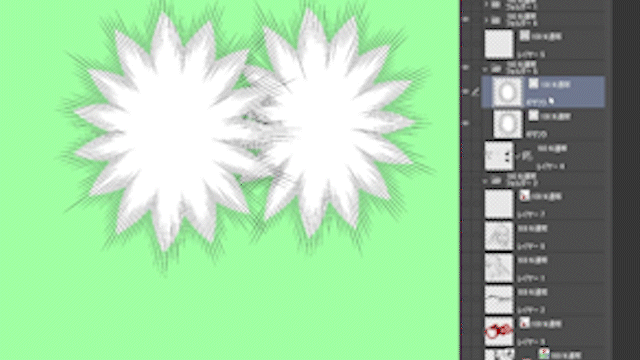
However, I'm concerned that the base part of the flash is linear and doesn't blend in well. Let's do something about this too.
First, duplicate the flash below, then change the main color in the tool properties from black to white. Adjust the [line spacing], [length], and [brush size] to create a white flash and blend it in.
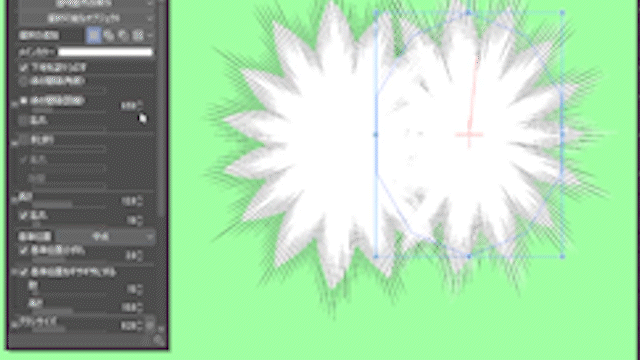
The problem is the flash on the left side.
Even if you duplicate it in the same way and create a white flash for the base, the result will be unintended because the blending mode is set to screen.
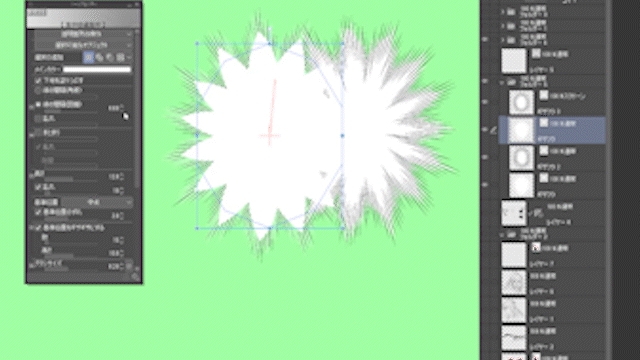
This problem can be resolved by removing the copied white flash from the black flash folder.
It is a good idea to put both of the white flashes in a separate folder.
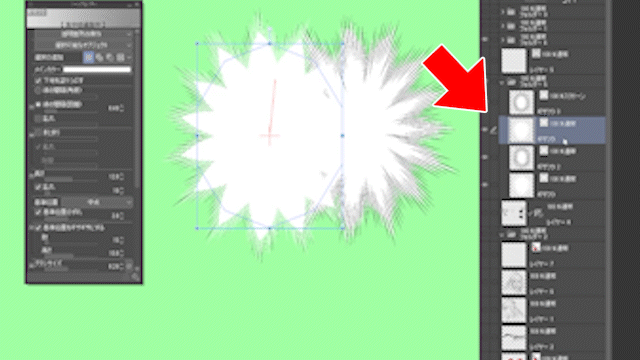
The comparison looks like this. The white on the base is now smooth and not abrupt.
3. Switching the Liquify tool
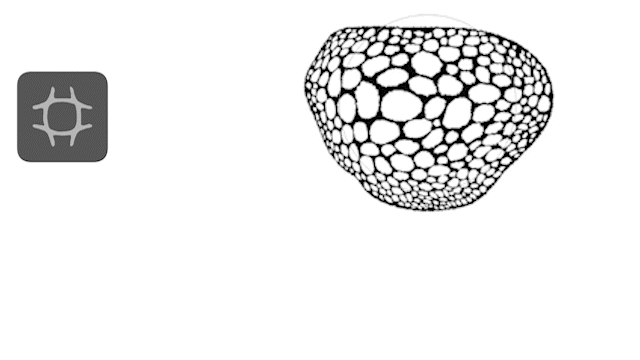
Liquify tool You can reverse the direction of distortion by holding down Alt when using it. When the distortion method is [Expansion], you can change it to the opposite [Contraction] while holding down Alt.
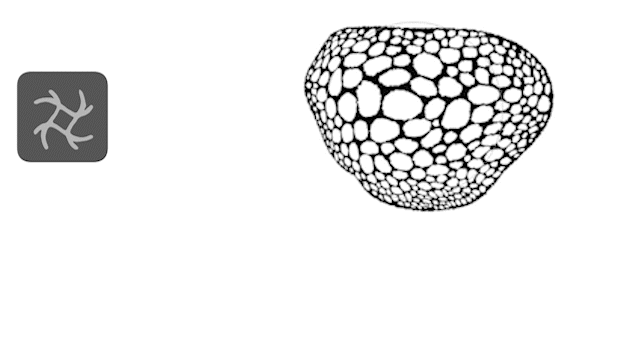
When the distortion method is [Rotate clockwise], you can change it to the opposite [Rotate counterclockwise] while holding down Alt.
I will also introduce settings that will make the Liquify tool easier to use.
First, duplicate two Distortion tools to make three, and set them to [Progress], [Expand], and [Rotate clockwise].
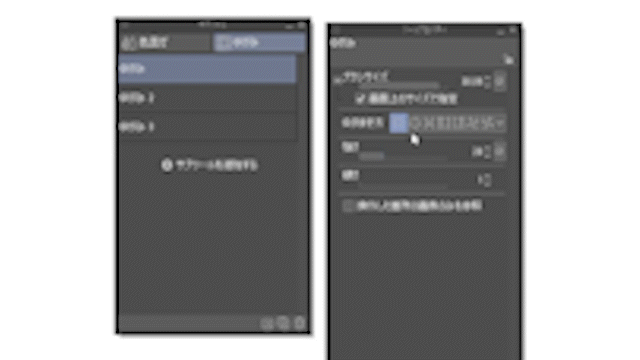
Next, register the same key for each in the settings area[Tools]-[Color Mixing]-[Distortion] in the shortcut settings.
Now you can change the distortion by simply hitting the same key repeatedly without having to reach for the tool.
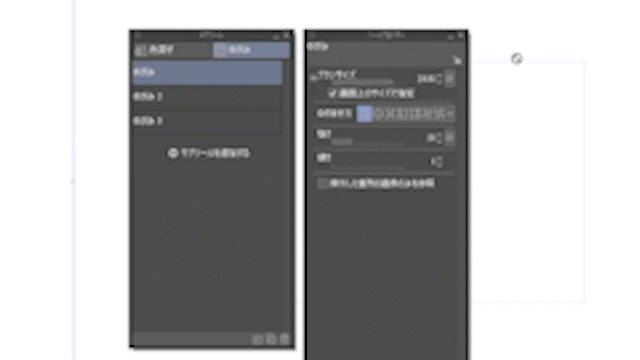
By combining this setting with Alt, you can freely switch the distortion method and focus the pen movement solely on the distortion.
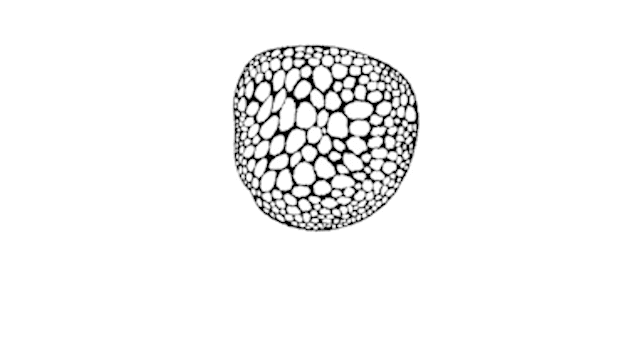
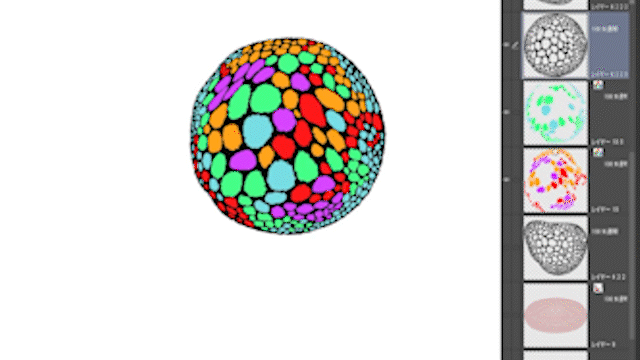
Also, starting with Clip Studio Ver. 2.0, you can now use the Distortion tool at once by selecting multiple layers with Shift.
This has made it a useful tool not only for rough sketches and line drawings, but also for the finishing stage.
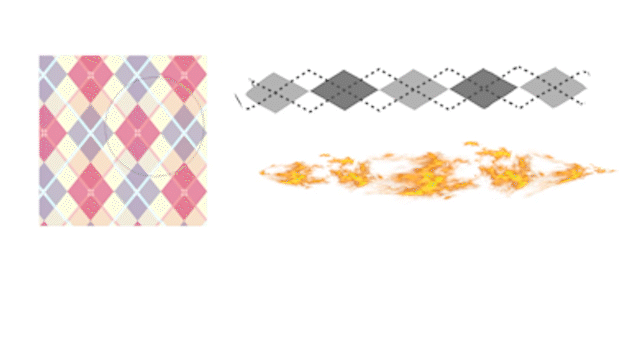
The Distortion tool is also useful for fine-tuning patterns and effects drawn with textures and pattern brushes, so give it a try.
4.Line width correction tool
Next is the line width correction tool.
If you use the line width correction tool on a vector layer, you can make the line width thicker or thinner at a specified magnification, but if you try to use it on a raster layer, a prohibition mark will be displayed and you will not be able to use it.
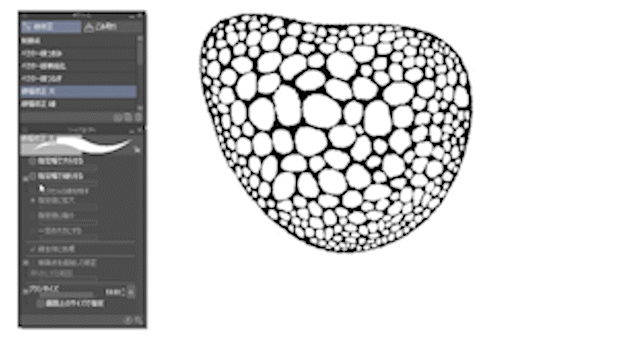
However, if you change the correction method to a fixed value instead of a magnification, you can use line width correction even on raster layers.
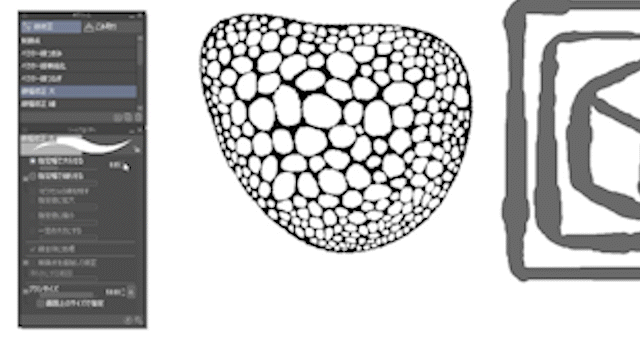
If it's just a line drawing, vector layers are more flexible, such as being able to use different magnifications and smooth adjustments.
However, even patterns with solid areas like this, which can only be drawn on raster layers, can be used to adjust the density.
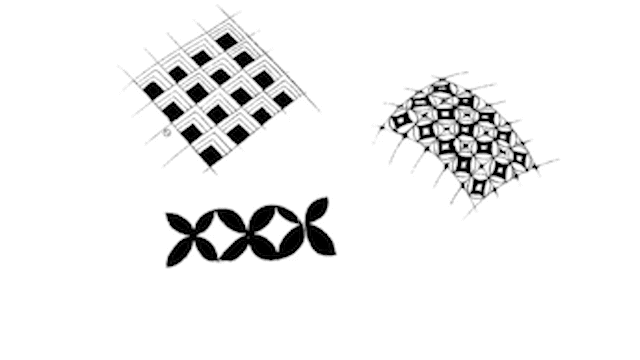
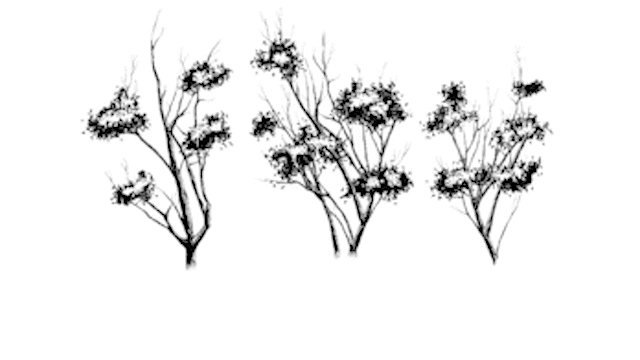
It's also useful for fine-tuning backgrounds that have solid areas drawn with a pattern brush, so give it a try.
5.Dust filter
Next is the dust filter.
You can start it from the menu bar[Filter]-[Line drawing correction]-[Dust removal].
This function is used to remove dust from scanned line drawings.
It is useful to add a colored border in the layer properties and check it while making it easier to identify garbage.
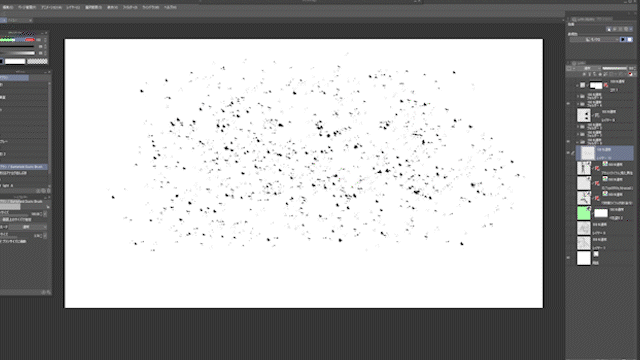
This time I will introduce another way to use it.
This dust removal filter can also be used to remove small dust that comes out with pattern brushes.

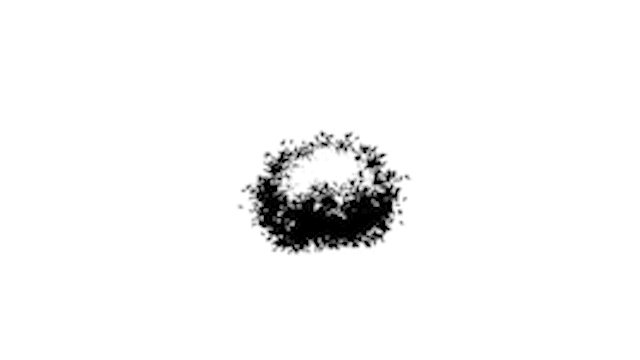
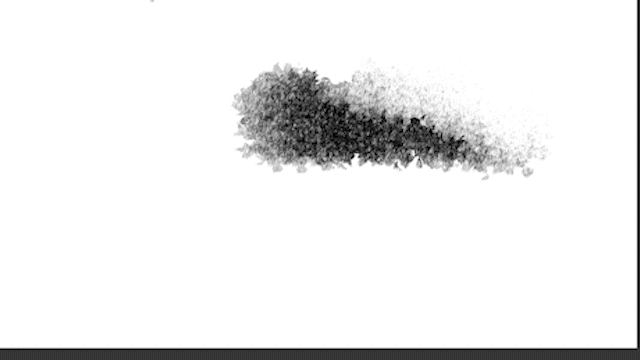
It is also useful for fine-tuning the degree of disappearance when scratching the hatching brush.
6.Drag operation
Next are various operations that can be performed by dragging. In previous TIPS, we introduced various screen operations that can be done by dragging. This time I will introduce operations that can be done with other drags.
You can change the brush size by Alt + Ctrl + dragging on an enemy using a drawing tool.
This allows you to change the brush size not only with a regular pen, but also with the shape tool and pattern brush, so please give it a try.


Also, I'm sure you all know that the tool changes to an eyedropper while you hold down Alt.
If you drag this eyedropper while using it, it will be enlarged like this, making it easier to select a color. This allows you to see finer details better and prevents you from getting the wrong colors.
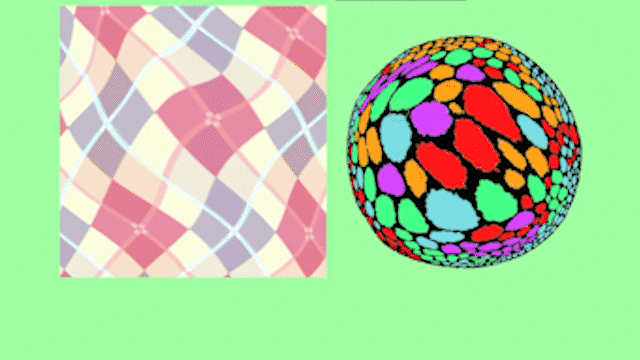
If the image is not enlarged even if you drag it while using the eyedropper, please turn on [Display circle with pen] in the eyedropper's tool properties.
7.Fill tool finish frame stop
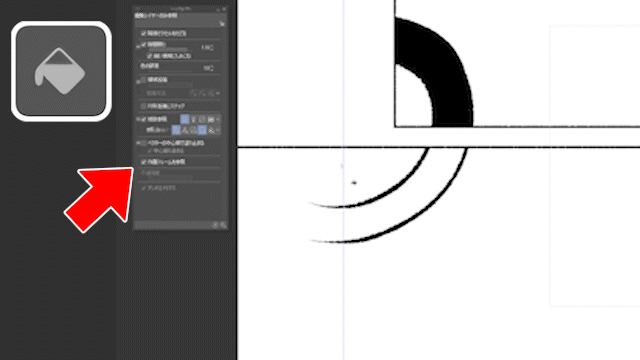
Finally, let's talk about setting the fill tool to stop at the finished frame.
If you fill in the line drawing where such a panel protrudes outside the frame, it will protrude like this.
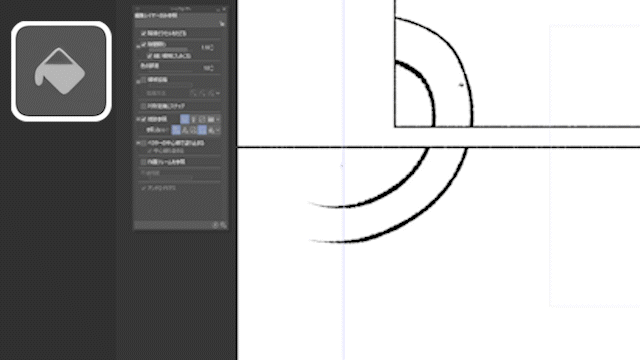
In such a case, if you check [Reference drawing frame] in the fill tool tool property, the filling will stop at the finished frame. There is no need to add lines to close it.
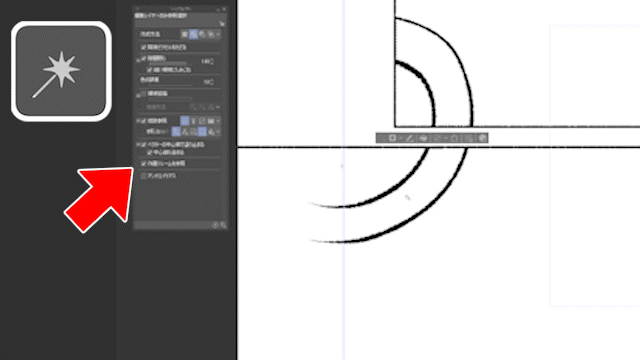
The automatic selection tool will also stop at the same settings. This is useful when pasting screentones.
At the end
These are the 7 hidden useful functions of Clip Studio. We have introduced many hidden useful functions of Clip Studio in the previous tips and videos, so if you haven't seen them yet, please take a look when you have time!


Comment