How to draw a car by feeling! How to use the border silhouette to draw poses!
When watching this video, please display subtitles in each language.
The Japanese commentary is easier to read on the blog, so please see here.
Let's draw a car intuitively with a bordered silhouette.
In order to draw a machine like a car, it is necessary to make full use of rulers and figure tools and repeat precise work, so I think there are many people who dislike and are not good at drawing cars.
Therefore, in this TIPS, I will introduce the idea of drawing a car intuitively without using formal functions such as rulers and 3D.
The function to use is [Border effect/Border] in [Layer property].

If you set the [Border color] to black and draw with white using a large brush, you can draw a silhouette with a border like this.
The purpose of this TIPS is to use this border as a line drawing to draw each part of the car.
With this drawing method, each part is simply layered with a bordered silhouette like clay work, so you can draw while looking at the overall shape and balance without worrying about overlapping lines or the relationship between lines. .
How to draw and settings
Use white when drawing, and switch to transparent when erasing to shape the shape.
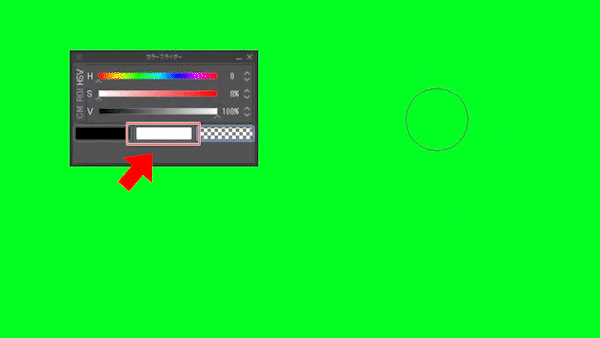
Shortcut setting for drawing color switching, set [Setting area] to [Option]
[Drawing color]-[Switching between main color and sub color] and [Switching between drawing color and transparent color]
can be set from
By using shortcuts, you can draw efficiently without having to move the pen to the color slider. It might be a good idea to set it as a pen side switch or modifier key.
Draw a car 1 Draw a rough exterior
Prepare a layer with a black border and draw.
I'm going to draw an imaginary car using some retro and cute classic car photos as reference.
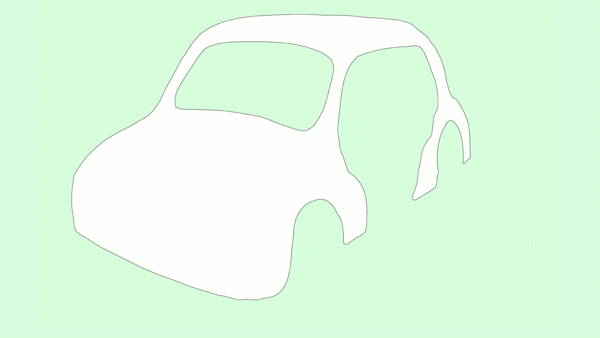
I draw the body of the car somehow.
I feel like [painting] rather than [drawing].
Since it is just painting, there is no formality like a ruler or figure tool. It's like sketching.

Draw a car 2 Draw a tire
Create a bordered layer under the exterior layer and draw the tires.
You can draw freely without worrying about overlapping lines.
Draw a car 3 Draw the interior and seats
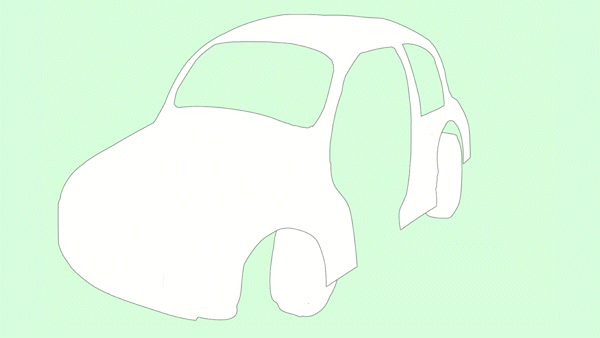
In the same way, create layers and draw the interior and seats. When drawing a car, you don't have to draw the inside of the car if it's in the distance, but if it's in the foreground, you can't do that. This time, to make it easier to draw the inside of the car, I will draw it with the door removed.
Draw a car 4 Draw the exterior
Design the car by drawing the unevenness of the engine and tires on the basic body.
It is possible to draw like piling clay, so it is easy to grasp the three-dimensional effect that is difficult to grasp with a three-sided drawing.
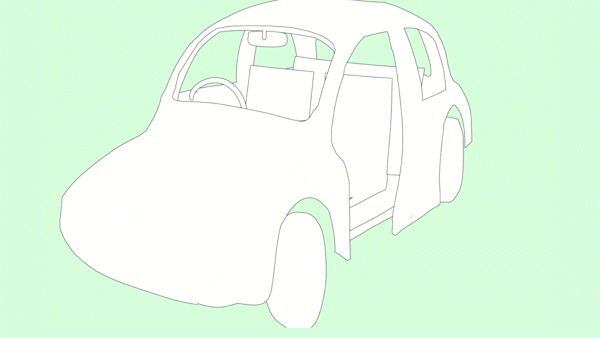
I get lost in the design and add bumpers and lights while thinking about it.
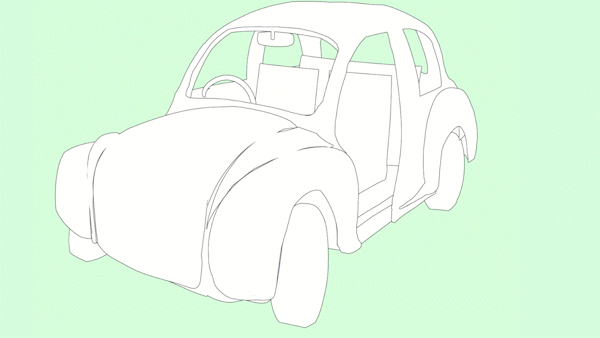
Finally, the front grill was enlarged,
I made a design that combines cuteness and coolness.
The foundation for the completed form was completed.
It is a convenient drawing method to work out the design like this.
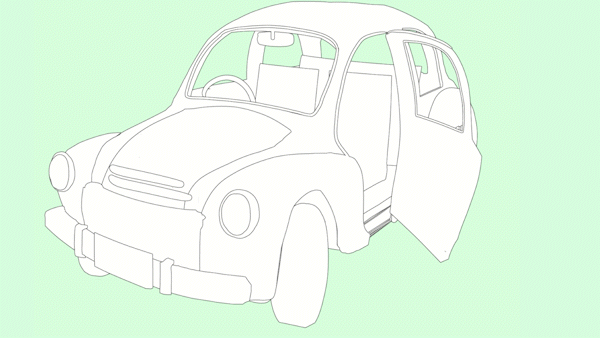
Draw a car 5 Draw the front grill
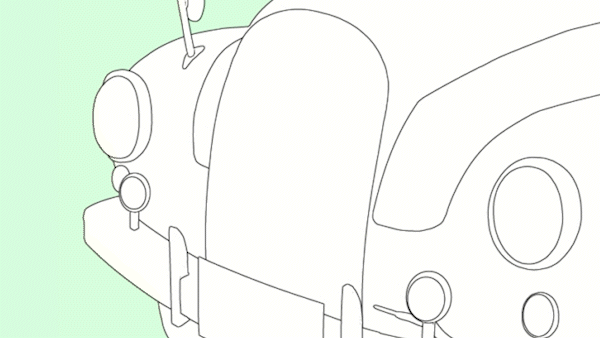
Create a vector layer with a border and draw the mesh of the front grill with the curve tool.
The grill consists of three layers: outer frame, vertical and horizontal.
After copying and pasting the vertical and horizontal layers for finishing, I added thickness to the grill by shifting the position a little.
This is a difficult task when drawing with line art, but it can be done quickly and easily with a bordered vector layer.
Draw a car 6 Draw a tire 1
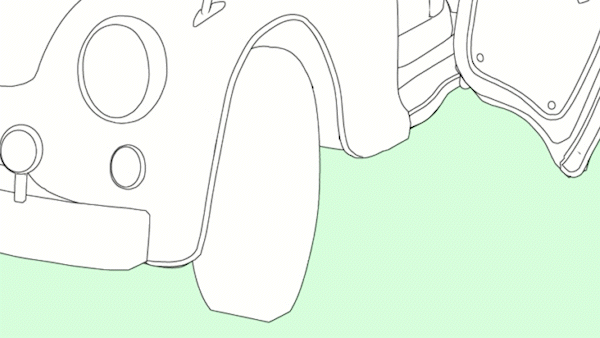
I will add the tires with vector layers.
Since a tire is made up of multiple concentric circles,
After drawing a circle, copy and paste it, scale it down from the center, and draw lines on top of each other.
For details on how to draw concentric circles on a vector layer, please refer to my previous TIPS and video. The settings and operations are a little complicated, but I think it's a function that will surely help many people.
Draw a car 7 Draw the texture of the tire contact surface
Make a texture image like this. Paste it on the ground surface of the tire with mesh deformation.
When deforming the mesh into a cylindrical shape, it is easier to deform if the number of grids in either the vertical or horizontal direction is set to the minimum of 2.

Draw a car 8 Draw the texture of the tire side
Create a texture image with the saturated line tool and paste it on the tire side in the same way.
After that, draw lines from above the texture image.

I think the trick to drawing a tire is to be conscious of the slanted surface of the corner between the side and the ground surface.
It is a good idea to draw a slanted face at the corner at the line drawing stage.
When pasting a texture image, it will look better if you change the angle of the texture on the sides and corners.

Separate and vectorize the border lines.
I will show you how to separate the black border of the layer from the white fill.
Right click on the bordered layer and rasterize it.
Next, go to [Menu bar] - [Selection menu] - [Select color range] and select black for the border.

If you copy and paste in this state, you can extract only the black border to another layer.
The black edges of the original layer can be filled with white using the previous selection area to prevent gaps from appearing.
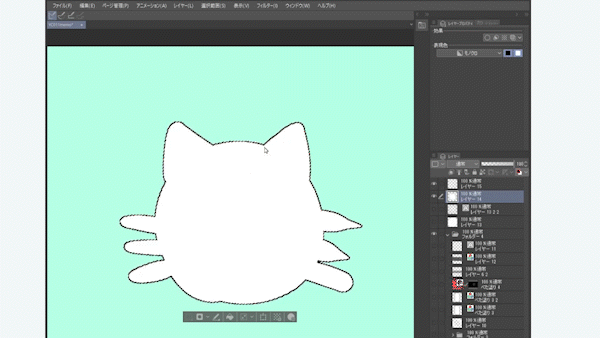
After this, right-click the black border layer and convert it from [Convert layer] to [Vector layer] to vectorize the black border.
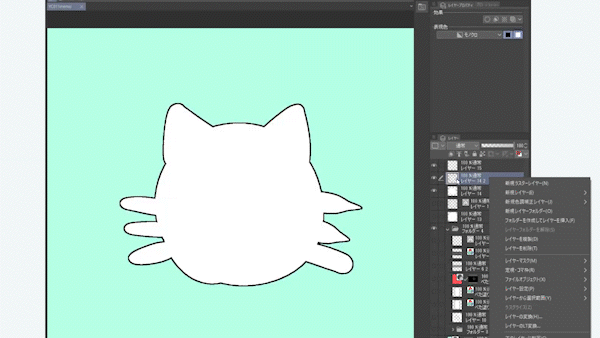
Draw a car 9 Add intonation to the lines that are too homogeneous.
The lines produced by the edge of the border effect are homogeneous and uninflected.
Separate the border lines, vectorize them, and add modulation with the line width correction tool.
This will give a natural finish.

Draw a car 10 Draw a license plate
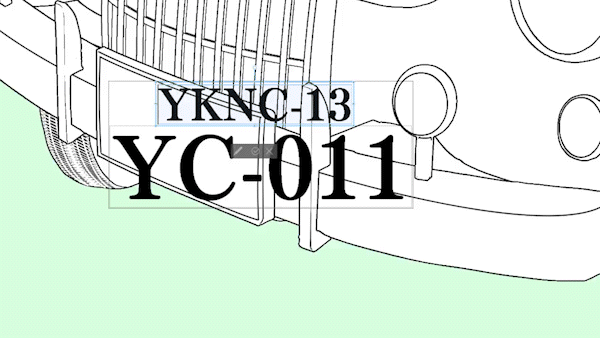
I will put letters on the license plate. Fine work leads to quality improvement.
However, it is necessary to pay attention to the copyright and permission range of the font.
I try to use only contracted commercial fonts that can be used in videos and images.
Draw a character using the border silhouette method 1

The border silhouette method is also useful for drawing characters.
It is easy to understand the contrast between things and people, and it is easy to balance various things between people.
It's especially convenient for drawing the entire pose, and it's easy to draw intuitively because you can start drawing from the complete form without starting from the bones and muscles.
Draw a character using the border silhouette method 2
Once the general pose is decided, I draw a rough sketch from above the silhouette.
Since it is almost decided at the silhouette stage, the progress of the pen is smooth.
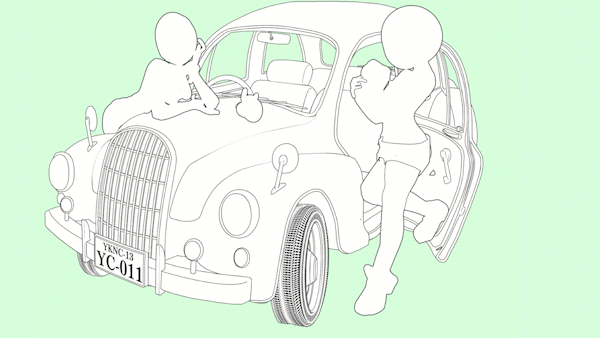
Draw a character using the border silhouette method 3
I will draw a line drawing of the character and finish it.

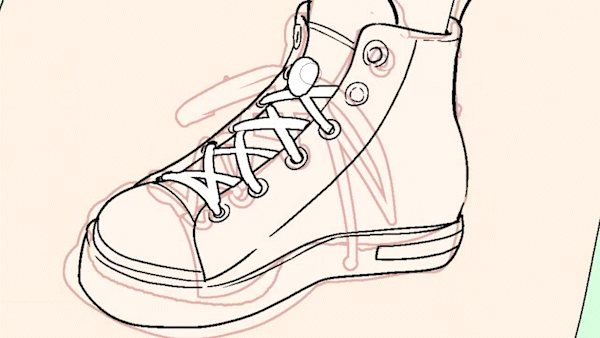
The border silhouette method is also useful when drawing shoelaces.
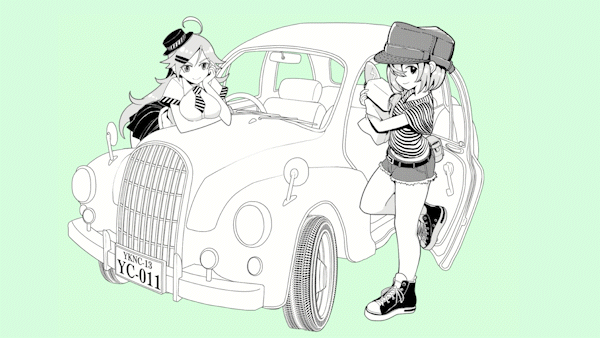
Car finishing 1 tires
Add solids and tones to finish. For the tires, I add a solid color so that the texture can be seen while paying attention to the light source.
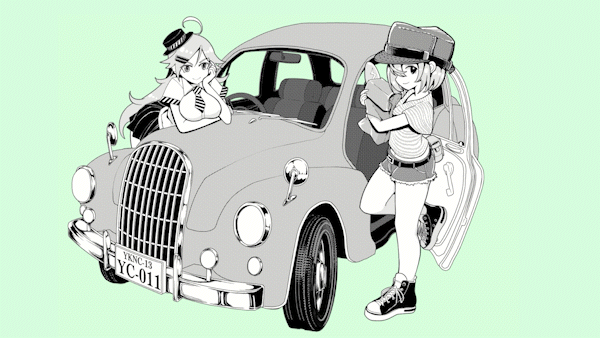
Car finish 2 Metal parts
For the metal parts, I add a solid finish to give it a glossy look so that the texture will be different from the other parts.

Car finish 3 light
For the light, I add a solid color while keeping in mind the texture and reflection of the surface.
Car finish 4 Body shadow and gloss
Add shadows and gloss to the car body. Be careful not to write too realistically according to the person.
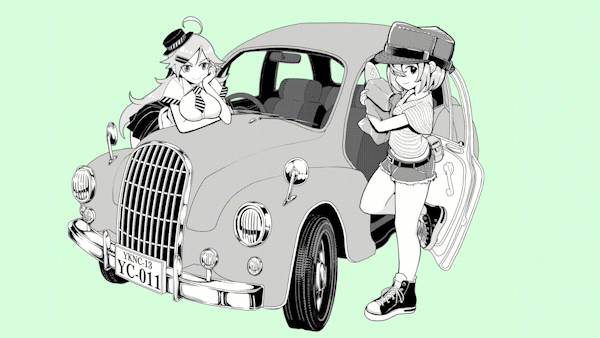
Finish!
Finally, draw the ground and it is completed.
This concludes the lesson on how to draw a car using the border silhouette method.
I hope that this course will give people who are not good at drawing cars a chance to challenge themselves.
I think that the technology introduced this time can be applied to various things, not just cars and people.
Also, this time I drew without using a perspective ruler or three-sided drawing for the sake of explanation, but I think it is best to use them together. For example, I think it's good to draw rough sketches and layout designs using the border silhouette method, and then use figure tools and rulers at the end.
Taking advantage of various drawing styles,
Please try to find a good use in your own production.


Comment