
When watching this video, please display subtitles in each language.
The explanation in Japanese is easier to read on my blog, so please see here.
It is convenient to use various figure tools on the vector layer so that you can edit the figure later.
In this course, we will draw two types of cups while introducing some tricks for drawing small items with the figure tool.
The functions I mainly use this time are the figure tool that can snap to the perspective ruler,
This function transforms the vector from the center and doubles the line.
The thing I drew this time is a simple cup, but the techniques I introduce are all very useful for drawing accessories and backgrounds in manga, so please take a look.
I think it will be useful for many people from beginners to advanced users.
How to draw a double line drawing and necessary setting items
While drawing accessories, machines, cars, windows, signboards, gun barrels and scopes,
I often draw the same figure over and over again.
Each time, setting up a concentric circle ruler or copying and pasting layers separately is very troublesome.
Therefore, in this course, we will propose a method of drawing a double line drawing by transforming the shape drawn with vectors from the center.
After copying and pasting a vector shape with the [Object] tool, if you hold down [Alt][Shift] and transform it, the second shape will be transformed from the center and you can draw a double line drawing.
When using [Transform] from the [Edit] menu, not only for vector transformation, [Shift] has the effect of [keep aspect ratio] and [Alt] has the effect of [transform from center].

The good thing about this method is that you don't need to set up a new ruler, you can handle various situations, and you can draw very quickly.
However, in preparation for this operation, it is necessary to change some settings of the [Object] tool.
Right-click the [Object] tool and change the [Alt] item from [Common] to [None] from the modifier key settings. If you do not do this, the tool will switch to the [Eyedropper] when you press [Alt], so be careful.
Also, set the [Transform method] of the [Object] tool to [Control point and scale rotation].
Note that the [Object] tool's [Transformation method] setting items do not appear unless a vector layer is selected in the [Layer palette].
Draw a round cup-1
Let's draw a round cup like this using the double line drawing method.
First, set up a suitable two-point perspective perspective ruler,
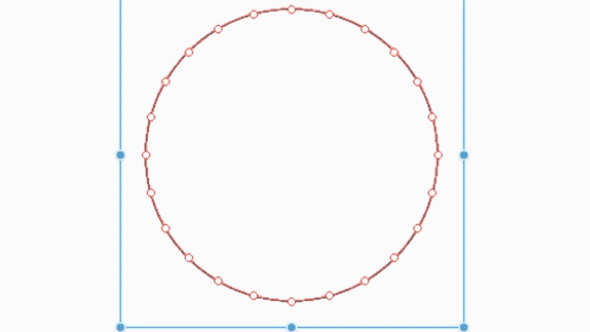
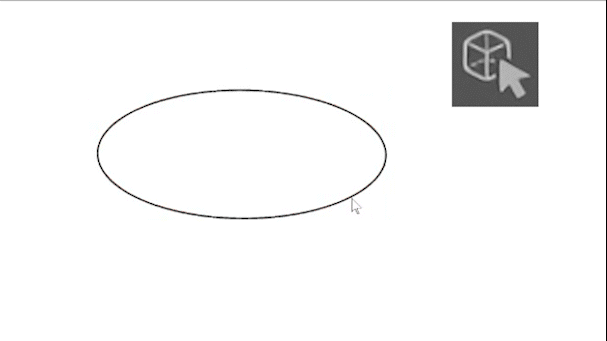
Draw the rim of the cup on the vector layer with the ellipse tool.
The reason I use the perspective ruler is because it makes it easier to match the background and characters, and to compare the size and distance between small items. It's also because the shape tool snaps.
I haven't used the perspective ruler much because I'm only drawing two cups this time, but I recommend using one when actually drawing manga.

Draw a round cup-2
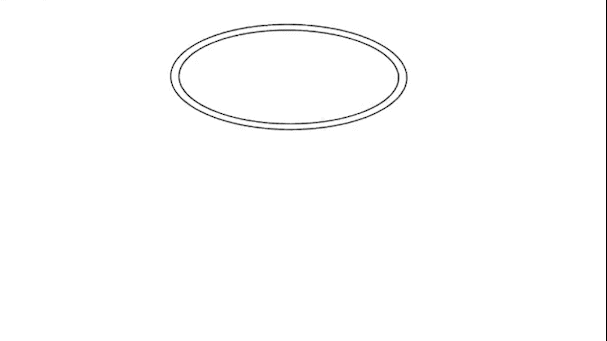
Copy and paste the vector of the rim of the cup with the [Object] tool, reduce it toward the center,
Double the line to draw the thickness of the cup.
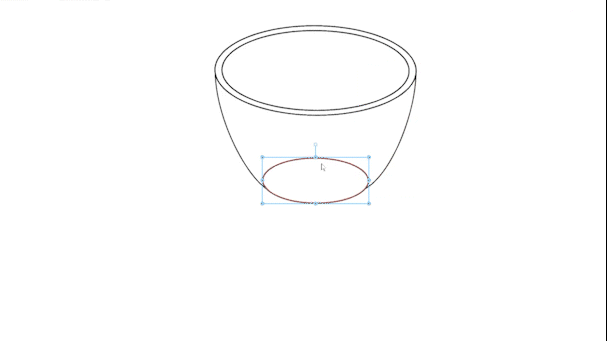
Draw a round cup-3
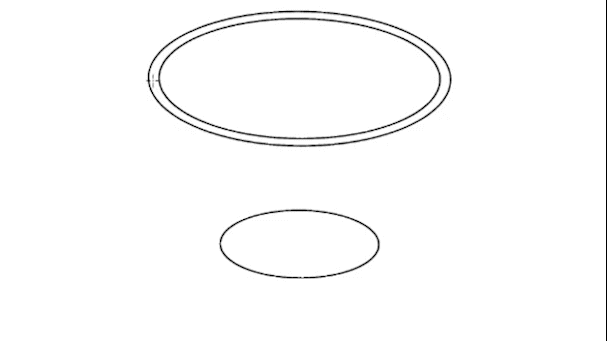
Draw the bottom of the cup.
Copy and paste one line of the cup with the [Object] tool, shrink it toward the center, and then move it down with the [Down] key on the keyboard to make it the bottom of the cup.
This time, there is no perspective in the vertical direction with the two-point perspective method, so I copied and pasted it as it is,
In the case of 3-point perspective drawing, I think that it is necessary to copy and paste after drawing auxiliary lines along the perspective drawing method in advance.
Draw a round cup-4
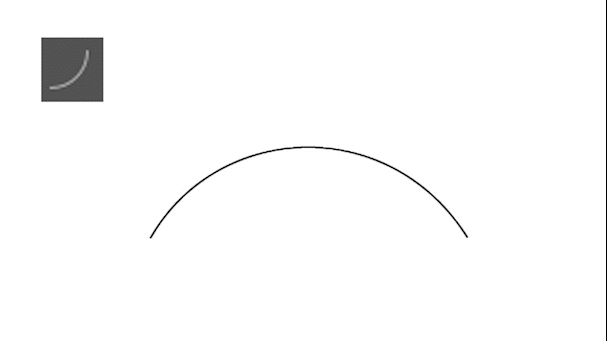
Next, draw the sides by connecting the top and bottom of the cup with the [Curve] tool of the cubic pager.
In the [Curve tool] settings, set the [Curve] item to [Cubic Bezier] on the far right.
The cubic Bezier curve tool is
(1) Starting point
(2) Drag to end point
(3) Adjustment
(4) Adjustment
It is a tool that draws curves in the flow, and it is a convenient tool that makes it easy to draw the most aimed curves.

Curves drawn on vector layers can be edited later with the [Object] tool.
It's difficult to draw a curve once, so it's convenient because you can edit it as many times as you like later.
You can also add control points and Bezier by right-clicking the vector with the [Object] tool. I often use this function when drawing cars, machines, swords, etc.
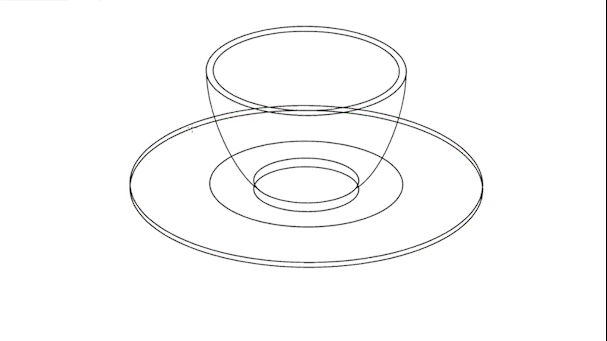
Draw a round cup-5
In the same way as before, make the bottom of the cup thicker and also draw the plate.
Use the [Eraser] > [Erase Vector Intersection] to erase the overlapping lines.
Draw a round cup-6
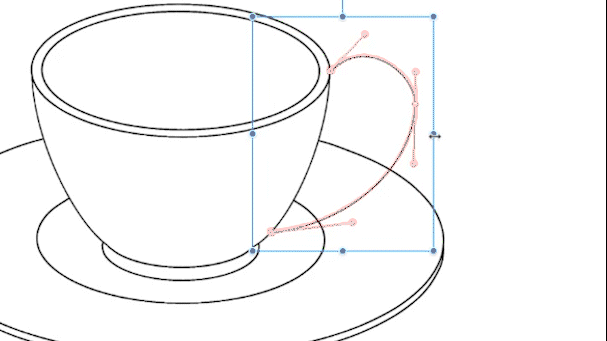
Next, draw the handle of the cup with the [Curve] tool.
I couldn't draw the desired line with the cubic Bezier curve, so
Right-click the vector with the [Object] tool to add control points.
By increasing the number of Beziers, it becomes easier to draw the desired curve.
Copy and paste the handle vector with the [Object] tool, add thickness,
I added decorations to the bottom.
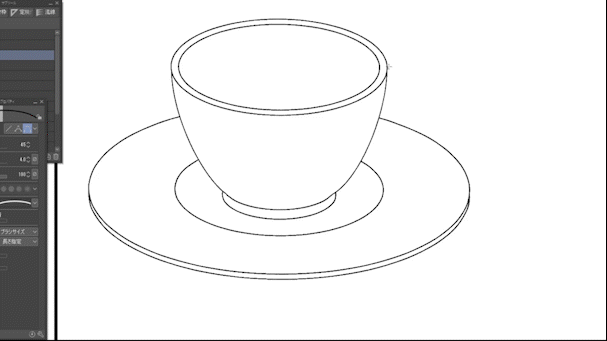
Draw a round cup-7
Copy and paste the edge of the cup to draw the water surface of the drink in the cup.
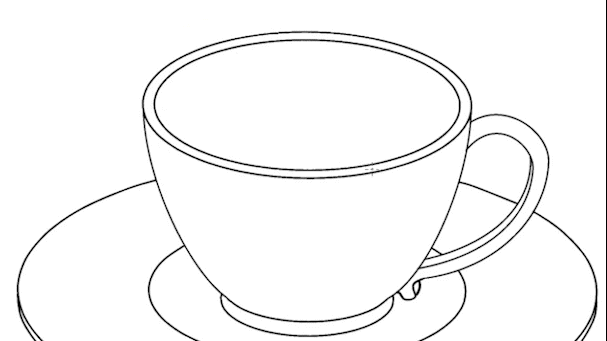
Draw a round cup-8

Finally, use the [Correct line width] of the [Correct line] tool to make the lines thinner and add modulation.
This time, I used [Correct line width] to add inflection, but if you don't like this tool,
From the [Layer] menu, use the [Ruler from vector] function of [Ruler/Frame border].
After changing the line drawing drawn with the figure tool to a ruler,
It is good to draw the intonation by tracing with a pen over the ruler.
I was able to draw a round cup.
Draw a stylish cup-1
Next, let's draw a cup that looks a little difficult.
However, the only difficult part is drawing the first figure.
After that, you can draw like a round cup.
Draw a stylish cup-2
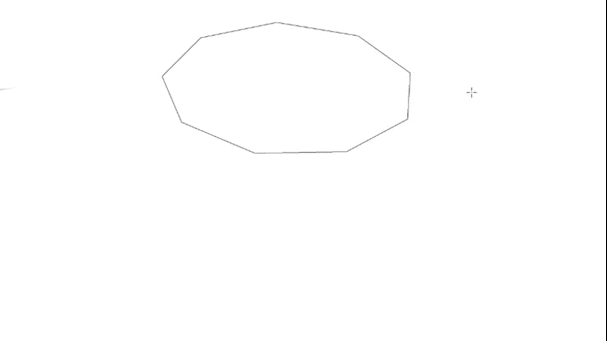
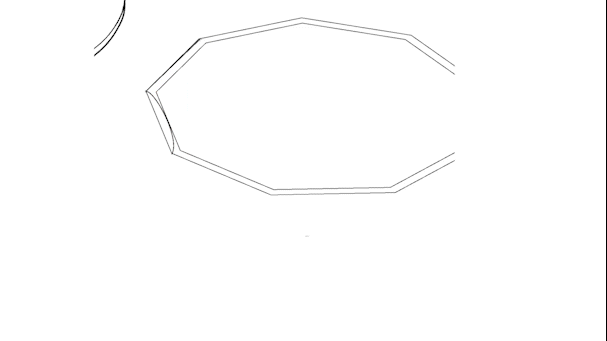
Draw a polygon to draw the stylish rim of the cup.
I will draw based on the rounded corners of the octagon.
(Sorry, I forgot to round the corners in the example below, so I redrawn them later.)
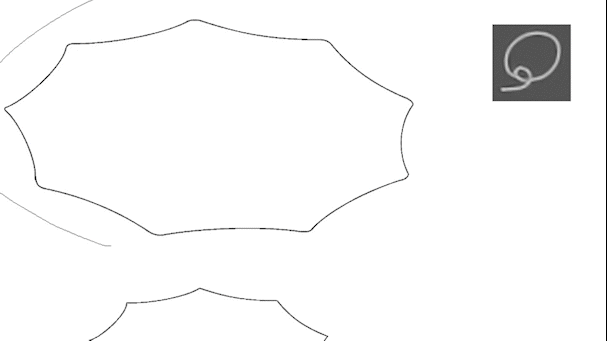
Draw a stylish cup-3
I will draw a stylish cup line with the [Curve] tool after drawing the polygon.
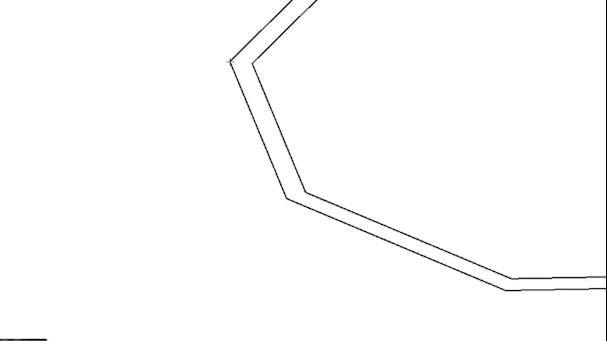
After drawing all the curves, erase the Atari polygon.
Now you can draw the rim of a stylish cup.
Even complex figures become easier to draw if you develop them after replacing them with simple figures.
Draw a stylish cup-4
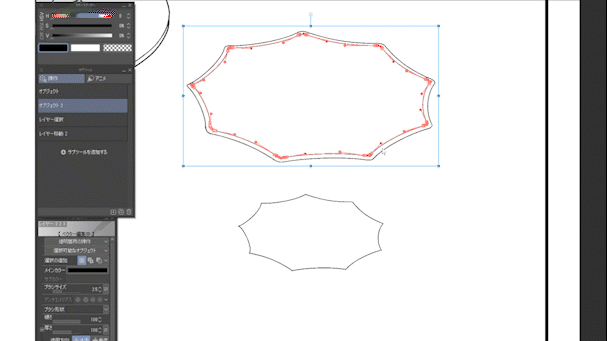
Next, copy and paste this stylish border.
In the case of circles and polygons, there is only one vector, so I could copy and paste it as it is with the object tool, but this time it is a figure with many vectors, so only one vector line can be selected, so it is necessary to devise .
Trace the line with the [Lasso tool] to make a selection, then
You can select all lines by using [Select vector across selection] in the [Selection] menu.
After that, just copy and paste the stylish lines and double them.
[Select vector over selection] is not a tool window like [Lasso tool],
Note that it's in the Selection menu.
Since this function is also used frequently, it is recommended to register it in the shortcut or selection launcher.
Draw a stylish cup-5
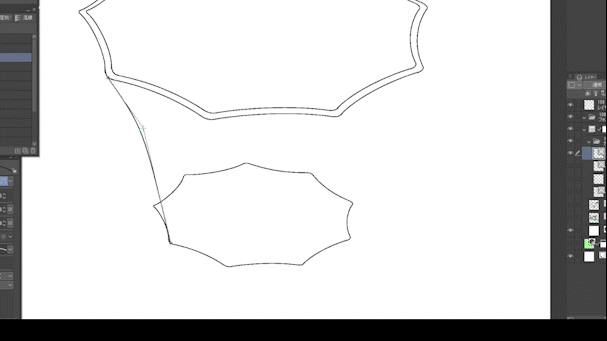
After drawing the rim of the cup, the rest is the same as the round cup.
In the same way, copy and paste the bottom and connect the top and bottom...
Draw a stylish cup-6
done.
in conclusion
When I draw manga, I always try not only to draw characters,
You will need to draw a lot of props and backgrounds.
The drawing method I dealt with this time can be used to quickly draw guns, backgrounds and accessories that are more difficult than cups.
For example, you will be able to draw tires quickly without setting up a ruler.

Please try and practice in various situations and use it when drawing your own manga.
Users who liked this post


Comment