
Introduction
This time we will talk about the basics of the ruler function necessary for drawing manga in CLIP STUDIO.
While explaining a little bit of operational trivia and settings, we will explain which ruler to use and how to draw what kind of picture.
1.Ruler shortcuts and settings
1.1 Snap shortcuts
To switch the ruler snap, use the button on the command bar on the screen. It's not efficient to go to the command bar every time, so I'll register it as a shortcut.
From [Shortcut key settings] in the [File] menu, register with 1.[Settings area - Main menu]-2.[Display]-3.[Snap to ruler/special ruler] can.
You can turn the ruler on and off by hiding the ruler layer or by touching the diamond mark on the ruler with the object tool, but you have to move your hand from where you are drawing each time. It is convenient to register it as a shortcut so that you do not have to move your hands.
It is also convenient to register the ON/OFF of snapping for each vanishing point of the perspective ruler as a shortcut. When you want to disable the vanishing point in only one direction, you can switch it in an instant.
From [Shortcut key settings] in the [File] menu, you can register each vanishing point using 1[Settings area - options]-2[Canvas]-3[Perspective ruler].
1.2 Object tool settings
Next, I will introduce the object tool settings that are useful when using the parallel line ruler.
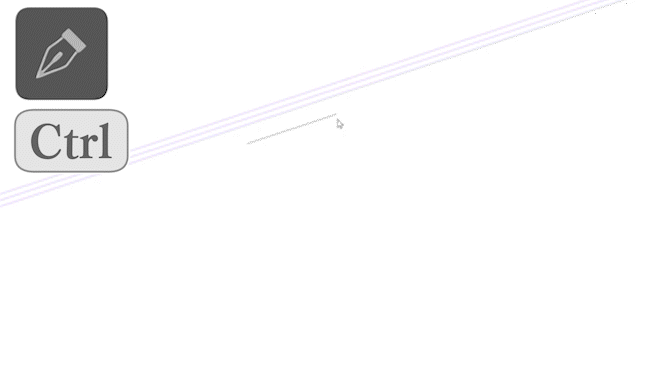
Check [Specify direction of parallel line ruler] under [Manipulate transparent areas][Manipulate objects by dragging] in the object tool.
With this setting, if you hold down the [Ctrl] key and drag while drawing with a pen, the pen will temporarily switch to the object tool, allowing you to easily and freely change the angle of the parallel line ruler. .
This is useful when drawing hatches like this.

You can also adjust in 45 degree increments by holding down [Shift] and dragging while switching with [Ctrl].
If you want a detailed and accurate angle using the parallel line ruler, you can set the angle numerically by touching the parallel line ruler with the object tool.
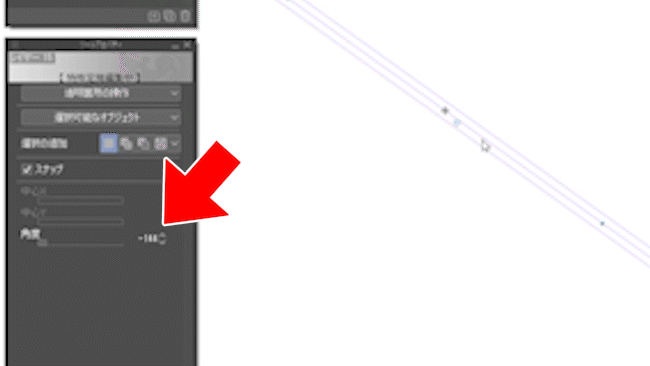
This angle value is used to match the angle when drawing with a parallel line ruler and blurring it with the filter [Moving blur].

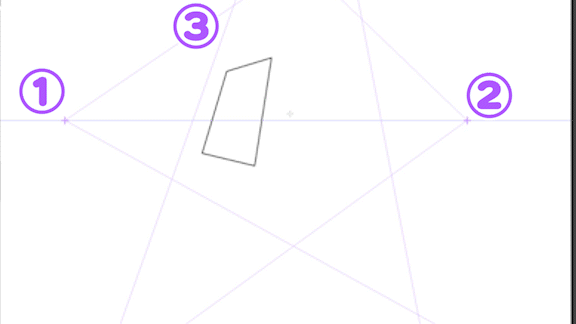
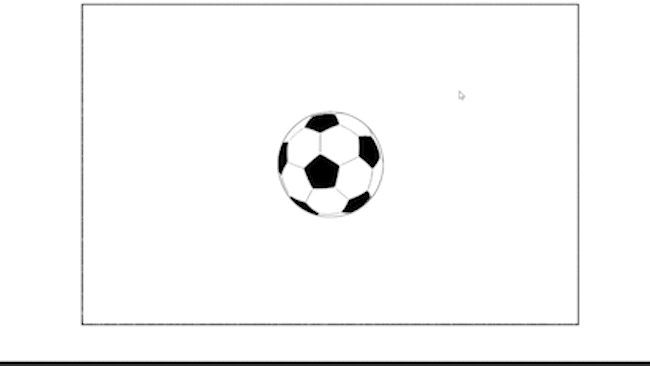
2. Examples using each ruler
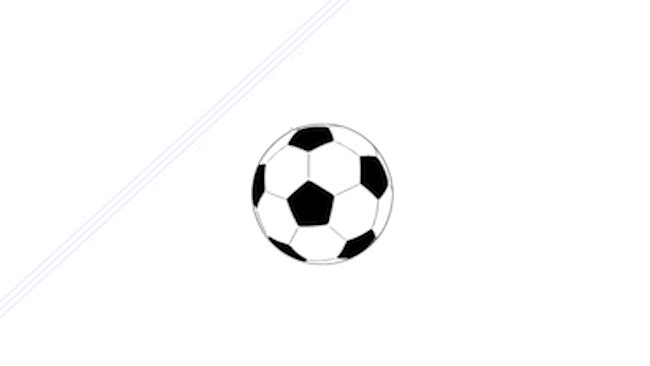
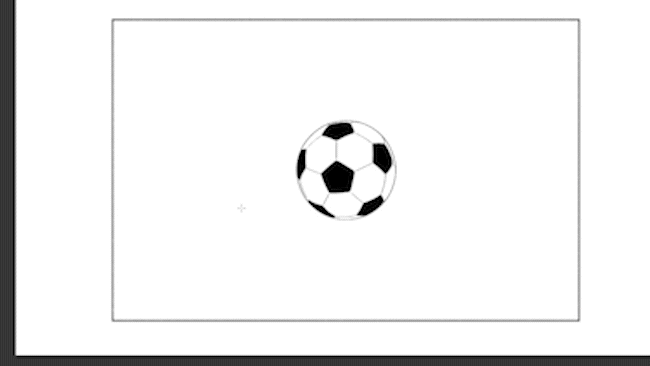
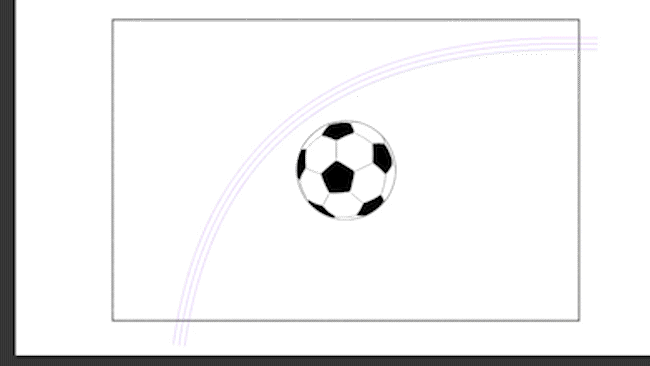
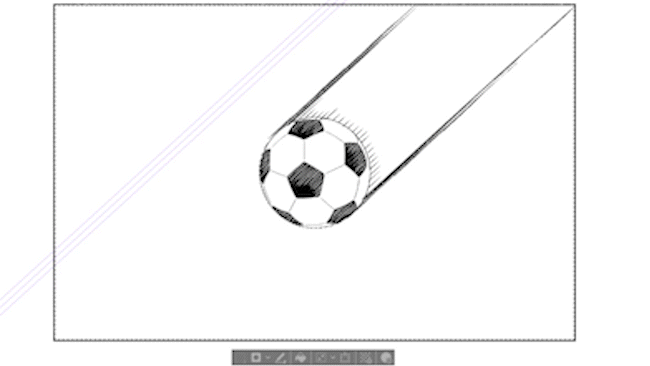
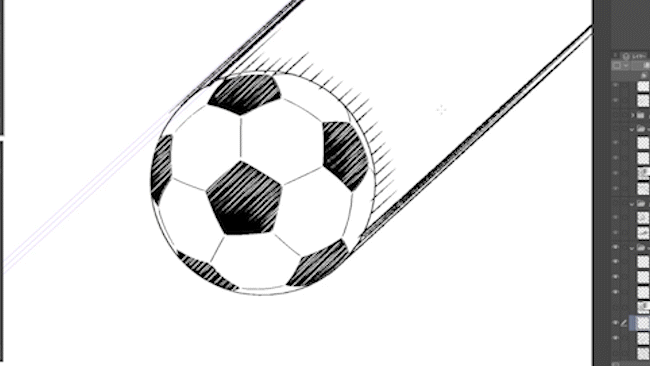
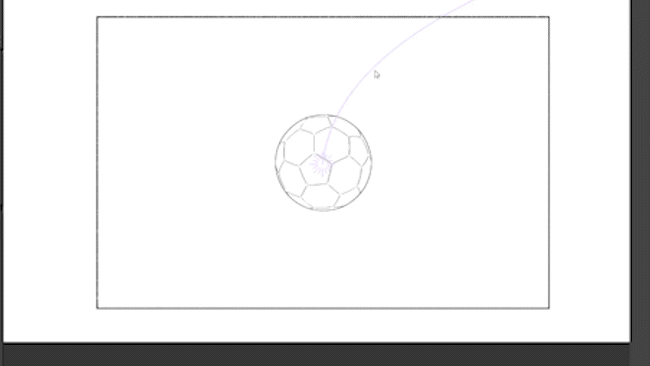
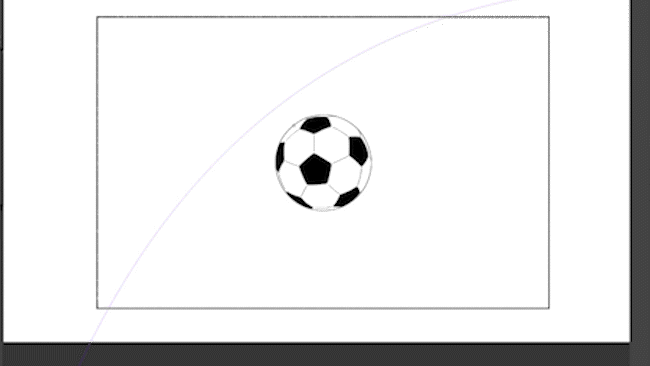
Now, I will show you how to use which special ruler and when to draw manga, using some examples to give movement to this soccer ball.
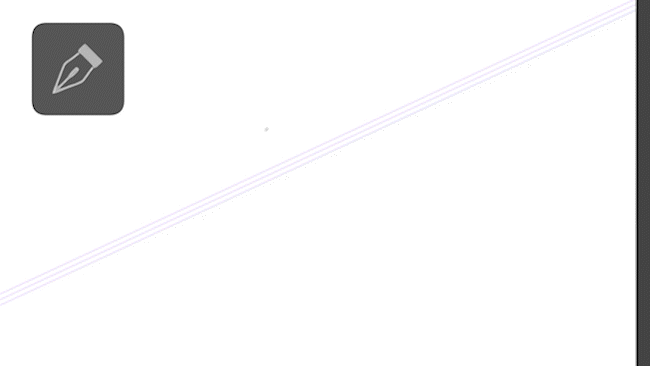
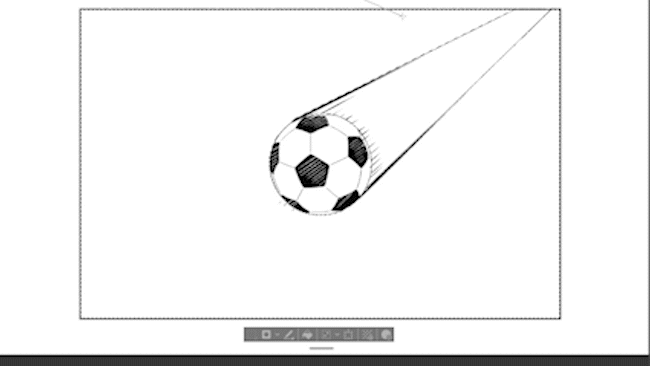
2.1 Parallel line ruler
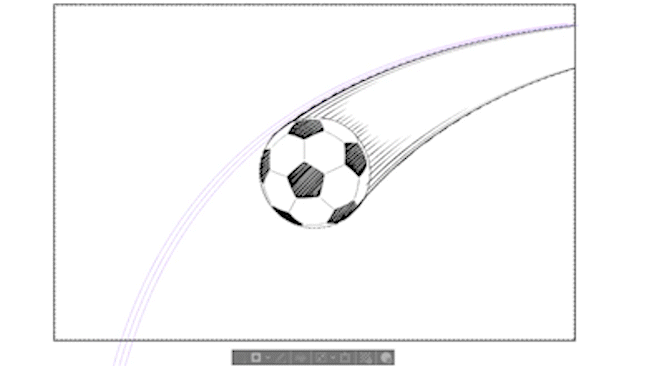
First, let's use a parallel line ruler. This ruler is used to draw speed lines that give the impression of linear motion.
It is also used when drawing speed lines in white over black filled areas.
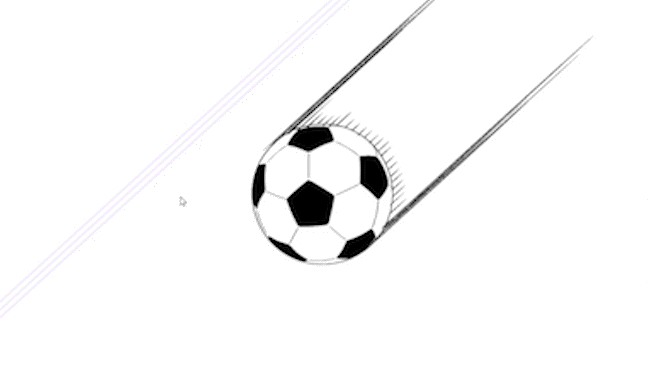
It is also used to draw small shadow lines and hatching. At this time, the method I introduced earlier of changing the angle of the parallel line ruler by holding down the [Ctrl] key and dragging while drawing with a pen is useful.
Next is the parallel curve ruler.
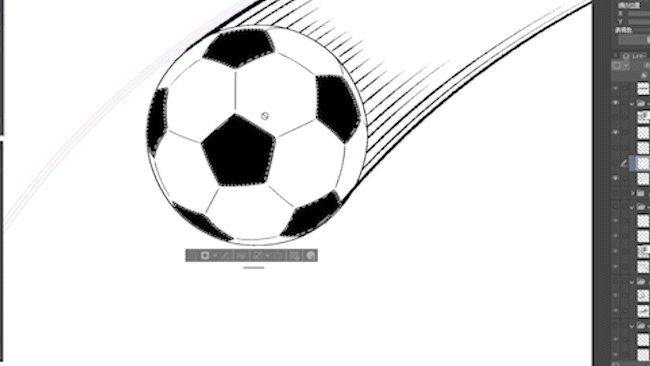
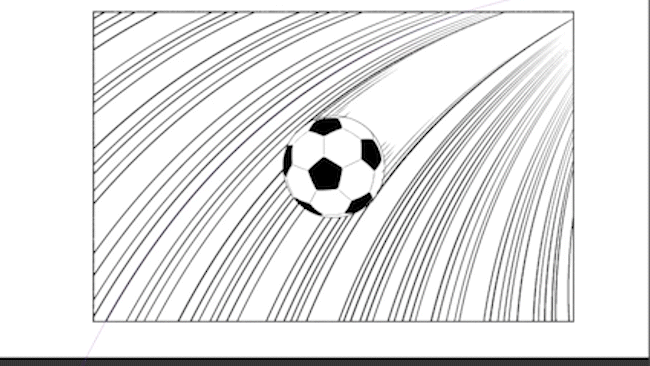
2.2 Parallel curve ruler
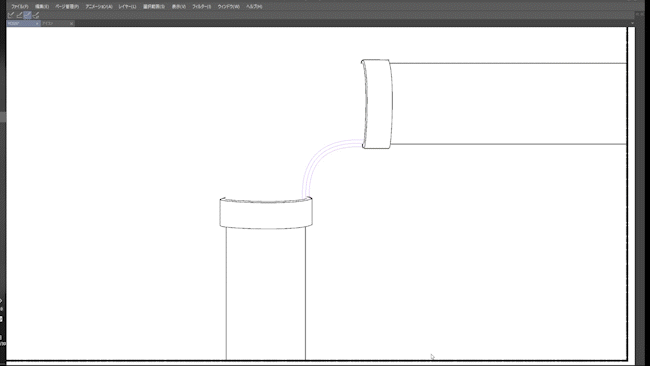
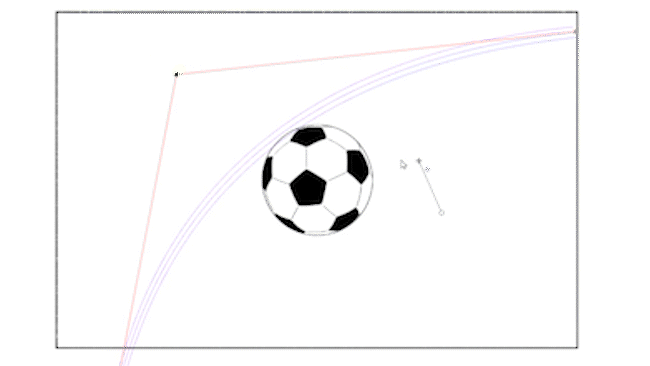
Next is the parallel curve ruler. If it is not in the tool list, copy the parallel line ruler, rename it, and change the [Special ruler] item to [Parallel curve] and use it. The recommended method for specifying the curve is [quadratic Bezier]. The same goes for other rulers.
This is how to install a parallel curve ruler. Place a ruler on the vector layer to draw a curve, then use the object tool to make fine adjustments.
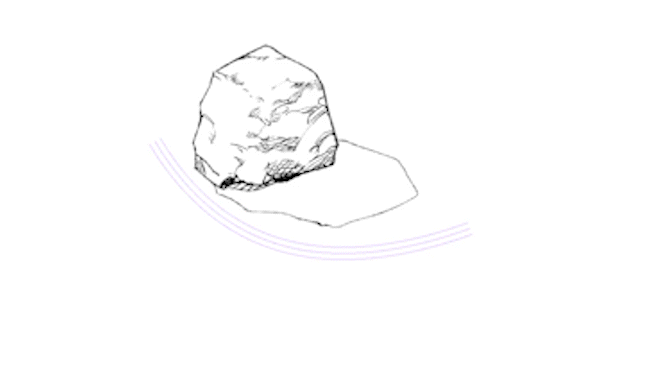
A parallel curve ruler can be used to draw curved motion speed lines like this.
I also use it to draw the corners of pipes,
It is also used to draw curved hatches.
At this time, I recommend making a ruler for each direction.
2.3 Multi-curve ruler
Next is the multi-curve ruler.
The multi-curve ruler is similar to the parallel curve ruler, but when you turn this round mark with a stick with the object tool, the tip of the ruler becomes tapered and draws a curved speed line that gives a sense of perspective. I can do it.
It is also used to draw the line of the sword's shadow that tapers.
If you turn off the ruler's snap and erase some of the shadow lines, you can create a blade pattern-like expression.
Also, if you set up the parallel line ruler and multiple curve ruler in advance, you can also snap the streamline tool. You can automatically align the line with the original speed line.
Since they are drawn using the same ruler, it is convenient because you can add lines later to make fine adjustments to the lines you roughly drew with the tool.

The streamline brush can also be snapped, so it is useful for adding finely moving lines to line drawings.
You can achieve this kind of effect by drawing with a white streamline brush around the selected area.
We have distributed the streamline brush before, so please feel free to customize it and use it.
There is one thing to keep in mind; the streamline tool cannot snap to parallel curve rulers, so please keep that in mind. The streamline tool can only be snapped to parallel line rulers and multi-curve rulers.
2.4 Radiation ruler
Next is the radiation ruler.
This can be used to draw saturated lines,

Used to draw speed lines with depth.
2.5 Radial curve ruler
Next is the radial curve ruler.
This can be used to draw spiral concentrated lines,
Used to draw curved speed lines that have a sense of perspective.
The Radial Ruler and Radial Curve Ruler can also snap to the saturated line tool.

You can also snap the saturated line brush in the same way.
The concentrated line brush was previously distributed, so feel free to customize it and use it.
2.6 Pattern brush
Also, the rulers introduced so far can also be used to snap pattern brushes.
This is useful when drawing patterns or effects along speed lines.

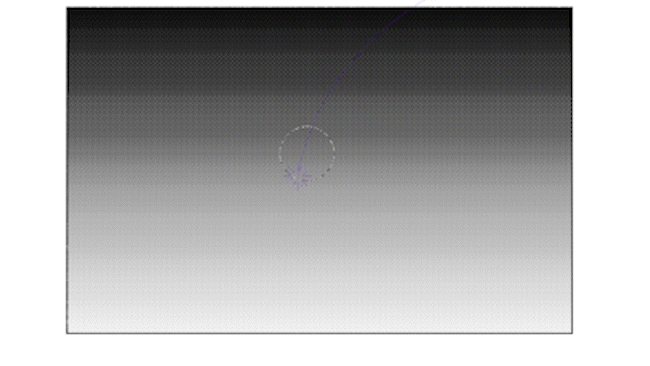
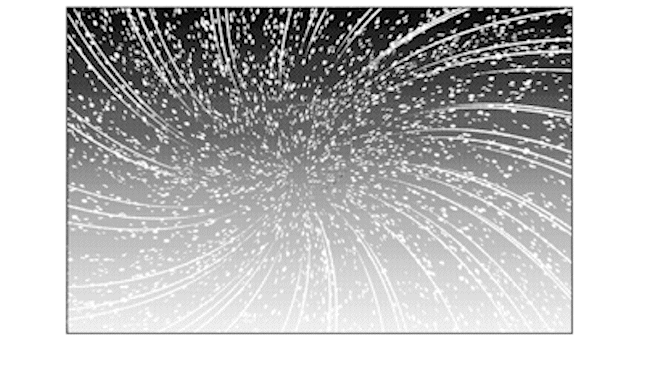
Let's try drawing a snowstorm using a pattern brush and a radial curve ruler.
From above the gradation, use a snow brush to draw snow toward the center like this,
After drawing a curved concentrated line with a white line,
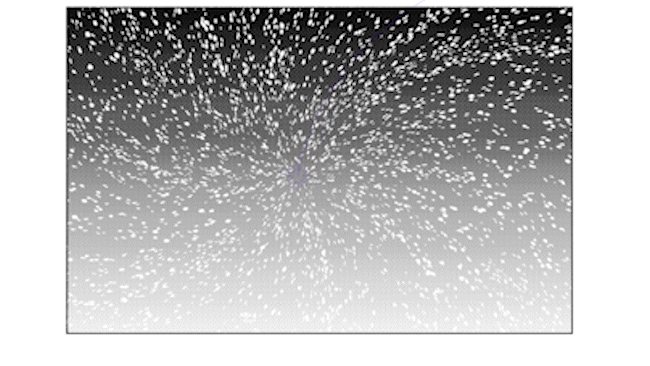
Erase some of the snow in the center with cloud gauze. I was able to draw a picture that looks like a blizzard.
2.7 Draw things by regularizing vector layers
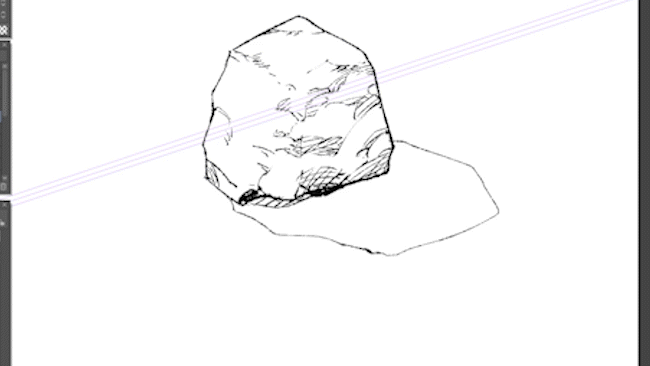
Next, I will introduce the standardization of vector layers, which is useful when drawing objects.
This method involves drawing an object on a vector layer, then standardizing the vector layer and tracing it again with a pen.
With this, you don't have to switch rulers and pens every time, and you can draw small objects with clean lines while adding intonation to the lines.
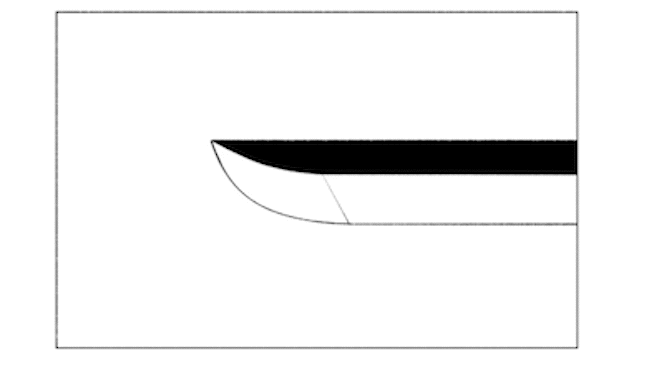
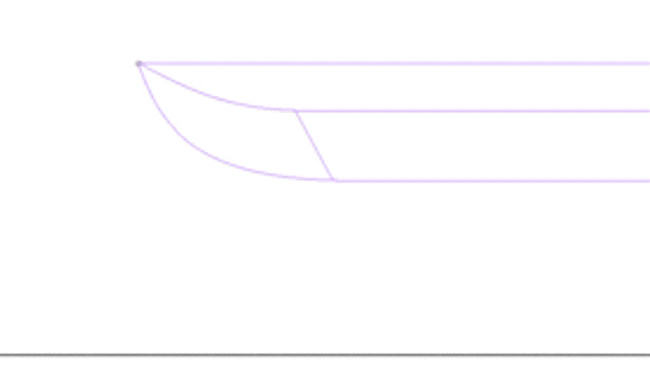
Let's take the line drawing of the sword that appeared earlier as an example. First, draw a line drawing of the sword on the vector layer using a curve tool.

In this state, the lines look uniform and formal.
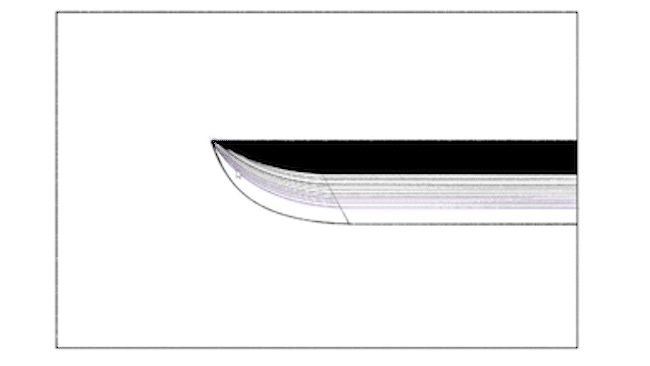
Next, convert the line drawing you drew entirely into a ruler using [Ruler/Frame Border]-[Ruler from Vector] from the [Layer] menu.
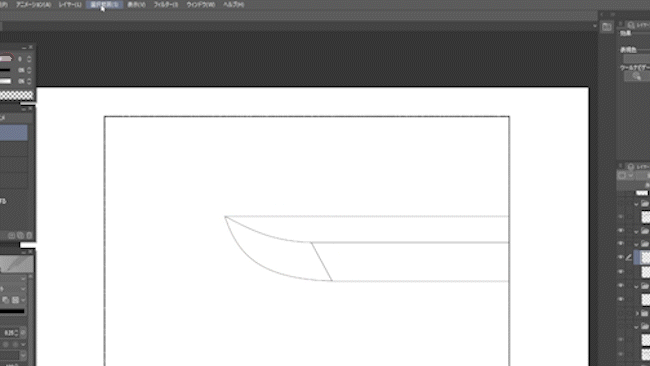
This time, I traced it again with a pen. Due to the state of the vector layer, the line has more intonation and no longer looks like it was drawn with a tool.
Supplements and applications
This article was for beginners, but past articles have touched on applied details of rulers.
I have explained in detail about drawing things with vector layers in previous videos. Please use this as a reference when drawing objects by standardizing the vector layer.
Please take a look at the article below, which explains how rulers and filters work together, and how to use rulers in battle scenes.
At the end
Above, we have introduced the basics of rulers, which are useful when drawing manga.
While rulers are good at drawing uniform lines, they take time to set up, and that effort can get in the way of your work. There are many cases where it is not possible to properly set up a ruler for the line you want to draw. In such cases, you may want to consider drawing freehand instead of using a ruler. Once you understand the functions, try using a ruler, vector, or freehand, depending on the situation and mood.
Users who liked this post


Comment