Draw line drawings easily with deformation! Vector line drawing transformation trick course!
We have prepared subtitles in each language for the video, so please watch the video while displaying the subtitles.
A 10x speed video of the entire drawing process is posted at the end of this TIPS.
The explanation in Japanese is easier to read on my blog, so please see here.
It is convenient to draw line drawings on a vector layer
When drawing clear and sharp line drawings like manga and anime,
It is more convenient to draw on a vector layer, which has excellent editing functions, than on a raster layer.
In this TIPS, we will draw a line drawing of this girl wearing glasses while introducing a wide variety of transformation functions of CLIP STUDIO, with vector layer editing as the main axis.
Introduction of convenient functions when drawing line drawings 1 [Vector line knob]
Before starting to draw, I would like to introduce a series of functions and tools that are useful when drawing line drawings, as well as tricks that make use of them.
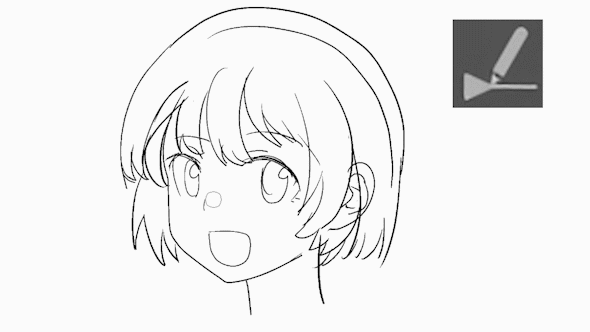
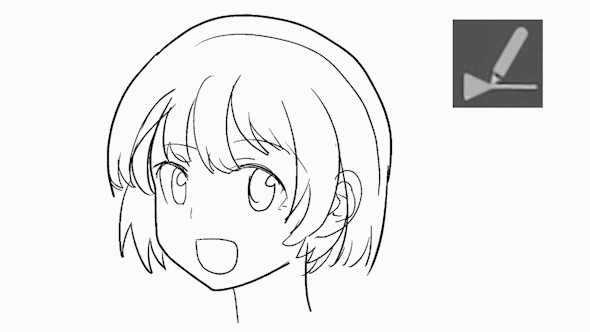
The first is [Tool]-[Correct Line]-[Vector Line Pinch].
This is a tool that allows you to move a line once drawn by pinching it with your fingers.

You can draw a line well, but it is used to fine-tune the line when it is a little off.
It's convenient and saves time because you don't have to redraw the lines.
It is convenient to use on soft curves such as the face, hair, and natural objects.
In the example below, it is used to align the tips of the hair and slightly shift the position of the cheeks and chin.

Introduction of useful functions when drawing line drawings 2 [Correct line width]
Next is the [Line width correction tool] of [Line correction].
This is a tool that changes the thickness of the traced line.
Use this when you want to change only the thickness while keeping the shape of the line as it is.
It is convenient because you can save the trouble of overlapping lines and scraping with an eraser.
[Correct line width] can be used on raster layers with the latest version, but vectors can be corrected more beautifully.
I duplicated this tool and created two settings, one to thicken the entire vector and the other to thin only the traced part, and use them according to the situation.
If you want to emphasize the outline, make the line thicker,
Thin the lines when you want to give a pale impression to the hair, or when you want to express highlights.
The setting of the thickening tool on the left is [Expand by specified times] [1.20] [Process to entire line] ON,
The setting of the thinning tool on the right is [Reduce by specified times] [0.80] [Process to whole line] OFF,
After thickening the whole line, you can make the line thinner by thinning only the traced area.
If you have drawn a line with a good shape and position, but the thickness is different, use this to adjust it.
Introduction to useful functions when drawing line drawings 3 [Select vector over selection]
The third function is [Select vector over selection] in the [Selection] menu.
You can select multiple vectors that touch the selection range.
Please note that the location of this function is not in the [Selection] tool, but in [Selection] in the menu bar with [File] and [Edit] at the top of CLIPSTUDIO.
Multiple vector lines can be selected with the object tool alone,
Since it is difficult to aim, it is possible to edit only the target vector,
It is convenient to use this function.

The flow of editing operations is as follows.
I. With the [Lasso] tool or [Selection pen] tool, create a selection area that covers the vector you want to edit.
II. Apply [Select vector over selection] in the [Selection] menu.
III. The tool will automatically switch to the [Object] tool to transform and scale.
It is convenient to register [Select vector over selection] in Shortcuts, Quick Access, and Selection Launcher.
Use this function to enlarge multiple vector lines,
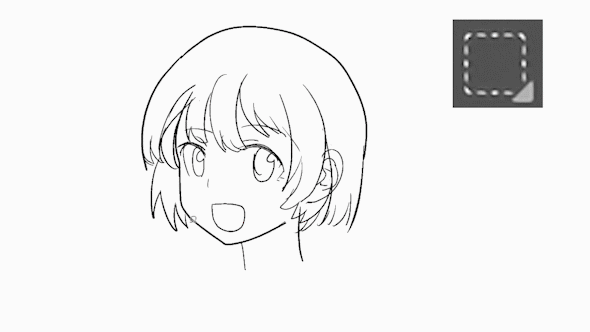
transform or
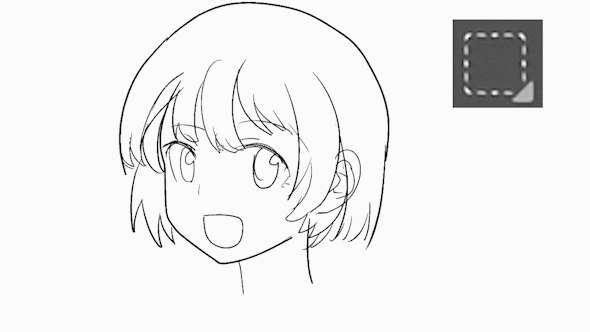
move or
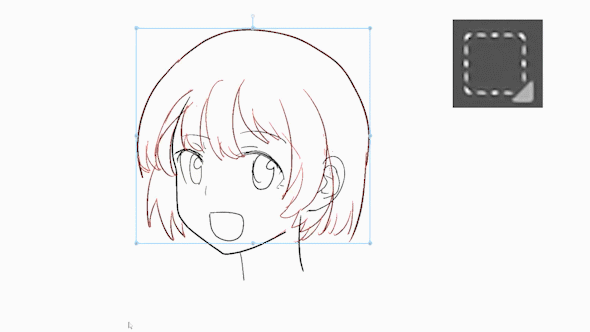
Change the brush size all at once,
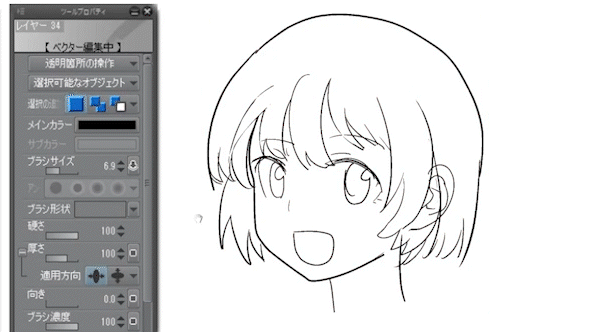
You can separate layers.
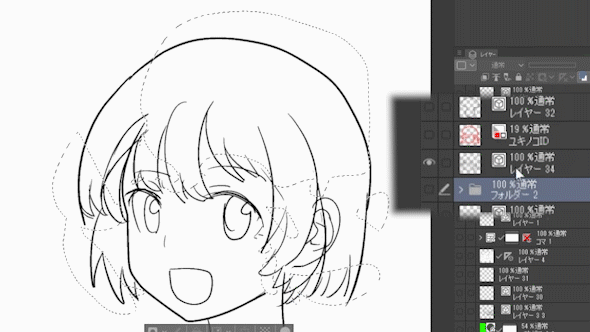
These are difficult tasks in which the selection range must be specified in detail with raster layers,
If you use this function on vector layers, you can easily do it in an instant.
Since the deformation method of the vector is set to the object tool,
Prepare two object tools,
There are two types of transformation methods: [Free transformation] and [Control point and scaling rotation]
I use them depending on the situation.
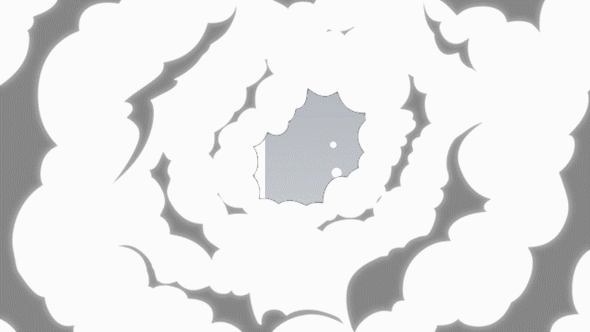
If you select [Vector over selection], the [Sub tool window] switches to the upper object tool with priority, so
In my case, I put the free transformation object tool that I often use on top with the [Sub tool window],
When you want to scale and rotate, use the object tool below,
I select in advance and then select [Vector across selection].
It's a little complicated, but this method is easier and faster than changing the transformation method each time.
Introduction of useful functions when drawing line drawings 4 [Get double line drawing with vector transformation]
Next is a little trick using vector transformation.
You can transform from the center by pressing [Alt] while transforming from the [Edit] menu. It will switch to [Eyedropper].
So, in order to deform the vector from the center, it is necessary to change the settings a little.
Set [Alt] to [None] from the [Modifier Key] settings in the object [Tool Property].
If you leave it as [Common], the tool will switch to [Eyedropper], so be sure to change it to [None].
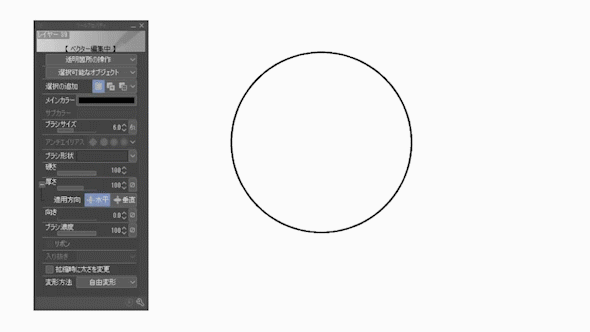
If you copy and paste the selected vector and transform it while pressing [Alt], you will be able to scale from the center like this,
You will be able to create double line drawings without a ruler.
I won't use it this time, but it's very useful when drawing buttons, machines, guns, windows, etc.

Introduction of useful functions when drawing line drawings 5 [Erase multiple vector lines]
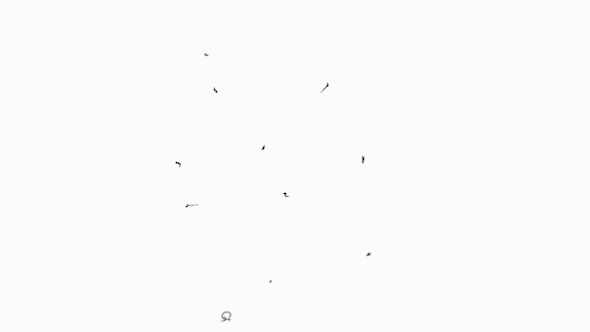
When working with vector line drawings using the intersection eraser, a lot of small vector dust may accumulate.
It's hard to erase with an eraser one by one, but [Select vector over selection],
You can delete them all at once by selecting [Delete] from the [Edit] menu.
Introduction of useful functions when drawing lines 6 [Pseudo eraser with transparent color]
On vector layers, erasers are difficult to approach unlike rasters,
I think some people are tired of it.
For those people, if you draw with a transparent color instead of an eraser, you can make it look like it was erased with an eraser.
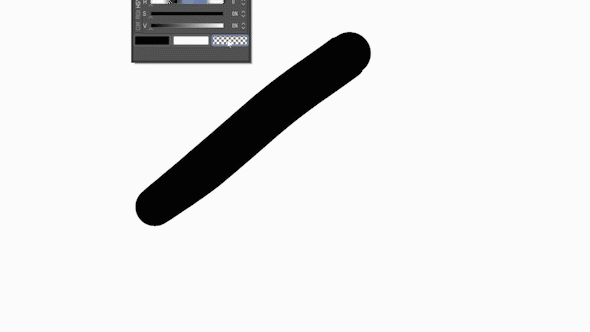
It's not really disappearing, it feels like it's hiding.
I don't really understand the specifications, but there is no problem at all, and I often use it because it is convenient.
This is the end of the explanation of the tools used for line drawing.
I have all these tools set as shortcuts,
I always switch while drawing line drawings.
Now, let's actually draw a line drawing using these tools and functions.
Draw a rough using transformation 1
I will draw a rough using all the transformation functions that I have learned so far.
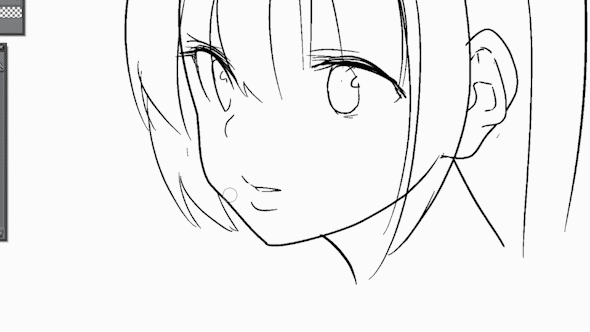
I adjust the position and swelling of the cheeks with the [Line knob].
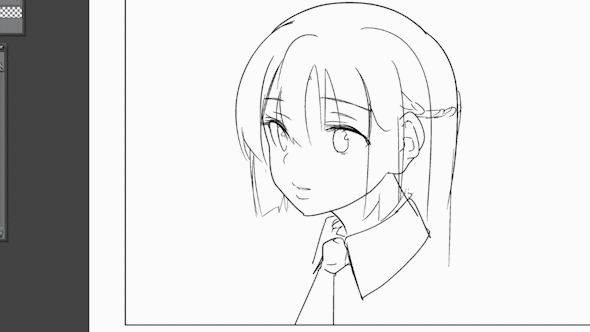
The collar is deformed to conform to the three-dimensional structure of the neck.
In this way, using transforms as often as you would with a regular pen or eraser makes the whole job easier.

Since the positional relationship between the neck and shoulders is strange, I select the body line and move it.
This kind of movement often works well if you do it for each joint or knot of the body.

I felt that the skull was long sideways, so I deformed and shortened the line drawing of the entire head.
In this way, I will find and correct any points that are worrisome, and bring it closer to a beautiful girl.
A rough prototype has been completed.
Line drawing 01 [Glasses]
Now that I have a rough sketch, I will draw line drawings from time to time.
Glasses add control points by right-clicking on the line drawn with the curve tool, increasing the curve,
I will roughly match it with vector deformation.
Artifacts with many curves are what Vector excels at.

Drawing 02 [Change pose]
I was able to draw more or less, but the pose is straight and immovable, so it's not cute enough,
I decided to change it to a slightly playful tilting pose.
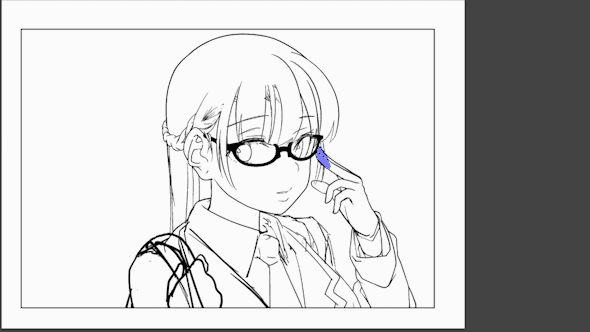
Select and rotate the hair, face, glasses, and hand layers all at once while holding down SHIFT.
Since vector deformation cannot be used for multiple layers,
Here I am using [Transform/Rotate] from the normal [Edit] menu.
The position of the arms and the height of the neck are adjusted according to the changed pose.
The hair around the glasses felt a little noisy, so I erased it.
Line drawing 03 [Change hair and mouth]
It wasn't cute because there was no movement in the hair,
I redrawn the rough to make it flutter in the wind.
I made it look cute by making it look cute.
Line drawing 04 [hand change]
I didn't really understand the pose of the hand, so I changed it to a cute pose and made a clean copy.

The [Select vector over selection] tool is very useful for areas where lines are concentrated, such as around the finger. It is very convenient because you can transform each part such as fingers and palms individually.

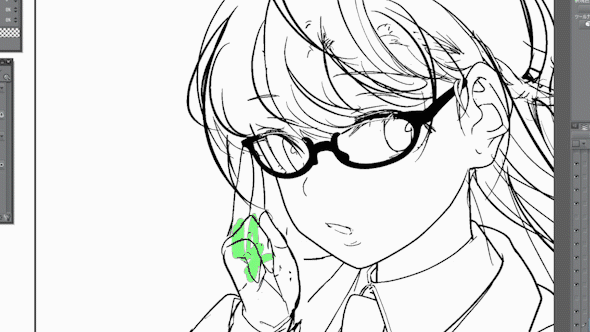
Line drawing 05 [hair adjustment]
Finally, we will draw the hair.
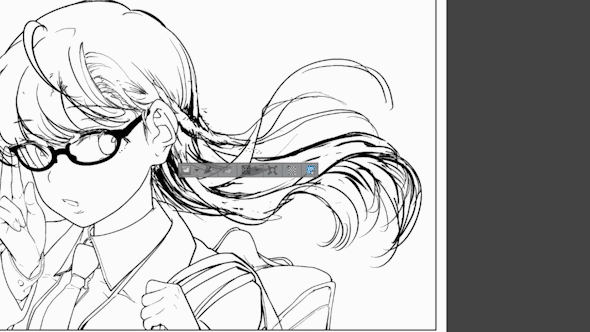
The fluttering condition of the hair strands can also be drawn quite efficiently by adjusting the vector transformation.
Also, after this, before I start clean-up of the line art, I convert the hair vector layer to a raster layer using the [Layer] menu > [Convert layer].
This is because if the draft is left as a vector layer, the draft vector and the clean copy vector will interfere when you draw the line art from above and erase it.
By the way, [Convert Layer] can also convert raster layers to vector layers.
I often use this function when extracting background lines drawn with a pattern brush as vectors.
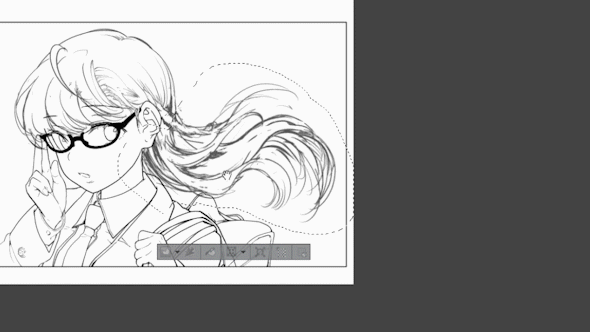
After that, I adjust the fluttering condition of the hair with [Transform] > [Mesh Transformation] in the [Edit] menu.
Increasing the number of grids makes it easier to adjust the curve.

The hair was blowing in the wind a little too much, so I transformed it to give it a slightly calmer look.
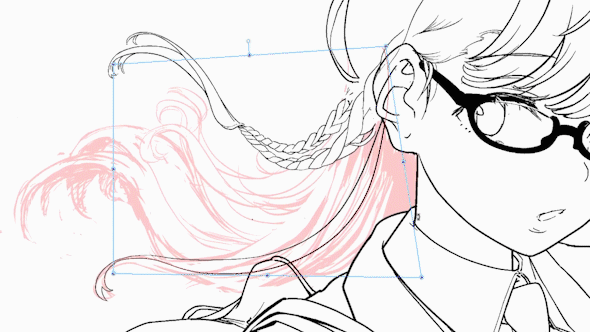
I adjusted the braided part of the hair in the same way.
The part where the hair is braided is divided into layers, and a white layer is put in,
It is made so that it does not cover the hair on the back.
If you put the front and back parts like this, it will be easier to move or transform them later.

Line drawing 06 [whole hair]
Draw the entire hair.
Separate layers for front and back hair,
As with the braided hair, add a white background to the front hair,
I will try not to cover the back hair.
This not only prepares for deformation and movement,
You can stretch and draw the hair behind without worrying about overlapping.
Line drawing 07 [Hair thickness adjustment]
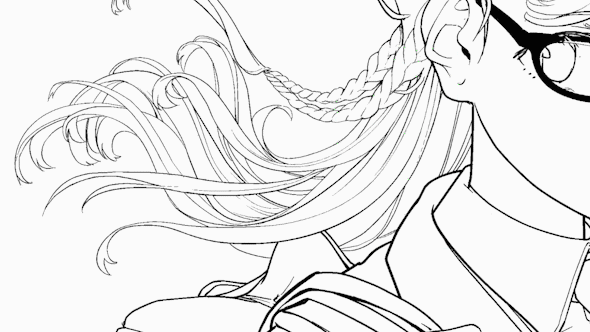
The line art looks like this.
I think the hair is a little thick, so adjust the line width to make it thinner.
Line drawing 08 [eyelids]
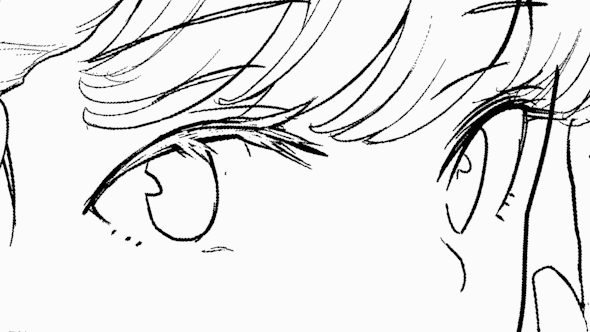
Finally draw the eyes. I want to make a pale impression, so I draw white eyelashes.
Line drawing 09 [The outline is retouched. ]
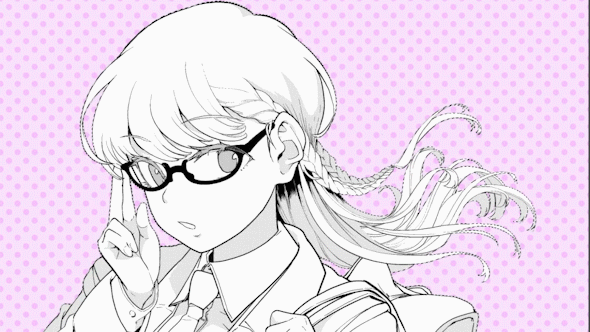
Add outlines to finish.
First create a new layer. Next, I make a selection surrounding the girl, and add an outline with [Edit] menu > [Border of selection] > [Draw outside].
If you create a white background mask with the selected range at this time, it will be convenient to match it with the background.
The same thing can be done with [Border effect] in [Layer property], but this method is suitable when you want to partially thicken or erase.
Finish
Apply a light shadow tone and you're done!
Line drawing by vector transformation can be drawn efficiently, fun and quickly once you get used to it.
Please try it once.
However, it is not necessary to draw all the line art on vector layers, and it is better to use them depending on the situation.
The entire drawing process of this line drawing (10x speed)
Here is a 10x speed video of the entire drawing process of this line drawing.
There is no explanation, but if there is a place you want to see in more detail, please look for the place you want to see here.


Comment