Bouncing ball 🏀

-
 MVP ◆This user has contributed greatly to the management of the community, by posting many great responses to the questions asked. Once every three months, MVPs are determined based on the points earned during that period and will be recognized accordingly.
 -
 New Valuable Player (NVP) ◆These are the next-best contributors to the community after MVPs. This is awarded to users who have not yet won an MVP award, based on the number of points they have earned.
 -
 Official Expert ◆Chosen out of all MVP awardees, who are already proof of excellence, this is a testimony of outstanding correspondence in the community. After careful screening, they are appointed by CELSYS and assume their position.Note: Formally called “Evangelists”
 -
 CELSYS official moderators ◆Moderators are official CELSYS staff members who are fluent in Japanese as well as various other languages. As moderators are not experts on software or creative work, they will not be able to directly answer your questions. However, moderators will provide communication and language support to ensure that everyone can smoothly communicate with each other.
 -
 CELSYS officialThis is the official administrator account.
Create a simple ball bouncing animation
What to draw
Create one perfect circle fill on the raster layer with the sub tool "Ellipse" of the "Shape" tool.
It may be very good for troublesome
Scheduled for completion
Create a 1 second repeating animation with a frame rate of 12
New illustration (600 x 800px)
I will start by creating an "illustration" instead of a new animation
The reason is that the "standard size" is annoying.
The unit is px, width 600, height 800.
Select "Grid" from the "View" menu
"Grid ruler origin" of "Grid ruler setting" of "View" menu is set to "Center"
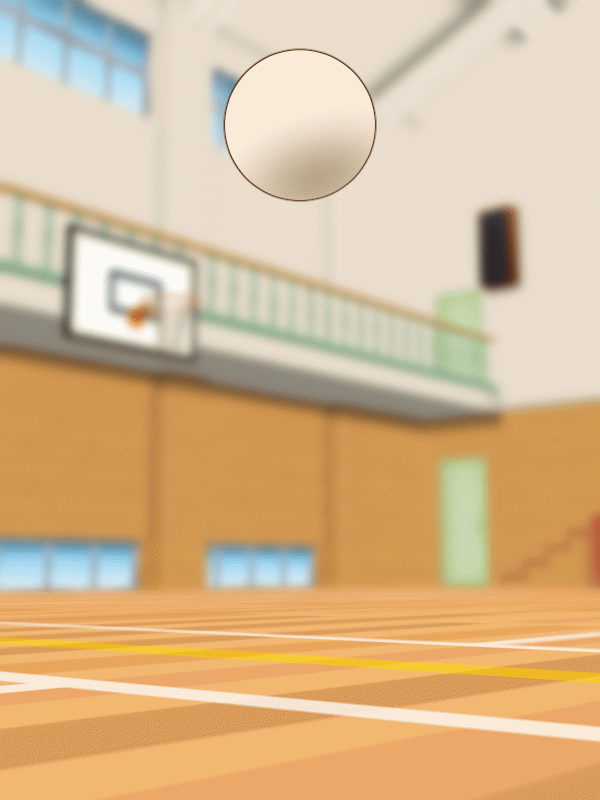
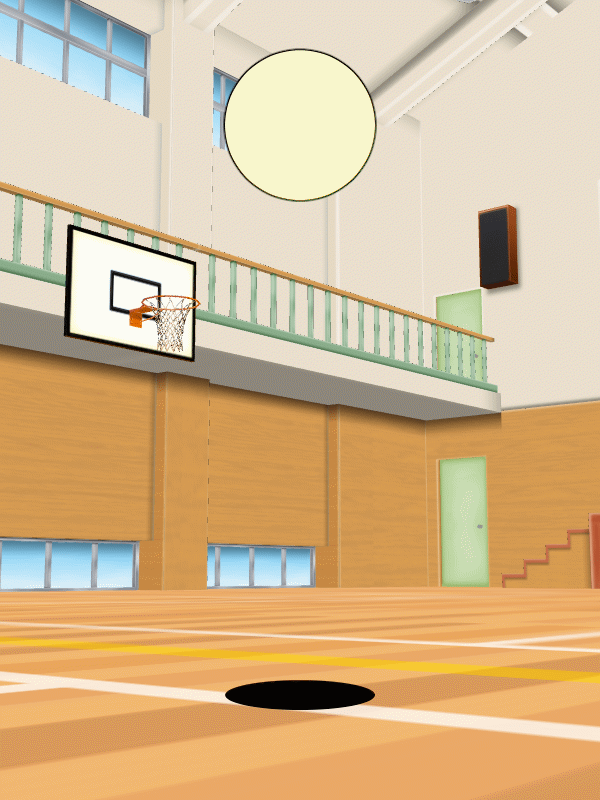
I put a 3D material in the background
Inside the gymnasium (content ID: 1722498)
It was updated before I knew it, but I am using the old material
Create ball and floor shadows with raster layers
To the top of the canvas
Of the tool properties of the sub tool "Ellipse"
I drew a black circle with "Create fill" in "Line / fill"
That's it for drawing on the canvas
In the layer palette
Duplicate the drawn layer
The upper layer is the ball, the lower layer is the shadow of the floor
Choose the color of the ball with a color set etc.
Select "Change line color to drawing color" from the "Edit" menu.
The color you choose will be the color of the ball
Click "Boundary Effect" under "Effects" on the Layer Properties palette.
Set "Border color" to black
Set the value of "Border thickness" to about 1 to 2 (here, it is 1).
This edge keeps the thickness that is not affected by deformation
Another layer
While moving the layer, hold down the (shift) key and drag it straight down.
The center of this circle is where the ball falls
Select "Enlarge / Reduce" from "Transform" in the "Edit" menu.
Uncheck "Fix Aspect Ratio" in "Magnification" on the Tool Property Palette
Reduced "vertical" to "20 (%)"
You can hide the grid here
I worked while displaying it, but I will not use the grid after this ^ ^
Now that you have a picture to use, switch from illustration to animation.
New timeline
Very easy to animate
Select "Timeline" from the "Window" menu
Press the "New Timeline" icon at the top left of the timeline palette
This time, we will create a timeline of (1 second + 1 frame) with (frame rate 12).
"Pixel interpolation of deformation" can be selected here, so I chose "High precision (average color)"
Select the upper ball layer
Press the "Enable Layer Keyframes" icon on the timeline
Set to "Smooth keyframes"
Select "Object" as the sub tool
Bouncing ball keyframe
The first frame of the timeline is selected.
The center point of the ball layer is displayed in the center of the canvas
Drag this center point while holding down the (shift) key.
Move it directly under the ball
It transforms and rotates around this center point.
If you move the center point
"Keyframes" have been added to the timeline
Select the last frame (1 + 1) on the timeline
Click the Add Keyframe icon to add a keyframe
The positions of the first frame and the last frame are now the same
Click (0 + 7) on the timeline
Drag the canvas ball while holding down the (shift) key
Move it to the center of another layer
Keyframes have been added to the timeline
Next, set the "Magnification" of the Tool Property Palette to (110 horizontal) (80 vertical).
Create transformations with keyframes instead of manually
It feels like the ball hits the floor and is crushed
Since it is deformed at the center point, it does not move where it is in contact with the floor.
Select (0 + 6) on the timeline
Return the "magnification" of the tool property palette to (horizontal 100) (vertical 100).
On the canvas, the ball is floating from the floor, but you can leave it as it is.
Select (0 + 8) on the timeline
Set "Magnification" of the Tool Property Palette to (90 horizontal) (110 vertical)
It feels like it's bouncing and growing
Select (0 + 9) on the timeline
Return the "magnification" of the tool property palette to (horizontal 100) (vertical 100).
Between (0 + 1) ~ (0 + 6) and (0 + 9) ~ (1 + 1) remains round and does not deform
Editing keyframes (function curve editing mode)
I think you can play the animation here
I think "I don't like how this ball bounces!"
Edit to a good movement
Click the "+" to the left of the layer name on the timeline
"+" Becomes "-" and ">" is displayed.
Press ">" to display the items with keyframes recorded.
Remove some of the "position" keyframes
(0 + 6) (0 + 8) (0 + 9) keyframes on the timeline
Hold down the (shift) key while selecting
Do not choose (0 + 7)
Press the "Delete Keyframe" icon on the timeline
Only the selected keyframe has been deleted
"Function curve edit mode"
The command icon on the far left of the timeline is "function curve edit mode"
Press
Switch to function curve edit mode
Click "Drag to Zoom" next to "Function Curve Edit Mode"
Since the display is in a dumpling state, expand the timeline display
Drag from left to right to expand
You can't do other work while "Drag to zoom" is held down.
Press again to release
When unfolded, a horizontally stretched keyframe will be displayed.
Click "Position" in the item on the left keyframe
Only the "function curve" of the position is displayed
You can select items to display and operate only the function curves you need.
Red is the X-axis function curve and green is the Y-axis function curve.
Edit the vertical movement of the ball, so manipulate the green function curve
Click to select the keyframe point of the green vertex
This is the position where it touches the floor
(It may be difficult to understand that the top is low unless you get used to it)
Press the "Split before and after keyframe curve" icon
The split handle will move freely from side to side
By sharpening the function curve
It will move as if the grounded ball was flipped vigorously.
When the left and right function curves have a proper shape
Exit function curve mode
Press the "Function curve edit mode" icon to return to the original timeline
Bouncing ball using function curve
Anime so far
Added keyframes to the shadow of the floor
The shadow of the floor disappears due to the influence of light from all sides when the ball rises.
I'm going to create such a thing with keyframes
On the timeline
Click on the first frame of the floor shadow layer
Press the "Enable layer keyframes" icon
Make sure the sub tool is an "object"
"Center point" of "Floor shadow layer" on canvas
Hold down the (shift) key and drag to move it to the center of the "shadow".
Set the "magnification ratio" of the tool property palette to 50 (%) for both (horizontal and vertical).
Click (1 + 1) on the timeline and press "Add Keyframe"
(0 + 1) and (0 + 1) keyframes have the same magnification
Click (0 + 7) on the timeline
Return the "magnification" of the tool property palette to (100) for both (horizontal and vertical).
Press the "Function curve edit mode" icon on the left side of the timeline
Press "Magnification" in the item on the left
Since the X-axis and Y-axis are neatly s, the green of the Y-axis is down and cannot be seen.
By displaying only "Y", "Y" can be displayed without being disturbed by "X".
Click on the apex of the "Y" keyframe
Press the "Split before and after keyframe curve" icon
Operate the left and right handles to sharpen the vertices of keyframes
Display "X"
Click on the apex of the "X" keyframe
Press the "Split before and after keyframe curve" icon
As much as possible to overlap with the "Y" function curve
Operate the left and right handles of the "X" to sharpen the vertices of keyframes.
If possible
Press the "Function curve edit mode" icon to return to the original timeline
Create a shadow that disappears at the height of the ball
Click (0 + 4) on the timeline
Set "Opacity" of the layer palette to 0
The shadow of the floor disappears from the canvas
Click (0 + 10) on the timeline
I set "Opacity" in the layer palette to 0.
If it remains 0, keyframes will not be added, so move the slider to a value other than 0.
Return to 0
This will add the keyframe
This is useless, but if you do something
It means that the keyframe will be created there.
If you do something you don't need, press (ctrl + z) (command + z) to get back.
Click (0 + 7) on the timeline
Set the "Opacity" value on the layer palette to 50
This is the shadow when the ball touches the floor
This is the end of the keyframe
Finally, set the display range
(0 + 1) and (1 + 1) on the timeline are the same picture
If there is the same picture, it will stop and appear when repeated
Shave one frame
The blue bars to the left and right of the display time at the top of the timeline represent the display range.
Drag the blue bar on the butt to move it one frame to the left to shorten it
This completes a 1 second repeating animation with a frame rate of 12.

Keyframes are like invisible magic
If you use it well, you may be able to express surprising movements.
The end
Users who liked this post


Comment