Color Efficiency with FILL and SELECTION
For today's tutorial, I will provide some of techniques on how to color your drawing efficiently with the use of Fill and Selection.
But first, let me know you that I have a video tutorial for people who doesn't like reading.
PHASE 1: Preparation and Selection
Alright, so first things first, we should prepare the interface because there are some important functions we can find in properties for the selection area tool and fill tool.
by selecting a "Selection Area" and "Auto Select Tool"
you'll find "Sub Tool" and "Tool Property" within the interface
whenever you've lost these tabs, don't worry because you can always find it on Menu Bar Window.
Normally, I ignore the provided "Sub Tool" options since I understand most features in Tool property.
If you do have a specific settings you frequently use, you can always add a custom sub tool by duplicating any of these and add your own naming on it.
Then you can change the settings in "Tool Property" (later, I will discuss most of these functions)
And you can also lock it to avoid accidental changes to the tool by right-clicking any of the Sub Tool, then lock.
P1-A : Tool Property Necessities
Now select this wrench icon to see more detailed options.
In this Sub Tool Detail window, you can unhide and hide some options in "Tool Property" so that you don't need to go back and forth to this window.
Please take note that each Tool has different Subtool and Tool Property but mostly similar
There's a lot of things you can find here but will only show something I needed the most.
Under Closed Area Fill, which other options can also be applied on Fill Tool Properties
You just have to unhide everything under it.
Under Reference, unhide the following:
Refer multiple and its sub-option "Exclude"
and the other else is optional but i recommend to turn on the anti-aliasing to avoid pixelations and will be having a smooth selections.
P1-B : Selection Subtools
- Lasso -
So the first tool you need to master for efficient workflow is the Lasso.
If you are using a non-screen tablet, it may take a while to practice but no need to worry because the more you keep on doing it, the more you can master it quickly, and trust me, it will be very efficient on many occasions especially on adding Celshade shadows.
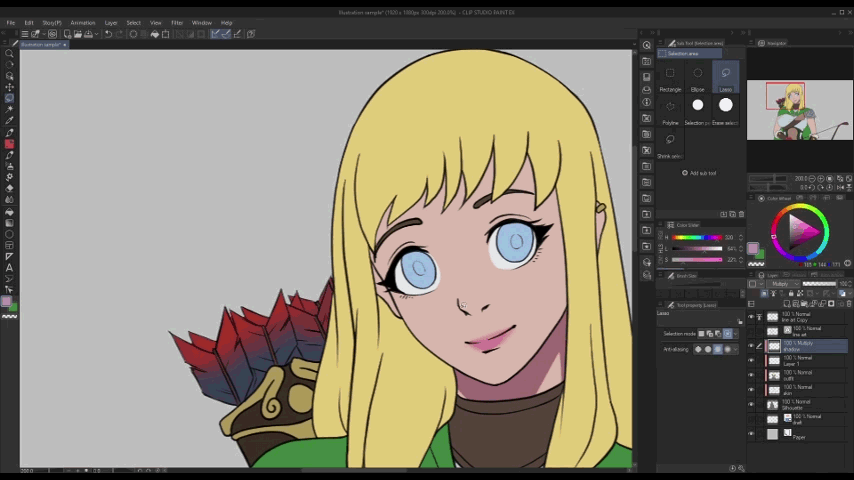
Same as the Polyline, which can be very useful on straight objects or linear shadows.
- Shrink Selection -
another interesting tool is the Shrink Selection. The good thing about it is you don't need to use the "Auto Select" Tool whenever you wanted to select some areas to color.
You can simply circle around the entire drawing and it automatically select the outline of the drawing.
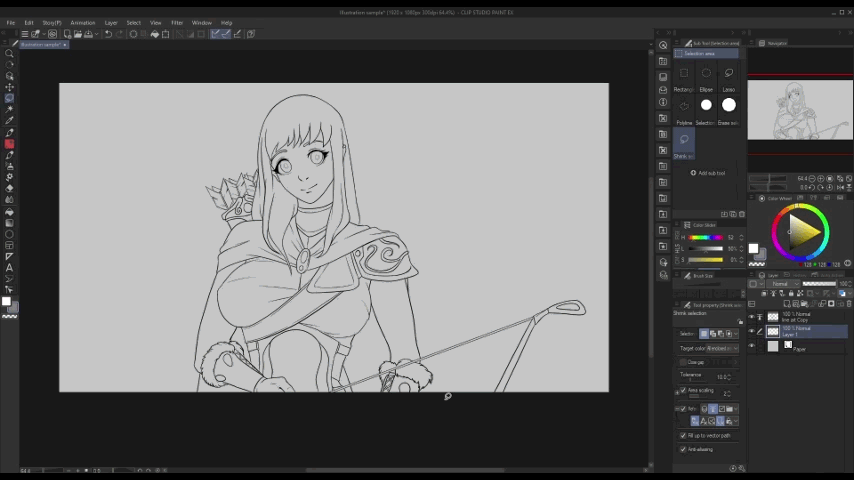
But make sure to choose one of the options in "Target Color"
Then Select the "All enclose areas except transparency".
Then Create new Raster Layer, Deliver it below under the line art
and Fill it with a Color
You can use the Fill on Selection Launcher.
or if you are like me who wish to hide the Selection Launcher, you can use the Fill below the Menu Bar
or you can use the shortcut by pressing Alt key + Delete
- Selection pen and Erase Selection -
Now these 2 other subtool can be explained easily.
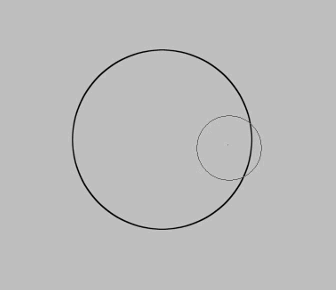
This is just simply used round brush-like on adding selection or erase selection.
Selection Pen:
Erase Selection:
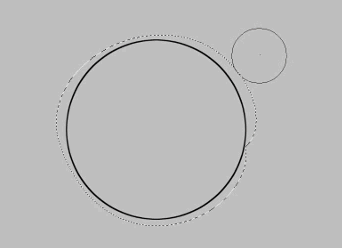
But make sure to check the anti-aliasing for smoother edges.
- Shrink Selection 2.0 -
Now let's get back for more functions on Shrink Selection.
As you can see, if you want to select the enclose area right within the entire drawing, you cannot do that
change the target color into "Area Surrounded by Black"
Now once you select around this area, it will only select that enclosed area.
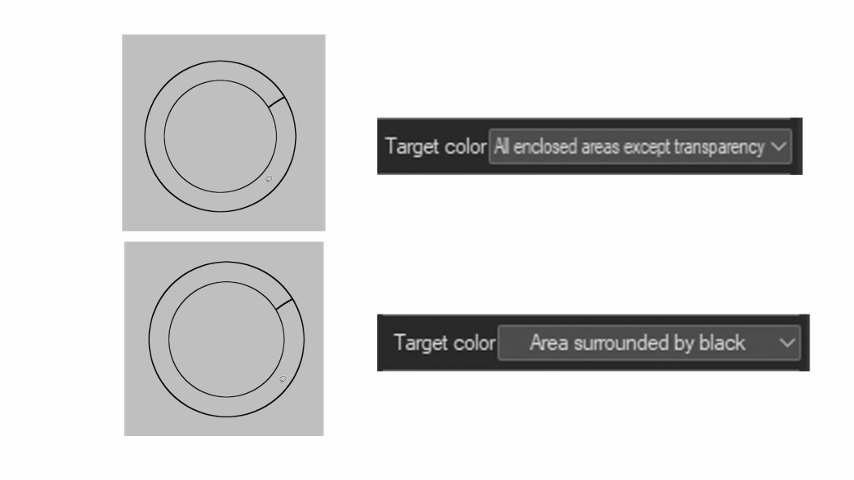
Though I don't recommend this if your line art is really thin because sometimes, the AI cannot read the lines.
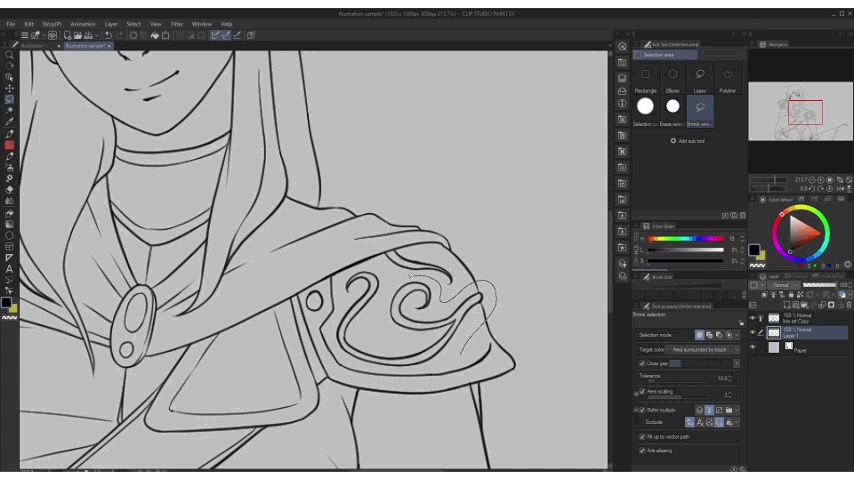
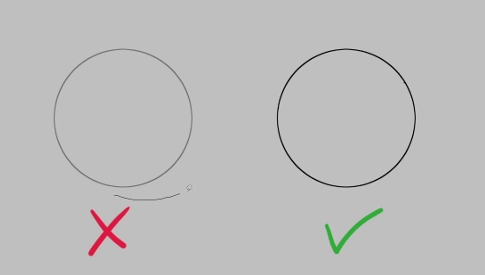
Also take note that the "Area Surrounded by Black" option will only read 100% black ink so if the drawing is more on sketch or a little gray, this won't work.
Now with all these selection functions, I'll also gonna introduce you to Quick Mask
P1-B : Quick Mask
So what does this do?
Well, it's just a selection with the use of your brush like how Selection Pen and Erase Selection works.
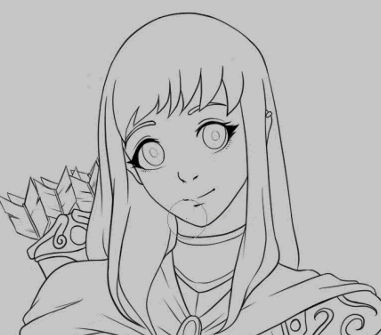
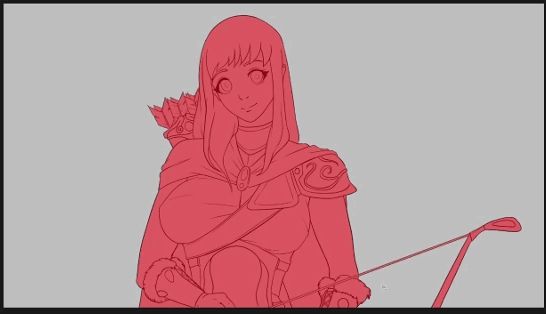
Though normally, I use this to check my area of selection clearly, because sometimes, it's a little confusing if you're only looking at the running lines on the edges and we're not sure which part is being selected.
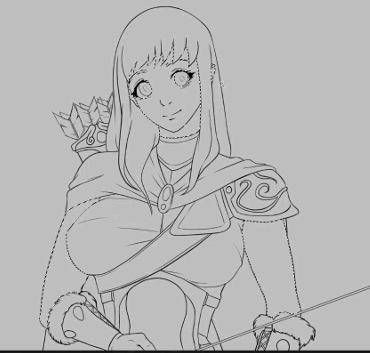
To activate the Quick Mask, you drop down the Select Menu and choose the Quick Mask
and you will see this on your layers.
But to make it less hassle, assign a shortcut to it.
Under the File Menu, go to Shortcut Settings
Then under Select, you can find Quick Mask. As for me, I use Q.
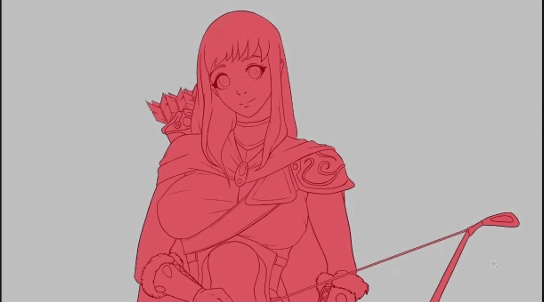
Any Selection happening in the normal layer will turn into Red Translucent paint once you switch into Quick Mask mode.
and once you paint in this mode using your Brush, it will become a selection once you change back to the normal layer.
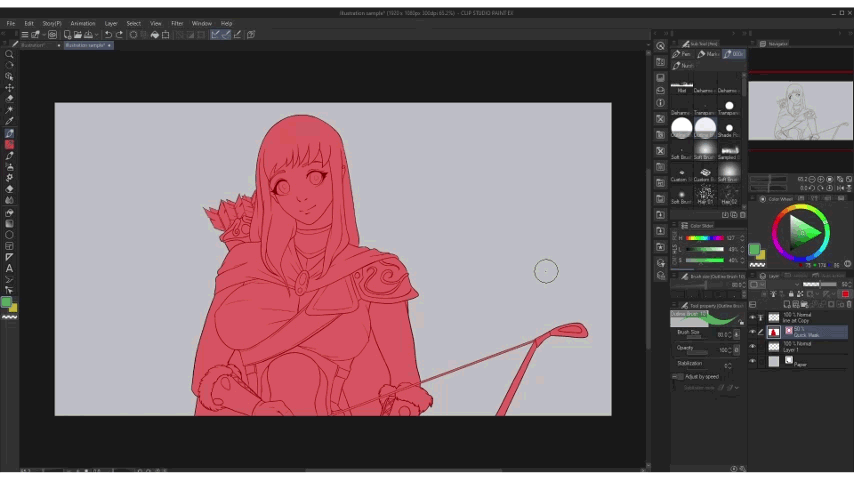
With the use of the shortcut key that we've assigned on it earlier, it's now easier for us to go back and fort to this mode
Now let us proceed to PHASE 2
PHASE 2: Understanding Tool Property functions
By selecting the Auto Selection Tool, you'll find most of the features in Tool Property, so we're gonna use this in our discussion.
P2-A : Selection mode
• This first icon is a "New Selection"
everytime you click anywhere on the canvas, it will make a new selection.
It will deselect any existing selection you've made if you click to other areas.
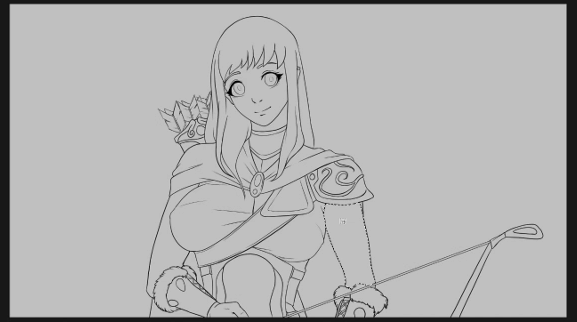
• The 2nd icon is "Add more selection"
This won't deselect your previous selection but instead, it will add
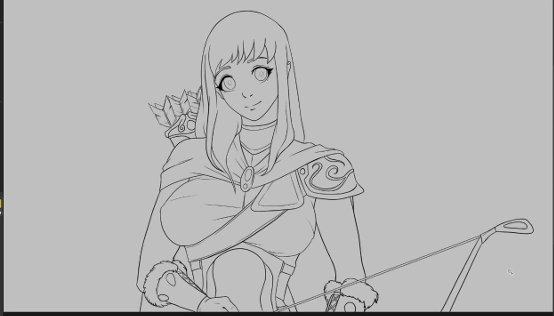
but going back and forth to the icon will lessen the efficiency of your workflow so
by Holding "Shift key", you'll be allowed to do the "Add to Selection" and you'll see a "plus" sign on your cursor.
• The 3rd icon is "Remove from Selection"
It will remove any existing selection.
By Holding "Alt key" will make this possible
• The fourth one is Select from selection
Basically, you will select anything within the existing selection
Holding "Ctrl key" is the shortcut on this one.
P2-B : Close gap
This one is very useful.
Allows you to select within the area you intended to select even your line art has a few pixel gap
Normally, you'll only see bars but if you dropped down this bracket, it will give you a specific number of pixel.
I don't go this deep most of the time but it's there if you needed it. These bars are actually enough for us.
P2-B : Tolerance
Sets the range of color considered as the same color.
It is useful with the anti-aliasing feature.
Since we want our lines to be smooth, anti-aliasing exists because we don't want our lines to look pixelated.
Because of these extra pixels just to make the line smoother,
without the tolerance, you won't be able to include these pixels into your selection.
so adjusting the tolerance allows you to include those extra pixels.
P2-B : Area of scaling
Another useful feature for line art especially if you want to add more pixel of your selection.
This acted like the Expand function, so you may not need the Expand Selection anymore though that still comes in handy if you may want to add one more pixel to your selection. you know, little adjustments.
if you click this + sign, it will gave you more scaling mode option.
I rarely use this on line art because this mode can only be obvious if you set your area of scaling into maximum within a very thick line around
P2-C : Refer Multiple
One of the great features that Clip Studio Paint can offer.
Allows you to only select which layer you are refering to.
• The first icon is set as "All Layers"
Which means, it will refer anything within the canvas. It will detect anything on the canvas as long as the color of the pixel changes even you are selecting within the editing layer.
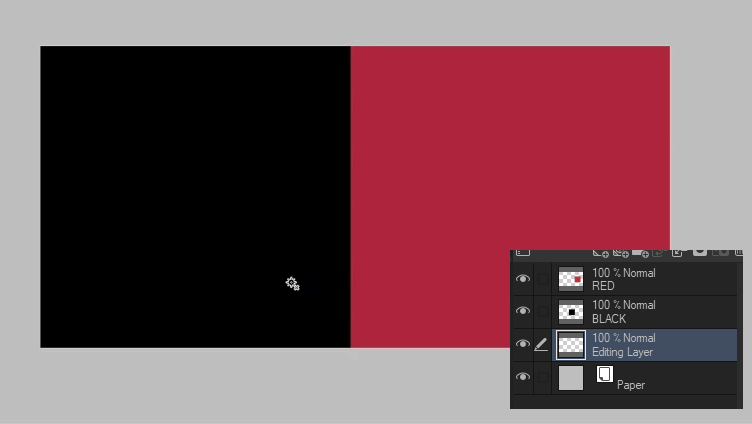
Editing layer means the one you've highlighted on the Layers
• 2nd icon is referring to "Reference layer"
it will ignore anything on the canvas except on the layer you set as "Reference Layer"
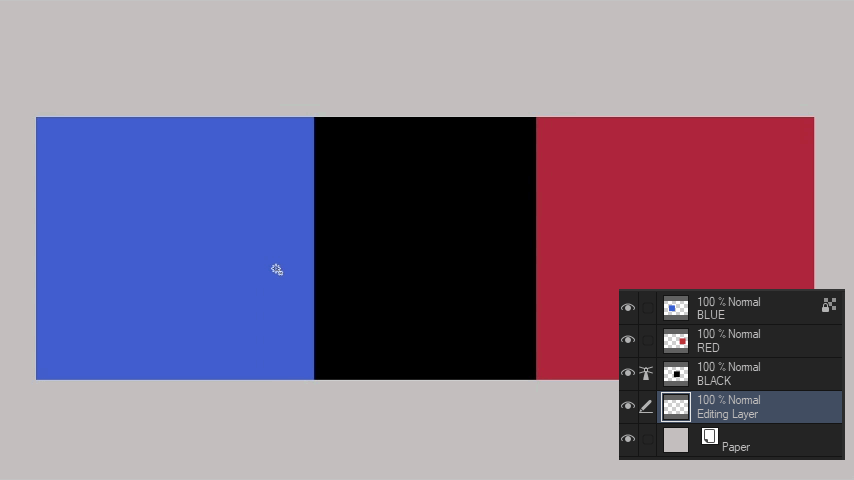
You might notice that you could only set one Reference Layer but actually you can apply multiple reference when you selected multiple layers and set it to reference.
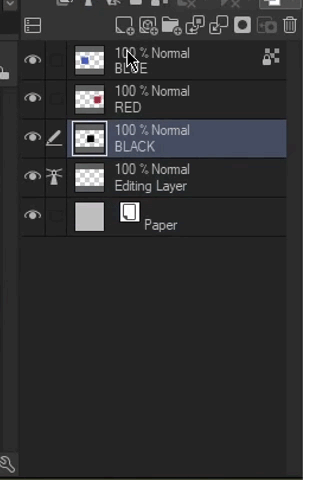
• 3rd icon is "Selected Layer"
This allows you to make a selection referring to multiple layers you've selected. Simple as that.
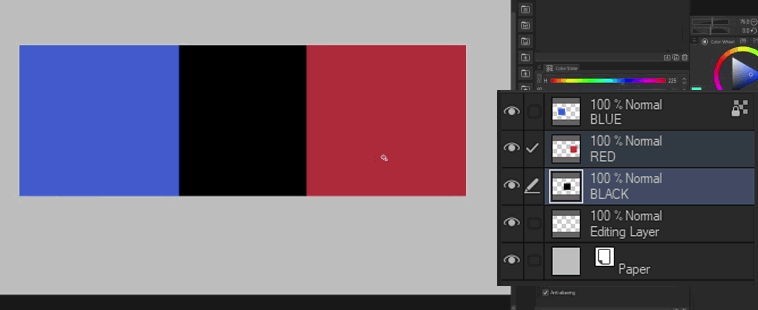
• 4th icon is "Layer in Folder"
This allows you to select anything referring to layers within the specific folder you've highlighted.
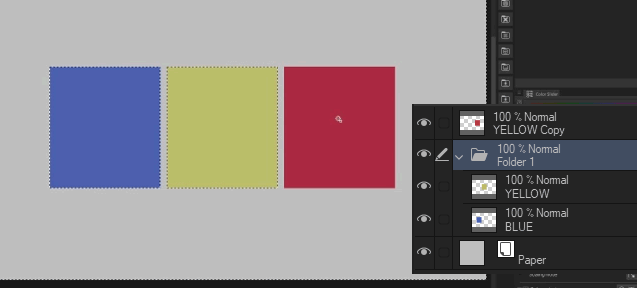
so now, we are done with tool property, it's now easier to explain about the "Fill Tool", because it's just similar to the any selection tool
PHASE 3: Fill and Efficient Workflow Demo
Actually the main topic of this tutorial is for Fill functions
But since I've already explained things on tool property, everything will be easier to understand now.
The reason why I've also discuss about selection because they are always been partnered with fill.
and using the selection functions will make it easier to show you visually how the fill would work, and afterall, the Fill and Auto Select Tool property are similar with just a little difference.
So instead of repeating everything I just discussed, I'll just gonna show you how efficient it is after knowing all of those
This will be quick so prepare!
Step 1: Make a clean line art and set it to the reference layer
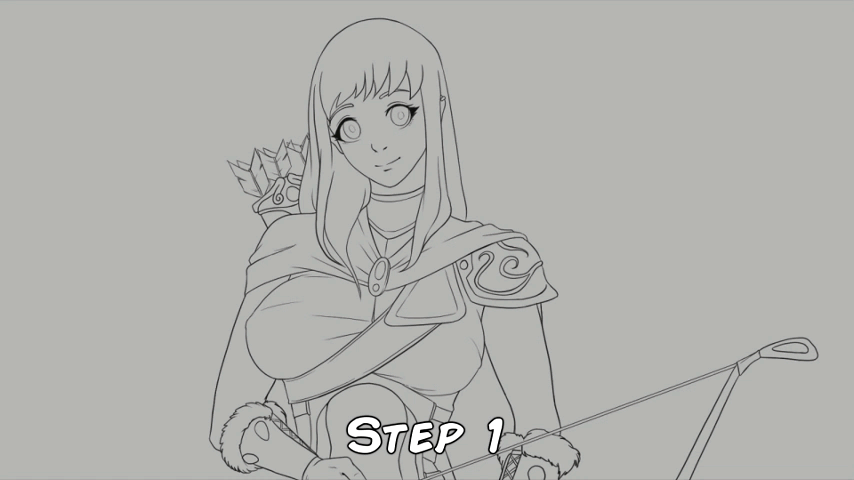
Step 2: New Raster Layer for silhouette
Step 3: Instead of using Shrink Selection, the similar to that on Fill Tool is "Enclose and Fill" then Refer to Reference Layer
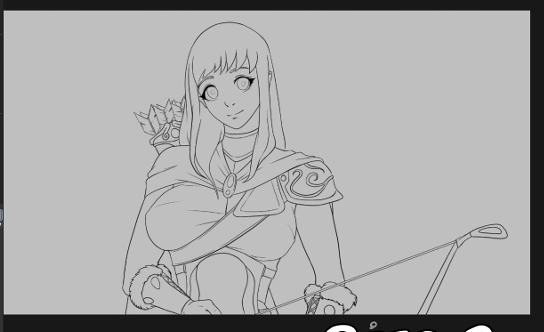
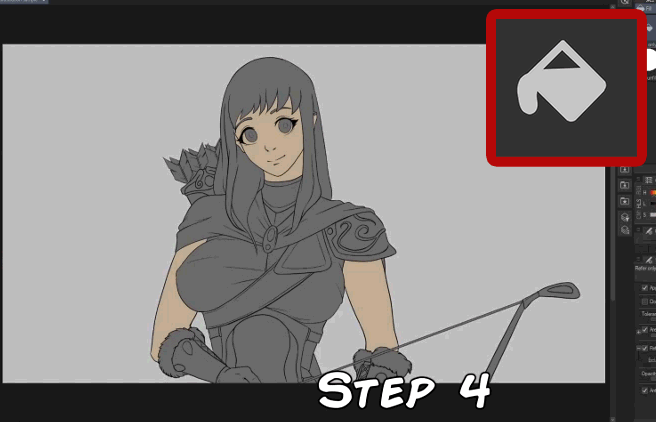
Step 4: New Raster Layer for Flat Color, Clip to Layer Below, then use ordinary Fill referring to reference Layer
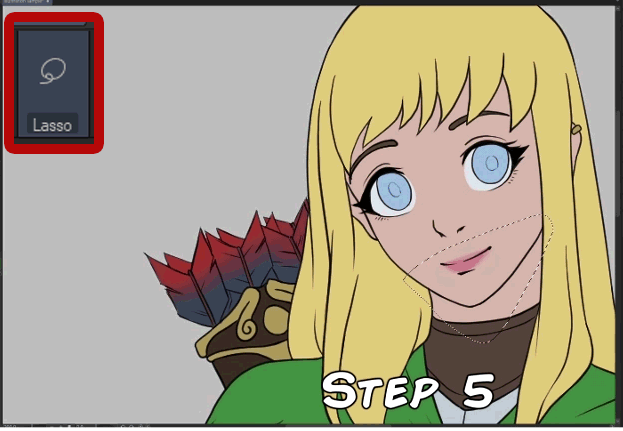
Step 5: Create New Layer for Shadow, use Lasso Tool then Fill Tool or use quick mask if not comfortable with the Lasso.
Step 6: Highlights, I choose my own color at this point because I am more comfortable with it.

Step 7: RENDER all you WANT!
Because the real skill is really in you. Just believe and make the Finishing Touches!
And we are done!
CLOSING REMARKS
Well, That ending escalated real quick but that was the point of this tutorial. Tell you all of these things to make your workflow faster and efficient and while of course, add some other extras that can be useful with your other workflow.
So I guess that's it for this tutorial and I hope this helps you speed up your workflow. I always do this steps but improved thanks to all of these features the Clip Studio has, I can produce more in pages of drawing in a day.




Comment