
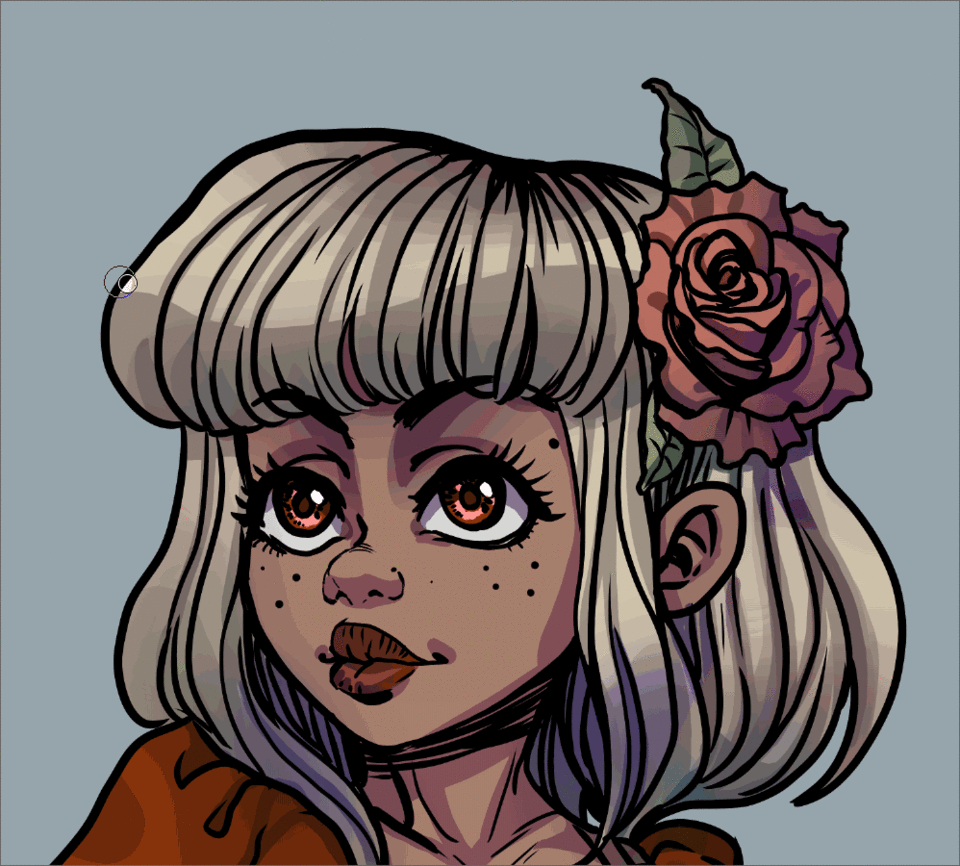
For this tutorial I'm going to cover the basic functions of layer masking in Clip Studio Paint. My example artwork will be in a western comic style, but you can apply the techniques to any type of art!
Since we are focusing on the use of masks in this tutorial, I won't go over sketching and inking techniques in detail.
Let's get started!
Prepare Flats to Create Masks from
Once I have clean line art that I'm want to color, I create a "flats" layer. Flats are local colors that you can use as the base for all of your shading. I use them over the entire process of my coloring for comics and many illustrations.
They are quite handy because you can use them to make quick selections and masks from easily and accurately.
If you are using your flats as a base to color over, it's a good idea to use slighter darker and less saturated colors than you want the final result to be. This will just save you more time adjusting things later.
I create a new layer underneath of my inks.
Using the paint bucket tool I fill in the largest areas. I have modified a turnip pen to draw in the small gaps and details that I miss with the bucket.
I always make sure my bucket and my pen have the anti-aliasing turned all the way down. You get rough edges with this that look bad up close, but these cannot be seen at full view when working at a high enough resolution.
This is important to creating clean separations.
I usually set my fill bucket to see all or set my inks to a reference layer. This makes gaps underneath of the line art so I use a correction tool called "correct line width" to extend the pixels out evenly and fill in the empty spaces.
It definitely looks weird if you hide the inks!
Preparing the Tools to Use the Flats
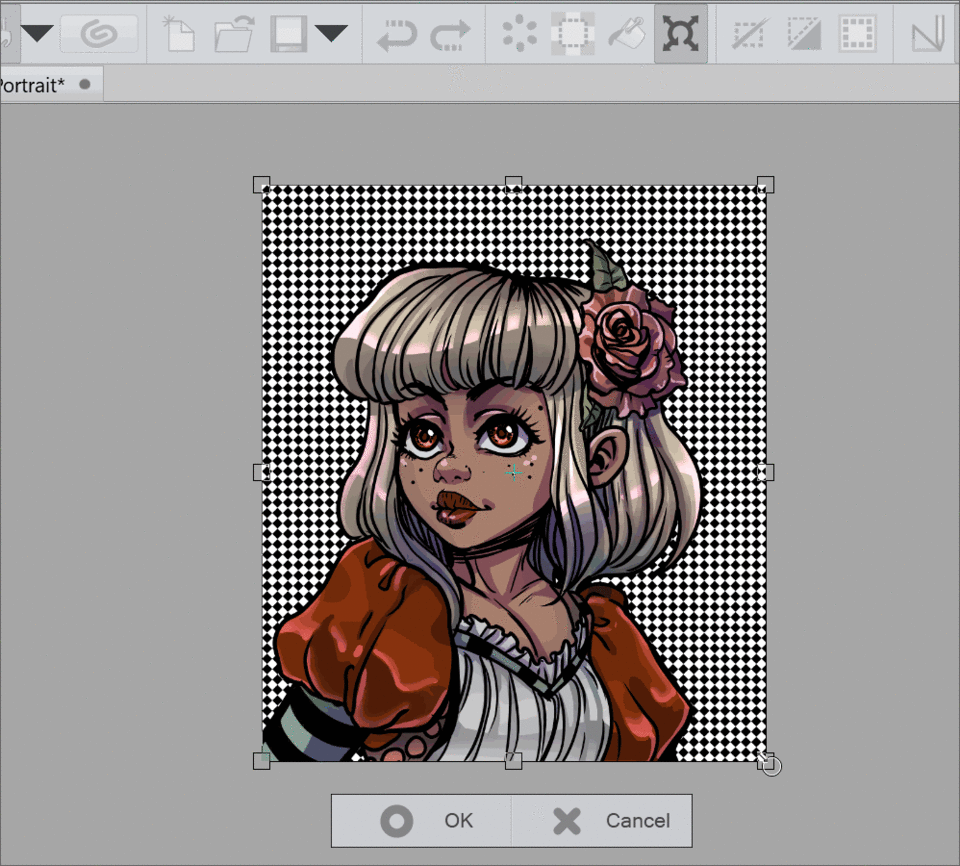
Now that the flats layer is finished, I duplicate it, just in case, then hide the original flats layer.
Next I set the new flats layer as a reference. You can do this by clicking the highlighted icon shown in the layer window below.
Next you want to sent the magic wand/auto select tool to "multiple references" and click the reference icon just as you did in the layer's window.
I also want to make sure Anti-aliasing is turned off. This way I get the exact pixels I want to separate.
I left my color margin at 4, but with no aliasing on your flats, you can actually have it turn all the way down to zero. This is pretty useful if you have a LOT of separations that are similar shades.
Preparing the layers and creating a mask
Now that my tools are set up, I create a new layer and set it to multiply.
You can create a new raster layer by clicking the highlighted icon in the window below.
I change the layer mode to "multiply" because I'm going to begin with adding shadows. I like to do these before highlights, but you can work in any order you are comfortable with. Some comic colorists don't add shadows at all. They start out with a darker flats layer and "paint light" by making several passes with screen and add layers!
To change your layer mode click the "normal" setting (the highlighted box as seen in the window below) and you'll find different options in a drop down menu.
Now that I have my multiply layer ready, I need to use the magic wand tool to make the selection that I'll be creating the mask from.
I like to color the skin first, so I click her face. I have my selection. Now how to turn it into a mask?
My preferred method is to click the mask icon in the layer window. You can see this highlighted below.
If done successfully a black and white thumbnail should be created next to your layer thumbnail.
This is the layer mask!
Layer masks work to separate the pixels in the layer, hiding the portions in black, and revealing those represented by the white.
The mask itself it editable. All you have to do is click on it instead of the thumbnail to the right of the layer thumbnail!
To switch back to drawing, simply click on the left thumbnail again.
You can see the "drawing thumbnail" highlighted below.
Use the Mask to Color!
I select the layer thumbnail again. I select a turnip pen and begin drawing in the shadows.
The upper purple color is the shade I chose for her skin. I tend to do a lot of the shadows in the same shade so that you get the impression that everything has the same light source. Sometimes I need to change the shadow colors on the skin layer, however, because of the translucency and changes in hue. (the veins in our skin can give a lot of subtle color changes!)
Below you can see that I've disable the mask. This shows how the mask helps to keep things neat and tidy as you work, without being restrictive.
A disabled mask will have a red X on the thumbnail.
Now that I have the light direction settled and have shaded her skin, it's time to move onto the hair.
Just as I did for the skin, I create a new layer and set it to multiply. Then I select the hair with the magic wand, and create the mask by clicking the icon.
Instead of drawing each part of the hair's shadows with the pen, it will be a bit faster to use the lasso tool.
I set the lasso to "add" to the selection, and I bring the anti-aliasing up to one (instead of zero). Since I'm not making my selection to create the mask from this, the anti-aliasing does not need to be turned all the way down.
I select the areas I want to add shadows to and click fill.
Since I want the hair to have some softer portions, I make multiple passes, sometimes blurring the edges or using an airbrush instead of filling the entire selection.
I also use gradients to create smooth transitions.
Coloring a large area by editing an existing mask
Now that I've covered how to shade a single area that has been masked off, let's look at how to use the same mask for multiple areas at the same time.
I start out by creating another multiply layer, and this time, fill the entire layer with one color.
Now with no selection made, I create a new mask. This masks everything. You really should not see any change here other than the addition of the full white mask thumbnail.
Now with the mask thumbnail selected, I clear the layer. This will erase the shown areas of the mask, and the thumbnail should now be black instead of white.
The purple shadow color I originally had is hidden now.
Now, instead of "coloring" on the transparency of the layer, I color the mask. The color you use doesn't matter, as long as it is not transparent or an eraser.
Use transparency or an eraser if you want to undo your drawing and delete that part of the mask again.
You can add to the mask or delete it with any tool. Above I'm using a regular pen tool, but you can use selections and fills, airbrushes, gradients, etc...
Since I'm using a hard brush, I always switch to a blur blender every now and then to smooth the colors out where I want them to be softer.
Here's the result so far! Everything has been done with the original purple color, but I want the shadows to look a little bit more varied, so I click back over the layer thumbnail and drag a gradient over everything. Then I airbrush in some blues and purples into a few places.
I also added in a few softer airbrush shadows on the mask layer, but this made things look a little messy.
To fix this I just go back down to my flats layer and select the grey blue background color with the magic wand. Then I select the layer mask that I want to clean up and hit the "clear" button. Now everything is much neater and I can continue to color within the transparency of the mask without coloring over the background.
Above is an example of changing the hue of the shadows.
Add highlights
Now that all of the shadows are in place, it's time to add highlights!
Just like I did for the shadows, I create a new layer for the highlights. I set the layer mode to "Add Glow" this time.
I begin with the whites of the eyes and the smaller reflections of the irises. This helps bring the character to life so I like to do this step as soon as I can.
I created a mask for the hair and eyes on the same layer this time because they are far enough apart from each other it is not very difficult to color them neatly. This helps me keep from having too many layers.
Now I want to add highlights to the hair, but only to the areas that do not already have shadow.
To manage this I go back to the shadow layer for the hair, and on the transparency thumbnail, I select the empty pixels.
With the selection made, I go back to the add glow layer and draw over the hair where I want to have a shiny band.
Because I'm on a layer that has the hair masked, the highlights stay inside of the hair. This is true even though the selection is outside of the hair.
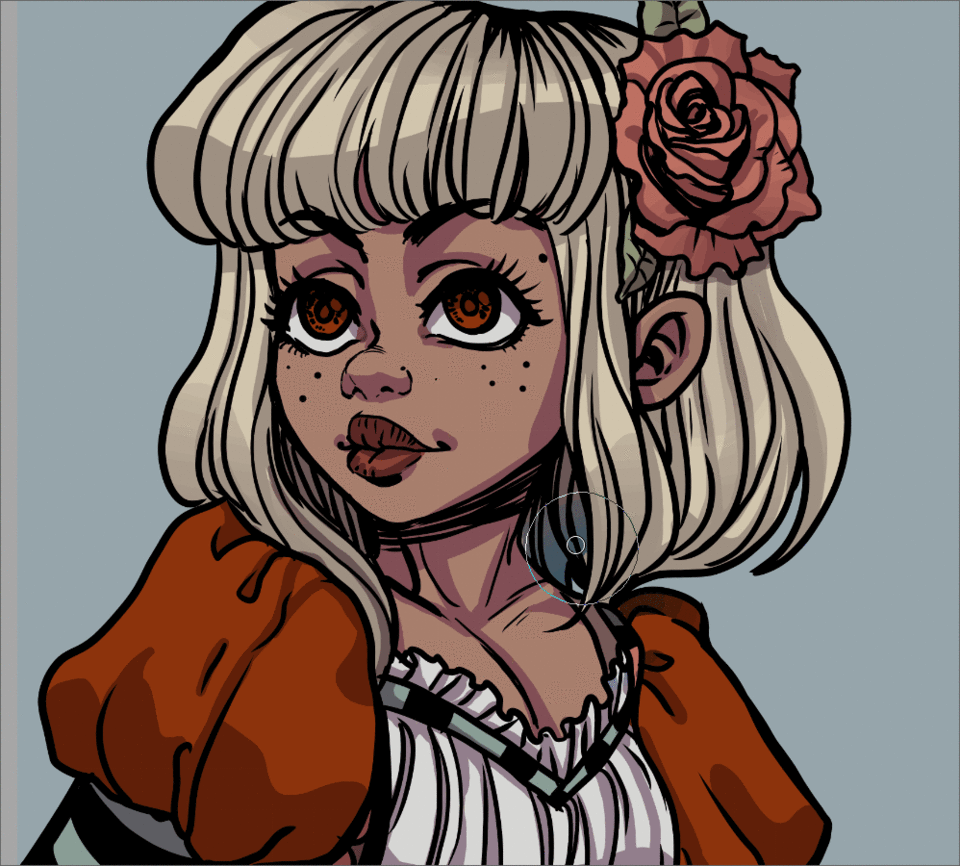
I keep refining and adding highlights to areas I think should be reflective.
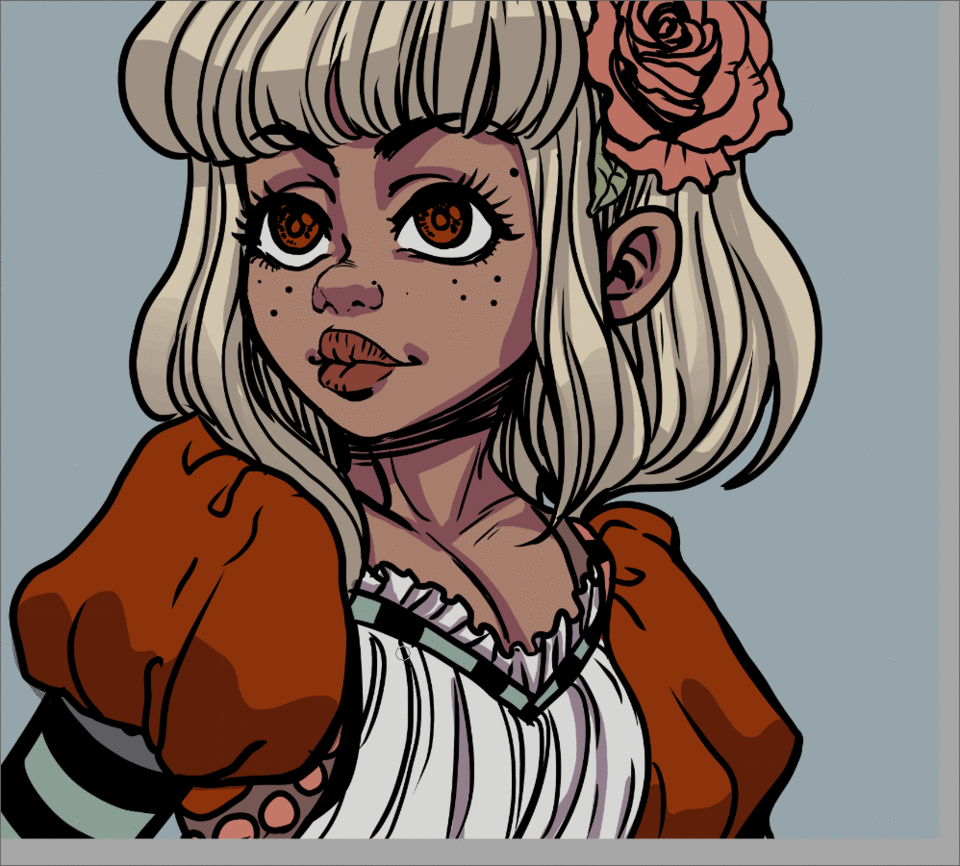
Here's how it looks after adding all of the spot lights!
As a finishing touch I create a new layer set to "Screen" and add softer highlights to the rose and across her face.
Use masks to decorate the background
After I'm satisfied with the character's colors, I decorate the background to finish the image.
I make a selection of the background color, and create a new mask from it on a new layer. I fill this in with a brighter color so I have a starting color to work with. I don't want any transparent pixels right now.
Now I go to "layer property" and click the "tone" icon. This looks like a checkerboard pattern. I bring the "frequency" all the way down to the lowest setting of 5. I adjust the "dot setting" to be a "lozenge" shape instead of circle.
Then I change the angle to 90 degrees so I get a nice diamond pattern.
This is as big as I can get the tone pattern, but it's still too small. To make it even bigger, I right click on the green/tone layer and select "rasterize".
This makes the layer editable and applies the tone image so the pixels are no longer actually green.
I'm preparing to scale the pattern up so I need to make sure I have the mask "unchecked" so the mask does not scale with the pixels I'm transforming.
Just click on the check mark in between the thumbnails to link and unlink the two as needed. (the mask will still work as normally if unchecked)
Now I want to make the pattern nice and big.
I click the transform icon, and use the handles to scale it up. I hold shift so everything stays uniform and maintains the original ratio.
Because I'm making the pattern so very large, I need to zoom out part way through scaling to reach the handles again. You can see me do this in the GIF above.
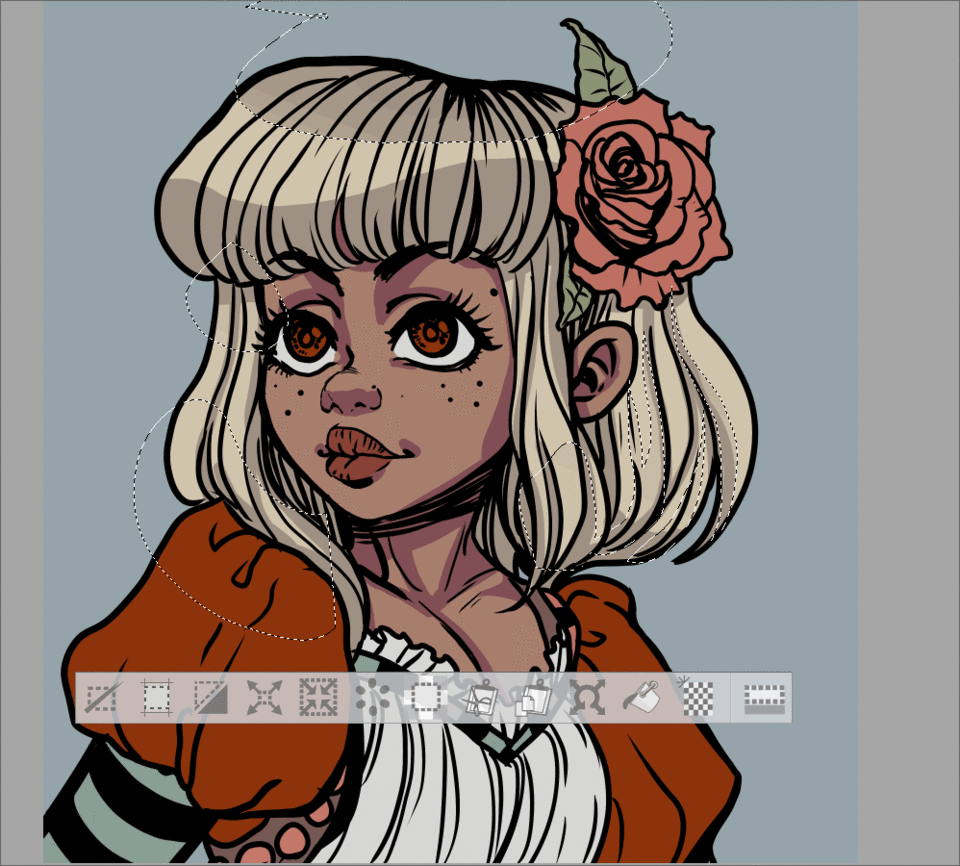
Here's the scaled background! Now I just need to adjust the colors and tweek the pattern a bit.
Finishing Touches
I adjusted the color balance and upped the brightness of my character. For the background, I lowered the opacity of the pattern and dragged a rainbow gradient on a new layer underneath. I also masked the gradient to the background selection so it did not cover my character up.
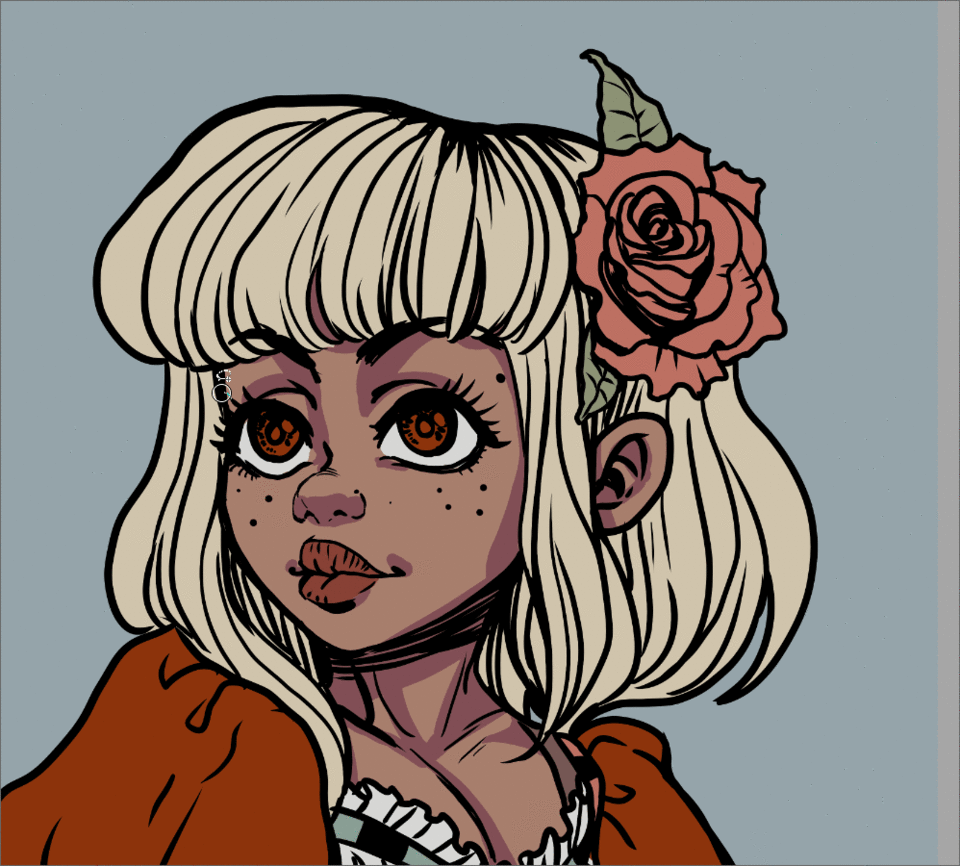
That's it! My comic style portrait is done!
I did my best to keep the process for this tutorial fairly simple so it was more approachable to users new to layer masks.
Please let me know if you have any questions! I might add it to the tutorial if it's something important I missed.
Thank you for reading and I hope it helped!
About the Author
My name is FalyneVarger. I have been drawing for most of my life. I started working commercially about 10 years ago and have created artwork for books, games, comics, and more non-commercial commissions than I can remember.
I'm @falynevarger in most places, but you can find me online at any of the links below!
Social Links!
この投稿を「いいね!」したユーザー


コメント