
Intro
I’m going to be going over a few tips/ or tools that I like to use in clip studio, particularly how they can help with creating fantasy race-type characters.
The nice thing about fantasy characters is that they are only limited by your imagination and are impossible to draw or make incorrectly because they don’t exist. I used to draw horses as a child, but people told me the bums were too big. So I turned my horses into dragons and if someone tried to tell me there was something wrong with it, I’d say “Have you ever seen a dragon?"
Exactly.
Layers
The same principle applies to people and fantasy races. Like good cakes, I like to use a lot of layers, especially during sketches to help flesh out ideas. This way you can have a base layer and just add fantasy characteristics on top, like ears or whatever, and compare a lot of ideas. You can even mix and match characteristics.
Opacity
When I’m happy with an idea, I turn down the opacity of my sketch layer, which makes it easier to see my clean inking layer on top. Again, I like to separate these into layers to make it easier to color later. Usually I have a hair, clothes, and face outline in separate layers, and the expression has its own layer.
Coloring
For coloring I add base colors with the fill tool, which I have set to “refer to other layers”. By separating the base colors you can the “Command select” over a layer in order to select everything in that layer. By make a new layer on top of that, it’s easy to add shading or textures over the area.
I turn off the visibility on my "face" layer in order to add base colors.
Assets
One of the big things is the asset store. It’s easy to find a lot of patterns or even fantasy features you can just add to your drawing. Like, if you like to use the 3D reference poses, we’ve got some horns and wings that can help with that. There are some really interesting brushes too, like I found this wing brush that’s pretty cool.
There are magic circles, gemstones, the works. A lot of cool brushes that add texture too.
One thing I’ve noticed is that a lot of assets are submitted in different languages. So if you can’t find anything you like, go to google translate and translate whatever you want into Korean or Japanese and then just put that back into asset search and you can get a whole new set of results.
You can also import pictures you take or (if you don’t take pictures cause who wants to go outside and take pictures?) you can use copywrite free images from resources such as Unsplash. This is especially helpful for integrating scenery photos if you don't like drawing backgrounds.
Shading
For shading I like using the Smooth India Ink brush in combination with the blur tool. It gives a nice sharp edge, but not too sharp. If you’re feeling lazy and want shading for your hair, just use the command select on your base hair layer, new layer, fill tool, and then drag or use the arrow keys to pull down. Then command select your skin layer and make mask on your newly made layer by using layer, mask, outside selection.
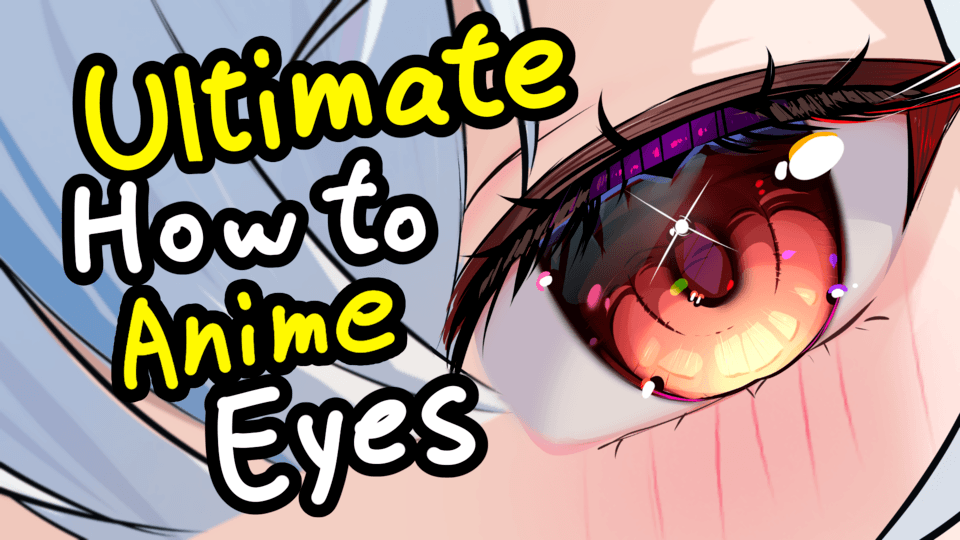
Another way I like to shade, especially for the eyes, is to use the airbrush tool with its shadow and highlight features.
Magic Coloring
The final step in feeling magical is to copy your line drawing, merge it with a completely white page, and then move it over your artwork. Take an eraser and… Yeah there’s just something really satisfying about this. I don’t know what it is.
Closing
And that’s it. I hope you enjoyed and I was able to help you somehow. I use pretty simple tools, (and it might just be me) but it actually took me a very long time to figure out how I liked to use them. Thanks for watching, arm yourself with imagination, and good luck.
Video
Here's a video of the tutorial as well.
この投稿を「いいね!」したユーザー


コメント