Perspective Drawing with Clip Studio Paint
Intro
I will go over some general perspective in drawing. After that, I will jump into Clip Studio Paint to use show you how to use the tools. In the end I will make a drawing using CSP.
Horizon Line
I used a one-point perspective for these examples. It is usually the easiest one to start out with if you are unfamiliar with perspective.
Everything starts with the horizon line. Even if you do not use any perspective lines, it is still beneficial to find the horizon line. It will determine from which angle you looking at the object. I like to think of it as a camera that moves around the object.
1) If the horizon line is high, you will see the bottom part of the object.
2) If the horizon line is low, you will see the top part of the object.
3) An easy way to spot the horizon line is to see where the edge becomes flat and blends in. It is your eye level. You can see that the perspective lines intersect in one place one way or another.
The middle dot that determines the line angles is Vanishing Point.
One Point Perspective
When to use a one-point perspective? The most common reason to use a one-point perspective is when you face the object straight on. If you stand in the middle of a crosswalk and look straight down, most likely you will face the buildings - one point perspective.
Here is an example of a one-point perspective exercise I did for one of my art classes. I got a big piece of paper and drew the horizon line. I put down one vanishing point and started sketching out the blocks. I did not have a goal in mind because it was for practice. I would say it is pretty fun to see where you can go with it. I also think it is super easy to practice with pencil and paper. There are not that many mistakes you can make.
Notice that the only line that has an angle is the perspective line. Every other line is just 90 degrees. I suggest you do the same and have fun with it.
Two Point Perspective
This type of perspective is used a lot for architecture and interior design.
The two-point perspective has two vanishing points. Common mistake artists make is making them too close.
1) If you put them too close, then you will get distortion, which will look like a fish-eye effect.
2) If you put them too far, you will get an Isometric perspective. It is actually very common to use it in 2D games that try to look 3D. Mobile games are a great example of it. The main idea is that all the perspective lines are parallel to each other, so you can build different objects with the same perspective grid.
Most of the time the vanishing points will go far and beyond your canvas, so it is not always easy to construct it from scratch. As you can see there is still one straight line on the sides of the box. That is the only line that is 90 degrees and is not affected by the horizon line.
By shifting the position of the vanishing points you can get different results for the angle you looking at the object. Basic rotation of the object can be achieved by using vanishing points properly. Here is an example.
Three Point Perspective
Three-point perspective sounds interesting, but it is actually not used a lot in drawings. Some examples would be a birds-eye view from the top of the building. Maybe if you looking down at your room from the ceiling or if you looking up at a very tall house and you are very close to it. The main difference is the sides change their perspective, so it gives an amazing dramatic effect.
It is just a quick sketch, but it helps a lot if you want to give the object more depth and perspective. Maybe you could incorporate it in your drawings. In order to achieve that effect just add a vanishing point at the top or the bottom of your object. It will force the proportions out. You can also put the vanishing point at the top in order to get a tall effect.
So how do you use perspective tools? It is pretty intuitive. I will go over the main features. It is hard to show them all in the article, so I highly recommend watching my video.
Clip Studio Paint Perspective Tools
Creating Rulers
The first way to create the perspective grid is to go to Layer -> Rule/Frame -> Create Perspective Ruler
After creating that you will be prompted with what kind of perspective you want to create. I will go ahead and create a 2 point perspective since that is the most common one.
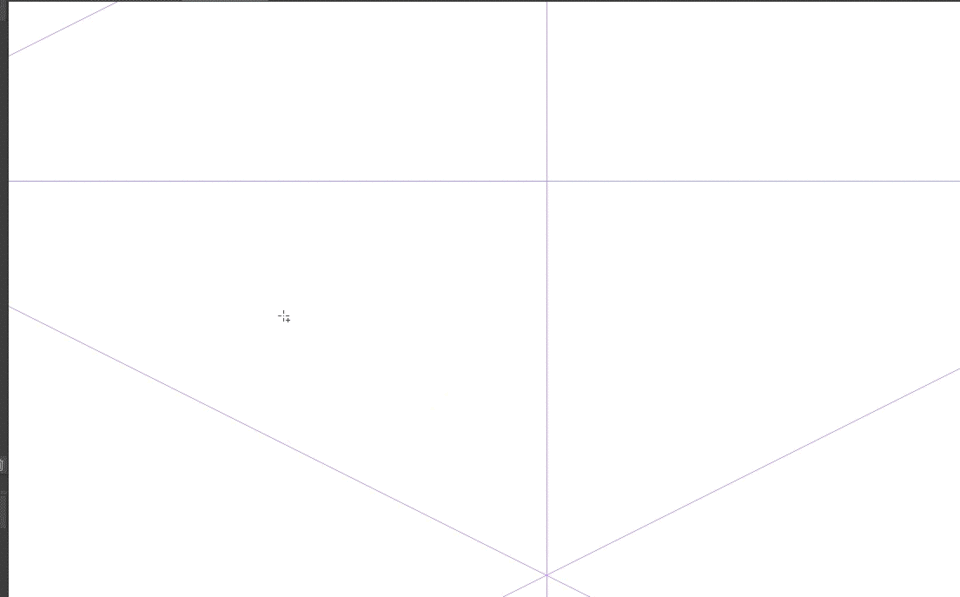
This is how it looks. Now we can start painting with a brush or a pen. The lines are just guides, the perspective lines will go automatically with your pen.
Another way to create it is to use the ruler tool. Click U for the ruler. Select Perspective ruler. Then just click and drag two points. This will automatically create a 1 point perspective for you. If you want to see how to add vanishing points and how to control them, keep reading below.

Editing
So would I edit any of the points on the canvas? The primary tool for that is the Operation tool. You need to be in object mode.
In order to change the vanishing point position, you just need to click on the point and drag it. Like this!

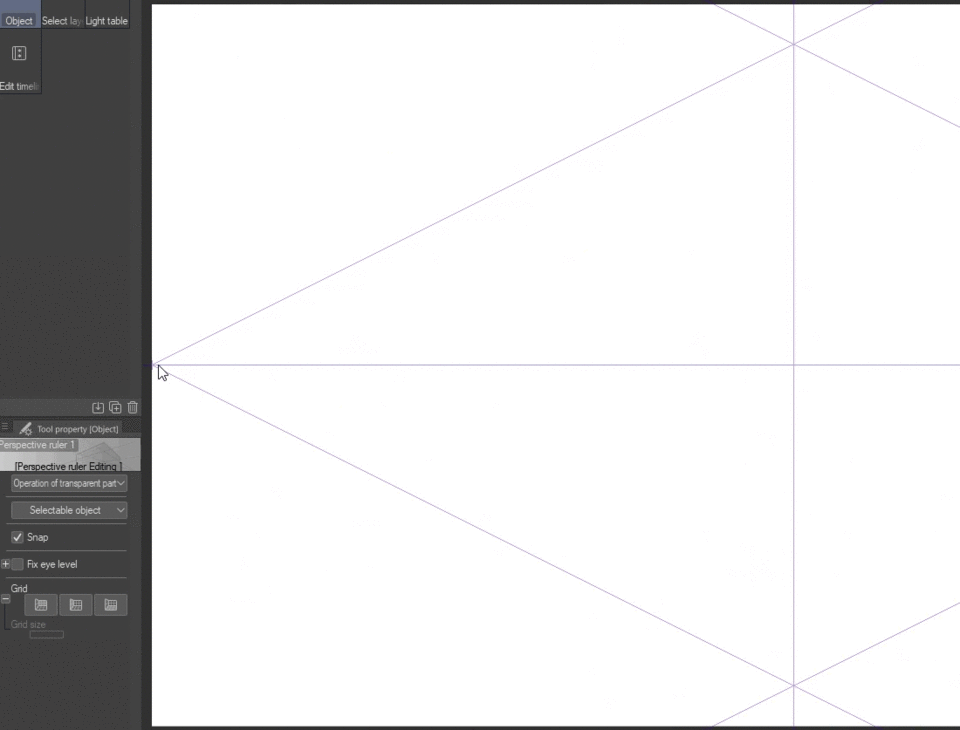
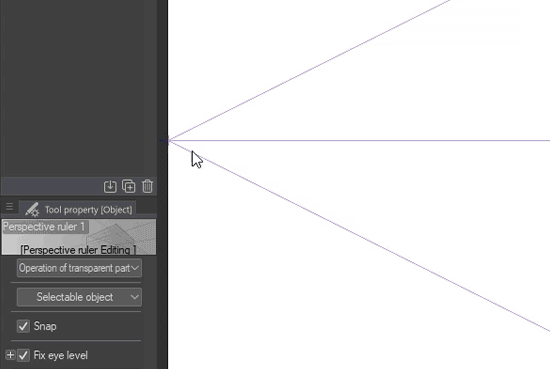
The first question you might ask is how to move the point without disturbing the horizon line. I just want it to be straight. Well, you just need to keep on the fix the eye level checked on. Here is with or without it.

WITHOUT

WITH
After you are done with that, I can suggest adding the perspective lines to your layer. It will make it easier to figure out the perspective. In order to do so, just go to Tool Property and turn on the grid.
A) Main horizon line. To move it around just grab and move it where you need to. The vanishing points will stay in place.
B / C ) Vanishing points. They will change the way the perspective is drawn in the software. I already showed how to move them previously.
D) An important button. This will turn on or off snapping for the perspective. If it is green instead of purple, it is a sign that it is off. Each perspective line has that button. I will get into how to turn off snapping later as well.
E) That is the main button for moving. If you want to move all points together at the same time, then you need to grab that one.
F) This small button will move button 5. If it is in the way, you can just drag it around and get it out of the way.
G) You can adjust one of the lines individually for your liking. In most cases, it will not affect greed. It is only for your canvas.
H) This allows changing the horizon line at any angle you want. The default horizon line is set to 90 degrees.
How to Turn off the snapping? There are a few ways to do it. You could go ahead and turn off perspective with button 4.
Another way to turn it off is to go up and turn off snapping. That one is easy to find at the top.
If you turn it off, then you will be able to draw completely free.
You can also turn off the ruler layer.
My biggest mistake is usually drawing on the same layer as the perspective guides. Make sure you make a new layer.
This will also allow you to turn off snapping.
You can also add vanishing points. In order to do so, just right click with the tool selected, and then click add vanishing point.
Bonus TIPS
Did you know that other tools also get affected by the perspective ruler? For example, the selection tool also follows the perspective. Look! It goes the same for shapes and other things like that.

Let me know in the comments if you have any questions or suggestions. I would love to hear.
My painting Timelapse
Here is a quick sketch I made of a city. I only use 2 point perspective and I am pretty happy with the linework. I will probably go and work more on colors in the future. Here is a timelapse on youtube.
You can easily find my social media links with this


コメント