Simple Fire Animation Tutorial
INTRODUCTION
Hello guys !! Today I'm going to show you how to create this simple fire camp animation with sound. If you follow the steps you will be able to create this animation too :D
I'm using Clip Studio Paint [PRO] so the frames per second (FPS) are limited up to 24 per second. Unlimited frames are available in Clip Studio Paint [EX]
BASICS YOU SHOULD KNOW
Timeline: This is where we'll be managing our Animation folders and Cels (frames)
The Timeline works just like the regular [Layers] panel. You can draw on each cel and can stack the folders on top of each other just like when drawing a regular illustration.
1. Playback menu : Here we can control the playback of the frames to quickly view our progress.
2. Animation folder: Animation folders are folders for storing animation cels. You can use separate folders for each component of your animation.
3. Animation cel: These are the main frames in the animation folders where you will be drawing your sketches.
4. Specify cel: Specify cel is used for adding your layers from [LAYER] panel to the animation folder and also for rearranging your cels in the timeline.
5. Delete cell: This deletes the selected cel.
6. Onion skin: Onion skin is the backbone of any animation software. When enabled it shows the next frame or the previous frame as per your needs but in a lower opacity so you can use it a a reference for your current frame.
7. Keyframes: Keyframes can be used for motion tweening and smooth transitions. We will be using keyframes when editing our sound.
PREPARE YOUR CANVAS
To get started we have to create a canvas.
The more frames you add the faster the image can be
When you create your canvas this way, you will already have an animation folder open by default.
1. To create the canvas go to
[FILE] --> [NEW]
2. Click on the Animations bar.
3. We will be working on standard 1920x1080 FHD dimensions. DPI does not matter when making animations.
4. Select the frame rate as 15. The more frames you add the faster the animation will be.
5. Playback speed will be 15.
6. After you create your canvas, If the timeline panel is not visible go to
[WINDOW] --> [TIMELINE]
Now that our canvas is prepped lets start with the process :)
PROCESS
Our main idea of the fire animation is that the fire will start small, grow big then go back to small. We do this so we can loop it back to start seamlessly.
1. I changed the color of the [Paper] to black as our main background.
2. We are going to draw the wood on a layer in the normal layer palette and place it below the animation folder. This is our layer that will not move throughout the whole animation.
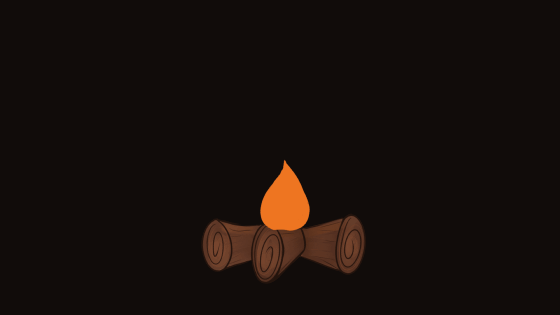
3. We start out by making rough drawings of the fire one by one on the cels in the animation folder.
4. I started with drawing 3 sketches on cels 1, 8 and 15 as they will be our keyframes to guide us with the pattern we decided earlier.
5. After we have established this guide, we now go back to cel 1 and add new cel, then start drawing our fire.
6. The fire keeps growing bigger till frame 8 then we draw the fire shrinking back to frame 15.
7. Keep checking the progress by playing the animation on loop so you can go back and refine your sketches for a seamless look.
8. You can draw the fire in any shape you like since it is unpredictable and flexible.
9. After we are done with our rough frames we can go back and refine our sketches for their final look.
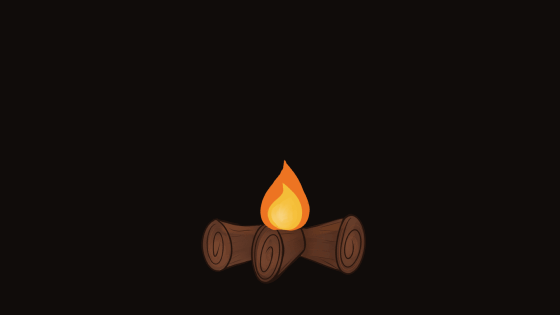
10. We will now create another animation cel so that we can draw a small yellow fire on top of our first fire.
11. Repeat the steps till you are satisfied with how your animation looks.
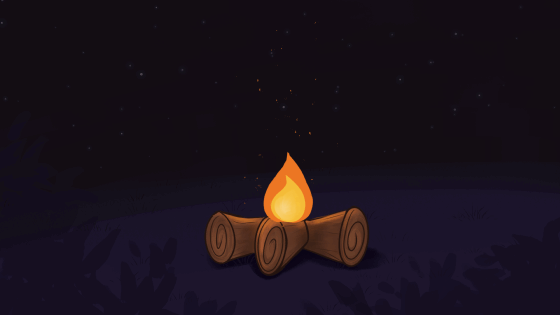
12. Now we are going to add a pretty background. You can draw your own background or use any free image you like.
13. All the brushes I used were free and downloaded from the Clip Studio Assets library.
14. Next I used a dust particle brush and used it to draw "Fire Embers" in each frame of the yellow fire. This step is optional but it will make your animation look very pretty
15. Refine and finalize the look of your wood as well. Add shadows and light so that it looks lively.
16. Next we will be drawing a shadow animation for our fire camp for it to look complete.
17. Create a new animation folder and drag it below the wood layer. We draw all the shadows just like previously. The imperfection of the drawings on the individual cels give the shadow a beautiful and jittery effect :)

ADDING SOUNDS
We can add audios to our animations.
1. To add an audio to our animation go to
[FILE] --> [IMPORT] --> [AUDIO]
Your audio will be imported in the timeline
2. You can drag and edit the audio to fit your animation as you like.
3. Click the graph editor
4. Here we are using keyframes in the graph editor for the audio to look like a wave that goes from low to high and back to low. Just like how we created our animation.
EXPORTING
To export your animation go to
[FILE] --> [EXPORT ANIMATION] --> [MOVIE]
Animations can also be exported as GIF if there is no sound.
And now we are Done :)
This is our finished animation without sound.
I hope this helped you :)







댓글