
Hi there! In this article I will teach you How to use CLIP STUDIO PAINT with MOUSE, we will learn to use the Figure tool in depth.
We are going to take a photo of a handmade drawing and digitize it in Clip Studio Paint.
If you don't have a graphics tablet but want to draw in Clip Studio Paint, this article is for you.
TUTORIAL: DRAWING with the FIGURE TOOL
Remember that you can activate the subtitles in your language, you will surely find it :)
Now we will see the step by step to understand even more the process to digitize a handmade drawing.
Summary of the Figure Tool tutorial:
Creation of the Project, 4,000 x 4,000 pixels with a resolution of 600 dpi.
We took a photo of our handmade drawing as we will use this photo to draw in CLIP STUDIO PAINT.
Import the photo of your drawing by hand in: File - Import - Image
Give it a name and activate the option: Change Layer Color.
Then lower the opacity of the image to 50% or 40%.
And lock the layer.
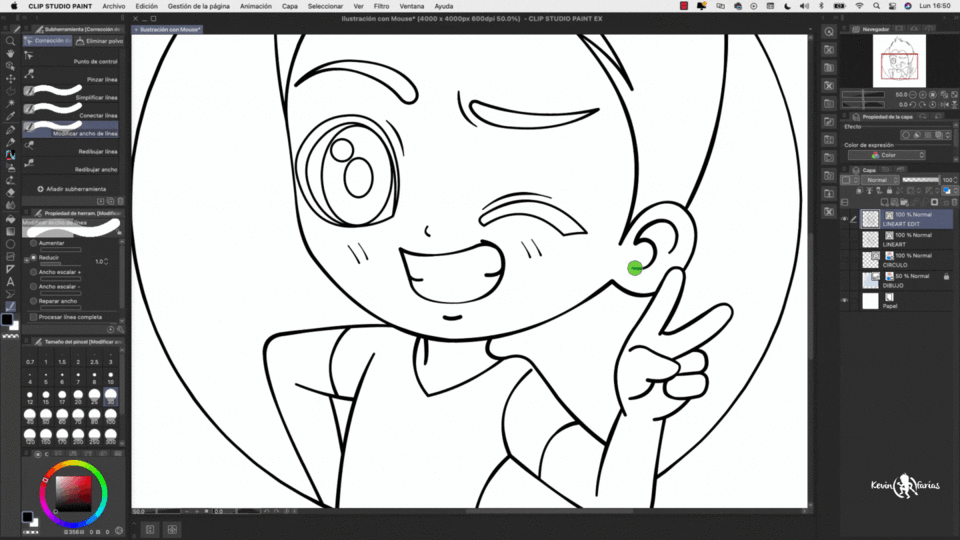
And we create a vector layer to make the lineart.
Shape Tool - Curve Sub Tool
We go to the Figure tool and choose "Curve" in Sub-tool.
The brush size can be 5, 10, or 30, depending on the style of your illustration.
We click and hold to be able to make curves.
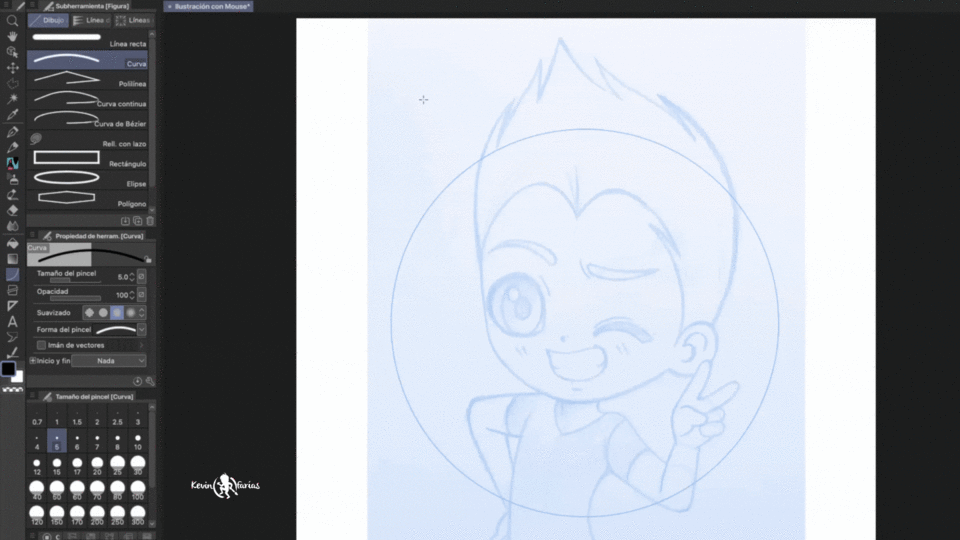
Vector Magnet in CLIP STUDIO PAINT
Having selected the Figure tool we activate the option: Vector magnet.
With this option we can join the lines quickly while we are drawing.

With the Operation - Object tool we can edit the curve
And we end with the Lineart of the Enlightenment.
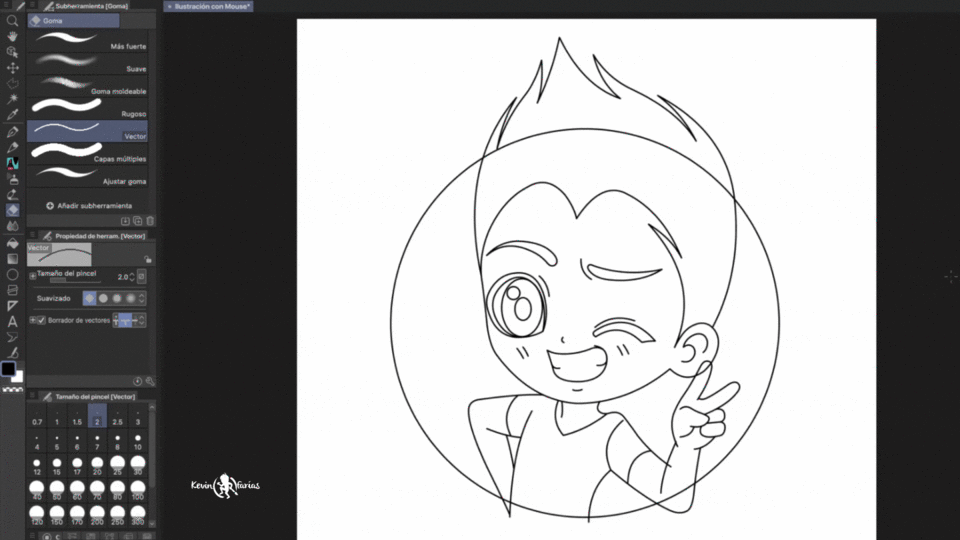
Goma Vector en CLIP STUDIO PAINT
It allows us to easily cut the strokes of the vector layer.
Line Correction in CLIP STUDIO PAINT
Modify line width - Increase
It allows us to play with the thickness of the stroke.
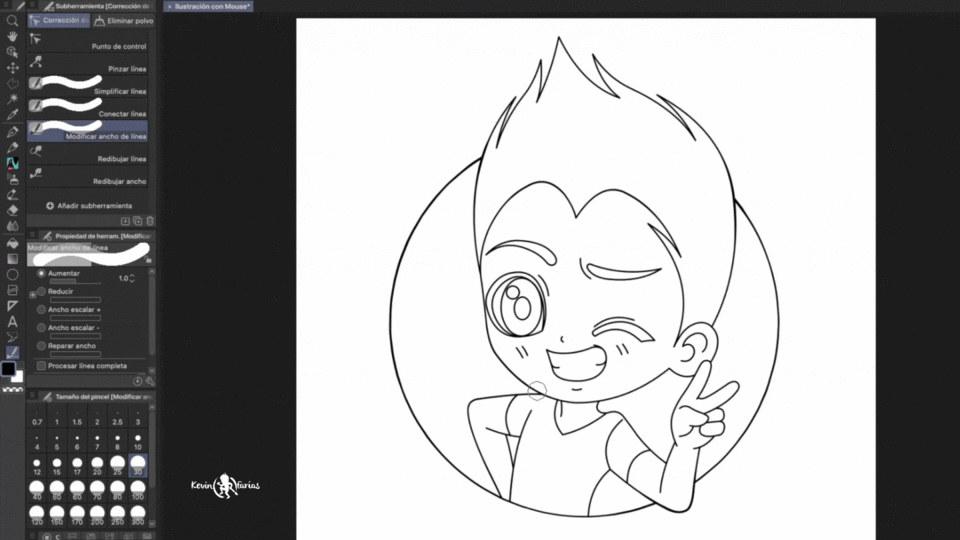
Modify line width - Reduce
It allows us to make the strokes look finer.
How to paint the lineart in CLIP STUDIO PAINT
The colored lineart is very important for our illustrations.
In this case, I'll show you how to do it:
We have to duplicate the lineart layer and we are going to convert that vector layer to a raster layer. To later, lock the transparent pixels of that layer and paint the edges easily.
Illustration color
Now we create a new raster layer and change the name to: Base Color, or whatever name you want.
We activate refer to other layers
This option helps us to paint on another layer respecting the spaces of other layers.

Add a texture in CLIP STUDIO PAINT
A small tip is to add a texture to our illustration, CLIP STUDIO PAINT has many free resources that we can use, among them, textures.
How to place EDGES in CLIP STUDIO PAINT
Adding borders is very interesting as it can enhance our illustration.
To do this we duplicate the layer of the lineart and put it below all the visible layers.
Then in the Layer Properties window we activate the option: Border Effect.
And we can raise the value to 40 or 50, to make the border thicker.
Export your illustration in CLIP STUDIO PAINT
In File - Export (one layer) - .png (PNG)
In my case I will export it in a size of 1,000 x 1,000 pixels, since I want to use this image as a profile image for my social networks.
Final Illustration in CLIP STUDIO PAINT
I hope you are encouraged to draw in CLIP STUDIO PAINT even if you don't have a graphics tablet.
I leave you a greeting, that you are very well and see you in the next TIP.
Users who liked this post


Comment