continuation. Kaleidoscope on file object

-
 MVP ◆This user has contributed greatly to the management of the community, by posting many great responses to the questions asked. Once every three months, MVPs are determined based on the points earned during that period and will be recognized accordingly.
 -
 New Valuable Player (NVP) ◆These are the next-best contributors to the community after MVPs. This is awarded to users who have not yet won an MVP award, based on the number of points they have earned.
 -
 Official Expert ◆Chosen out of all MVP awardees, who are already proof of excellence, this is a testimony of outstanding correspondence in the community. After careful screening, they are appointed by CELSYS and assume their position.Note: Formally called “Evangelists”
 -
 CELSYS official moderators ◆Moderators are official CELSYS staff members who are fluent in Japanese as well as various other languages. As moderators are not experts on software or creative work, they will not be able to directly answer your questions. However, moderators will provide communication and language support to ensure that everyone can smoothly communicate with each other.
 -
 CELSYS officialThis is the official administrator account.
Animation using file objects
It is a continuation

I made it so hard that I don't know what it is
This is the last TIPS
Please see the link for detailed work contents
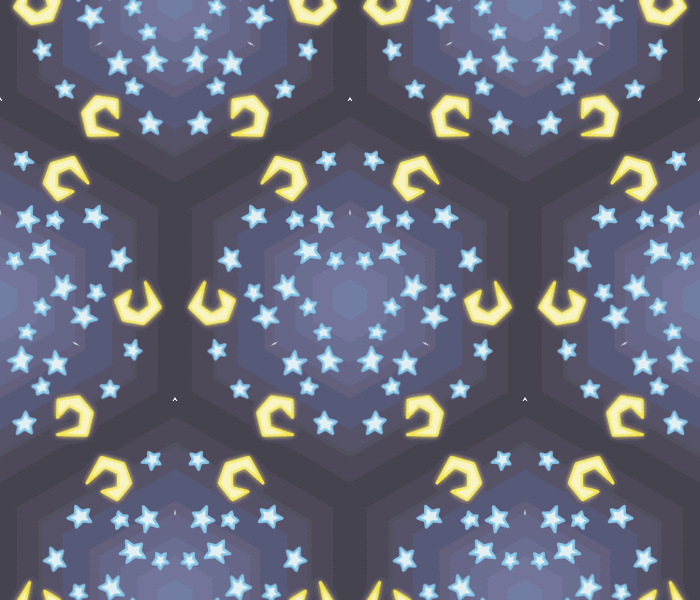
Color the pattern on the Kaleidoscope
I will try to add colorful colors using the previous file
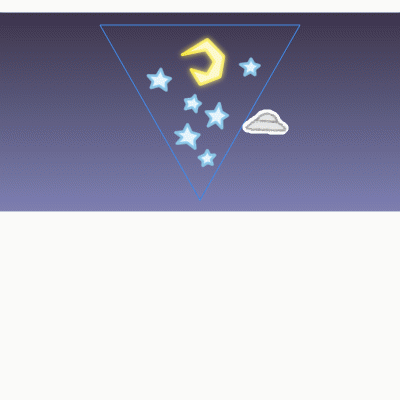
Open (400 × 400.clip)
Hide the Gradient Map layer on the Layers palette
"Save" and close the canvas
Open (700 × 600.clip)
Select "Update All File Objects" from "File Objects" in the "Layer" menu.
Make sure the canvas is dark and "save" to close the canvas
(There is no explanation of the attached image)
Open (Kaleidoscope.clip)
Select "Update All File Objects" from "File Objects" in the "Layer" menu.
Above the "700x600" layer on the "Layer" palette
Add a "Gradient Map" layer like the attached image
Save as "Kaleidoscope (orange) .clip"
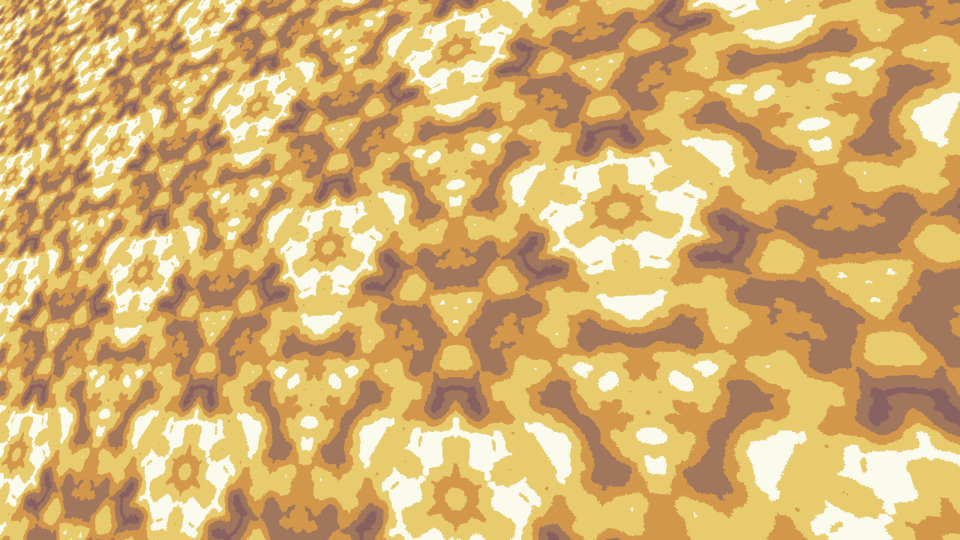
Animated GIF of the exported "Kaleidoscope (orange)"
Open "Kaleidoscope (orange) .clip"
Change the "Gradient Map" layer on the "Layer" palette as shown in the attached image.
Save as "Kaleidoscope (blue) .clip"
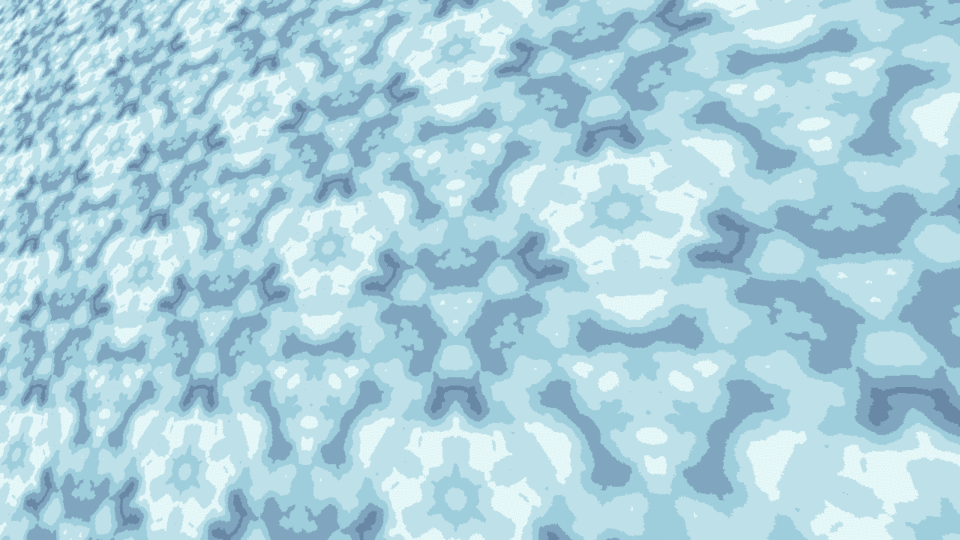
Animated GIF of the exported "Kaleidoscope (orange)"
Open "Kaleidoscope (blue) .clip"
Change the "Gradient Map" layer on the "Layer" palette
Save as "Kaleidoscope (three colors) .clip"
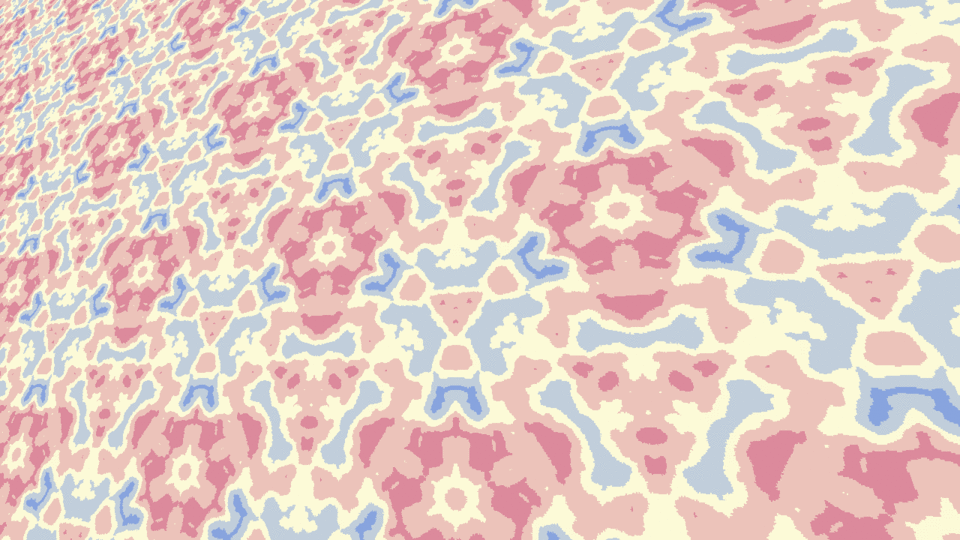
Animated GIF of the exported "Kaleidoscope (three colors)"
This was used for the previous title anime
Rotation is not just about the center
Just rotating the center will quickly get bored
Let's set the center of rotation to two places
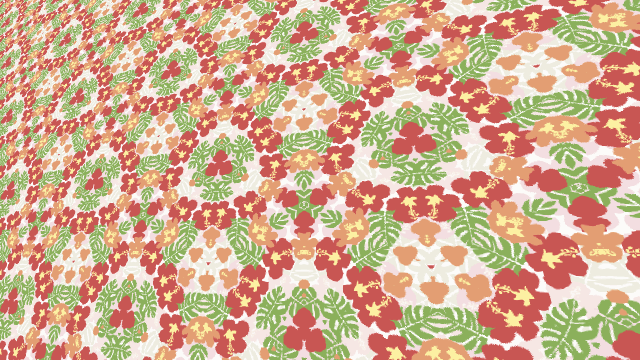
I searched for a good material in CLIP STUDIO ASSETS
Hawaiian 01_CS
I used a gorgeously colored material for this rotation.
(The work process is omitted)
A colorfully finished material based on "Hawaiian 01_CS" (image reduced)
Create a new folder
Keep the folder named Hawaiian
File (400 x 400.clip), (700 x 600.clip) and (Kaleidoscope.clip)
Duplicate inside the "Hawaiian" folder
Put the processed CLIP file of "Hawaiian 01_CS" in this folder.
Open the "Hawaiian" folder and open (400x400.clip)
Discard all layers except the "Triangle" layer on the "Layer" palette.
Select "Create File Object" from "Import" in the "File" menu.
Read the processed CLIP file of "Hawaiian 01_CS"
Click "Rendering Settings" on the "Tool Properties" palette and uncheck "Draw Paper".
Check "Tiling"
Set the "magnification rate" to a moderate number (10%)
The center of rotation on the canvas is slightly to the right of the "triangle"
Since "Hawaiian 01_CS" is tiling, it is okay to move the center of rotation anywhere.
Duplicate layers in the Layers palette
Set the layer's "opacity" to (20)
Move "Opacity" from layer (20) below the original layer
Lock the original duplicated layer
Move the "opacity" layer (20) on the canvas to the center position below the lower left side of the triangle.
Some changes have been made in "Hue / Saturation / Brightness" of "New Tone Correction Layer" in the "Layer" menu.
Unlock the locked layer
Press "Enable Layer Keyframes" on each layer
Set the rotation for 6 seconds (plus 360 degrees) and (minus 360 degrees)
(This time, rotate it to the right and left)
- The attached image of the explanation is almost omitted.
Hide the triangular layer in the "Layer" palette and "Save" to close it
Open (700x600.clip) in the "Hawaiian" folder
Select "Update All File Objects" from "File Objects" in the "Layer" menu.
The pattern on the canvas will be rewritten
Save and close the canvas (not explained by the attached image)
Rename the (Kaleidoscope.clip) file in the "Hawaiian" folder
(Hawaiian.clip)
Open (Hawaiian.clip)
Select "Update All File Objects" from "File Objects" in the "Layer" menu.
The pattern on the canvas will be rewritten
Save (There is no explanation by the attached image)
The exported animated GIF
The size of the file is so great that I ended up outputting it in a small size (640 x 360px).
If you don't look closely, you won't know what's different.
It is the actual size because it is confusing.
Nothing should just rotate a kaleidoscope
Why not draw an animation on a (400 x 400.clip) triangle? So
I started it right away
It's hard to make an anime, but ...
Well, I had a lot of fun and worked in a hurry 👯
The timeline is going to be tough, but each one is fragile.
I combined various things while thinking
It's messy and I don't know what it is
There is no explanation
Animated GIF of (400 x 400.clip) so far (rarely with dithering)
(400 × 400.clip) is
Finally, combine the layers created in the "Layer" palette into one folder.
With this folder selected
Do "Enable Layer Frames" in the "Timeline"
Make the sub tool an "object"
Set "Rotation angle" of "Transformation" on the "Tool property" palette to (-30).
Hide the "triangle" layer
"Save" and close
(700 × 600.clip) Without deleting
Create a new 11-second timeline from the new illustration
Similarly, set the grid etc.
Load (400x400.clip) with "Create File Object"
I will do the work to make that difficult tiling again
Since it has been extended to 11 seconds, it is okay to extend the playback range of all file objects as it is, but I thought it would be okay to recreate it.
Please save with "Overwrite" when "Save"
to tell the truth
If you save a new file by overwriting, the thread of fate of the "file object" will break.
The link of the newly loaded file object is alive, but the link of the file after that is broken.
Well, in the end you'll have to start over (this is also an experience)
New (700 x 600.clip) animation
Create a new illustration (1280 x 720px)
Load (700x600.clip) with Create File Object
Check the tiling to create a space with free transformation and cool perspective.
Create a new timeline (11 seconds) in the timeline
Save as (24 hours .clip)
The result is the title animation at the top of this page
Since the size of the file has become difficult, I exported it in a small size ...
in conclusion
There is a part that is not selected at the corner of the selection range of the triangle
I think it's probably a matter of triangle size
I'm working at (400 x 400px), but I feel that working at (480 x 480px) fills the gap.
The "spacing" of the grid should be (120)
Somehow, I thought so. May be different
It has become uncoordinated
I think it can be done with the loaded movie
I'm going to experiment
Please play
Users who liked this post


Comment