How to use vector layers useful for backgrounds
We added subtitles in each language to the video, so please turn on the subtitles and watch.
0. Introduction
In the course so far, I have explained the basics and application of vector layers several times. So, when exactly should you use vector layers?
This time, I will explain the operation of the vector layer that I use when drawing the background along the process of drawing the background.
I hope that this TIPS will give people who have never used vector layers an opportunity to try using vector layers. There are functions that have not been explained in the previous TIPS, so I think that even people who use vector layers on a regular basis will find something new.
1. General sketch
While drawing the overall sketch, I work out the concept. This sketch is also drawn on a vector layer. It's snowing in the city, and it's a picture of a girl running under the overpass to avoid the snow. A girl is leaning against a fence.
If you do the lighting at the time of completion at the sketch stage, it will be easier to imagine the finished picture.
For the time being, I only sketched the characters in a little more detail.
2. Character
I drew a line drawing of the character.
This time it's a TIPS on how to draw the background, and I've already done TIPS on how to use vector layers when drawing characters, so I'll skip it this time.
See previous tips below.
In this TIPS, the explanation is too long, so the explanation of the basic operation of the vector layer is omitted. If you want to know the basic operation, we recommend that you carefully read this TIPS first.
I fixed the line art of the character and finished it with screentones.
I installed a perspective ruler and corrected the background sketch.
3. Split vector layer
From here, I will explain how to use vector layers in the background.
First, divide the sketch into layers. Since the sketches of the fence, bridge, and distant view are on one layer, divide them into separate layers.
Use the lasso tool to enclose the area you want to divide with a selection range, and then select and cut multiple vectors from [Select]-[Select vector over selection range] on the menu bar.
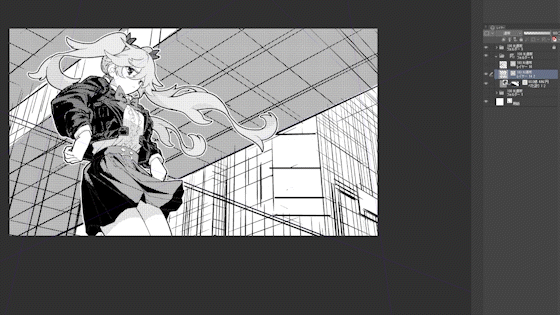
If you click "Paste" without selecting the original layer or other vector layers in the layer palette, a vector layer will be created with only the cut vector.
This allows you to split the sketch into parts.
This is also useful when sketching a character and wanting separate hair and face layers.

Details on multiple selection of vectors are explained in the following TIPS introduced earlier. This section explains how to register this operation and shortcuts. This operation is essential knowledge for vector layers, and is often used in the TIPS for drawing this background.
4-0. Draw meshes and windows on vector layers.
I will use vector layers to draw such windows and mesh structures.
4-1. Draw the mesh structure under the bridge
First, create a layer mask so that you can draw only the groove, turn on the edge of the vector layer, set the edge color to black, and draw with the straight line tool with the drawing color set to white.
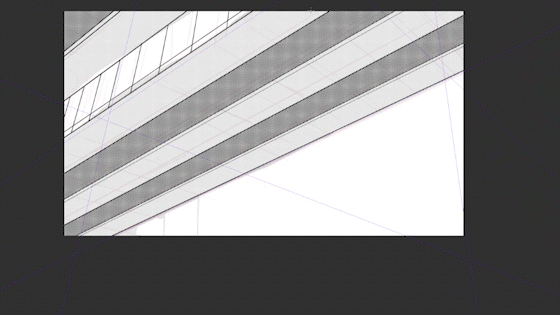
Normally, when drawing a structure like this, you would have to draw two lines and fill it with white, but with this drawing method, you only need to draw one line.
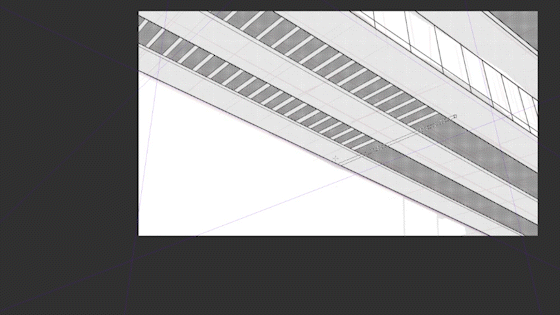
However, if it is left as it is, the front is thin and the back is too thick.
After selecting multiple vectors, change the brush size with the tool property,
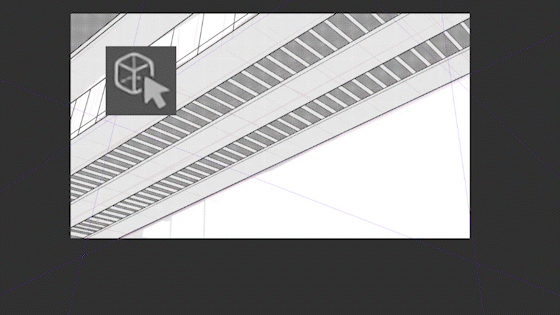
Change the thickness with the line width correction tool,
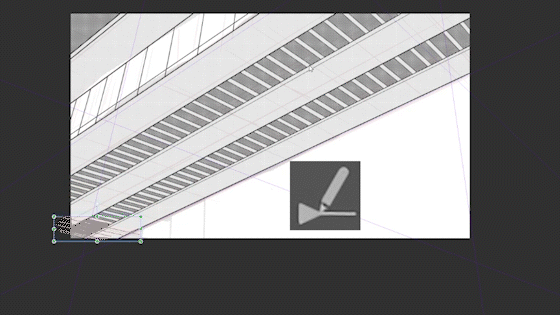
Fine-tune the thickness of the line with the control point tool [Line width].
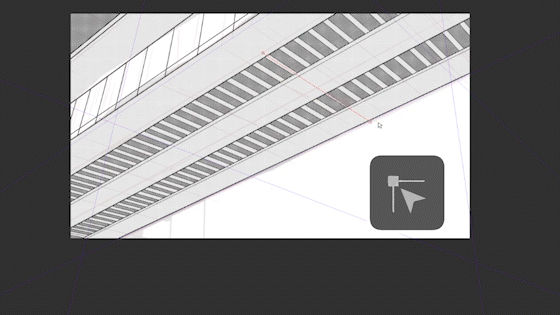
The control point tool [Line width] tool is explained in the TIPS below. [3. This is the scene from [Draw a big beam of light].
Separate the layers in the vertical direction and draw.
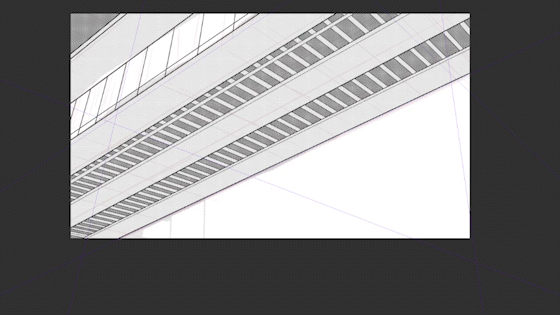
After drawing a line, thin it with the control point tool [Line width] so that it tapers toward the depth.
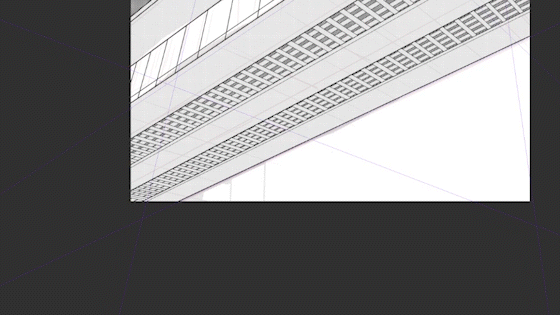
Copy and paste the vertical and horizontal layers of the next mesh, shift the position slightly, and draw the sides.
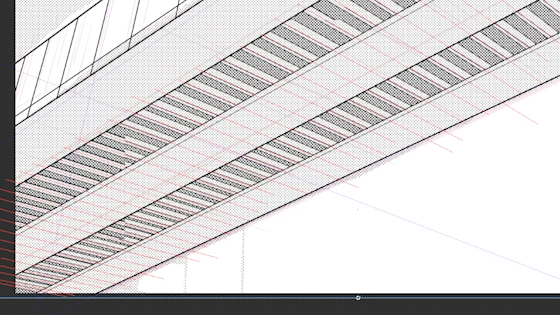
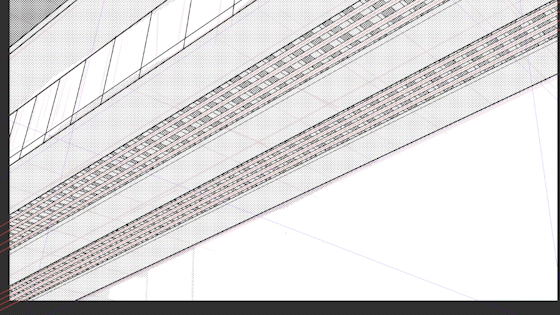
It looks like this.
4-2. Draw the windows of the building
In the same way as the mesh of the bridge, draw a window frame on a bordered vector layer with a cubic Bezier curve tool. After drawing one line, copy and paste and make fine adjustments.
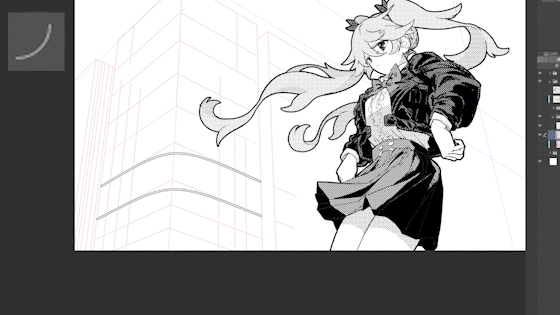
It's quite troublesome to draw a curve according to the perspective drawing method, so vector layers that can be adjusted are useful. Please refer to the following TIPS for how to use the cubic Bezier curve tool. I explain when I draw the handle of the cup.
After drawing the window frame in the vertical direction, thicken the horizontal window frame with the line width correction tool.
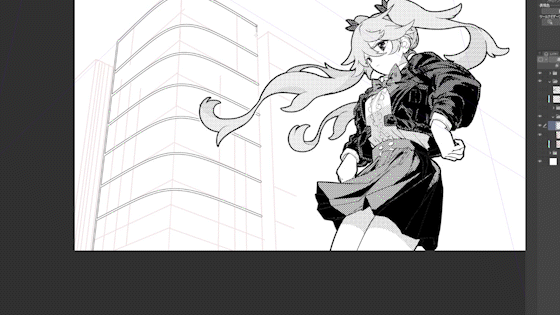
Since the tip has protruded roundly, select multiple vectors, reduce the thickness of the brush tip in the tool property, and change the line to a strip shape.
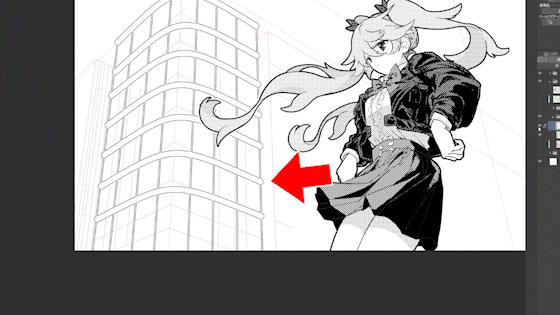
As before, copy and paste the vertical and horizontal mesh layers, shift the position slightly, and draw the sides
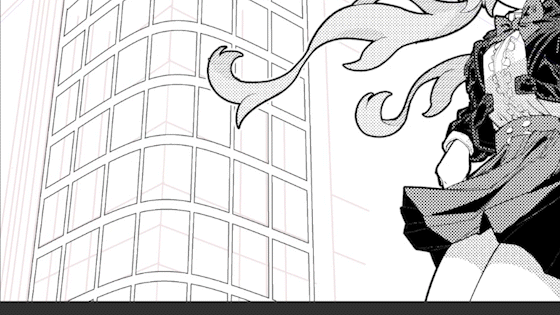
Next, as before, copy and paste the vertical and horizontal mesh layers, select multiple vectors, and change the drawing color to black.
Place the black layer under the window frame and shift it slightly to draw the shadow.
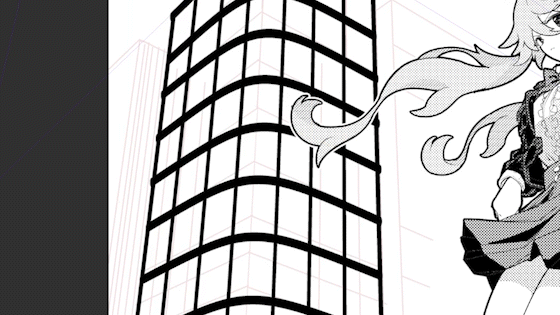
You can change the color of vector layers, solid layers, gradation layers, etc. by selecting them with the object tool and moving the color slider. I'm sorry, but it's hard to see in this image because the layers with different colors are hidden under the white window frame.
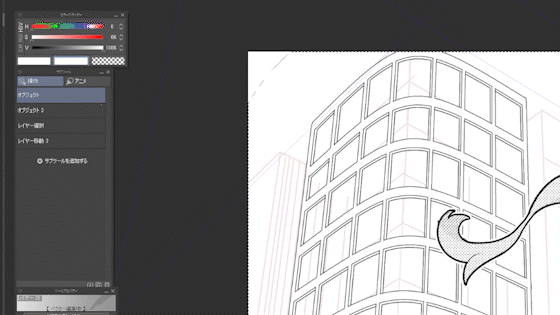
The function to change this color is explained in the TIPS below, so please refer to that. It is explained in [6. Changing the solid/gradation layer color].
Next, in the same way as before, copy and paste the vertical and horizontal mesh layers and layer them on top, thin the edges and lines, and make the window frame feel thicker.

Paste a rough gradient tone under the window frame. You can make it easier because you don't have to paint over each window.
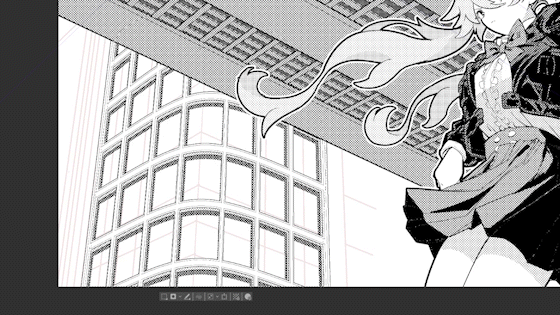
Another building was drawn in the same way.
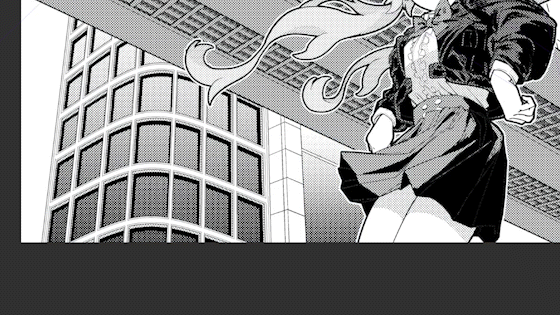
The window in the central building was too big compared to the others, so I copied and pasted it and tweaked it by adding more window frames and making each window smaller so that the building can be seen farther away.
Normally, you would have to make corrections that would be disgusting, but with this drawing method, it is not so painful.
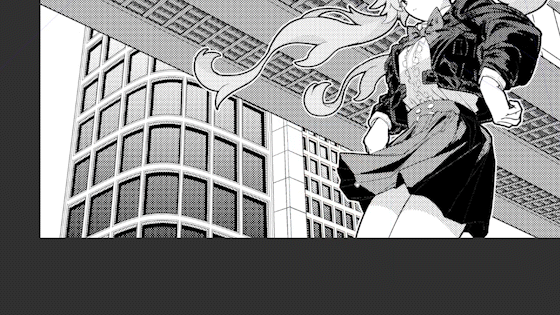
It looks like this.
4-3. Draw the shadow of the building with a streamline brush.
Next, add shadows to the buildings with the Speed line brush.
This brush is a tool that allows you to draw multiple lines on a vector layer at once, and can be downloaded for free from the link below. Please adjust parameters such as length as you like.
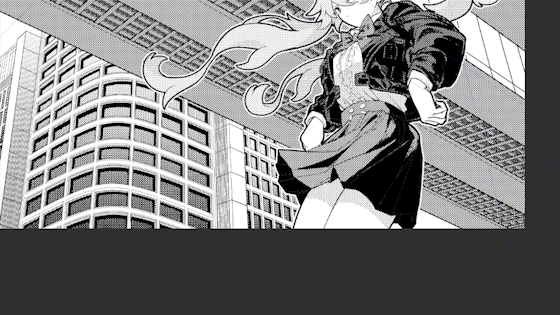
Draw many lines with a streamline brush on the vector layer.
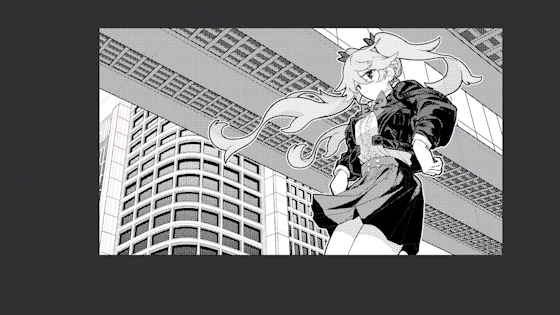
Transform according to the building with vector multiple selection. Erase the protruding part with an eraser or hide it with a layer mask.
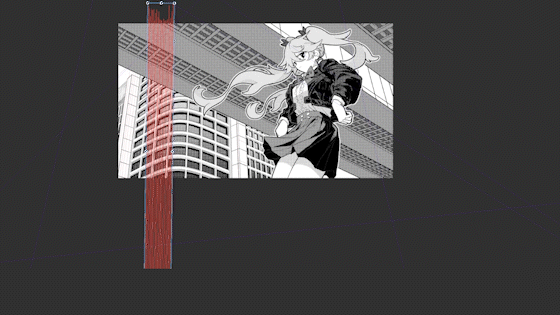
It's convenient because you can easily draw shadows and change the density by adjusting the line width.
Five. draw a fence Automatic depth compression fence brush.
Next, I will draw this fence, but I will try to devise a trick here.
I made my own compression fence brush that compresses such a fence in the depth direction. You can download it for free from below.

Anyway, drawing a fence is troublesome. Line drawing, masking, and finishing are all difficult. So, I would like to use this brush on a vector layer to make it easier.
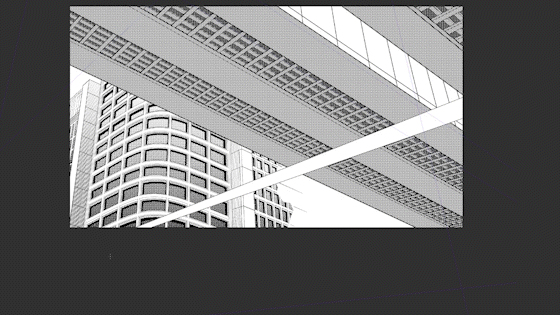
I'm a little off. However, if it is a vector layer, you can move it with the object tool and adjust its position.
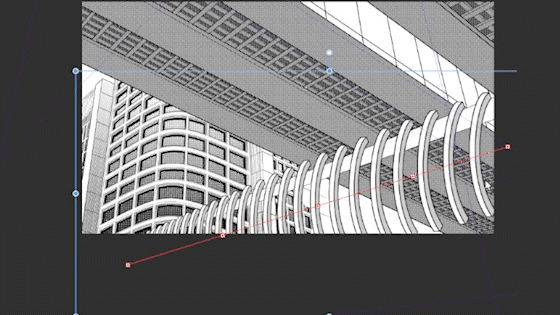
You can also fine-tune the angle like this by changing the direction of the brush tip material in the tool properties with the object tool.
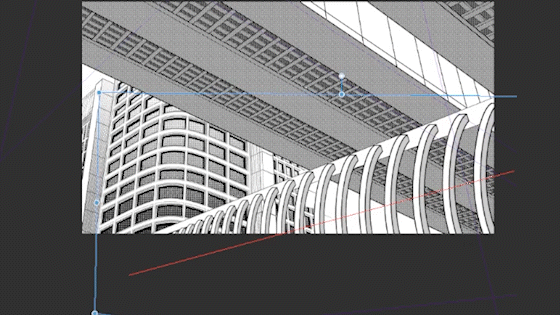
However, since the height direction does not match the perspective drawing method, I will rasterize it once and change it to a normal image, and then adjust it with free deformation. For that reason, bring the fence into the screen once with the object tool and rasterize it. Otherwise, the part outside the screen will be erased.
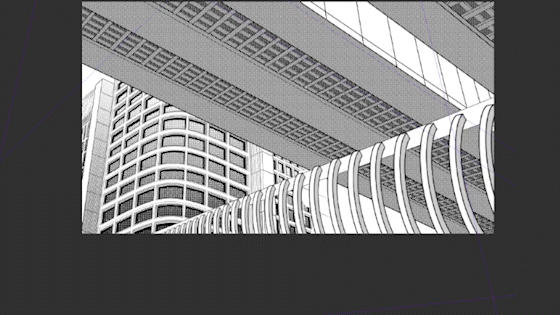
Adjust it so that it is deformed by free transformation and fits into the perspective drawing method.
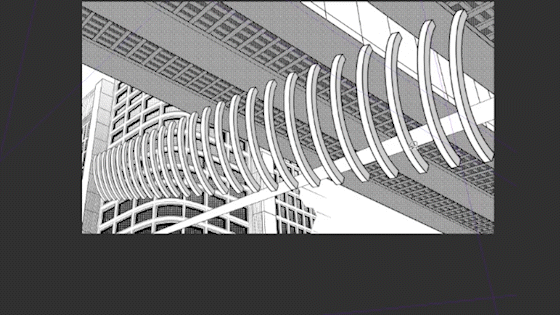
To finish the fence, divide the fence line and gray and white.
Select and cut the black part with color selection, and make the line a separate layer.
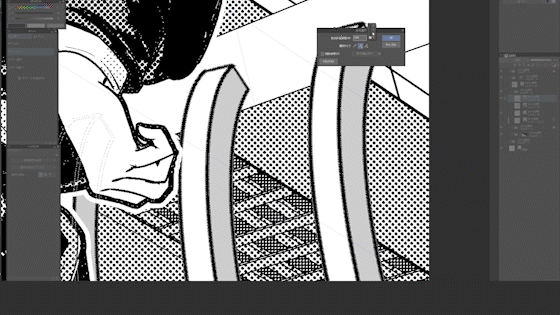
Fill the blank areas with white.
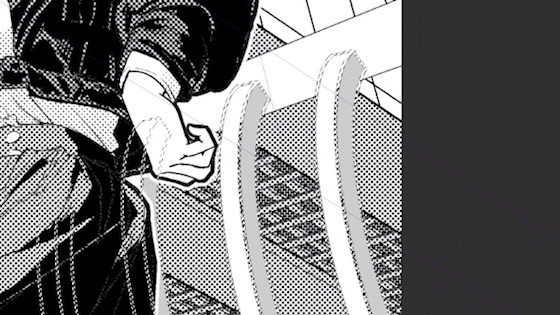
Similarly divide the gray part on the side and screentone it with the layer property.
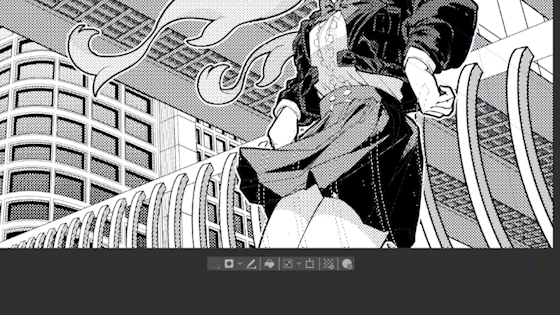
Convert the fence line to a vector layer again with layer conversion and add intonation with line width correction.
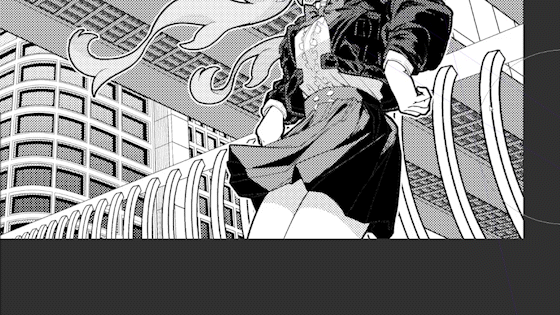
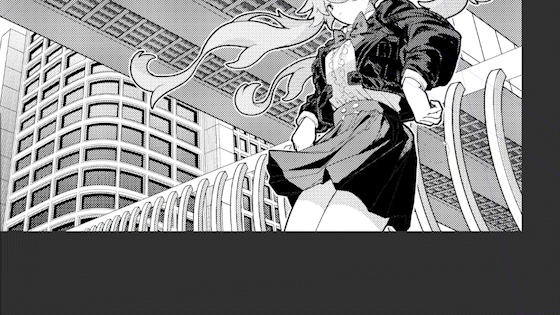
Things drawn with a pattern brush tend to be formal, but by doing this kind of processing, it becomes easier to blend in with the picture.
I introduced this line drawing extraction and vector layering in the previous TIPS, so please take a look at that as well. This TIPS introduces a technique for vectorizing the edges of layers.
6. Draw an electric wire with an electric wire brush.
Next, draw a wire like this on the vector layer with a wire brush.
Excuse me, the brushes used here are made and sold by other people. It's a paid product, but it's a very easy-to-use brush, so I recommend it.
Turn on the perspective ruler and draw an electric wire with an electric wire brush on the vector layer.
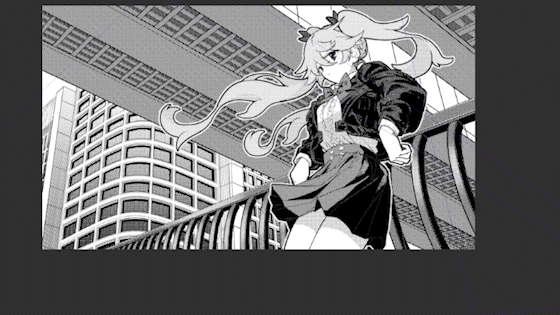
Use the line pinch tool to make it look bent.
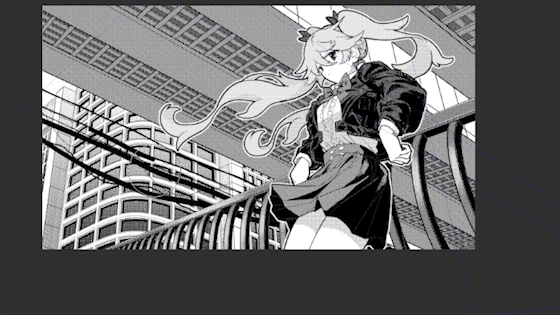
With the line width correction, adjust the depth a little thinner to emphasize the perspective.
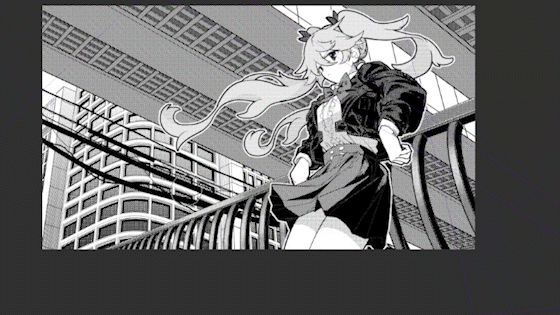
Pattern brushes, which tend to be formal expressions like this, and vector layers that can be adjusted are compatible with each other. Make the most of it. Perhaps the pattern brush that you felt was not very convenient to use may become your favorite brush.
7. Air perspective expression using streamline brush.
Next, let's use a streamline brush to create an aerial perspective expression.
Draw many lines with a white streamline brush on a vector layer with a layer mask so that you can draw only the back part.
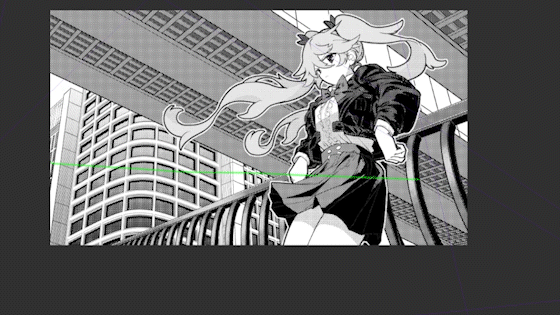
Transform along the building with vector multiple selection.
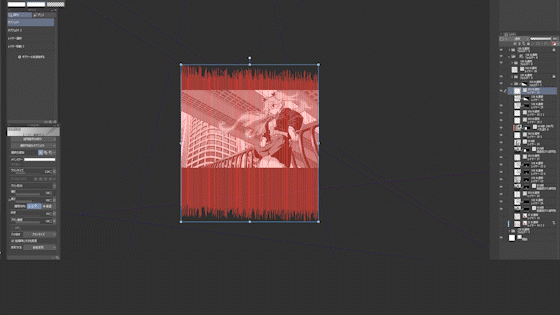
Adjust the density with line width correction.
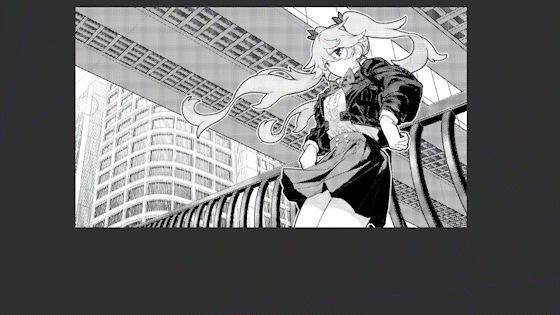
Copy and paste the current white wire layer and clip it to the wire layer.
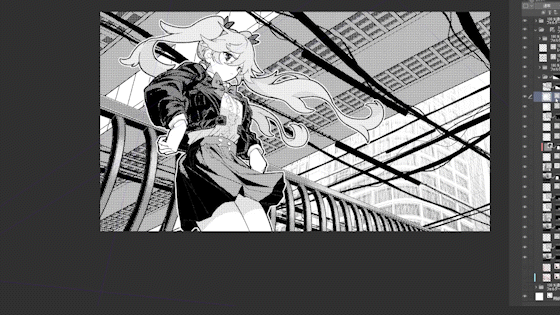
Select multiple vectors, change the brush size to a smaller size, and change the density of the building in the back and the white line to create a sense of depth.
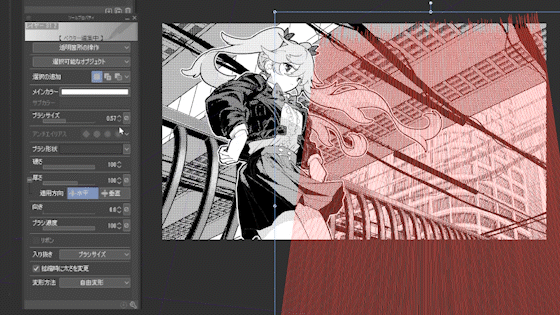
Copy and paste the white wire on the front wire, clip it, hide the shadow of the bridge with a mask, and change the density.
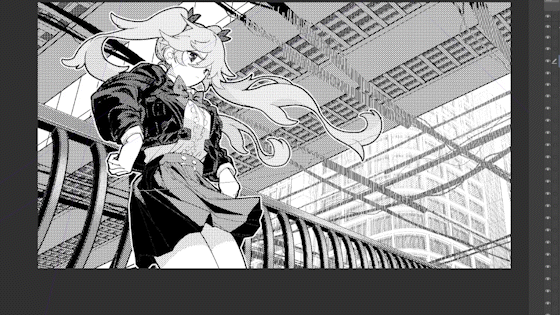
It looks like this.
8. Make it snow with the blizzard brush.
Finally, use the blizzard brush to make it snow. The blizzard brush can be downloaded for free from the link below.
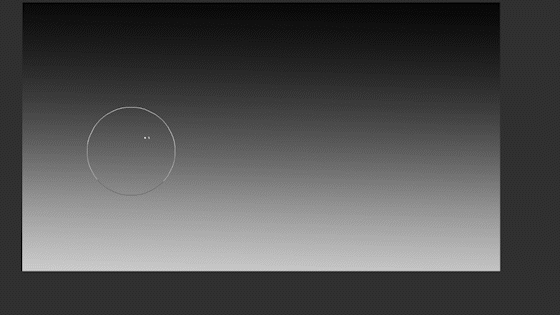
If you use the pattern brush on a vector layer, you can change the parameters in detail later. By changing the particle size and particle density, you can adjust the momentum of the snowstorm.

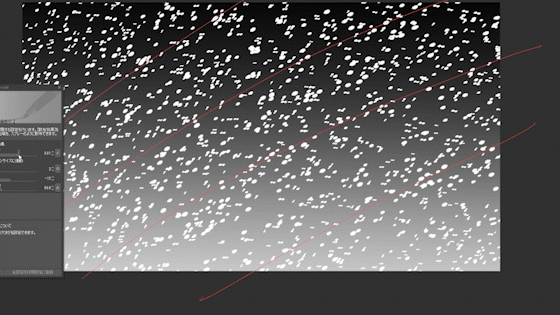
After drawing quickly with the blizzard brush, select multiple vectors and adjust the parameters in the sub tool detail window.
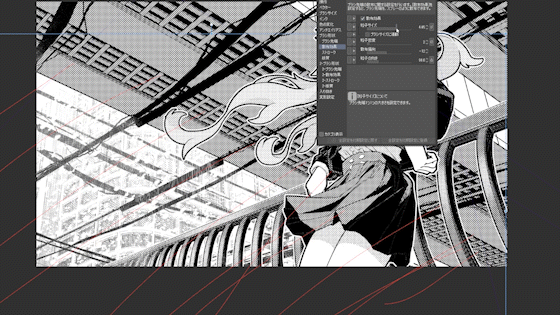
You can emphasize the perspective by making a difference in the spray density and particle size between the background and the foreground.
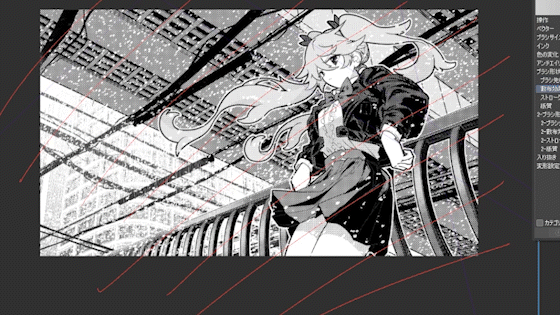
9. finish
done.
I drew almost only with the function of the vector layer. Actually, I don't draw lines myself except for characters and bridges. I think it will be a more attractive picture if you combine it with the normal drawing method.
Since this is a picture for explanation, I forced myself to draw a picture using only the functions of the vector layer so that I can introduce many functions, but I think that it is better to use it as a supplement. I don't think you need to learn all the functions, so please try using only the functions that you can use in your drawings, or try combining them with your usual drawing methods.
Thanks for watching!
This is a video of the entire drawing process.


Comment