
We have added subtitles for each language to the video, so please watch the video if you like. However, I think that the content is easy to understand only with this TIPS.
A video of the entire drawing process is at the bottom of this TIPS.
1.First of all
The Lasso Fill tool is a Fill tool that does not require other images such as line drawings.
You can fill the enclosed area with the same usability as creating a selection with the Lasso tool.

If you turn on [Border] in [Layer Properties], set [Border Color] to black, and set [Drawing Color] to [White] and use [Lasso Fill], you can see the black line drawing like this. You can draw a silhouette. This time, I will use this to draw the background of a monochrome manga. If you have a type of color illustration that does not require line drawing, you do not need to make this setting.
Also, it is easier to draw if you increase the value of [Image Stabilizer] in the tool settings.
I set the value of [Image Stabilizer] to about [13].
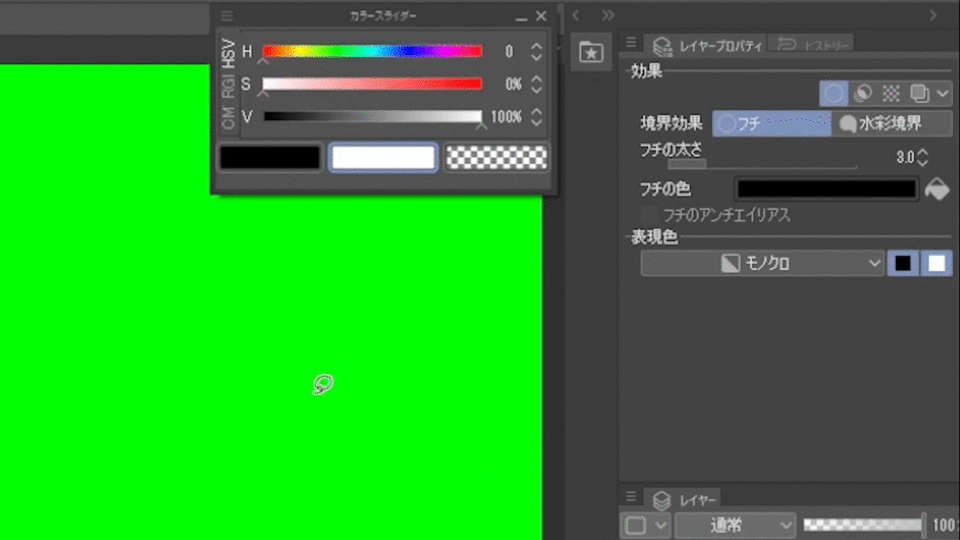
Many people may not have known the existence of this [Fill] tool. One possible cause is that the location where this tool is stored is not in the [Fill] tools, but in the [Shapes] tools.
It is recommended to move the location of this tool from [Shape] to [Fill] or register it as a shortcut.
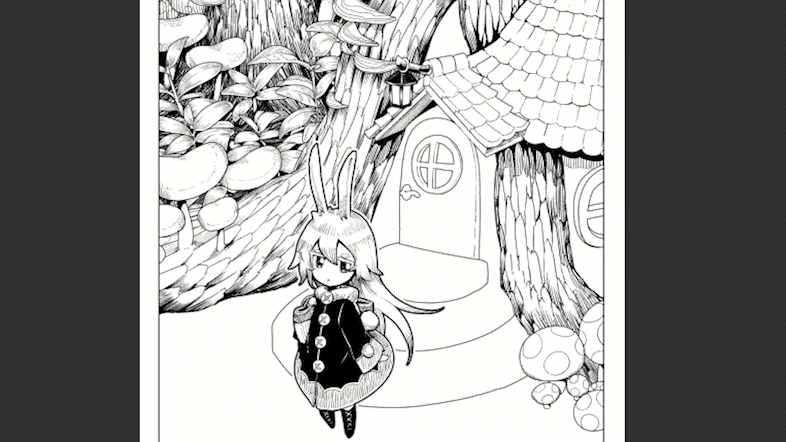
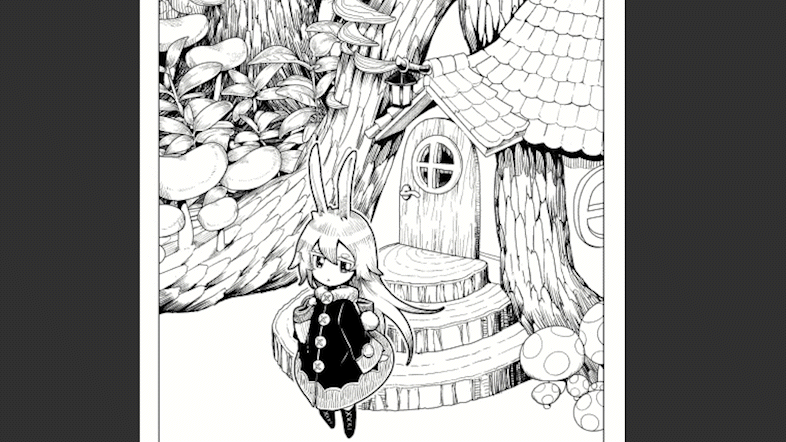
2. Draw a rough shape
Then, I will draw the background immediately.
Draw a tree trunk with [Lasso Fill].
Create a new layer on it and draw a door with [Lasso Fill].
Also, create a new layer under the door and draw the stairs with [Lasso Fill].
Repeat these steps to overlay the silhouettes and draw the background.
In the same way, I will draw new layers on the flow of roofs, windows, and tree trunks.
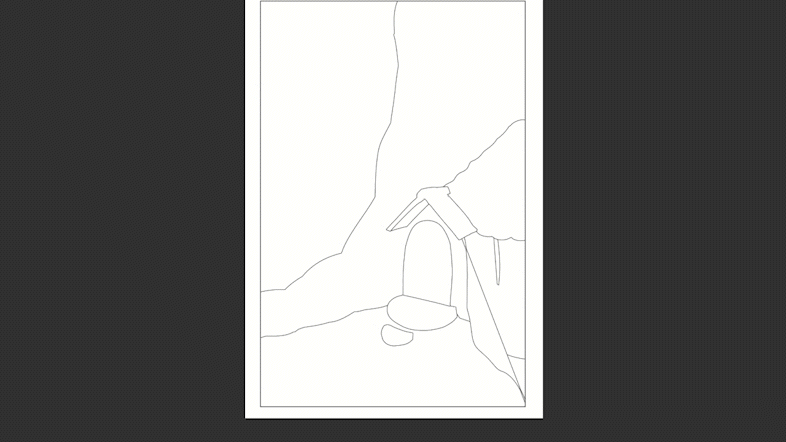
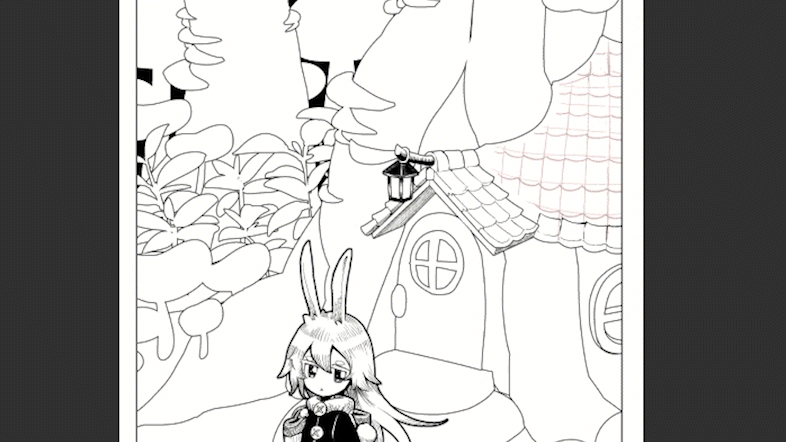
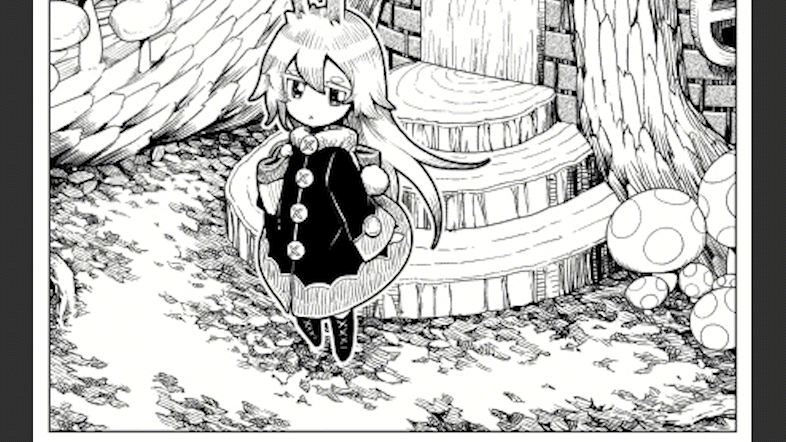
I will draw the silhouette of the character in the same way.
Draw a mushroom on the trunk of the tree and add it.
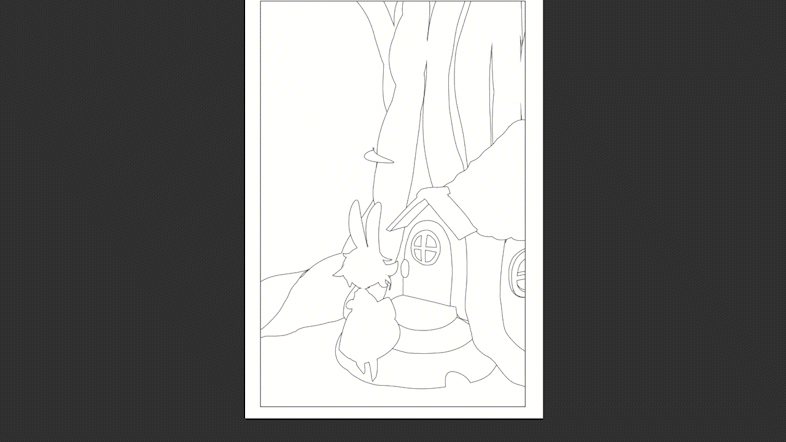
I will draw the leaves in the middle ground.
The leaves are also divided into several layers and drawn to give depth.
I added a distant view and made a composition of the picture!
This way of drawing does not make the campus dirty and easier to see than sketching with a pen, so
You can proceed with sketches and ideas smoothly.
I just draw the silhouette of what I want to draw with [Lasso fill], so
It's extremely easy and doesn't require any skill, so it's a method that anyone can recommend.
It's more fun than anything else!
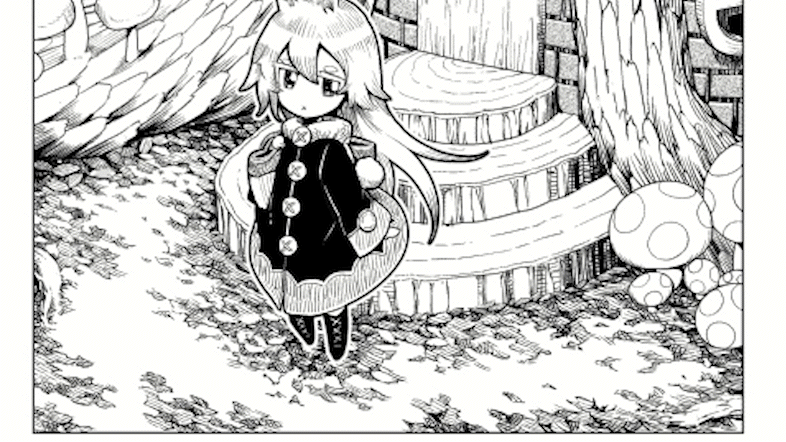
Now that the layout is complete, I'll just continue to draw from here.
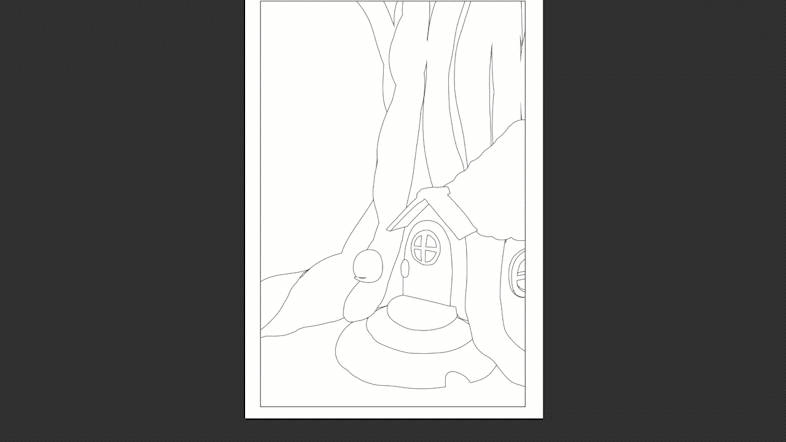
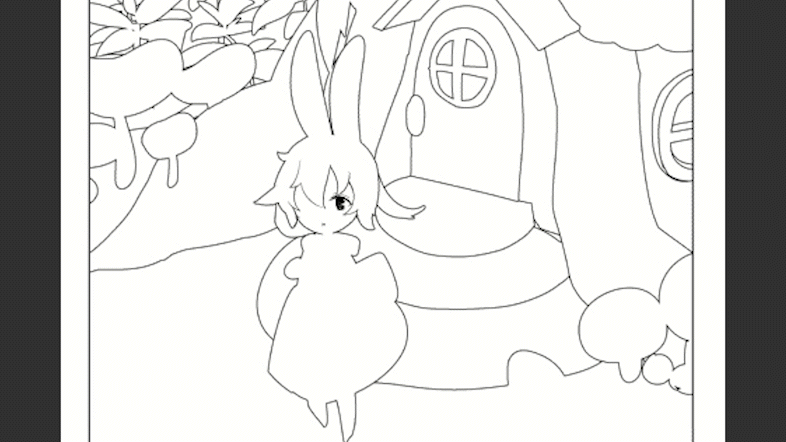
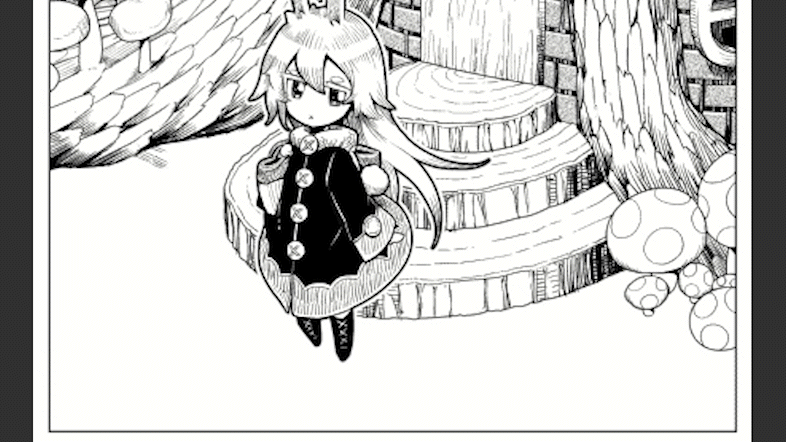
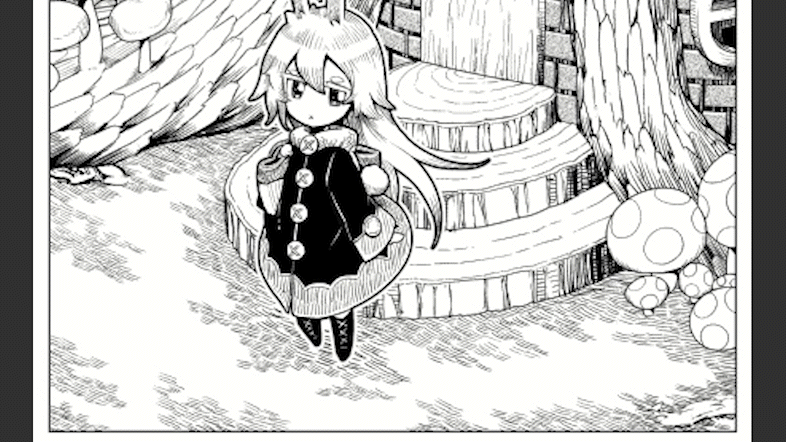
3. Draw a character and add
First of all, the rabbit character.
The deformation of this character is used as the standard for drawing the background.
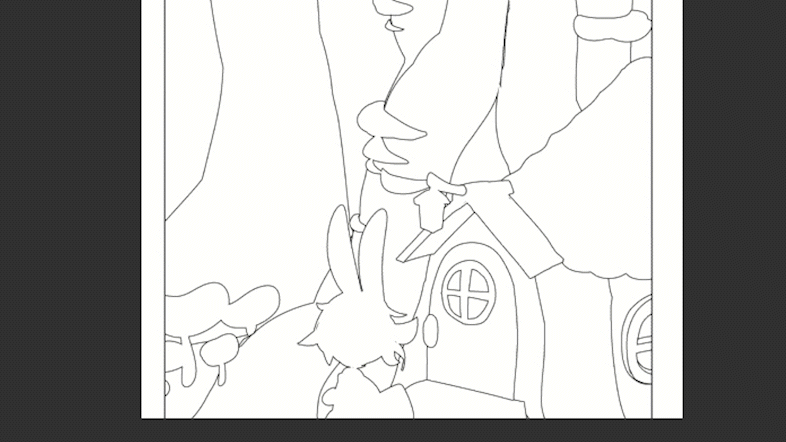
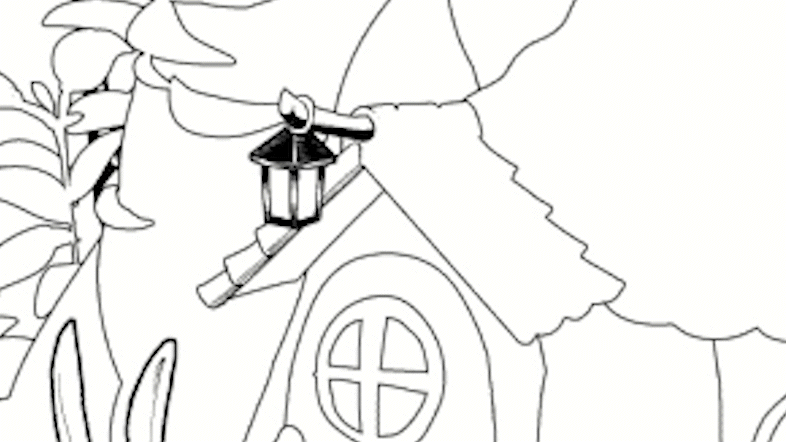
4. Add the details of the lamp
Draw the details of the lamp and add it.
Add line drawings and hatches to fill the inside of the outline.
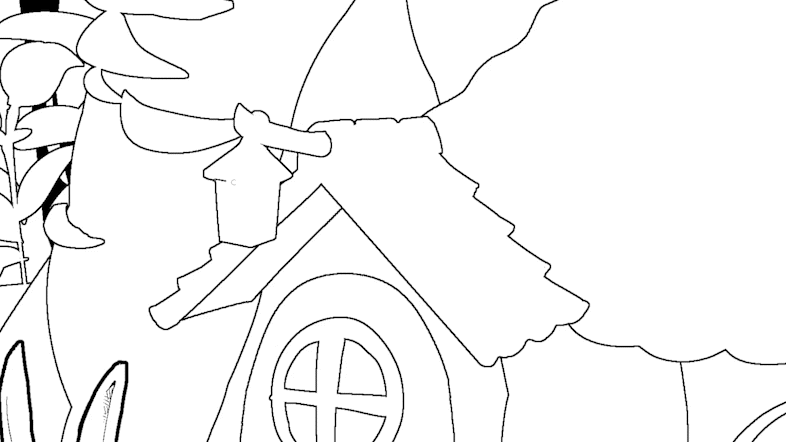
5. Draw a roof and add
Draw roof tiles and add.
I will add the beams of the roof. Here, it is drawn with [Polygonal line fill] instead of [Lasso fill].
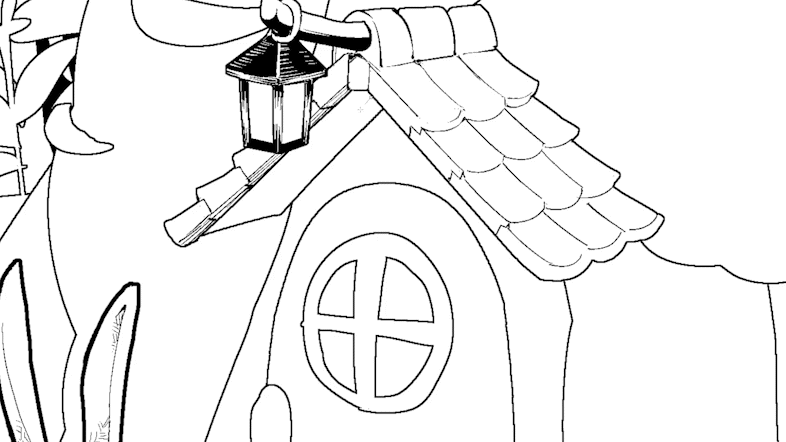
Next, I will draw the roof tiles.
This time, I want to make it look like a picture book, so I don't really care about the accuracy of the 3D object.
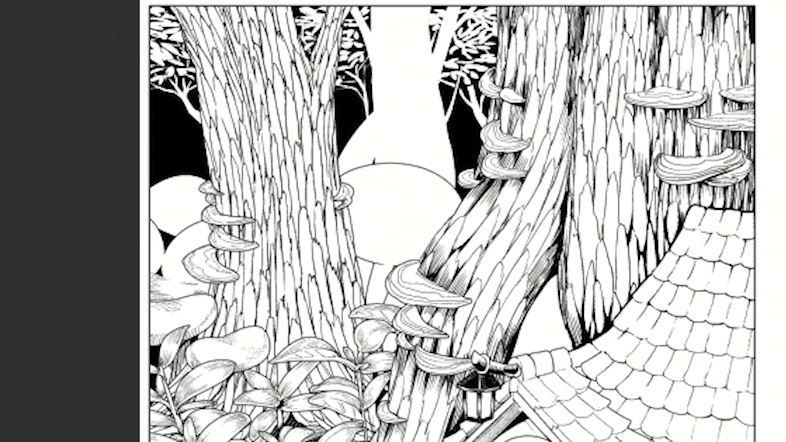
6. Draw a tree trunk and add
Next, draw a tree trunk and add it.
Draw small scale-like bark parts along the entire trunk of the tree along the solid.
Draw hatching with a pen on the borders and shadows with other motifs.
Draw the trunk in the back in the same way.
7. Draw and add leaves
Next, I will add the leaves in the middle ground.
Draw the details of the leaves so that the silhouette of the plane becomes three-dimensional.
Draw a line in the shape of the stem and leaf, then add a pen touch along the surface of the leaf.
Since the leaves are filled with white, you can fill the gaps between the leaves by simply painting black on the back layer.
It is convenient because you do not need to paint the gaps between the leaves finely.

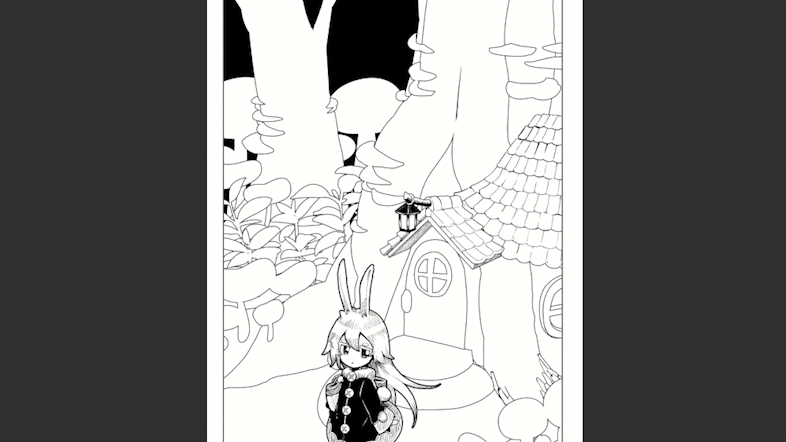
8. Draw a distant view and add
Next, draw a distant view.
Add it so that it is a little darker than the front.
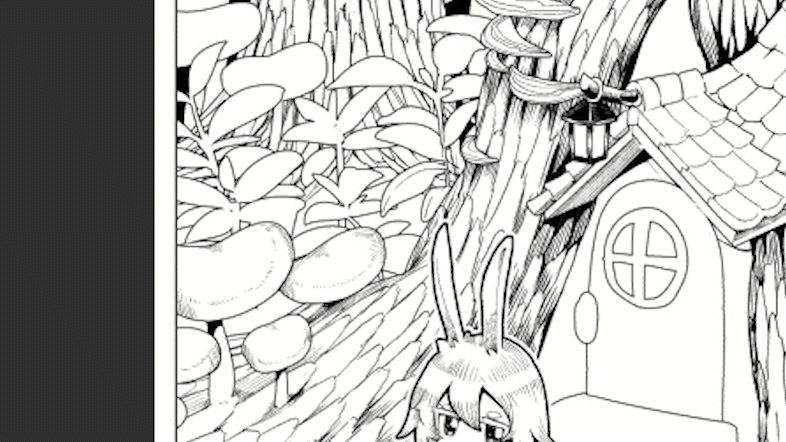
9. Draw the entrance and the wall and add
Draw the front door and stairs.
The brick wall silhouettes the brick groove and casts a shadow on the clipped layer.
Apply screen tones and draw a few highlights.
10. Draw the ground of fallen leaves and add
Finally, draw the ground of the fallen leaves and add it.
First, draw a one-way hatch along the ground.
I will draw the shadow of the leaf by hatching in the other direction so that the shape of the fallen leaf emerges.
Draw fallen leaves on the border with the stairs to blend the ground with the stairs.
Draw a shadow on the stairs.
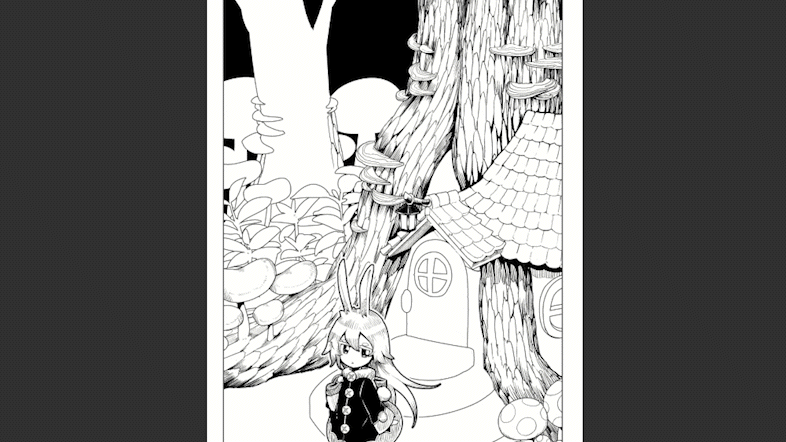
11. Final finish
To finish off, look at the overall balance, add shadows, and add screen tones.
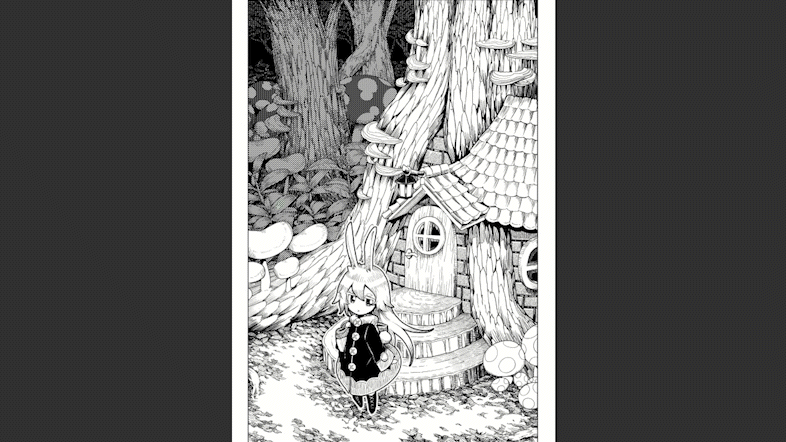
With this drawing method, you can easily apply screen tones. ,
With Ctrl + click, you can instantly select the thumbnail of each motif layer and paste the screen tone.
No detailed work is required.
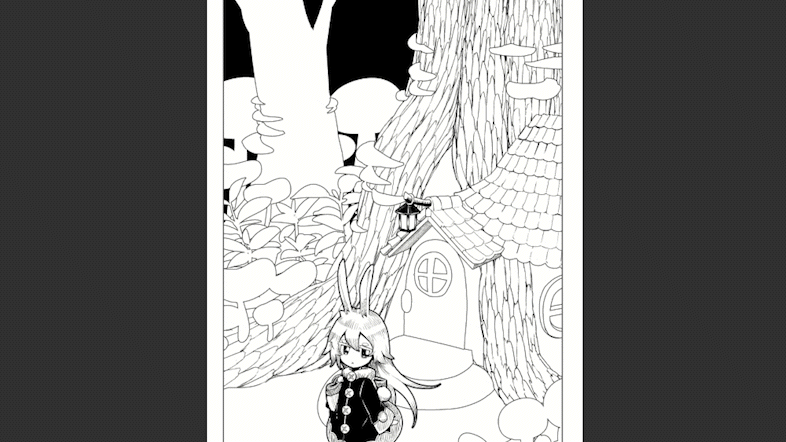
12. Done
done.
[Lasso Fill] can be used not only for the background but also for people and effects, so please use it in various places.
Also, I would like to introduce the TIPS I wrote that is similar to this TIPS.
This method is not suitable for drawing natural objects, but it is suitable for drawing buildings together with a perspective ruler.
[Lasso Fill] cannot be used with a perspective ruler because it cannot be snapped to a ruler.
Instead, you can make an outstanding performance when drawing a picture of a natural object like this time or when drawing a background sensuously without a perspective ruler.
This time, I drew almost all with [Lasso fill], but it is also good to draw a combination of buildings with a perspective ruler and a graphic tool, and natural objects with [Lasso fill].
13. All drawing procedures
We also added a time-lapse video of the production process.
If you want to see the detailed drawings slowly, please click here.
Users who liked this post


Comment