
0. Introduction
A fisheye perspective function was added in version 2.0 of Clip Studio.
This is a very useful feature, but it is a bit difficult to set up.
In this TIPS, I will introduce the commonly used fisheye composition and how to install a ruler corresponding to it, without going through the complicated things.
Please enable subtitles for each language when watching the video.
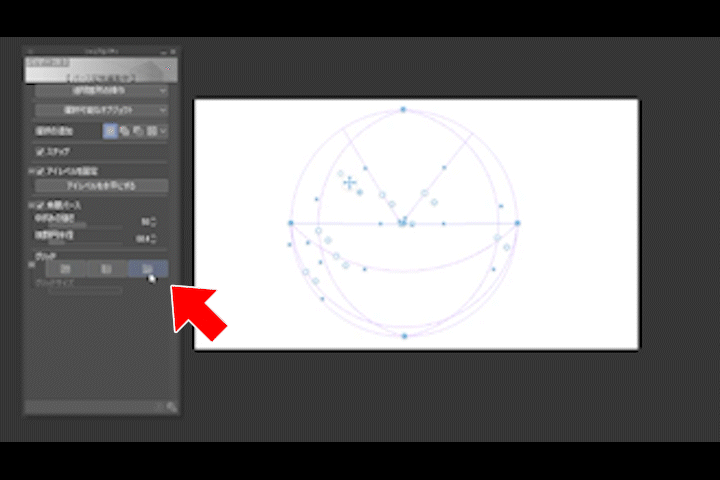
How to install the fisheye ruler
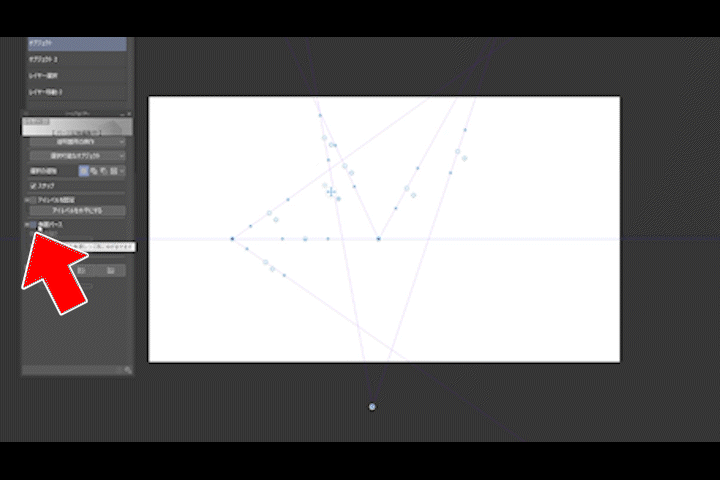
A fisheye ruler can be created by placing a normal perspective ruler first, touching the ruler with the object tool, and turning on [Fisheye perspective] in the tool property.
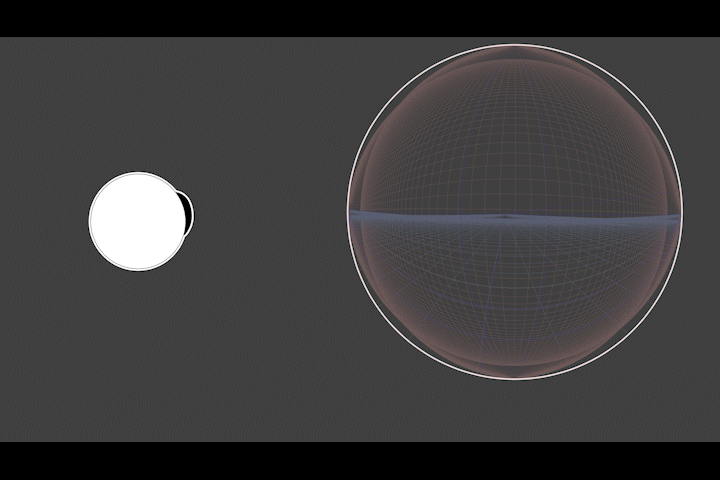
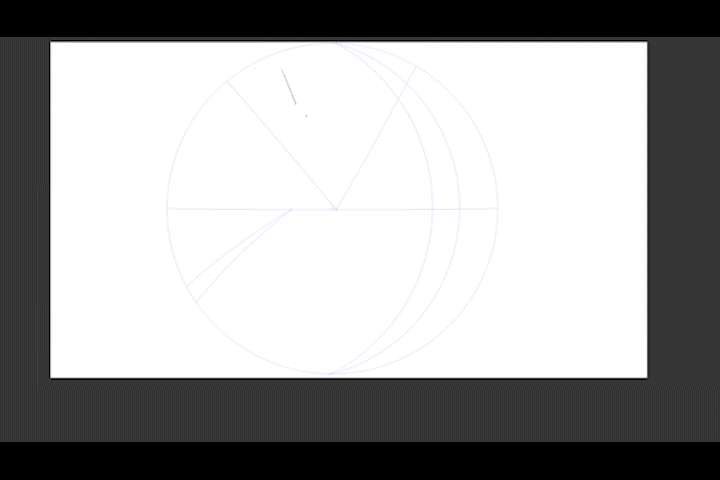
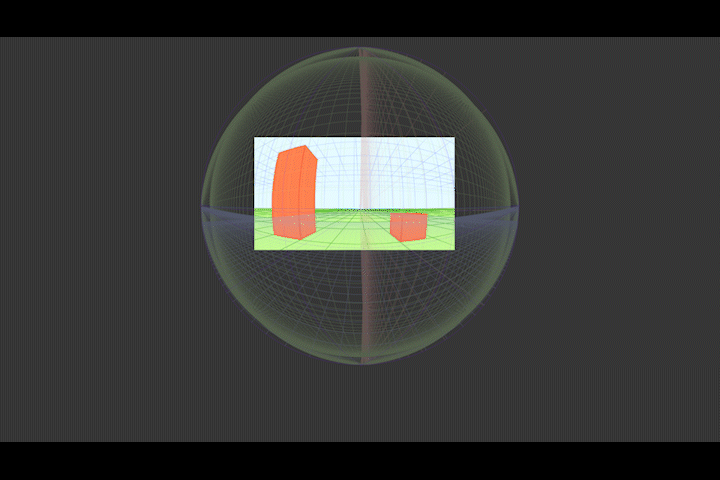
Field circle of fisheye ruler
The circumference of the fisheye ruler is a circle, and this circle is the bottom part of the viewing cone, which represents the range of the field of view that extends from the eyeball.
The angle of this cone is what the game calls the viewing angle. Also called angle of view.
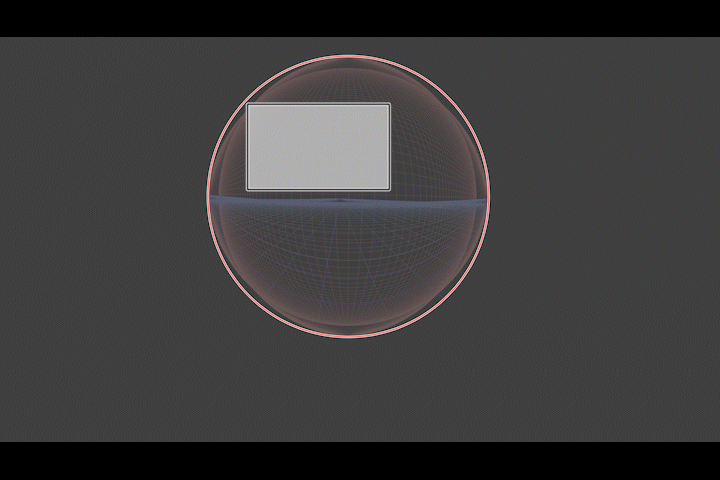
Setting up the fisheye ruler is like choosing where to put the canvas in this circle of vision and which part of the fisheye to use for the picture.
Compositions often used in fisheye
The major compositions that are often used with fisheye can be roughly divided into these three types.
Composition using the upper half of the fisheye, composition using the middle of the fisheye, and composition using the lower half of the fisheye.
From these three, you should choose the composition that is closest to the picture you want to draw.
Now, while explaining how to operate the fisheye ruler, I will introduce how to set up the ruler for each composition.
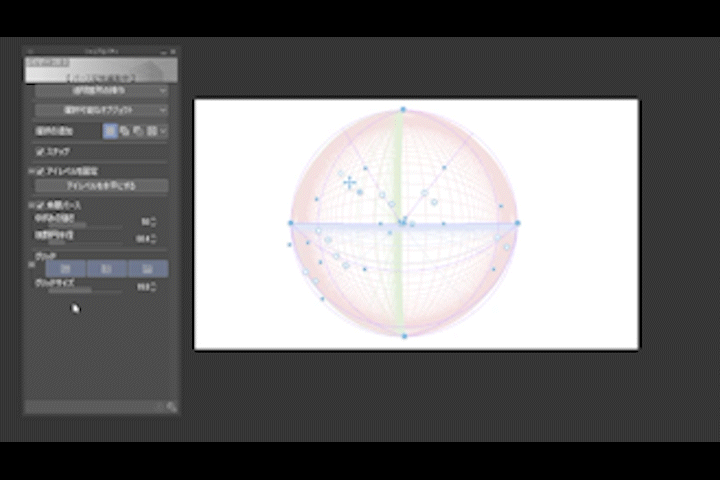
Vanishing point of fisheye ruler
There are two ways to place the vanishing point of the fisheye ruler: place it somewhere inside the circle or place it on the circumference.
When there is a vanishing point inside the circle, the drawn line spreads out like a normal perspective ruler.
However, when the vanishing point is placed on the circle, another vanishing point in the same direction is created on the opposite side,
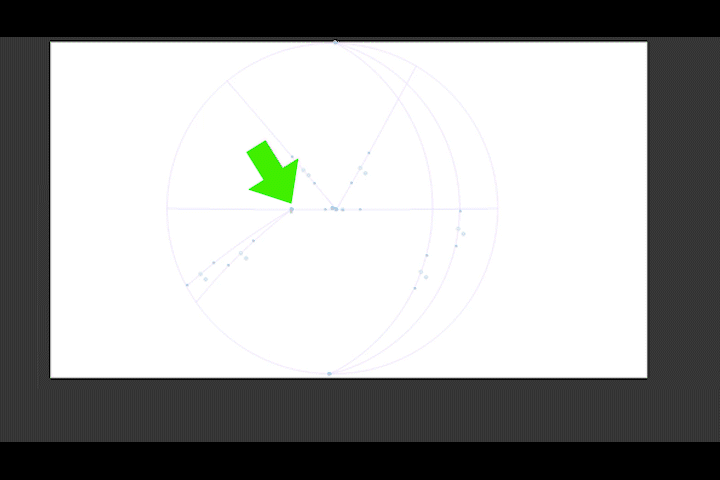
Even if you draw a line, it will not spread outside, and it will feel like it converges inside the circle.
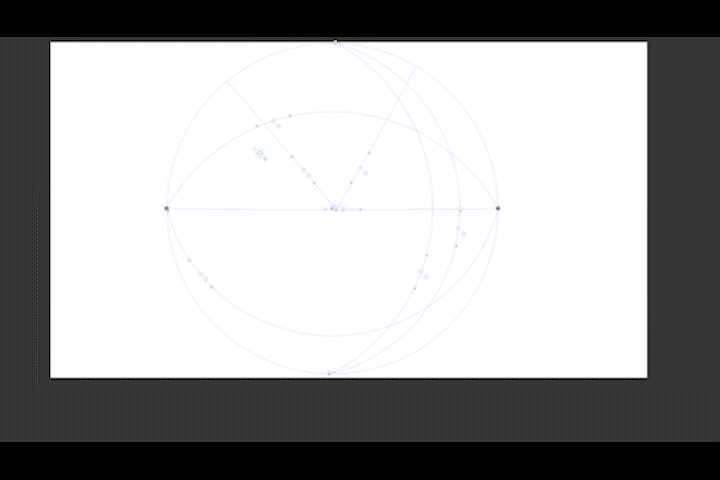
I set the vanishing point in the depth direction of the fisheye ruler in the middle of the circle, the vanishing point in the horizontal direction on the circumference, and the vanishing point in the vertical direction on the circumference.
This is the easiest way to place the fisheye ruler, so make this shape first when setting up the fisheye ruler.
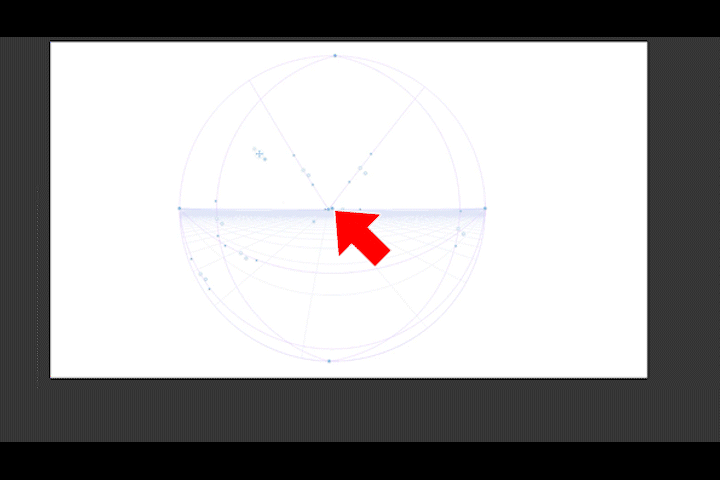
Fisheye ruler grid and properties
Let's display the grid on the fisheye ruler.
If you touch the fisheye ruler with the object tool, you can display the grid from the tool properties.
Since it is difficult to grasp the space with the fisheye ruler, it is good to display at least two.
Next are the fine-tuning parameters of the fisheye ruler, [Strength of distortion] and [Field of view circle radius].
Increasing the [Strength of Distortion] will compress the area around the circumference more strongly.
If you make it smaller, the screen will become flat as if it was taken with a telephoto lens.
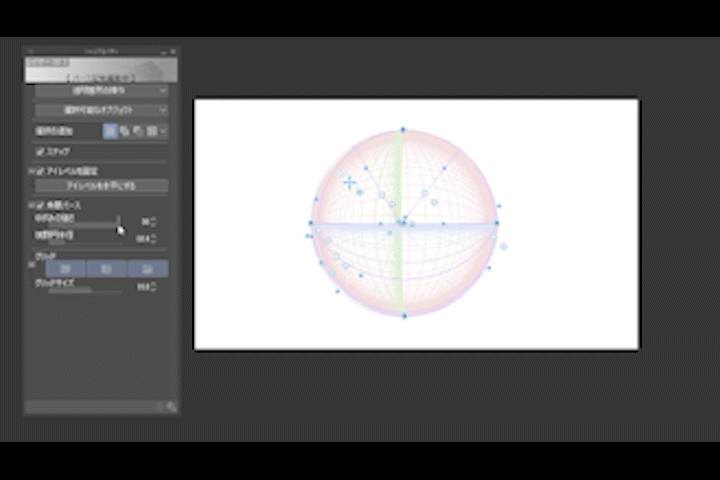
Increasing the [Field of view circle radius] will make the circle of the fisheye ruler larger.
This is basically set to be larger than the canvas.
Adjust the fisheye ruler to fit the composition by adjusting [Vanishing point], [Strength of distortion], [Field of view circle radius], etc.
It's difficult to get the desired composition with just one adjustment, so let's adjust patiently.
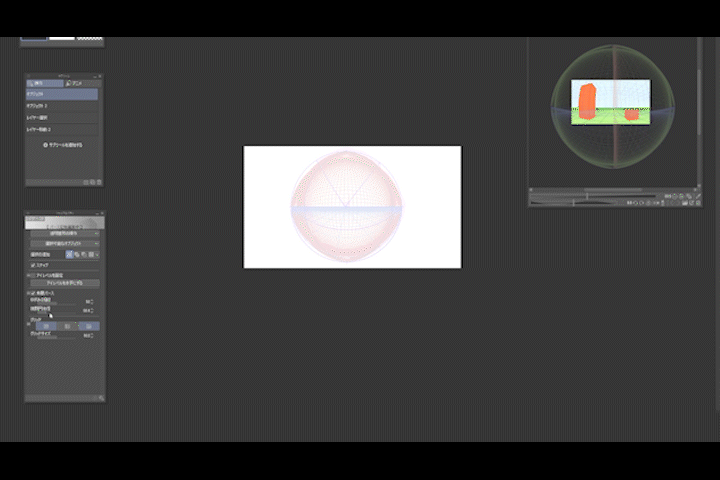
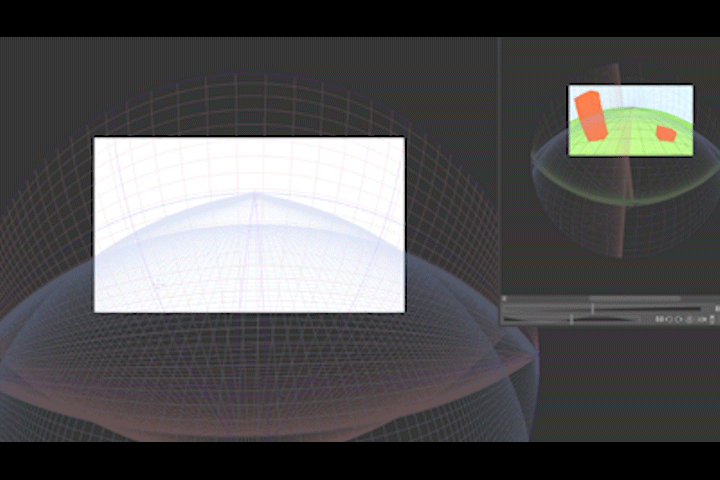
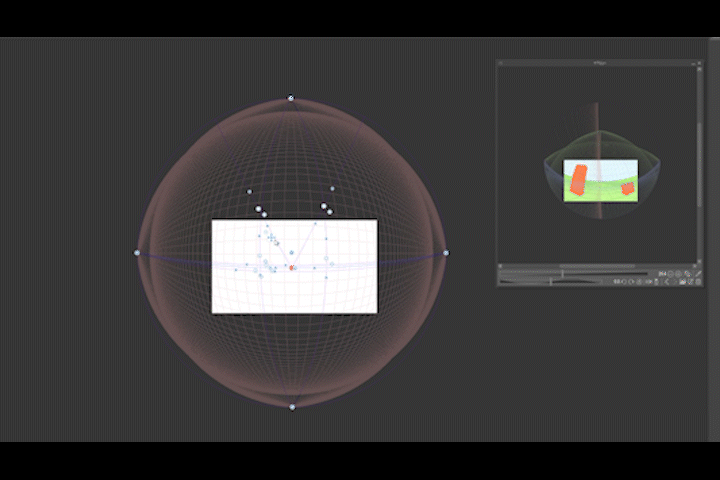
Composition with a canvas in the middle of a fisheye ruler
First, let's create a composition with the canvas in the middle of the fisheye.
The vanishing point, eye level, and canvas position are like this.
This is a screen where the eye level is straight and the direction of the horizontal curve switches between low and high angles.
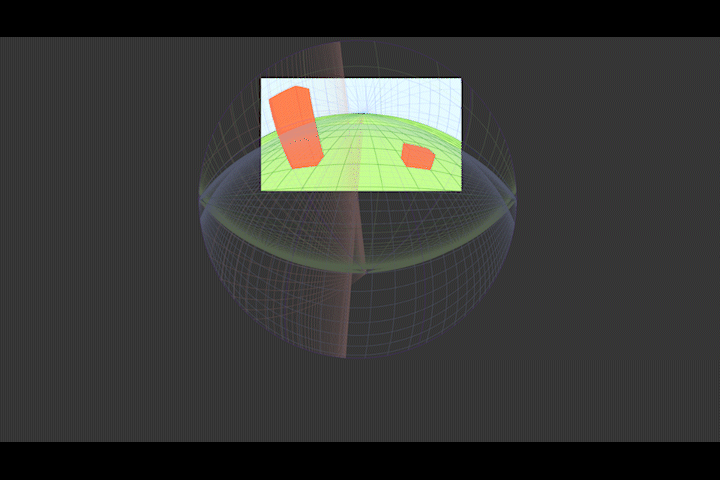
It's the easiest to install because you just put the canvas in the middle of the basic fisheye.
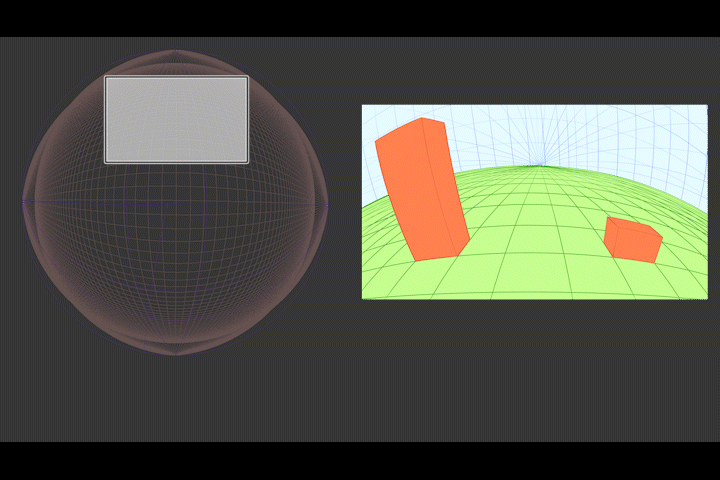
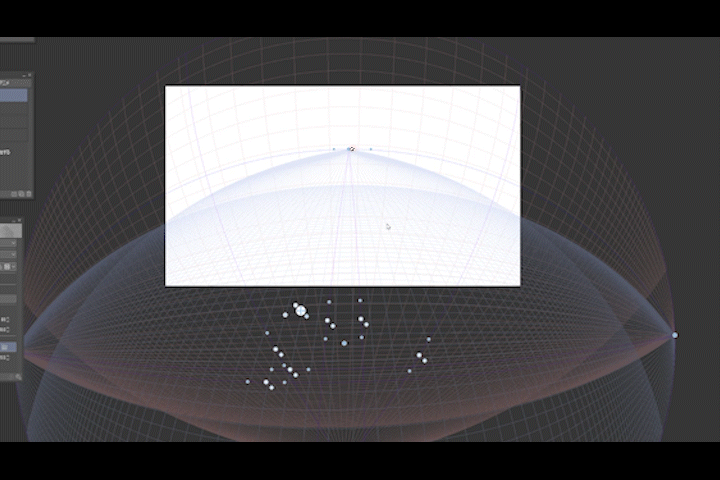
It's easy, but I'll use the [Window] menu to open [Sub View] and insert the center composition image so that I can set the ruler while referring to it. Feel free to download the image above for reference.
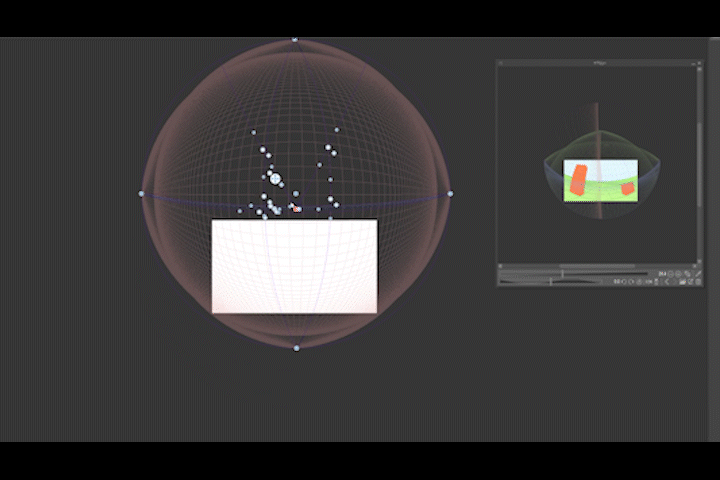
First, while referring to the composition of the subview,
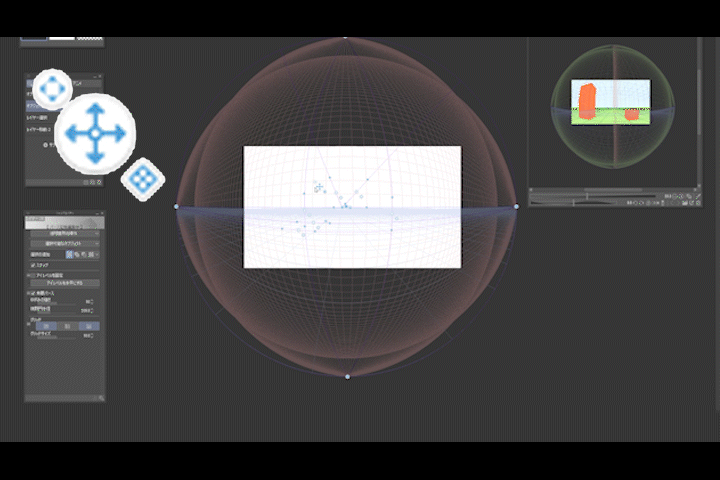
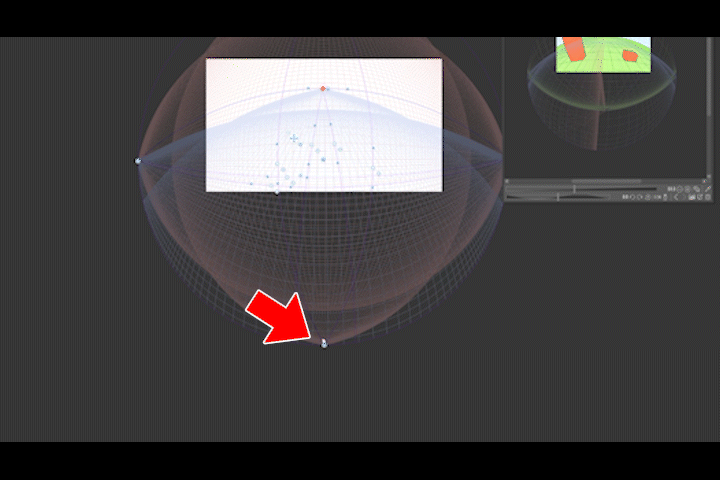
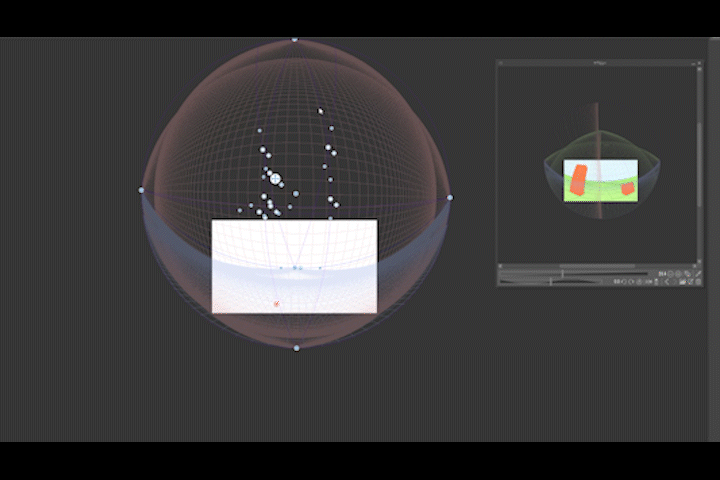
Increase the viewing circle radius so that the canvas fits in the middle of the circle.
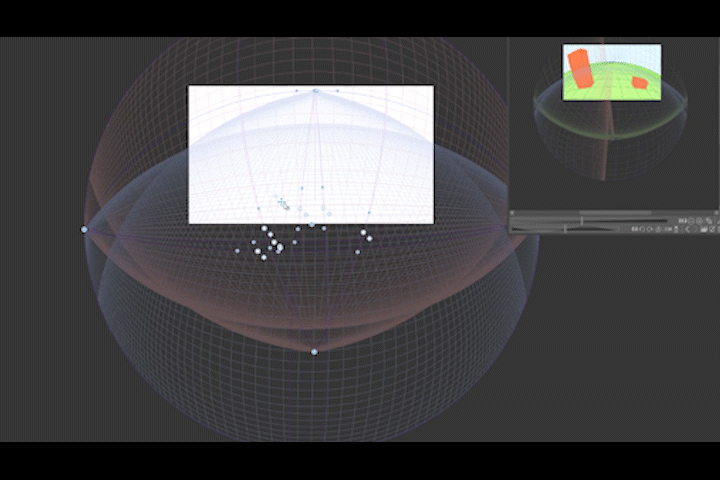
With the object tool, grab the cross mark of the largest arrow and move the entire fisheye ruler slightly to make fine adjustments.
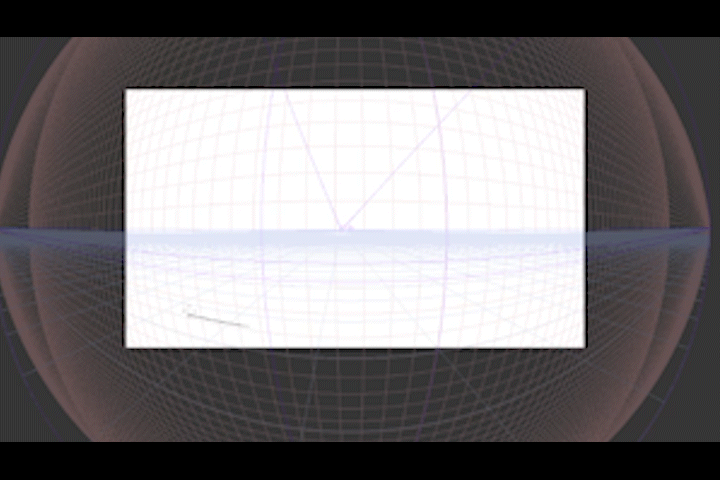
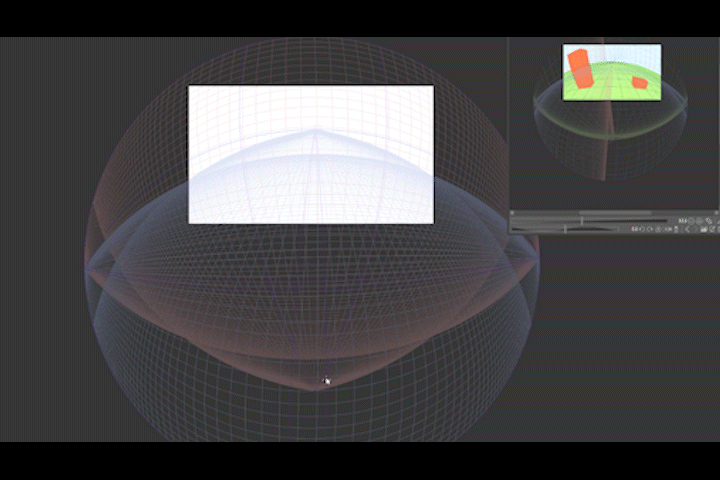
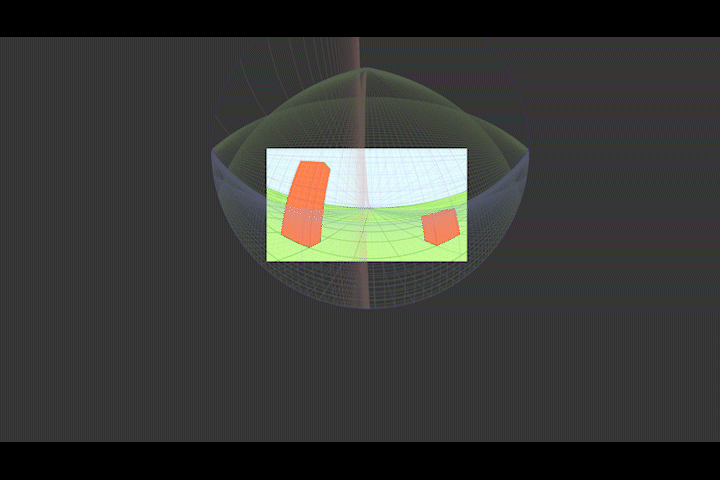
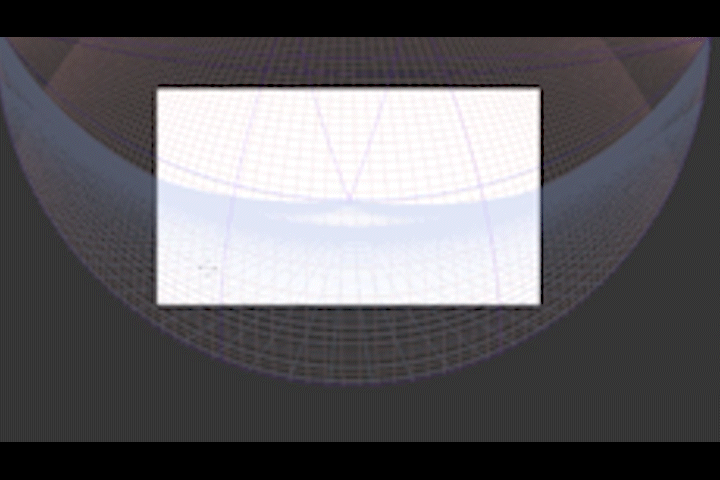
I was able to install the fisheye ruler. Try drawing it, and if it looks good, adjust the composition to your liking.
Composition with the canvas in the upper hemisphere of the fisheye ruler
Next is a composition with the canvas in the upper hemisphere of the fisheye ruler.
The eye level is curved, and the horizontal curve is directed upward regardless of whether it is a high angle or a low angle.
The vanishing point in the height direction is also inside the circle, not on the circumference, so it seems more difficult than the middle composition.

But there's nothing wrong with that, it's just an extra step in addition to the center composition.
First, set up a basic fisheye ruler as before, then increase the radius of the viewing circle.
Next, after confirming that the eye level is not fixed, you can bend the eye level by lifting the vanishing point in the depth direction upward.

Next, grab the downward vanishing point on the circumference and put it inside the circle.
Now the line in the height direction spreads upwards.
I tried changing the position of the fisheye ruler and bending the eye level more, but compared to the reference image, the bend is still insufficient.
So, increase the value of [Strength of distortion] on the fisheye ruler.

This time, the field circle has become smaller due to distortion, so increase the radius of the field circle to restore the size of the field circle.

Since the position of the fisheye ruler has shifted, move the whole to adjust.
Since the height direction has shifted, I will adjust it again.
As a result of repeated fine adjustments, I was able to successfully install the fisheye ruler.
It is not difficult to set up the fisheye ruler according to the composition you want to draw, but it is a task that requires patience.
It's convenient once you set it up, so let's do our best without giving up!
When arranging this fisheye ruler, right-click the fisheye ruler, fix the eye level, and then
Try to move the vanishing point. With this, you can arrange while maintaining the composition.
Composition with the canvas in the lower hemisphere of the fisheye ruler
Next is a composition with the canvas in the lower hemisphere of the fisheye ruler.
The eye level is curved, and the horizontal curve is directed downward regardless of whether the angle is high or low.
The vanishing point in the height direction is not on the circumference, but inside the circle, and the line spreads downward.

The setting method of the fisheye ruler is almost the same as that of the upper hemisphere. Enlarging the viewing circle,
Move the ruler so that the canvas enters the lower hemisphere of the fisheye,
Grasp the vanishing point in the depth direction, bend the eye level downward,
Grab the vanishing point in the upward direction on the circumference and put it in the viewing circle,
I was able to install it. The fisheye ruler is difficult to adjust at first, but once you get used to it, you will be able to set it up quickly.
Bonus; Place a fisheye ruler on the rough sketch
For the time being, I introduced the minimum usage and three common compositions.
Finally, I would like to introduce one trick for matching a rough sketch with a fisheye ruler.
Before setting the fisheye ruler, try setting the perspective ruler on the rough sketch using 3-point perspective to some extent. It makes it easier to guess the position of the eye level, and by grasping the space in advance, you can quickly get closer to the composition you want to draw with the fisheye ruler. Please try it.
Users who liked this post


Comment