Drawing Military Uniforms (man and woman) - Video
Video
Start
Hi, I'm Suret and this time I bring you some tips on how to make military uniforms
We will start by creating our canvas, go to the File / new label, choose the size and click OK
Blocks, Sketch and Proportions
To make our uniforms we first draw our character or subject of the desired size
For that we will guide ourselves using the number of heads so that it is served to us.
Whether you are going to do just the clothes or the whole character, I recommend this way.
Here you can see the drawing in blocks and where each part of the body is located, depending on how tall your character is.
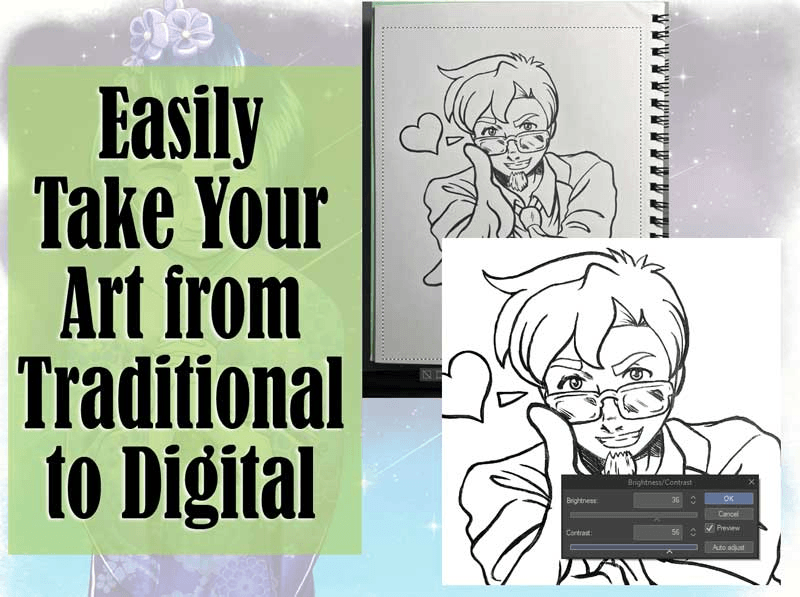
I have done it on paper, as you will know I do not have a digitizing tablet
But there are those who still prefer to do so; well, it's everyone's taste.
So, this guy is 6 heads tall.
Parts of the Uniform (Man)
Line Art elaborate it with the ¨Figure¨ tool and its different options
Now we will see the parts of the military uniform (Men - Woman)
ACU (Army Combat Uniform )
1. ACU Rank Patch
2. ACU Nametapes
3. Flag Patch
4. Unit Patches, Skills Tabs and recognition devices
5. ACU Jacket
6. ACU Pants
7. Sand Color T-shirts
8. ACU Branch Tapes
9. Skills Tapes
10. Unit Patches and recognition devices
11. ACU Rank Patch
12. Boots
Process
We already have our line art ready, to place the image material.
We select the area we want with the "magic wand" tool and then, we go to the materials menu and write the word of the material we want
in this case it will be ¨comouflage¨, we see in the results and choose the one that is useful to us and drag to the area we chose.
We can rotate or resize to our liking
Here I will leave the link for this specific material
https://assets.clip-studio.com/es-es/detail?id=1735277
We can import a reference image to take the colors of the uniform.
To make a new color palette, we go to color set, edit color set,
We click on "Add new settings" and write the name of our palette and click OK
then with the eyedropper we take the color and right click on a section of our palette and we click on add color or on the buttons in the lower right corner
Then we select our material layer and head to the layer properties.
Activate the "layer subcolor" and apply the darkest color in the first box and the lightest color in the second
With this procedure we apply the rest of our uniform
We create a folder for our material layers.
Always remember to work in order, name layers, folders, etc. This will make your job easier and if you have helpers they will thank you very much.
To place the name we use the Text tool and left click on the area we want.
We write the name and adjust the size, color and font.
We will continue to apply the patches and badges.
An easy way is to import images or photographs that you have taken yourself.
We will go to the File / Import / Image menu
Remember to save the images in PNG format so that the background that was deleted is transparent
We place our image in the indicated area, we use the selection tool to edit or move it.
To give you the correct perspective we go to the menu: Edit / Transform / Free transformation.
And we adjust our image
To apply the colors of the rest of our work we create a folder we drag the Line Art layer to this folder
We create a new raster layer
With the "Fill" tool and the "refer to other layers" option, we color.
It is recommended to apply the color in different layers according to the different areas
Now we will apply the shadows
For that we go to the folder where our material layers are
We create a new raster layer on top of the material layer to be shaded
And we click on the option "Fit to bottom layer"
This will allow us to paint without leaving the area of the layer
We paint the skin, use the magic wand and fill tool.
We do it in a new layer
To make the shadows that are projected on the ground we choose the tool: Selection / Ellipse
We make the selection according to the size of the shadow we want and fill it with the tool: Gradient / Sleeve gradient
For the floor and the background we use the tool: Selection / Rectangle
To finish we are going to give some color to our Line Art.
By right clicking we duplicate the layer ...
Rasterize...
Block the transparent pixels.
And ready!!!
Beginning: Women's Suit
MEDICAL CORPS (woman)
Now we will continue with the doctors' gala uniform.
The procedure is practically the same.
Blocks, Sketch and Proportions
We start with our block drawing
You can see where each part of the body is located
Then we dress our character and for that we will also see where each part of the uniform is located
Parts of the Suit
1. Country Brooch
2. Shoulder Board, Rank Badge
3. Branch Badge
4. Name Plate
5. Division Brooch
6. Suit
7. Long Sleeve Shirt
8. Skirt
9. Bowtie
10. Badge
11. Ribbons
12. Heeled Shoes
Process
Let's paint ...
To apply the white color, we are going to "layer properties"
select ¨layer color¨ and apply a striking color in ¨subcolor¨
apply the white and remove ¨coat color¨
We place the badges, brooches, ribbons, etc.
We use the "Airbrush" tool and "Blur" for shadows ...
We make the bottom and the ground
We color Line Art, we adjust details
And finished !!!
I hope it helped you, and thanks for watching the tutorial.
See you next time.


댓글