How to animate a dress in the wind
Hello! In this article we will learn step by step and drawing by drawing How to animate a dress in the wind in Clip Studio Paint.
We will see how to make all the drawings in this animation cycle, which will seem difficult but is easier than you think. As long as we work our Animation in order.
Without further ado, let's go with the video:
(Remember to activate the subtitles in your language)
In Settings - Subtitles - Automatic Translation - Your language
Tutorial: How to animate a dress in the wind
What did you think of this simple tutorial? As you could see, it is easier than you think and we can make really incredible animations.
Remember to activate the subtitles, although the video is in Spanish you will find subtitles in different languages, you will surely find yours :)
We will make 8 drawings and the animation speed will be 8 FPS (Frames per second). After finishing the Animation we can extend each of the drawings so that they have a duration of 3 frames and we can finally change the speed of the animation to 24 FPS (Frames per second).
Now, I will show you a small tip so that you can start making this Animation in the best possible way:
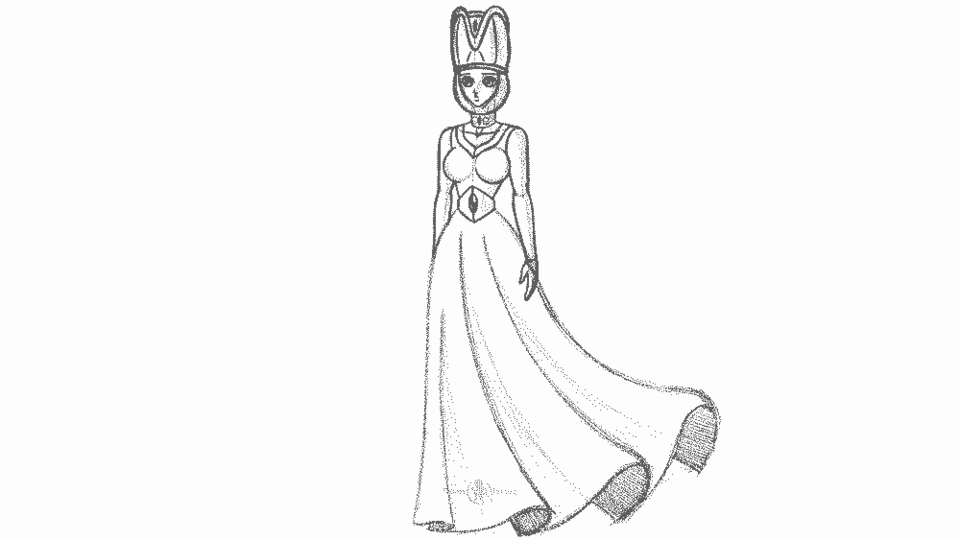
Start by separating or dividing the parts of your character, in my case I have several layers which are the following and that you can see in the following image:
Paper Layer: White Background Color.
Layer Folder: Original drawing of my character.
Drawing Layer: Top of my character's drawing.
Animation Folder: Where I will make the Dress Animation.
This is the Animation that you can achieve by following the tutorial step by step:
Tutorial animation

I hope this article has been useful to you and that you manage to do this and many animations.
You already know that you can write me under the article or directly in the YouTube video.
I leave you a greeting, that you are very well and until next time!


Comment