

Introduction
This time, I will introduce how to draw the expression of light, which is common in battle comics, using a concentrated line brush.
We have added subtitles for each language to the video, so please enable the subtitles before viewing. Either one is fine, but I think it will be easier to understand if you watch both this TIPS and the video.
The concentrated line brush is a tool that draws concentrated lines where you trace with a pen.

In this way, you can snap to the radiation ruler and the radiation curve ruler.
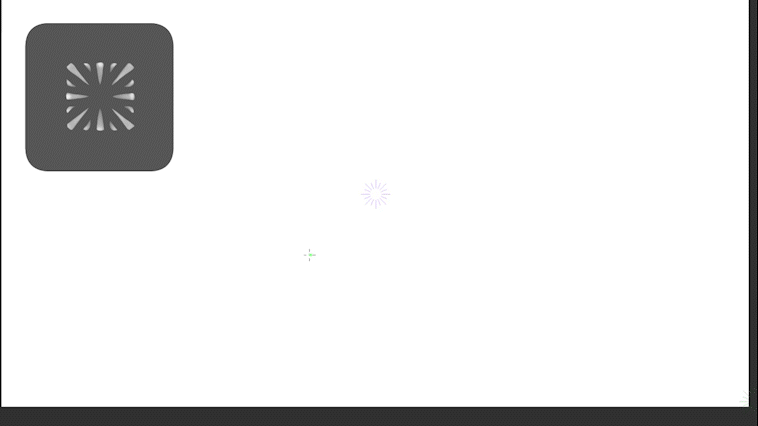
With this tool, you can easily draw such an explosion.

For the concentrated line brush, click [Create Custom Sub Tool], click [Create Custom Sub Tool] from the top of the menu on the upper left of the sub tool window, name it appropriately, set [Output Processing] to [Concentrated Line], and then click [. It can be created by setting [Input processing] to [Brush]. Feel free to change other settings.
You can download the brush used in this TIPS below, please use it if you like and refer to it.
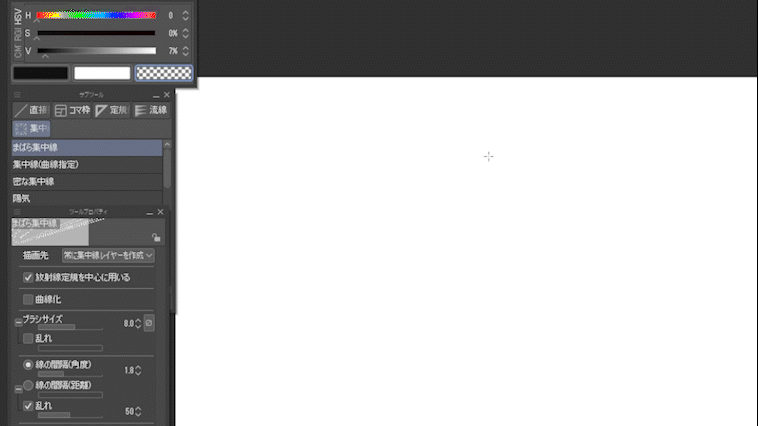
1. Draw an energy ball
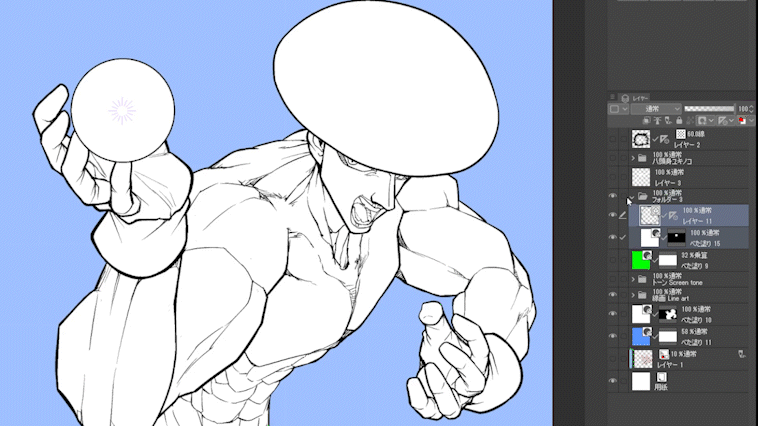
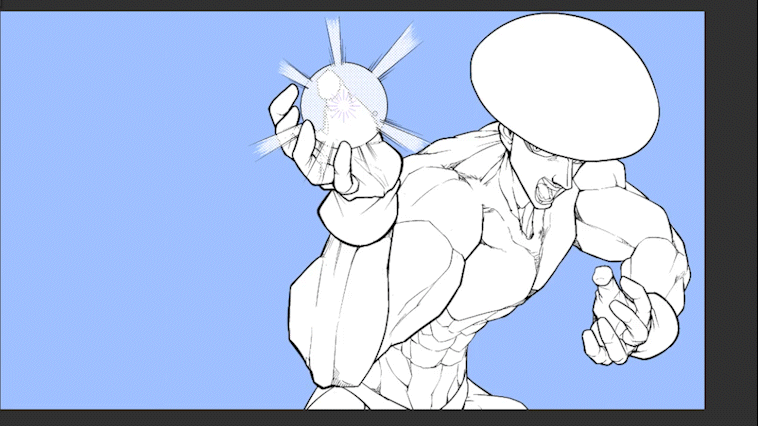
This time, I will draw a scene where this character is holding an energy ball in his hand.
This is a classic scene in battle manga.
First, draw a square and an auxiliary line on the vector layer, and draw a circle so that you can see the center.
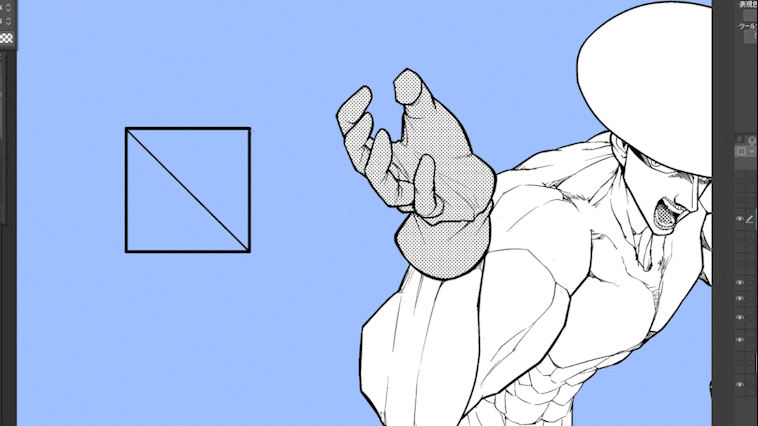
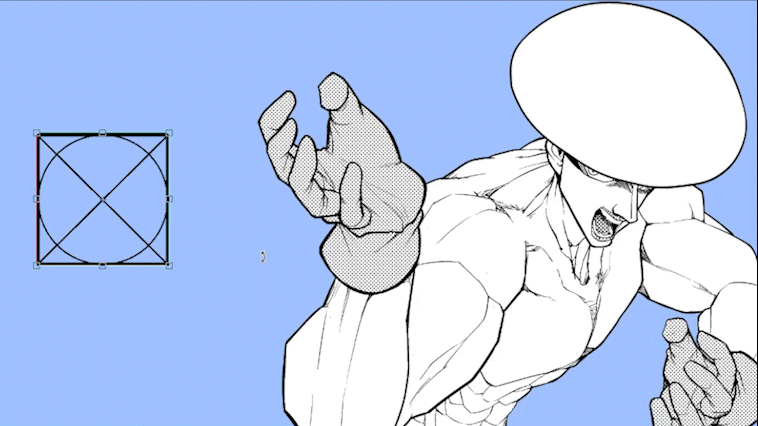
Move the circle closer to your hand and place a radiation ruler in the center.
It may be convenient to keep the auxiliary line of this circle when drawing the background, but this time I will erase the auxiliary line.
(You may draw by setting the ellipse tool to [Draw from center] after installing the radiation ruler.)
When I painted the energy ball with white, my finger was hidden like this.
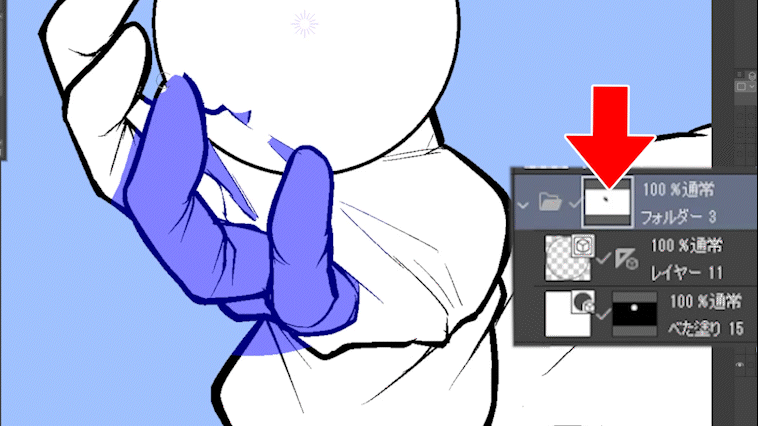
I want the energy bullets to be in the back of my finger, so I'll make a mask in the layer folder of the ball to make the finger part invisible.
This is a technique that can also be used when holding small items such as guns and tea cups.
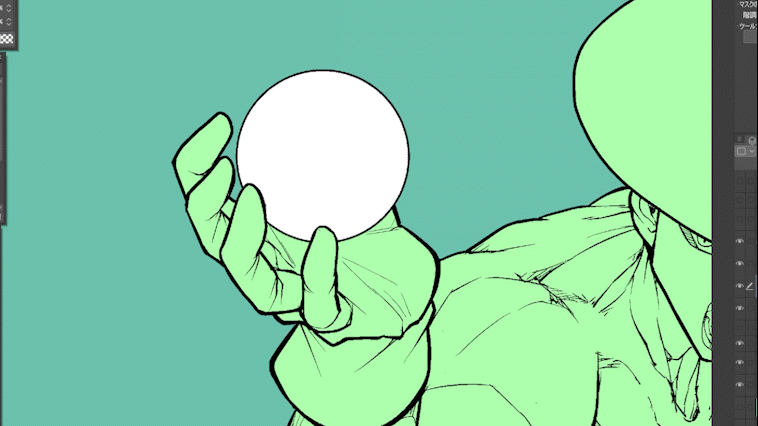
I reduced the opacity of the white layer to make it a translucent screen tone, giving it a faint glow.
2. Draw the light beam of the energy ball
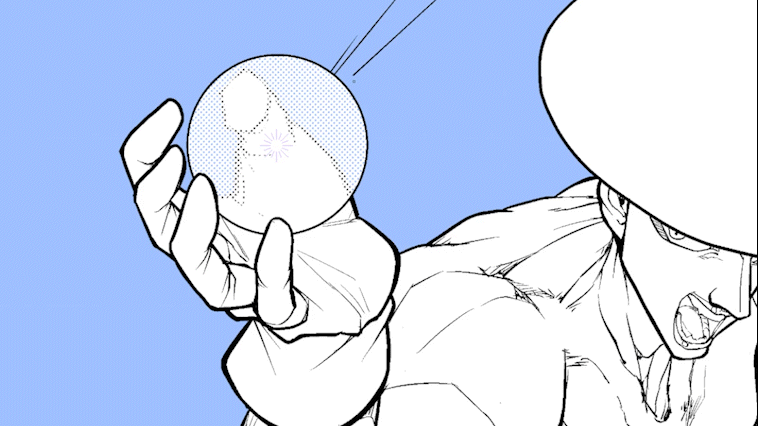
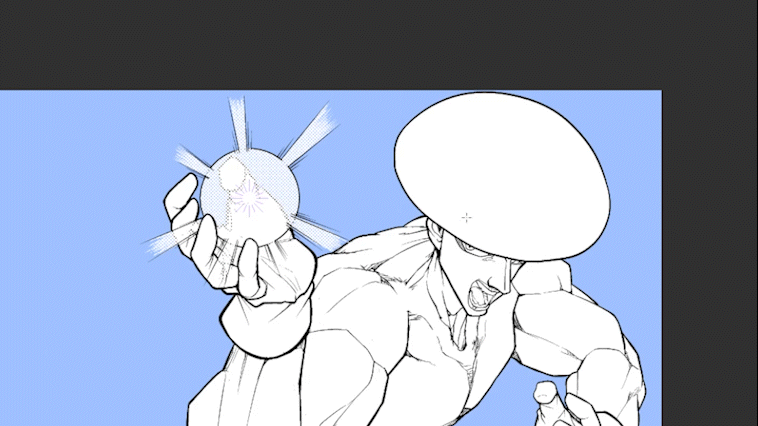
Next, draw the light beam of the energy ball with a pen according to the radiation ruler.
Concentrated line brushes are not good at detailed work, so I will draw lines one by one with a pen.
3. Draw a big light beam
This time, I will draw a larger light beam, but if I draw according to the radiation ruler as before, the light will become too large as shown in the figure below, so stop this drawing method and draw another one. increase.
Create a new vector layer, turn on the border of the border effect, and make the border color black.
You can draw a bordered line on this vector layer by drawing from the center with the white straight line tool.
Put a layer mask on the inside of the ball of the vector layer.
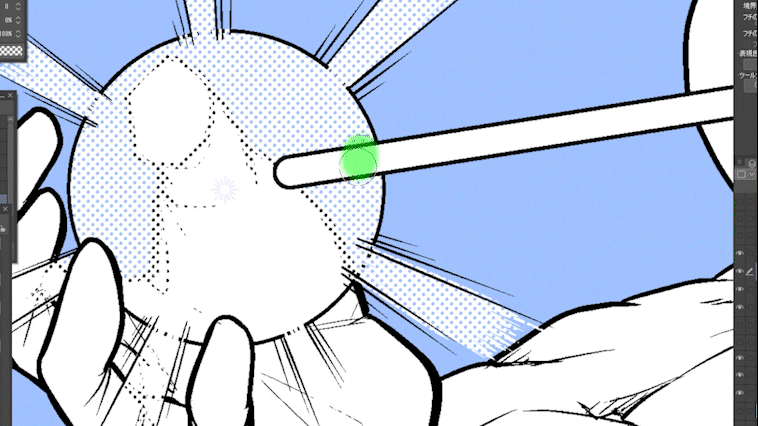
Next, set the [Control Point] of the [Line Correction] tool to [Line Width Correction].
Use the [Control Point] of the [Line Correction] tool to correct the line width and thicken the points at the ends of the vector of the straight line of the light beam.
You can change the line width by moving the pen sideways over the points using the Control Point tool.
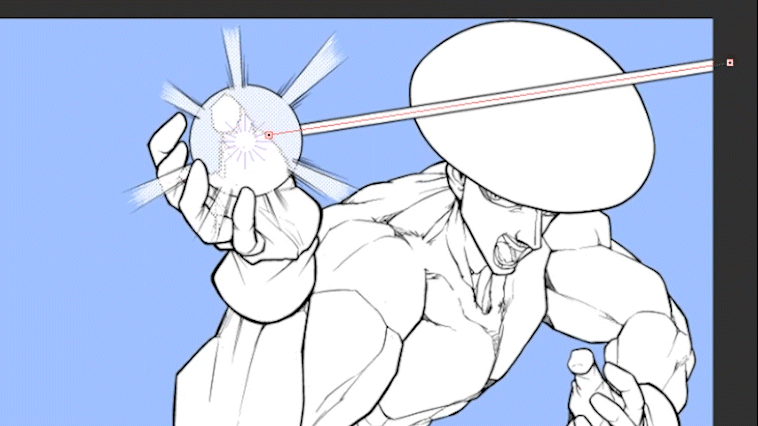
Add other light beams to make the center thinner and the outer thicker.
Since it is drawn on the vector layer, it can also be fine-tuned with the object tool.
This way of drawing is also useful for drawing a laser beam along the perspective and the trajectory of a shooting.

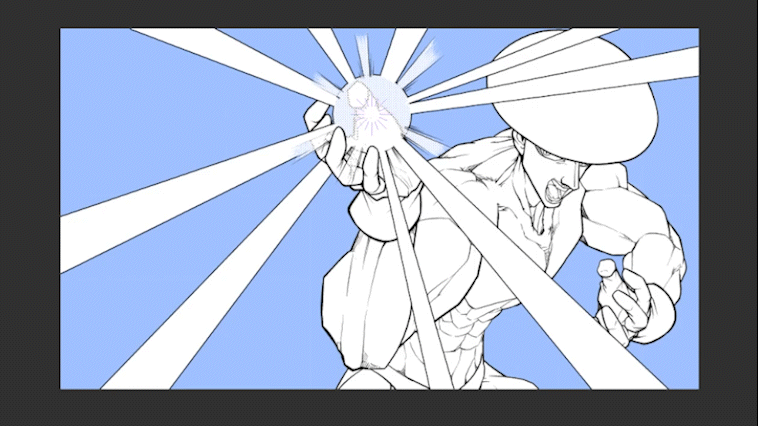
Once you have decided on the shape of the light beam, rasterize the vector layer. Then select white in the color gamut selection to separate the line and white and separate them into separate layers.
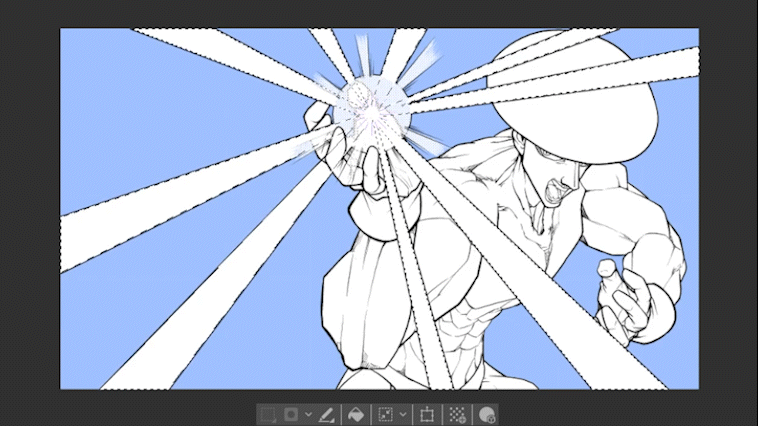
Makes the separated white layer a screen tone.
This completes the energy ball and the light beam.
Four. Apply a shadow gradient screentone to your body
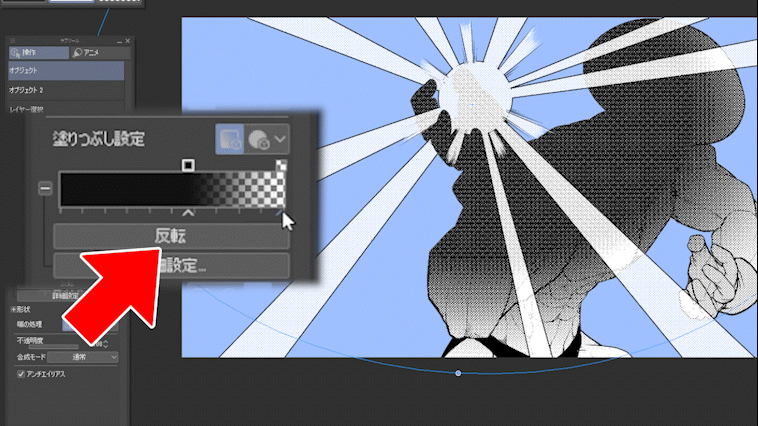
Paste a shadow gradient screentone on your body.
If you set the [Shape] of the gradation to [Ellipse], the center will be darkened, so you can brighten the center by pressing [Invert] of the red mark or swapping the positions of the black and transparent colors of the slider. ..
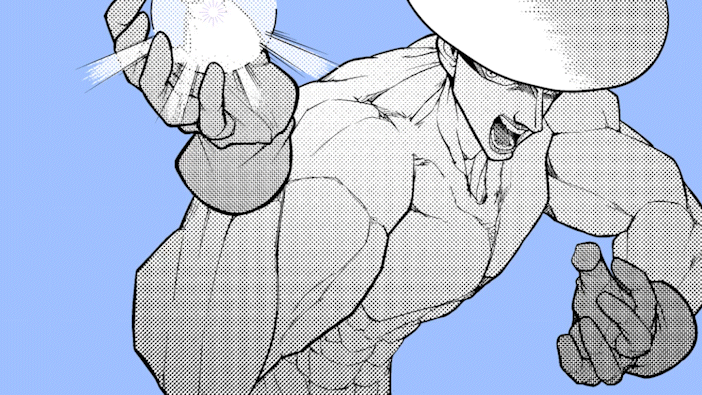
5. Draw the light that hits your body with a concentrated line brush
It's finally time for the concentrated line brush!
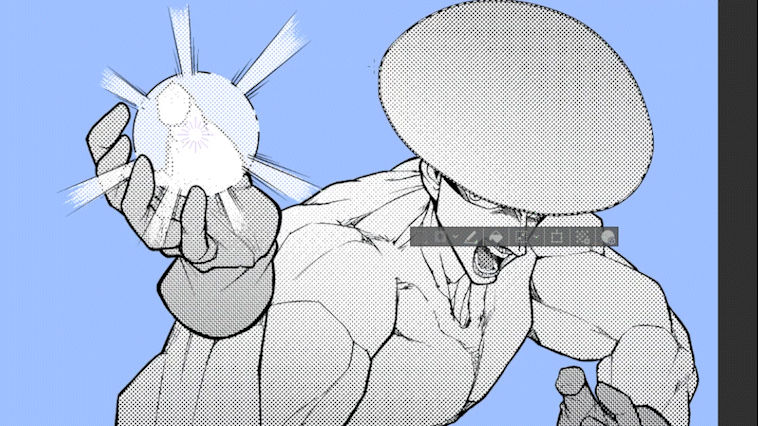
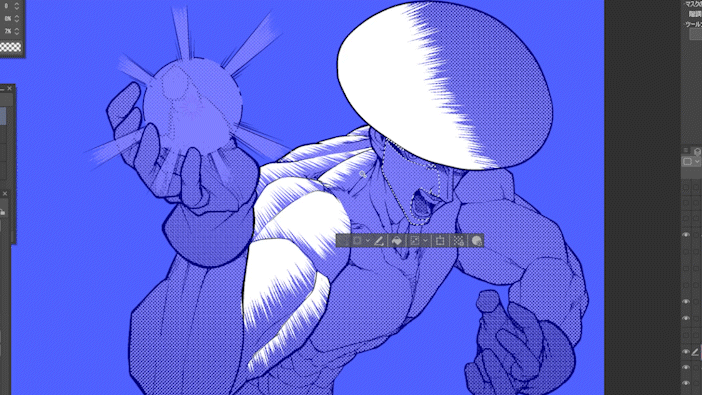
As a preliminary preparation, clip the white solid layer to the screen tone folder set to [Multiply].
Draw light on the top white layer with a concentrated line brush.
You can draw the light in an instant like this by selecting the place where the light hits the body with the automatic selection tool or the lasso tool and drawing with the concentrated line brush on the white solid color layer.
6. Draw a shadow on your body
For dark areas where shadows fall directly, use solid black to draw shadows, and for slightly bright shadows, use a concentrated line brush to draw shadows.
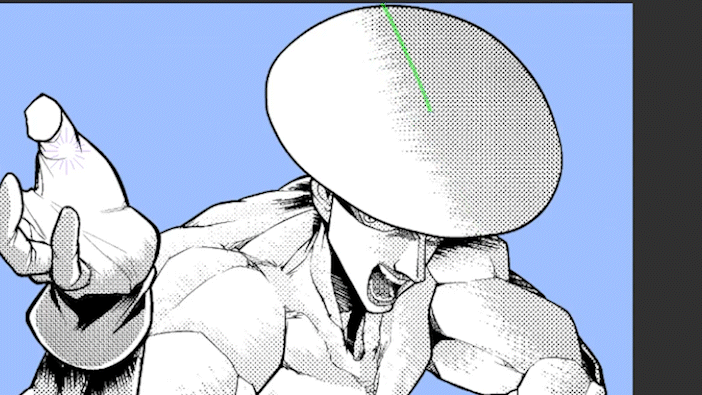
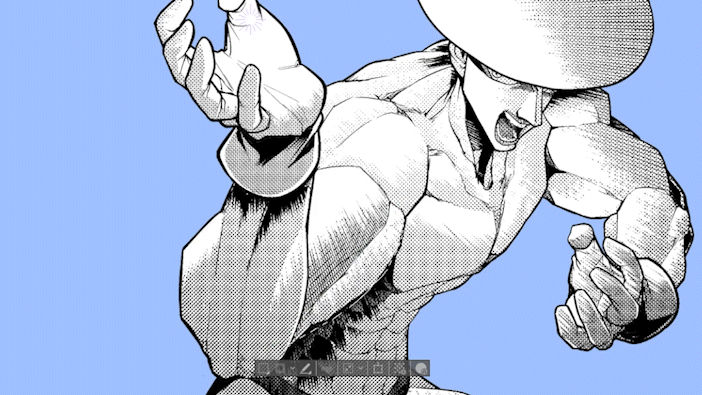
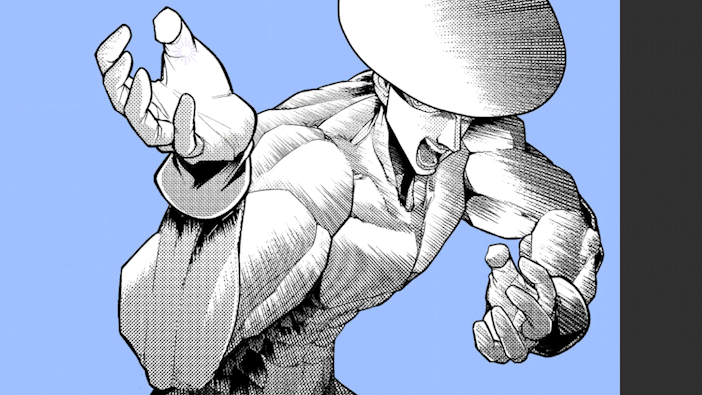
Since this concentrated line of shadow is drawn on the vector layer, you can make it thicker by correcting the line width later.
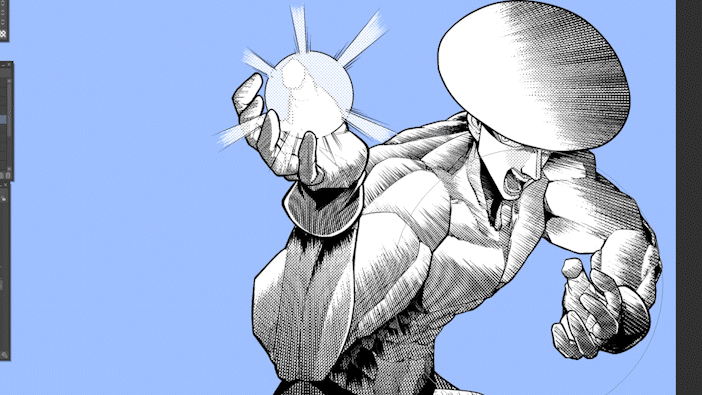
Finish
Finally, draw a gradient screen tone and concentrated lines on the background to complete.
The above is a lecture on how to use the light effect and concentrated line brush of the battle manga.
There are many other ways to use the concentrated line brush, so try to find the one that suits you best.
Users who liked this post






Comment