Combine pattern brush and cross hatching (Kakeami)! How to draw a cartoon background using dual brushes
Introduction
A new dual brush function has been added to Clip Studio.
Dual brush is a function that allows you to draw by combining two types of brushes.
I tried using this function and came up with the idea of combining the cross-hatching used when drawing manga with a pattern brush such as a natural object, so I tried it experimentally, but there are many things I could not do until now. I was able to do it.
In this TIPS, I will introduce the tips for making the brush and the pictures drawn with the brush.
All the brushes I made are open to the public, so please use them if you like.
Also, in Japanese manga, cross-hatching is called KAKEAMI.

Tips for making patterned brushes with hatching

(1) The material of the first pattern brush and the hatching material are made of monochrome black.
(2) Apply the hatching material as a dual brush, and apply it in a linear pattern!
(3) Enable the spraying effect of the dual brush.
(4) The particle size of the spraying effect of the dual brush should be the same as or larger than that of one brush.
(5) If you want to synchronize the stroke and hatch direction, change the influence source of the particle direction of the dual brush spray effect to [Line direction] and adjust so that the particle hatch direction is right next to it. ..
If you follow the above, you can make most pattern brushes with hatching.
Please note that the particle size of (4) is especially important, and it requires about 400 to 700px.
Draw a standing tree with dual brushes
I made a leaf hatching brush, so I will publish the brush.
Please use it if you like.
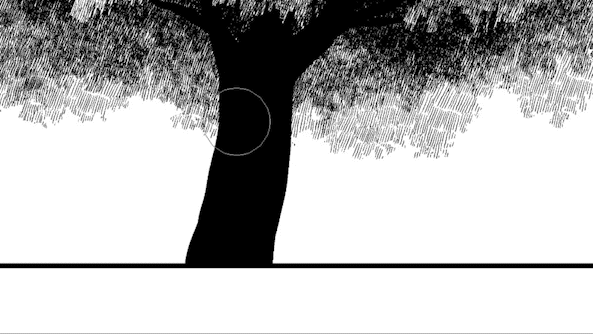
Let's draw a standing tree with a leaf brush with hatching.
I wanted to give the impression of sunlight, so I used a brush with the hatching direction fixed diagonally.
Instead of stroking, I draw it as if I tap it with the pen tip.
This makes it easier to express a mass of leaves.

I also made a bark brush with hatching.
After drawing the trunk in black, I draw the touch of the bark in transparent color.


This time, I made a brush that changes the direction of hatching depending on the direction of the stroke.
This couldn't have been made without the dual brush update.
In this way, it is possible to make multiple brushes from one pattern brush.
The good thing about dual brushes.
This is used to express the leaves fluttering in the wind and to add soft shadows.


It will be completed in about 10 minutes. I was able to quickly draw a picture that looked like it was drawn by hand.
Draw the sunset sky with dual brushes
I made a cloud hatching brush, so I will publish the brush.
Please use it if you like.

You can get a sense of perspective with the pen pressure.
The [Brush size], [Particle size], [Particle density], and [Interval] of each of the 1-brush and 2-brush are individually adjusted by the pen pressure. You can make such a brush by adjusting multiple parameters.
It is difficult to introduce each one, so I will omit it here.
Please download the brush, check the parameters, and use it as a reference for making your own brush.

Once you have drawn the clouds, paste the tone of the setting sun and you're done.
I was able to draw this in about 10 minutes.
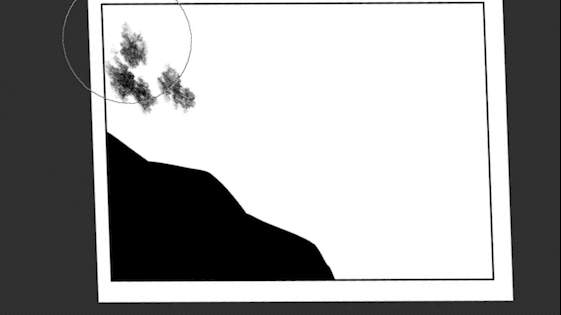
Draw a rock wall with a dual brush.
I made a hatching brush for rock surface, so I will publish the brush.
Please use it if you like.
After stroking with a brush, add with a normal pen for a nice feel.
You can draw with a good feeling by focusing on the selection range and so on.

This is also completed in about 10 minutes.
Let's make an original dual brush with hatching
After all, if you make your own brush, it will fit your painting better.
If you feel that the brushes distributed here do not fit your painting,
Please replace the tip image and hatching material of the distributed brush with the one you drew.
It's a little difficult to make a dual brush, but I think it's relatively easy because I can use my brush settings this way.
Perhaps still, adjusting the brush settings will take some time.
It took me about a week to make this brush through trial and error.
Please be patient and try various things.
Distribution is also OK, so please make a lot and distribute a lot.
It would be helpful if you could introduce this TIPS somewhere as a source.
It doesn't seem to be a problem for those who want to make their own brushes.
I also want you to distribute it for free as much as possible. This brush is distributed for the purpose of spreading to many people who draw cartoons.
It is not possible to force it according to the rules, so please do not hesitate to contact us.


Comment